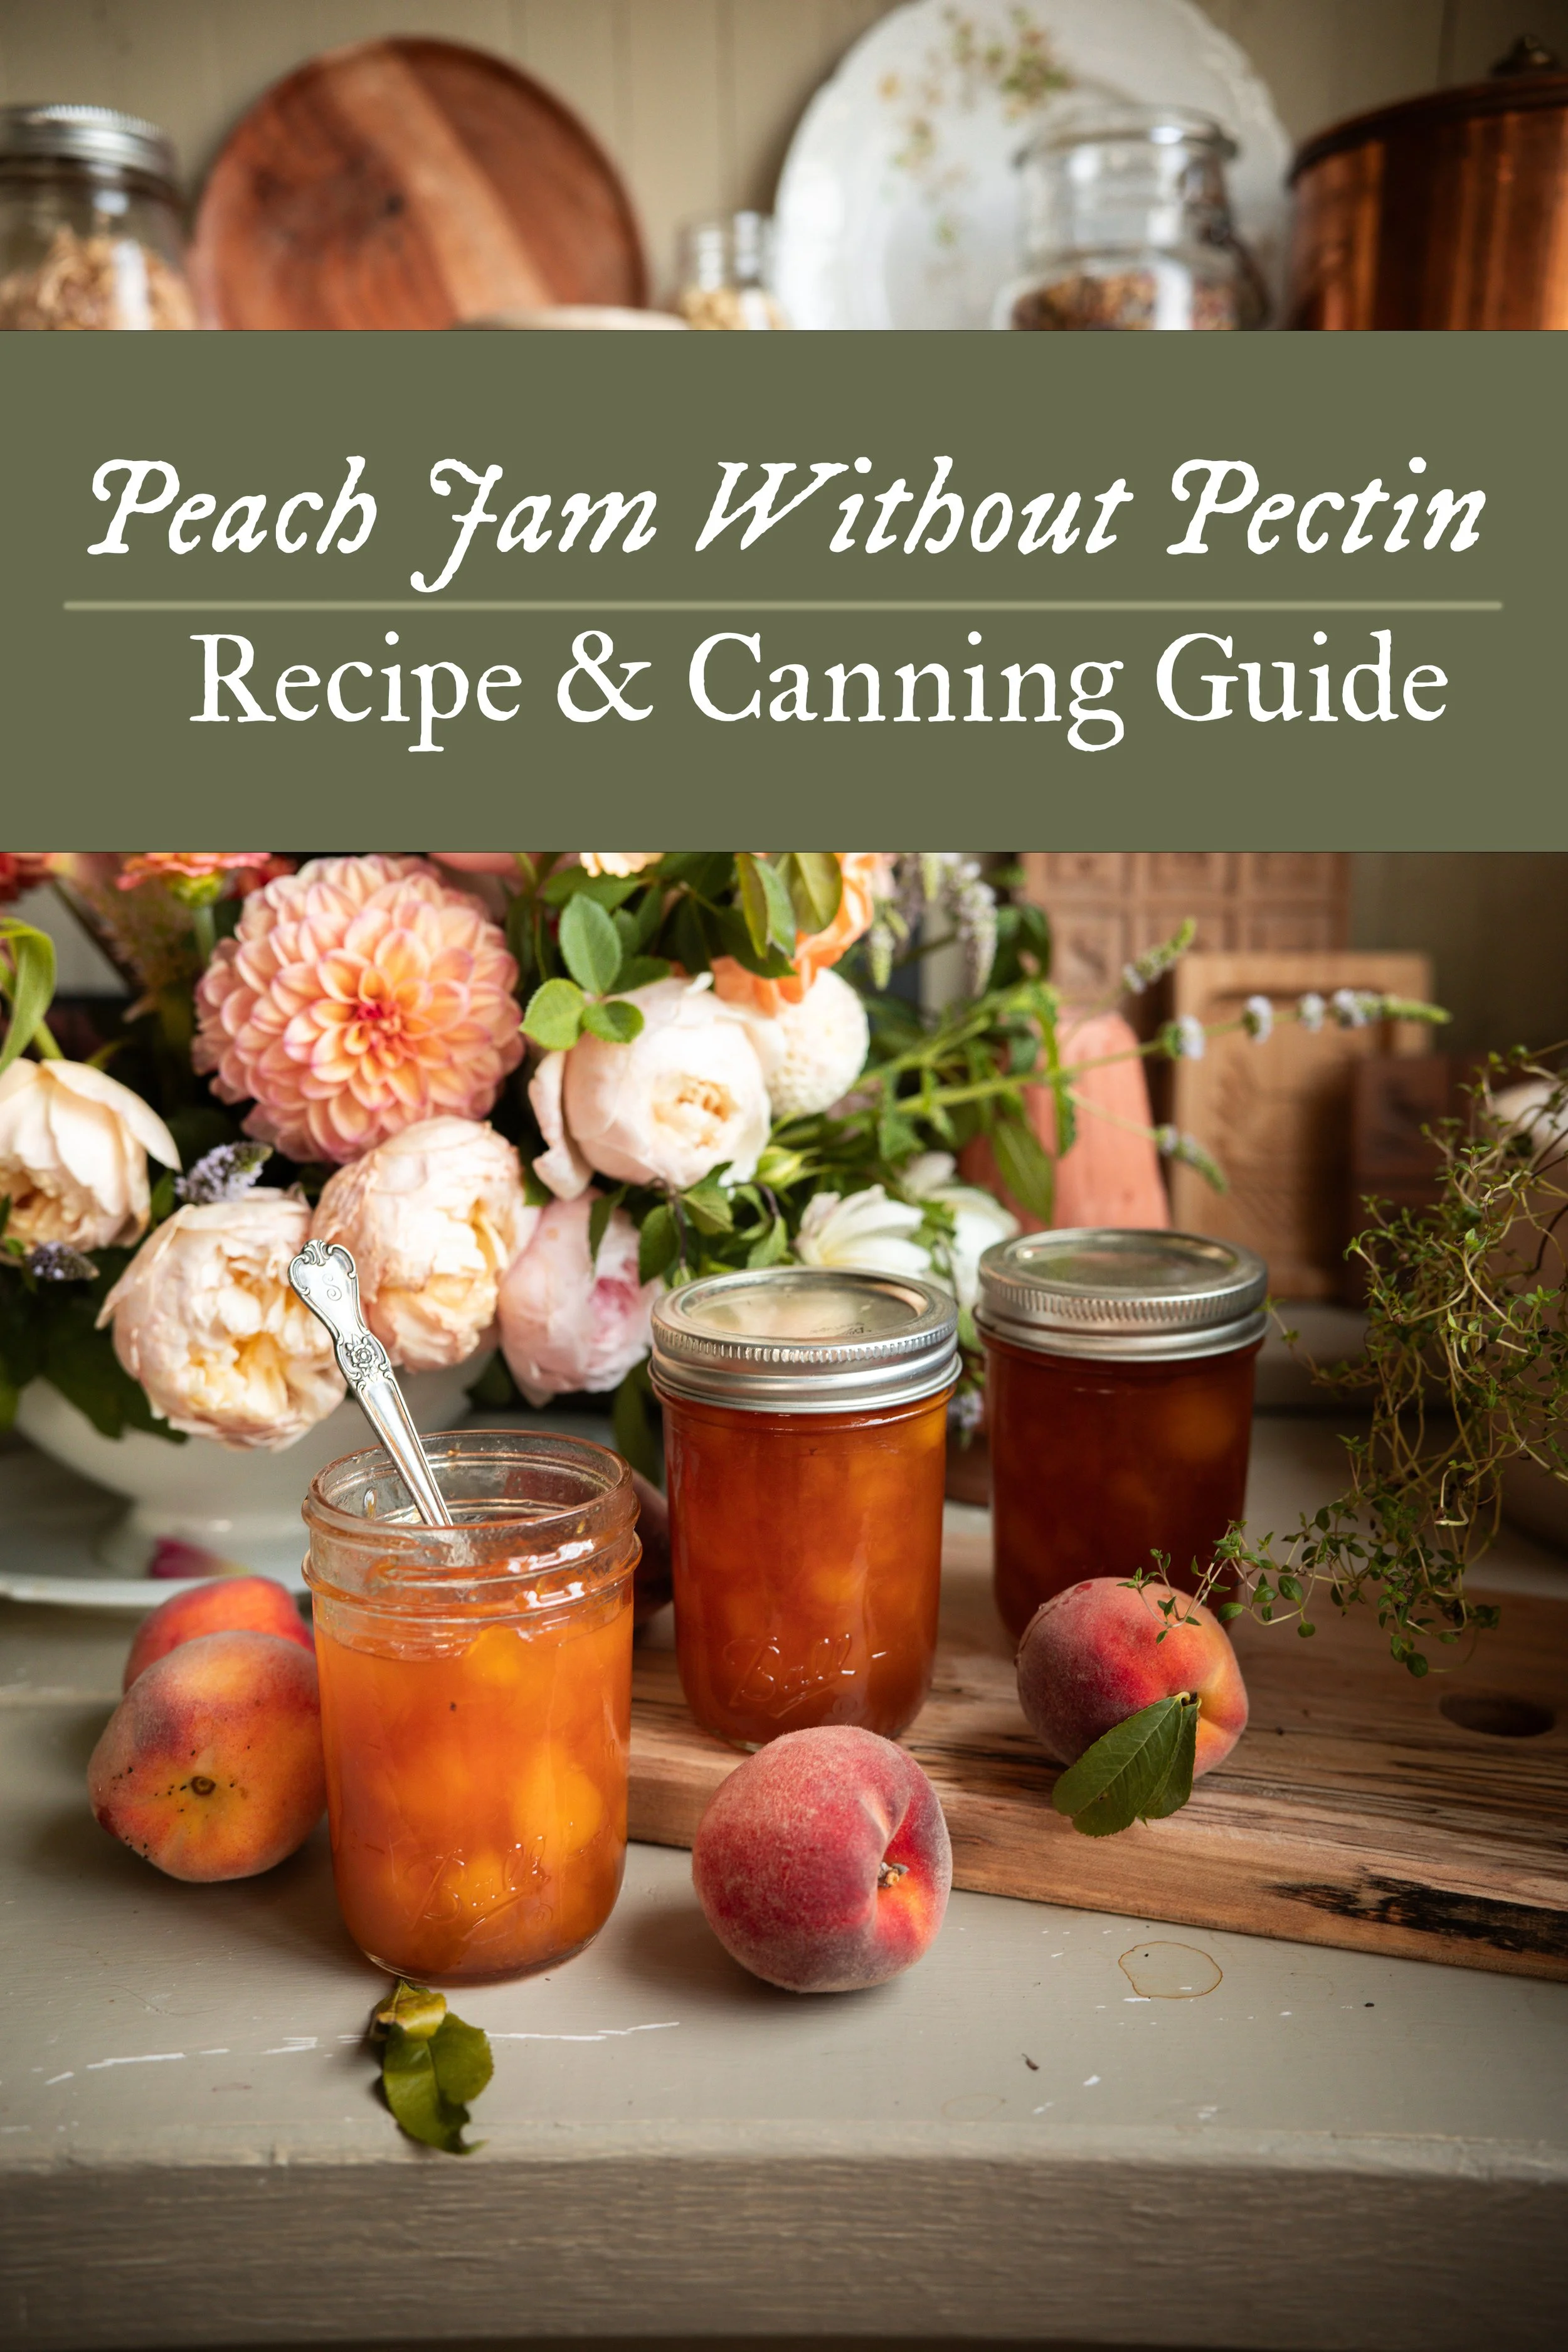
Classic Peach Jam: Canning or Freezing Recipe
This post may contain affiliate links, please see our privacy policy for more information.
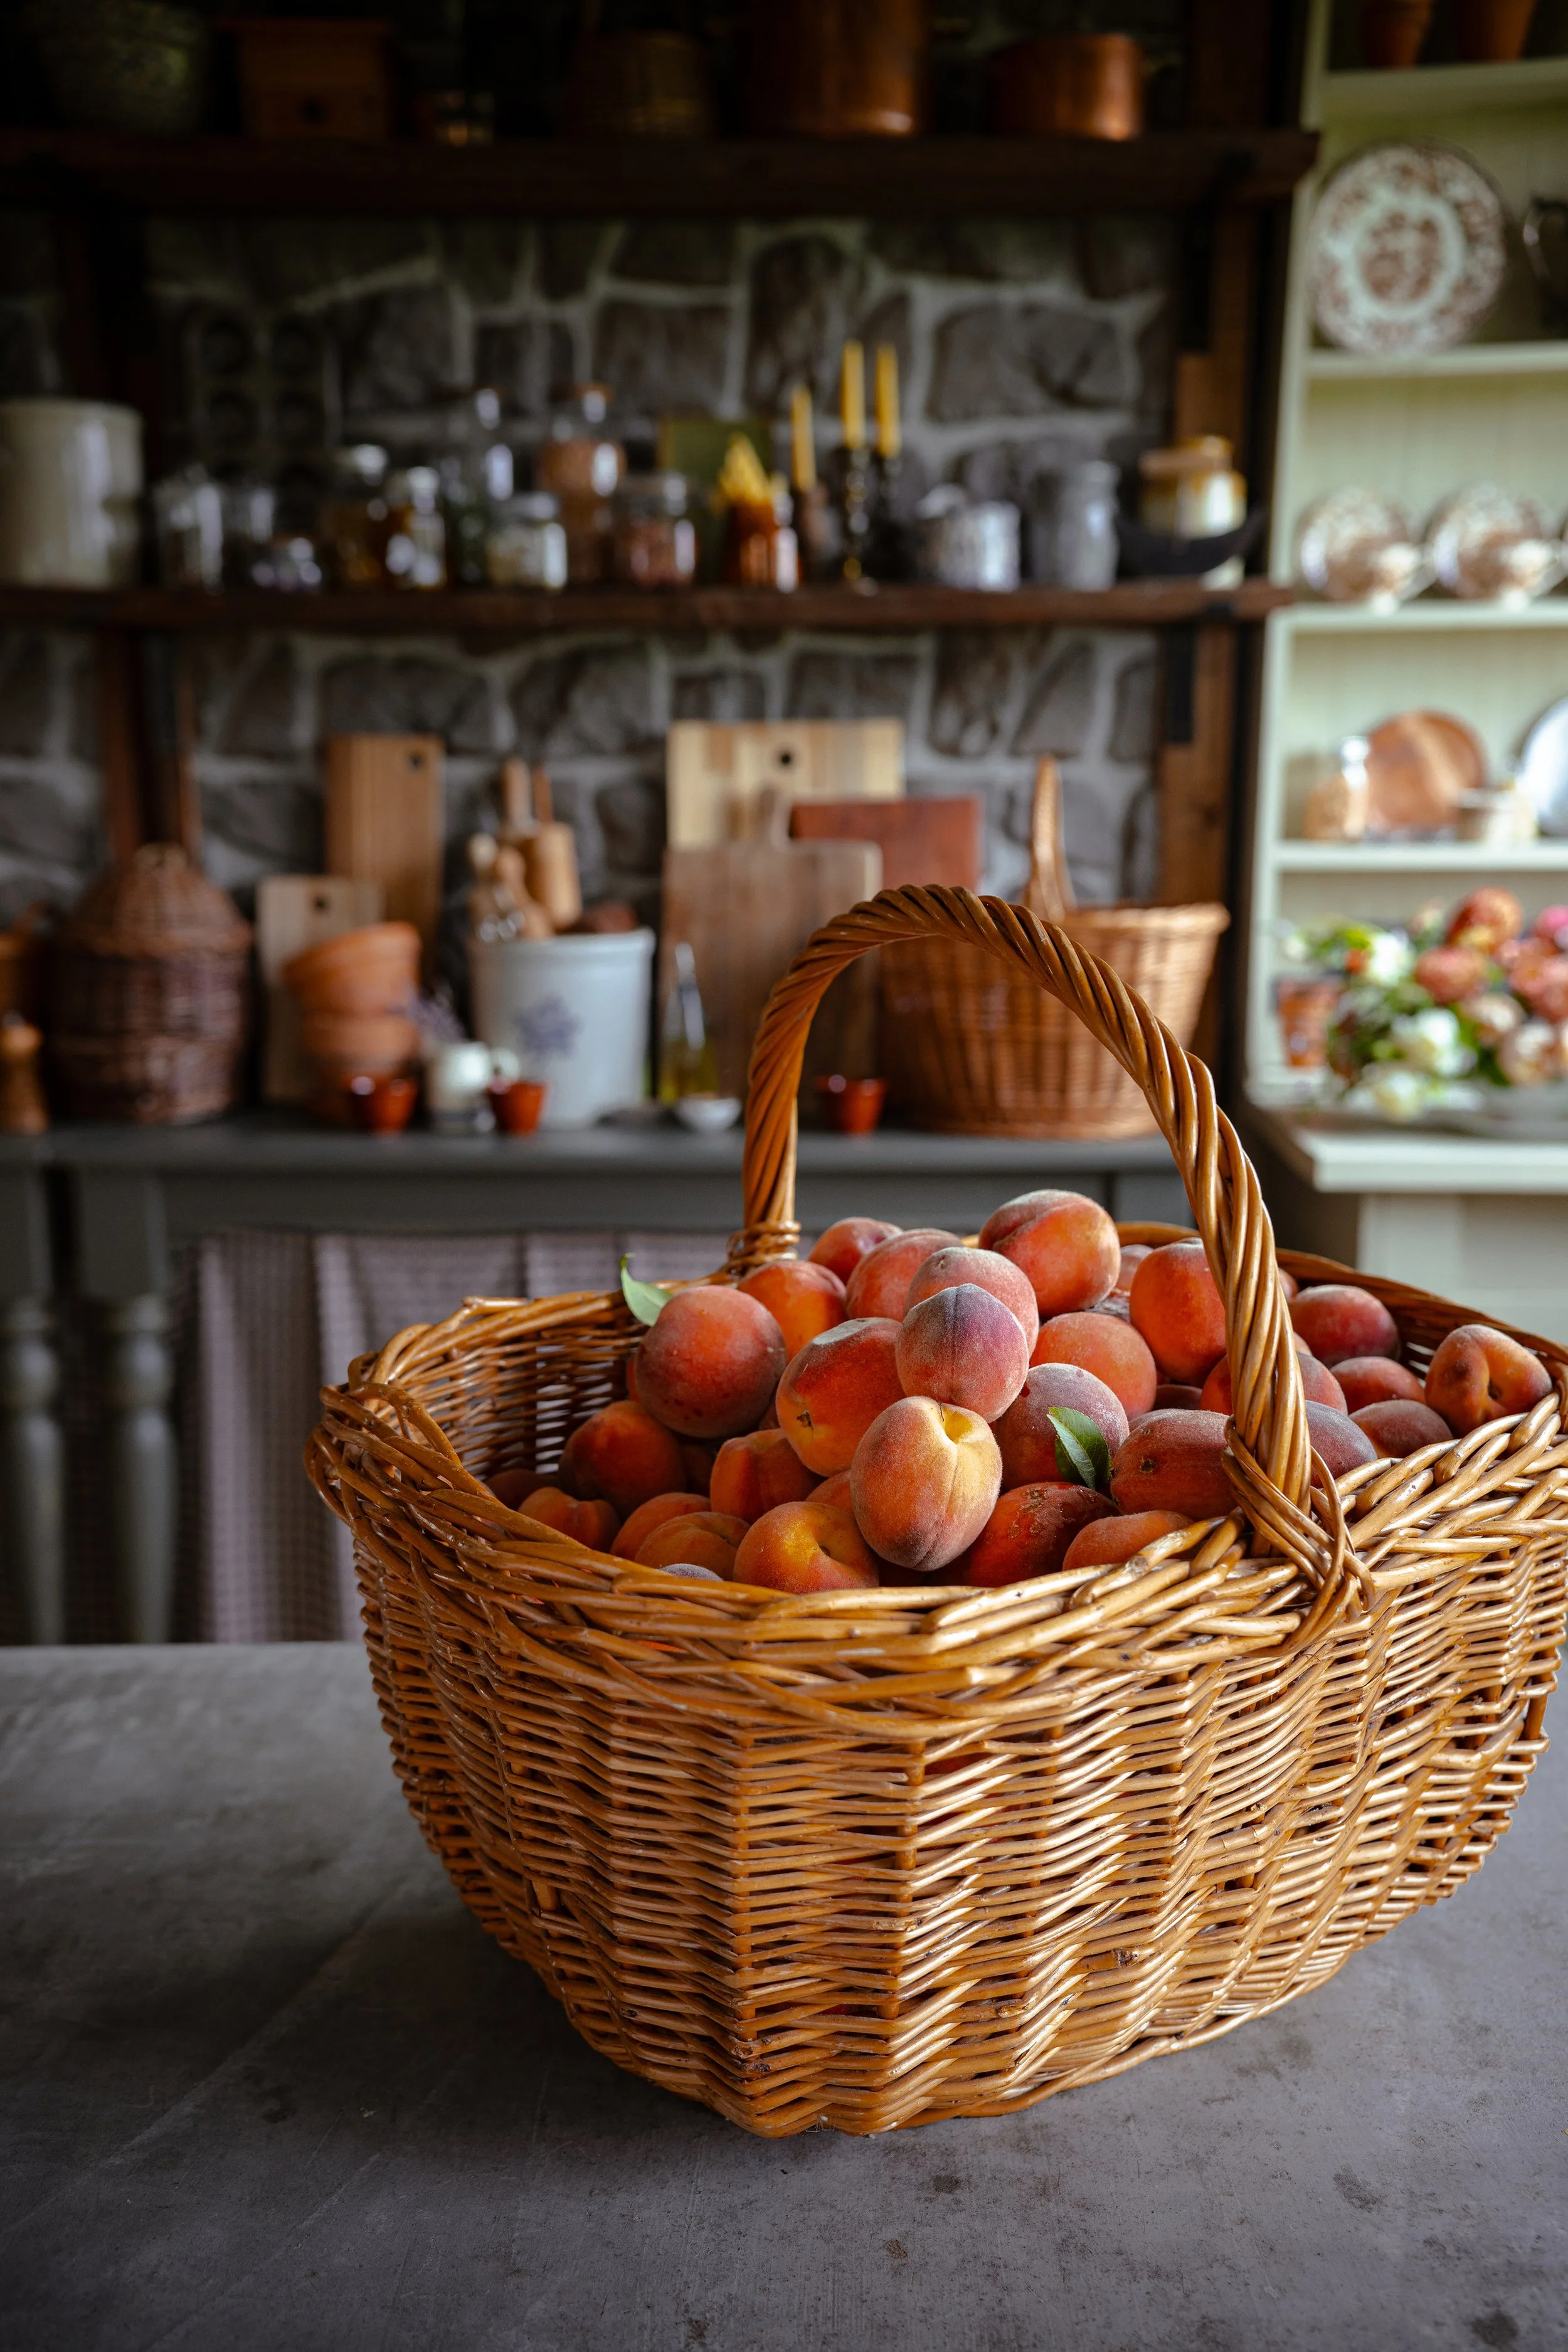
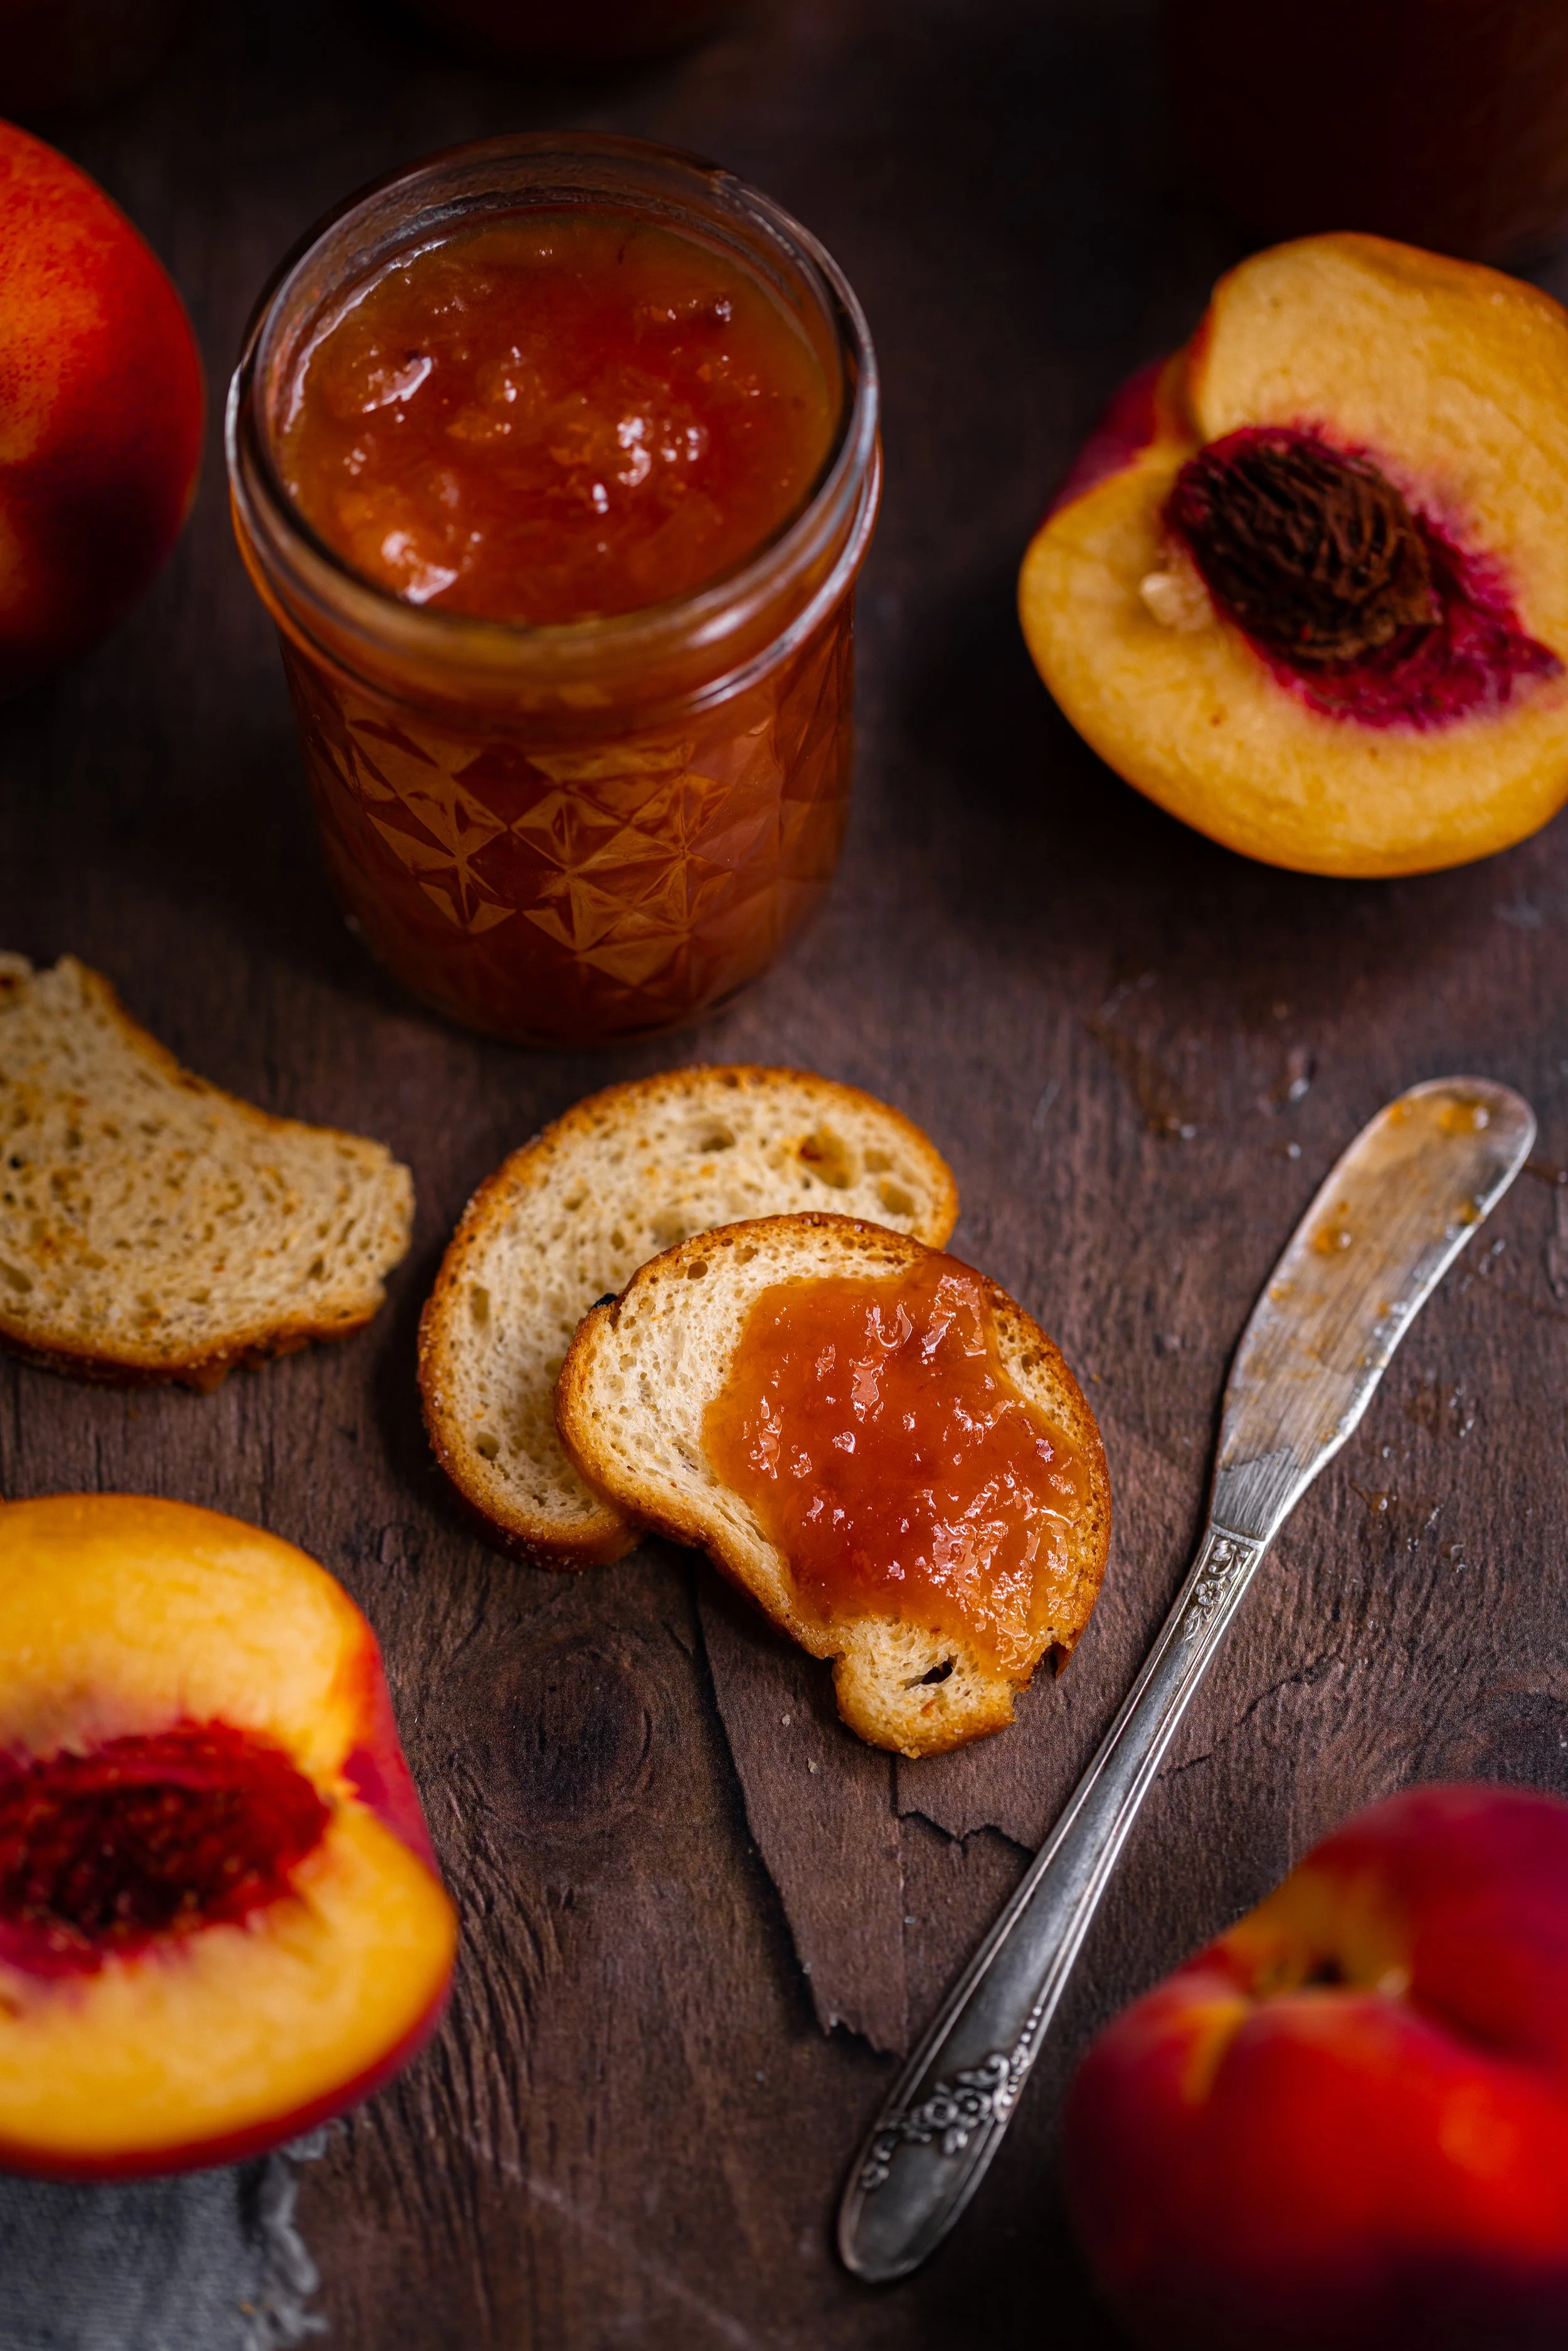
It’s late summer in Iowa when the peaches are ready for picking! To preserve the delicious and sweet flavor of fresh, ripe peaches I love to make them into a jam. This old-fashioned peach jam recipe is simple and easy and made without pectin. In this peach jam canning guide, you can learn how to capture the essence of summer in a jar by preserving sweet summer peaches all winter long.
Best Peaches for Jam
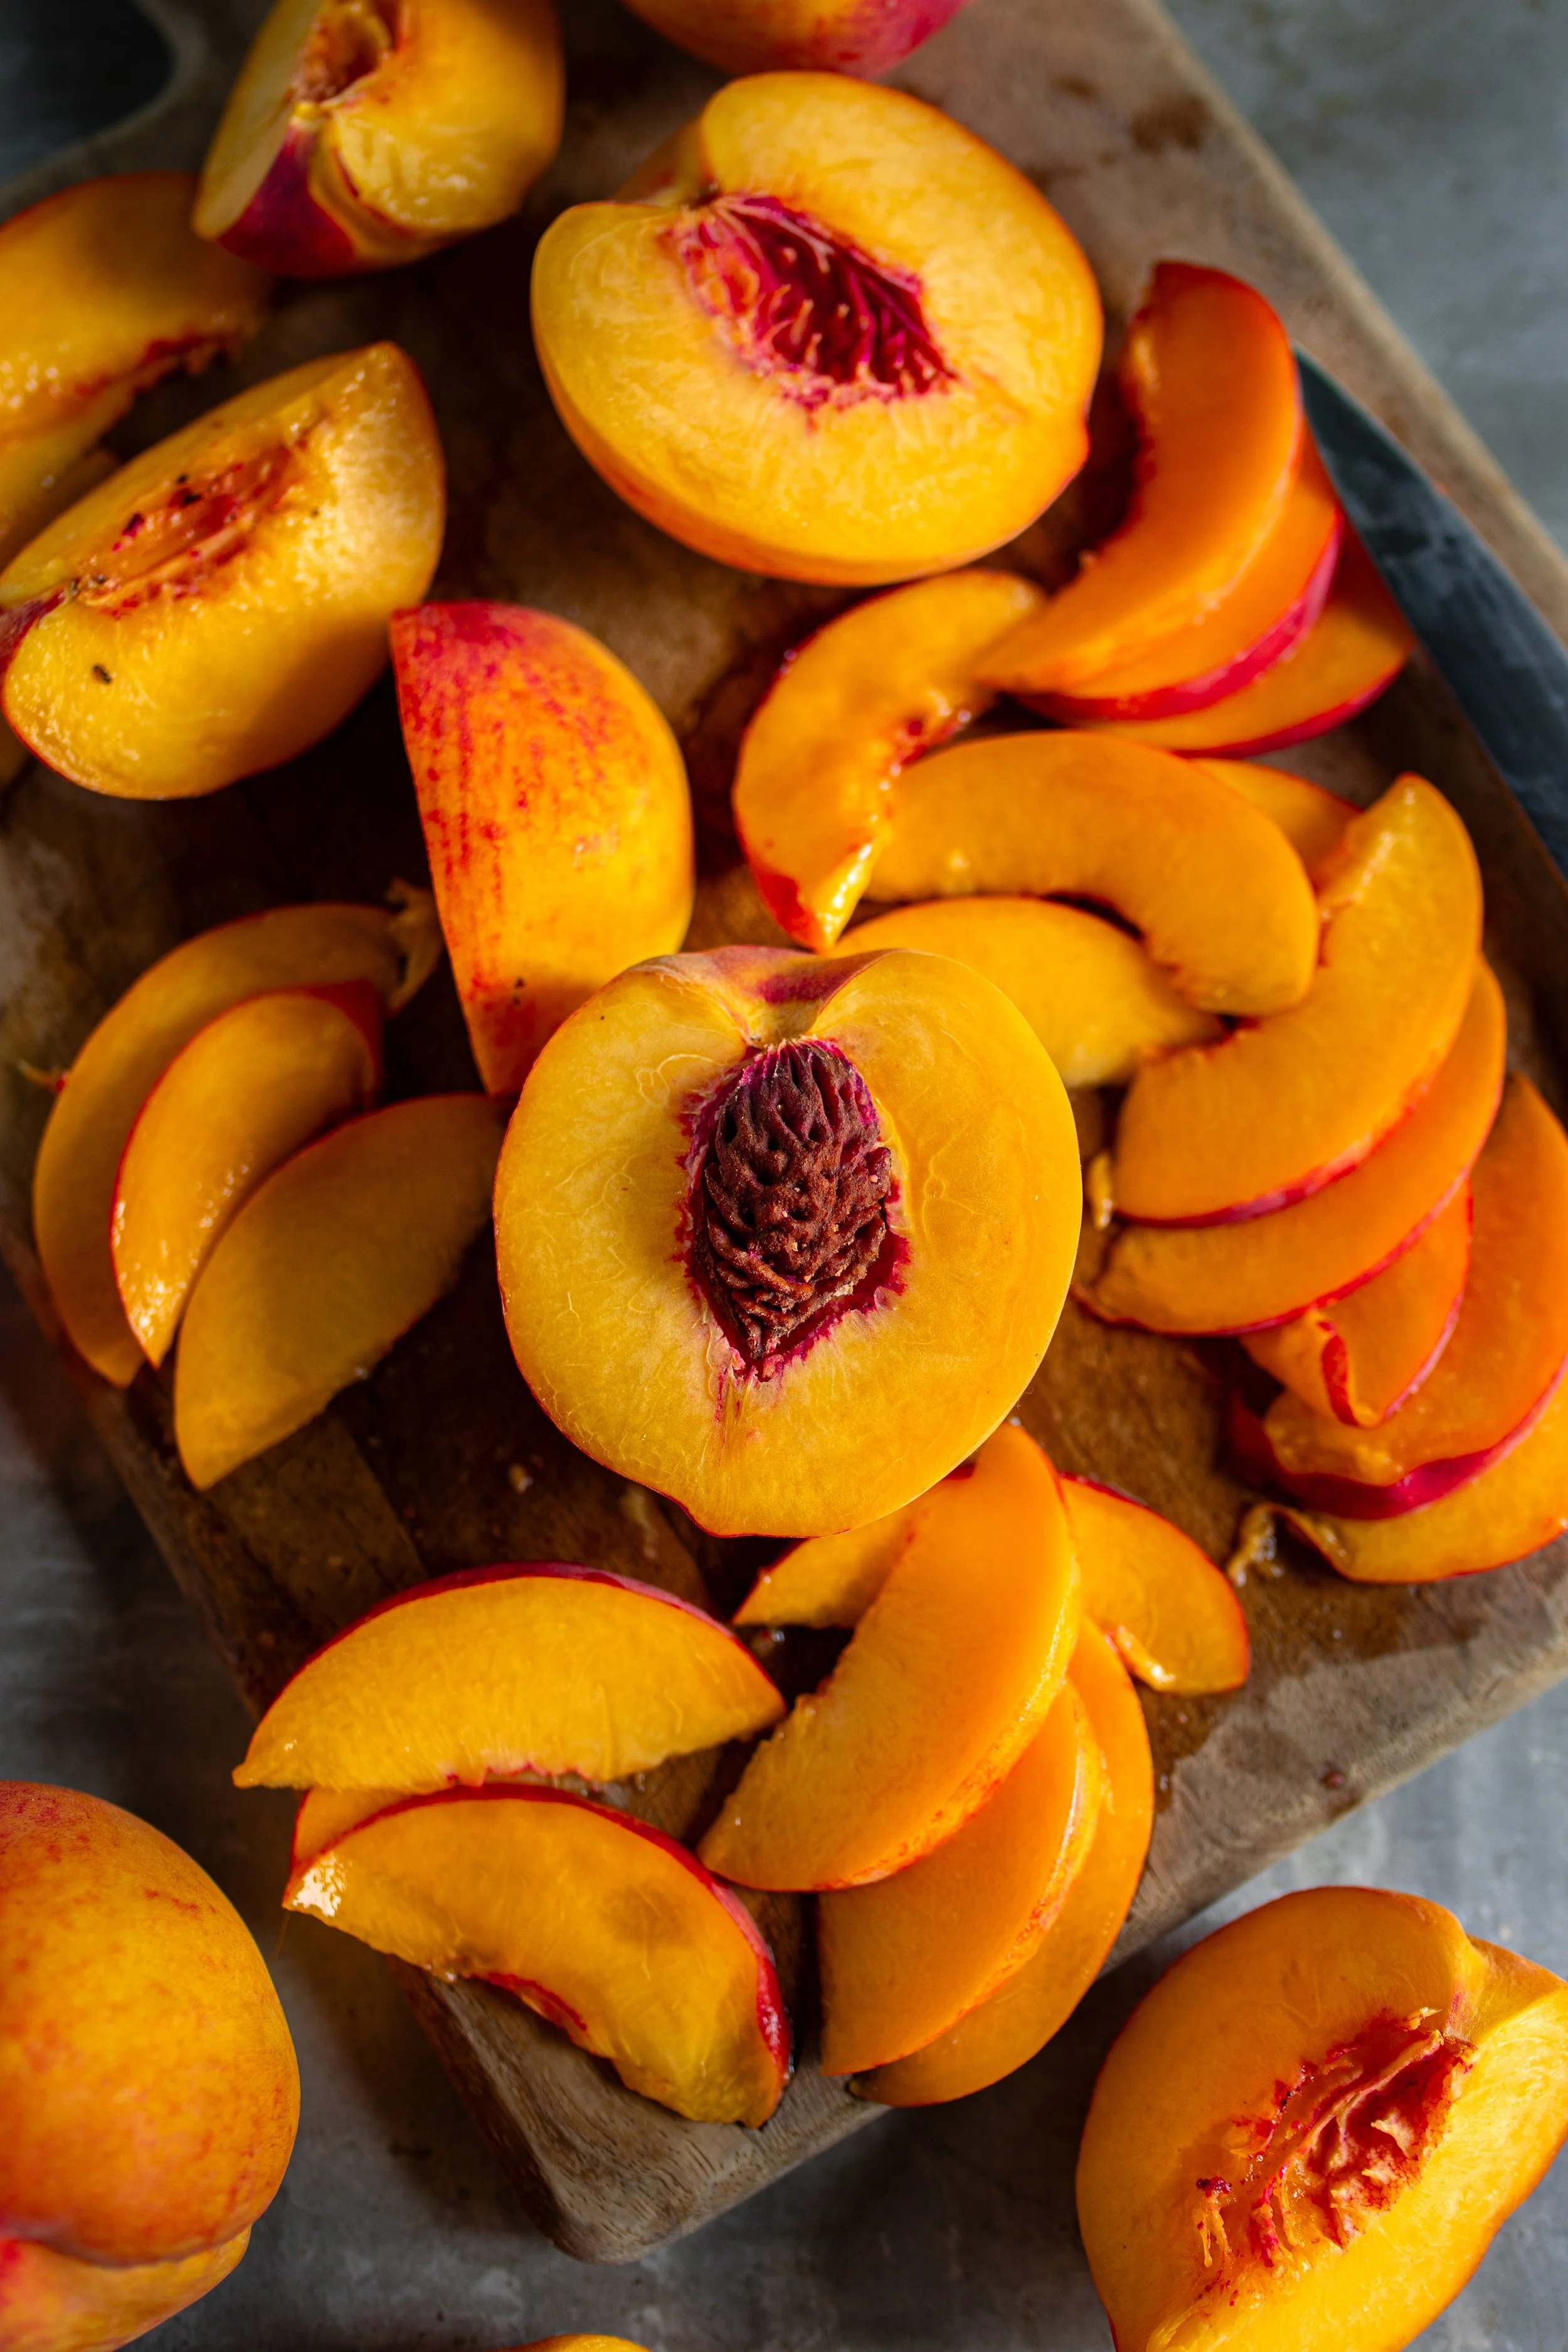
Use fresh, ripe peaches without soft spots or any signs of rot.
It is also recommended to use some underripe peaches for better set in your jam as they contain higher levels of natural pectin.
Don’t use overripe peaches as it can lead to mushy, underset jam.
Yellow peaches are the best type of peach for jam making as they are naturally sweeter and have a better color for the final product.
Don’t use white peaches as they are lower in acidity and are generally not recommended for water bath canning.
Canning Tips for Peach Jam
Use a wide, stainless steel pan to encourage even cooking and faster water evaporation.
Stir often and watch for bubbling over— jam foams quickly and can overflow!
Before filling jars, skim off any foam for the clearest finish and to avoid any bacteria in your preserves.
Test for doneness using a cold plate (spoon the jam onto the plate and watch for it to wrinkle) or an instant read thermometer (220°F at sea level).
Canning Safety notes
Peach jam is safe for water bath canning due to its high natural acidity and sugar content, though you will need to add bottled lemon juice to achieve the proper acidity levels for shelf stability.
Follow tested recipes and USDA guidelines to ensure safety.
Use new lids for canning. Most canning jar companies only recommend using lids once, in case that seals become damaged after storing food in a previous season. Using old lids can result in a false seal and spoiled food.
Assembly line can rather than batch canning. This means filling one jar at a time rather than filling all of the jars at once. This ensures that the jars stay hot, keeping them from going through temperature shock when being put into the water bath canner.
Use plastic utensils to prevent cracking your jars.
Process jars in a boiling water bath for 10 minutes (adjust for altitude as needed).
Always use new lids and clean jars to ensure a strong seal.
Canning supplies you’ll need
Canning Jars, New Lids, and Bands. I prefer to use Ball® jars, lids, and bands. You will need new canning lids to safely can your peach jam. Do not can with used lids, as the seals can potentially be damaged. For this recipe, you will need 4 oz or 8 oz jars.
Large Pot. You will definitely want a large sauce pot with a lid to cook down your strawberry jam. I prefer using enameled cast iron for cooking jam like this one or this one.
Jar Lifter. You will definitely want this tool to help lift the hot jars in and out of the canner!
Canning Funnel. A funnel can be nice to have to avoid spills. Use a nonmetallic funnel to avoid breakage.
Nonmetallic Spatula. Another tool that can be helpful to avoid breakage of your jars, and it can be great for removing air bubbles.
Headspace Measurer. This tool is made to easily measure the headspace of your food, which is necessary for low-acid canning to avoid siphoning! It can also double as an air bubble popper.
Instant Read Thermometer. Optional, to test for doneness.
Potato Masher or Immersion Blender. To mash the peaches down before cooking.
gathering ingredients to make peach jam:
Before you begin making your homemade peach jam, you will need to gather a few key ingredients! This jam uses simple ingredients, making it an easy to achieve recipe. However, you will need quite a few peaches!
Peaches. For this recipe, you will need 6 lbs (2.8 kg) ripe peeled, pitted, and chopped peaches. When shopping, I would suggest purchasing at least 1 to 1.5 lbs (454 to 680 g) more. You may use yellow or white peaches for this recipe.
Sugar. Any granulated sugar will work for this recipe, and I would suggest using an organic cane sugar over brown sugar so that it does not alter the flavor and color of the jam. I would not suggest substituting with honey or other liquid sugars.
Bottled Lemon Juice. You will need to use bottled lemon juice at 5% acidity for this recipe to ensure that you have the right amount of acid. This will help preserve your fruit and prevent discoloration.
Butter. Butter is an optional ingredient in this recipe to prevent foaming.
how to make peach jam:
Step One: Prepare your boiling water bath canner. Sanitize your jars, lids, and rings by gently simmering the jars in the canner until ready to fill and washing the lids and rings in warm, soapy water. For more information on setting up your canner, read this post.
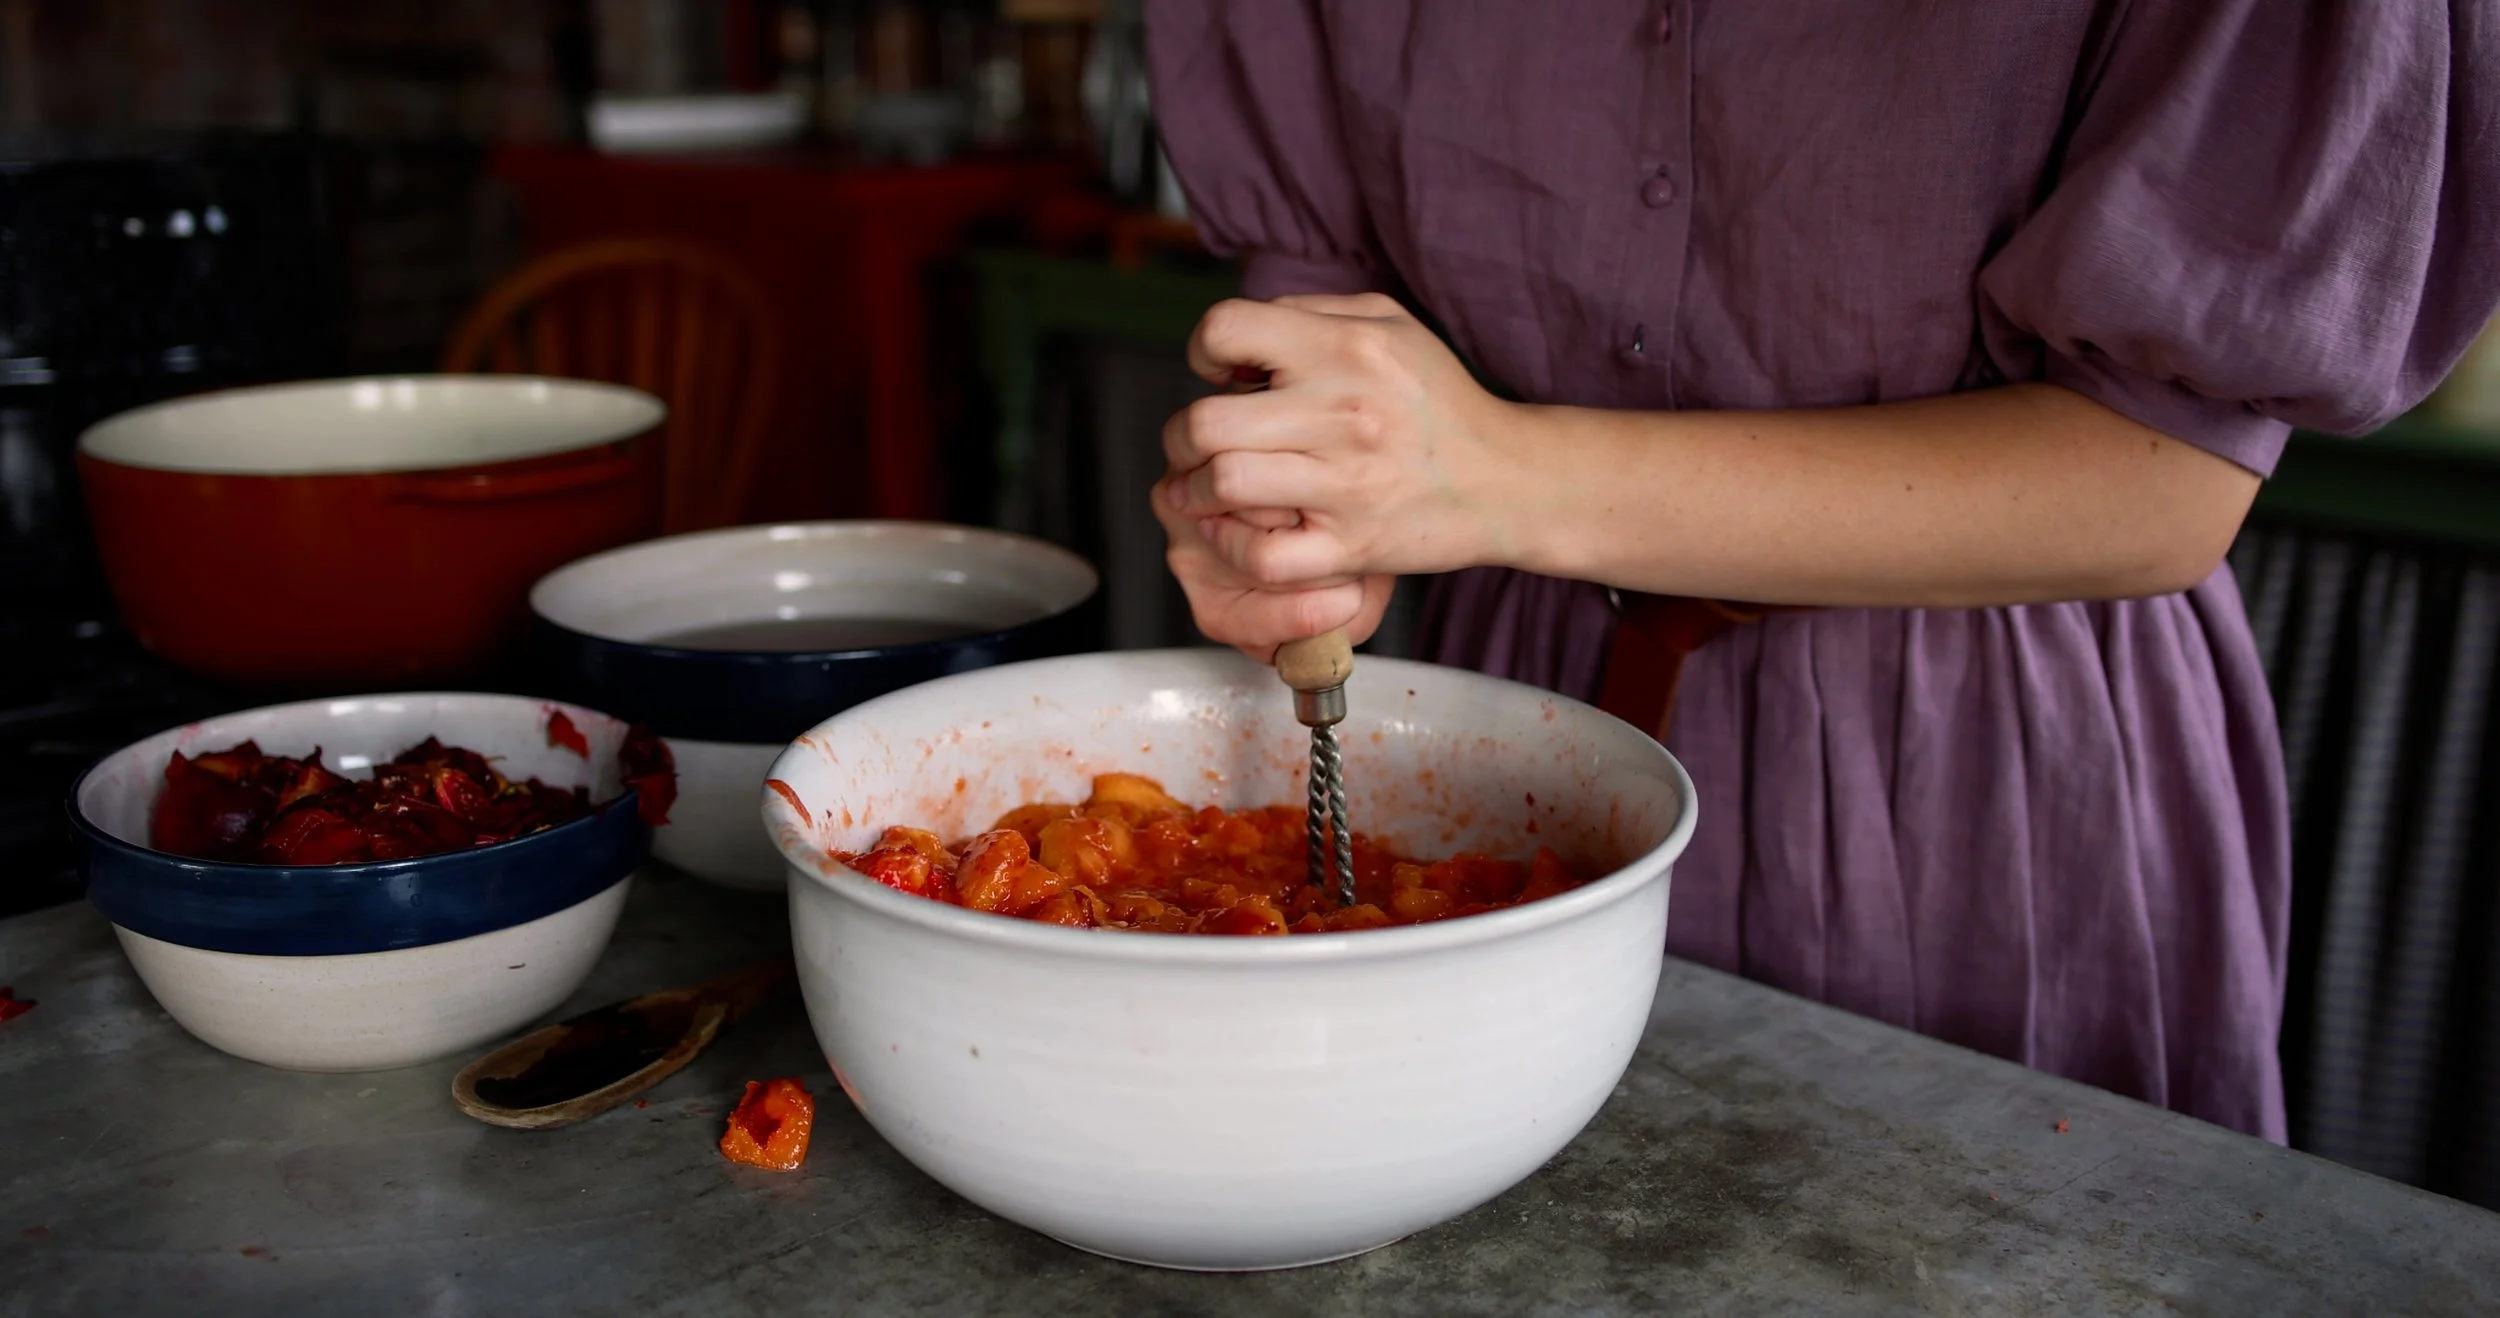
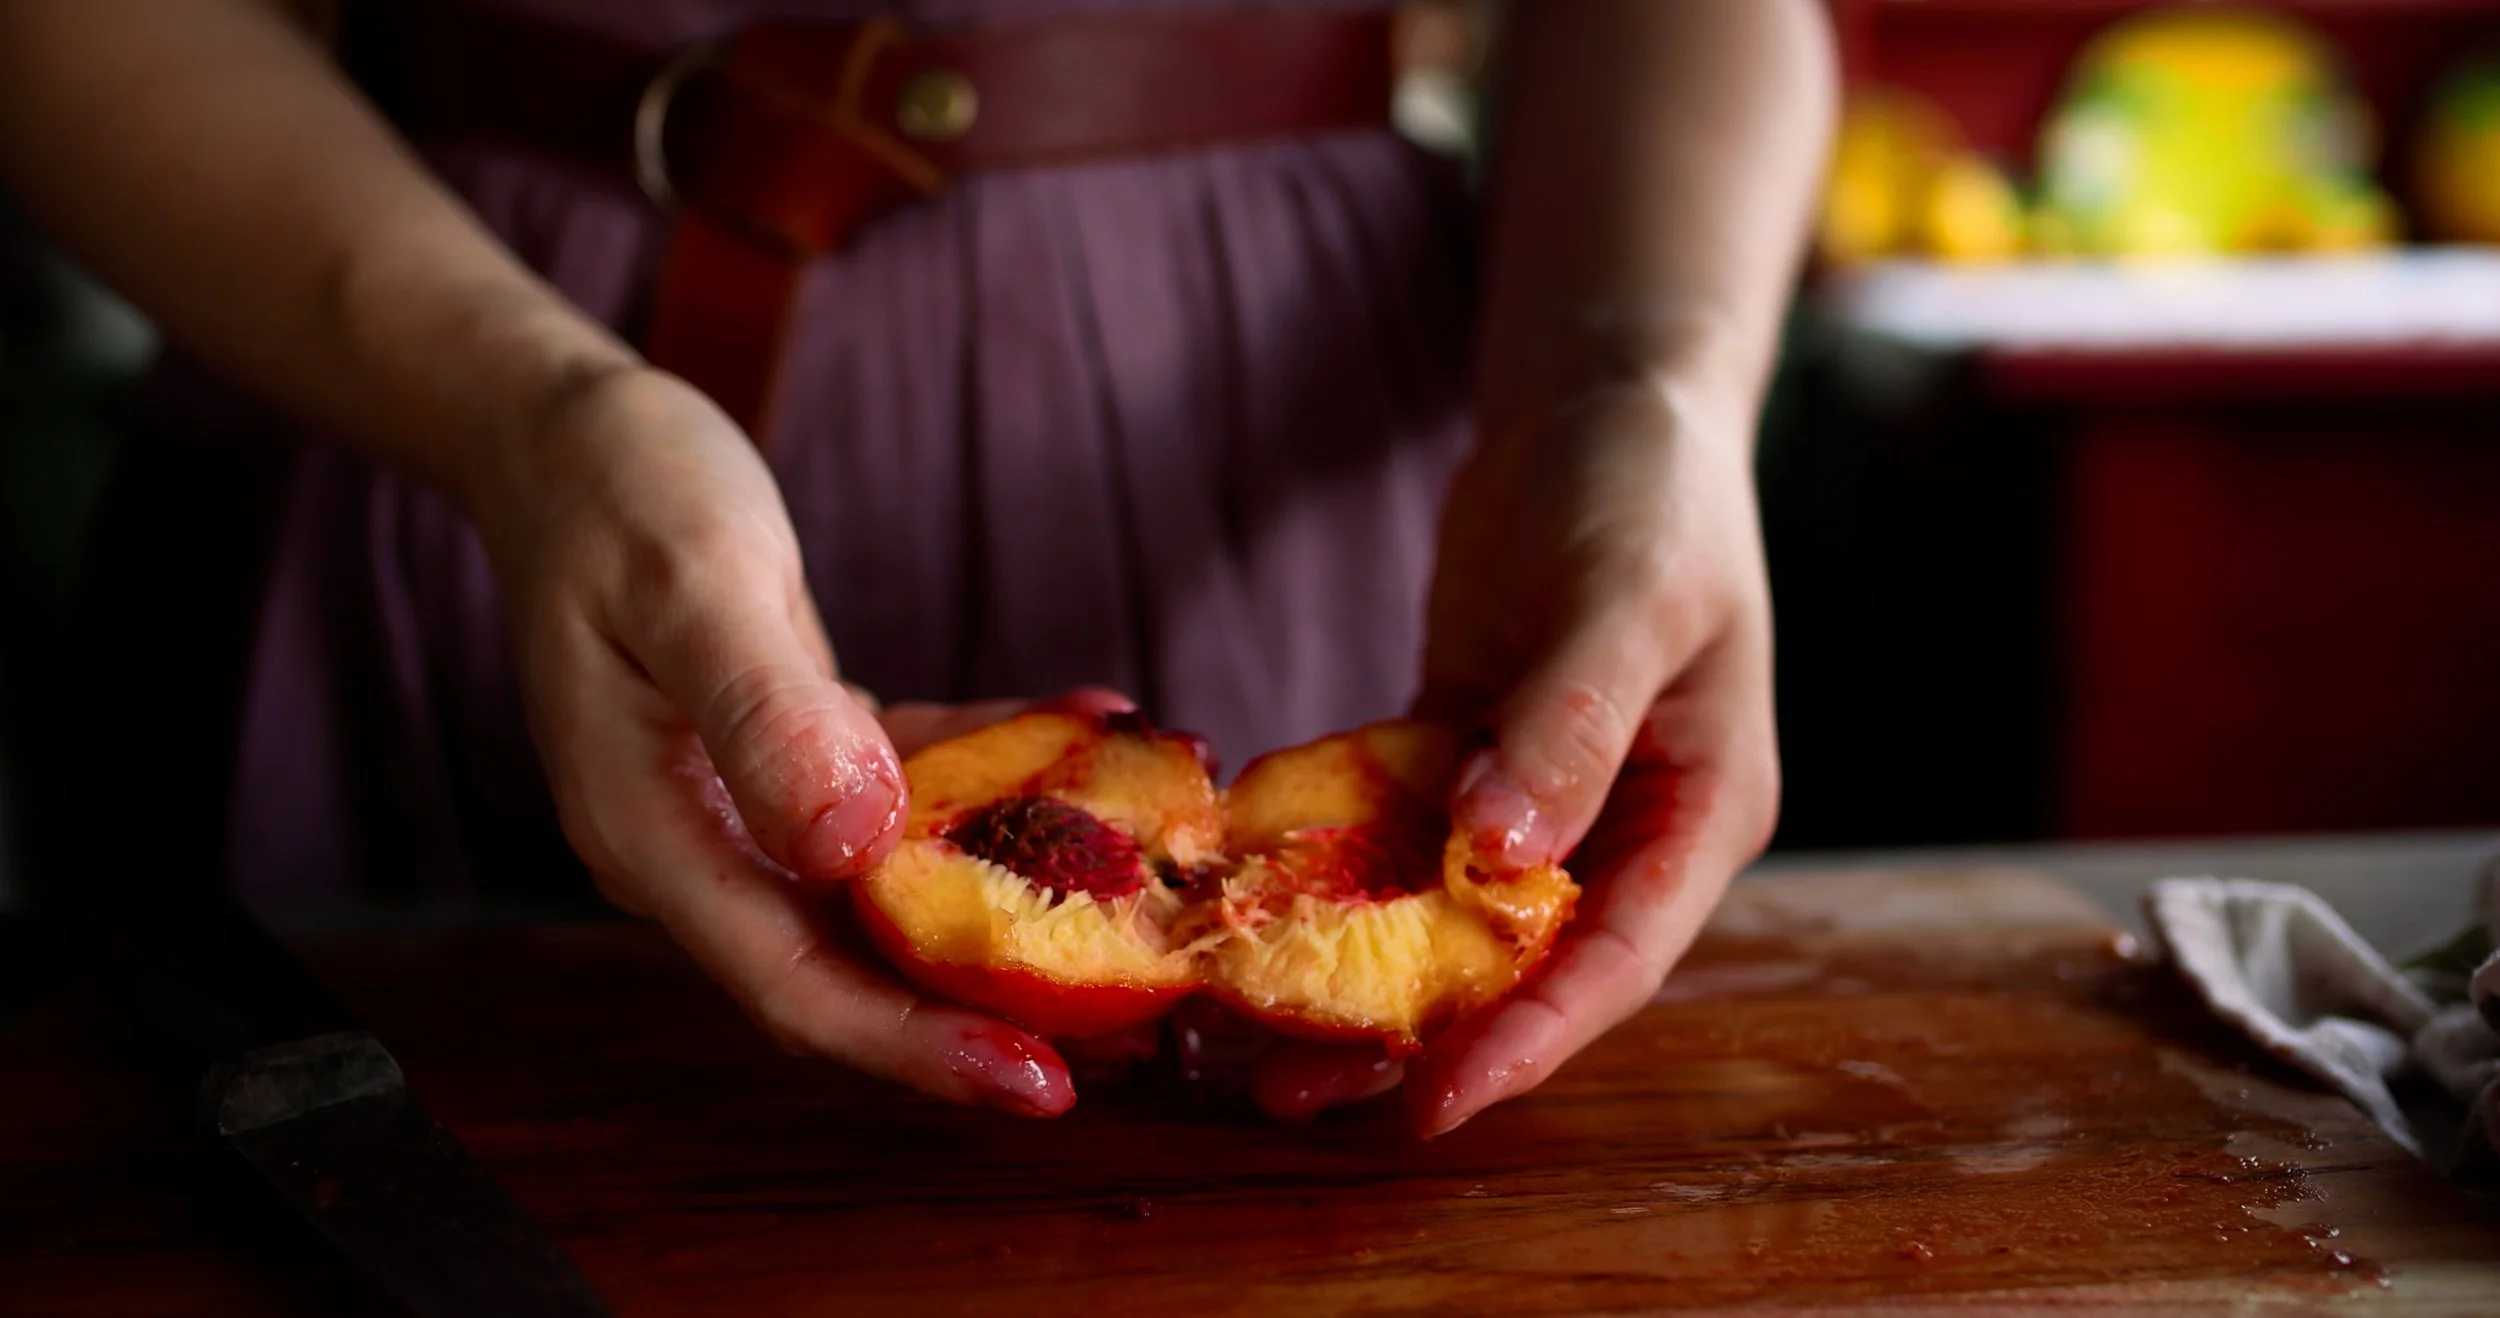
Step Two: Prepare your peaches by peeling, pitting, and chopping them into large uniform chunks. Place the peaches into a large heavy bottomed sauce pot. Then, with a potato masher, begin to crush them until they are mostly in large hunks. This will be most easily done with very ripe peaches.
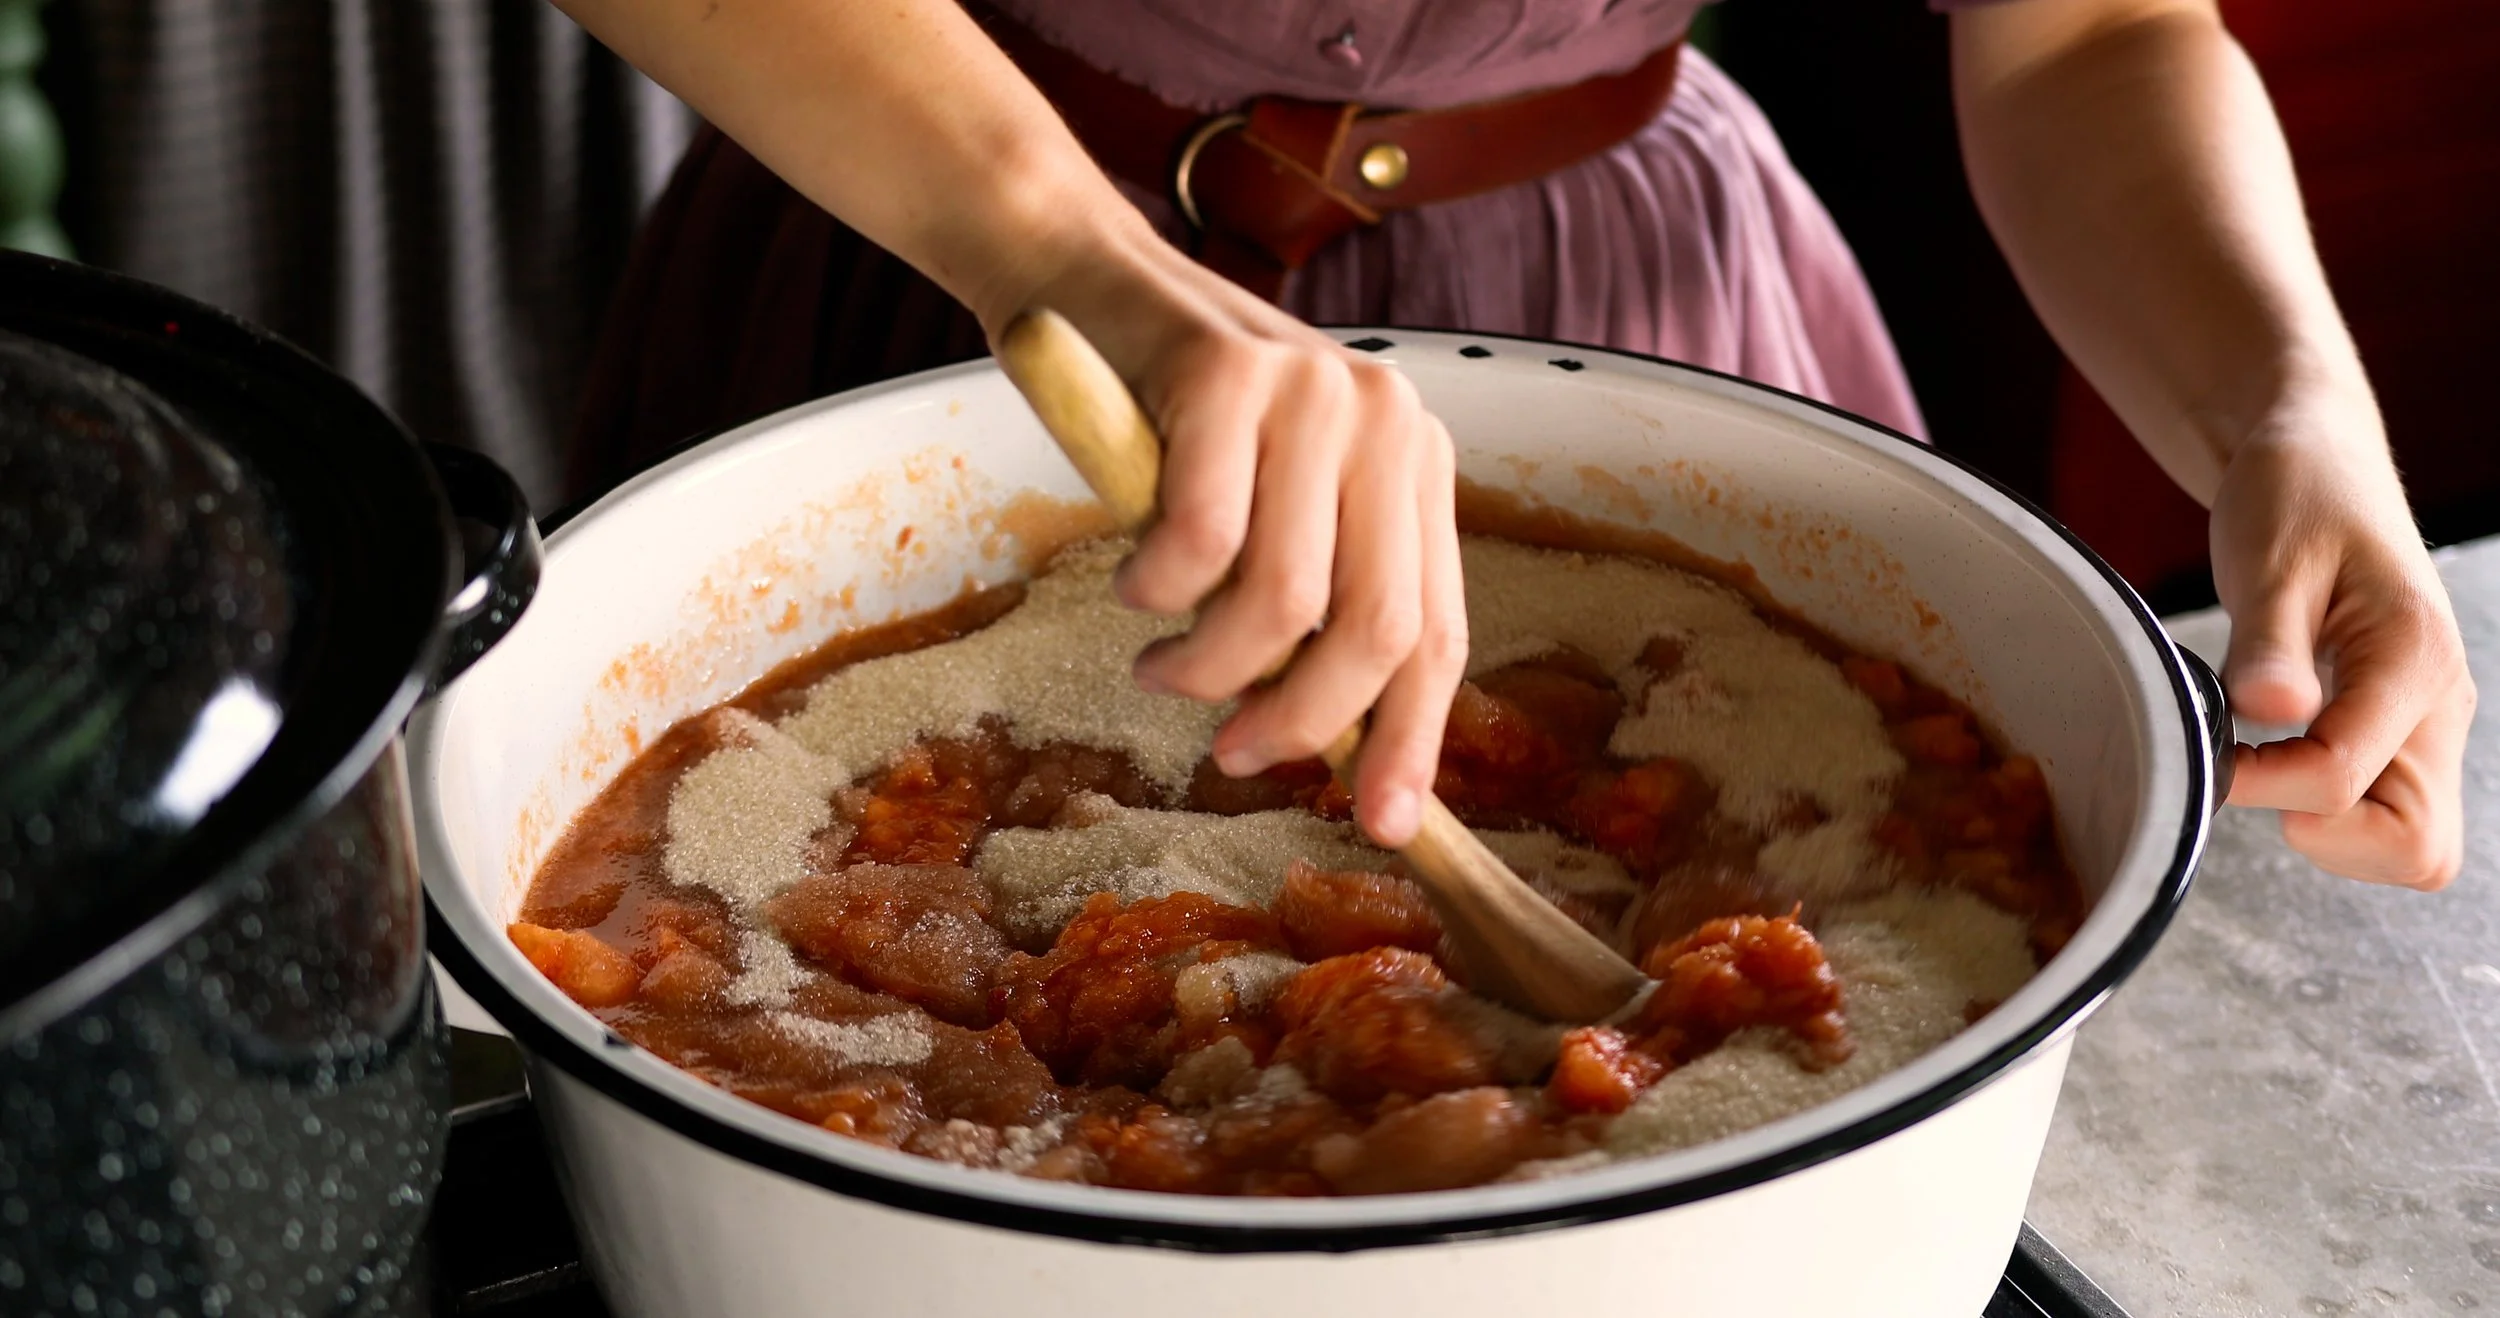
Step Three: Place the pot over medium high heat and stir in the sugar and lemon juice. Bring the fruit mixture to a rolling boil. Lower the heat slightly and continue boiling over medium heat, stirring constantly so that the jam does not burn.
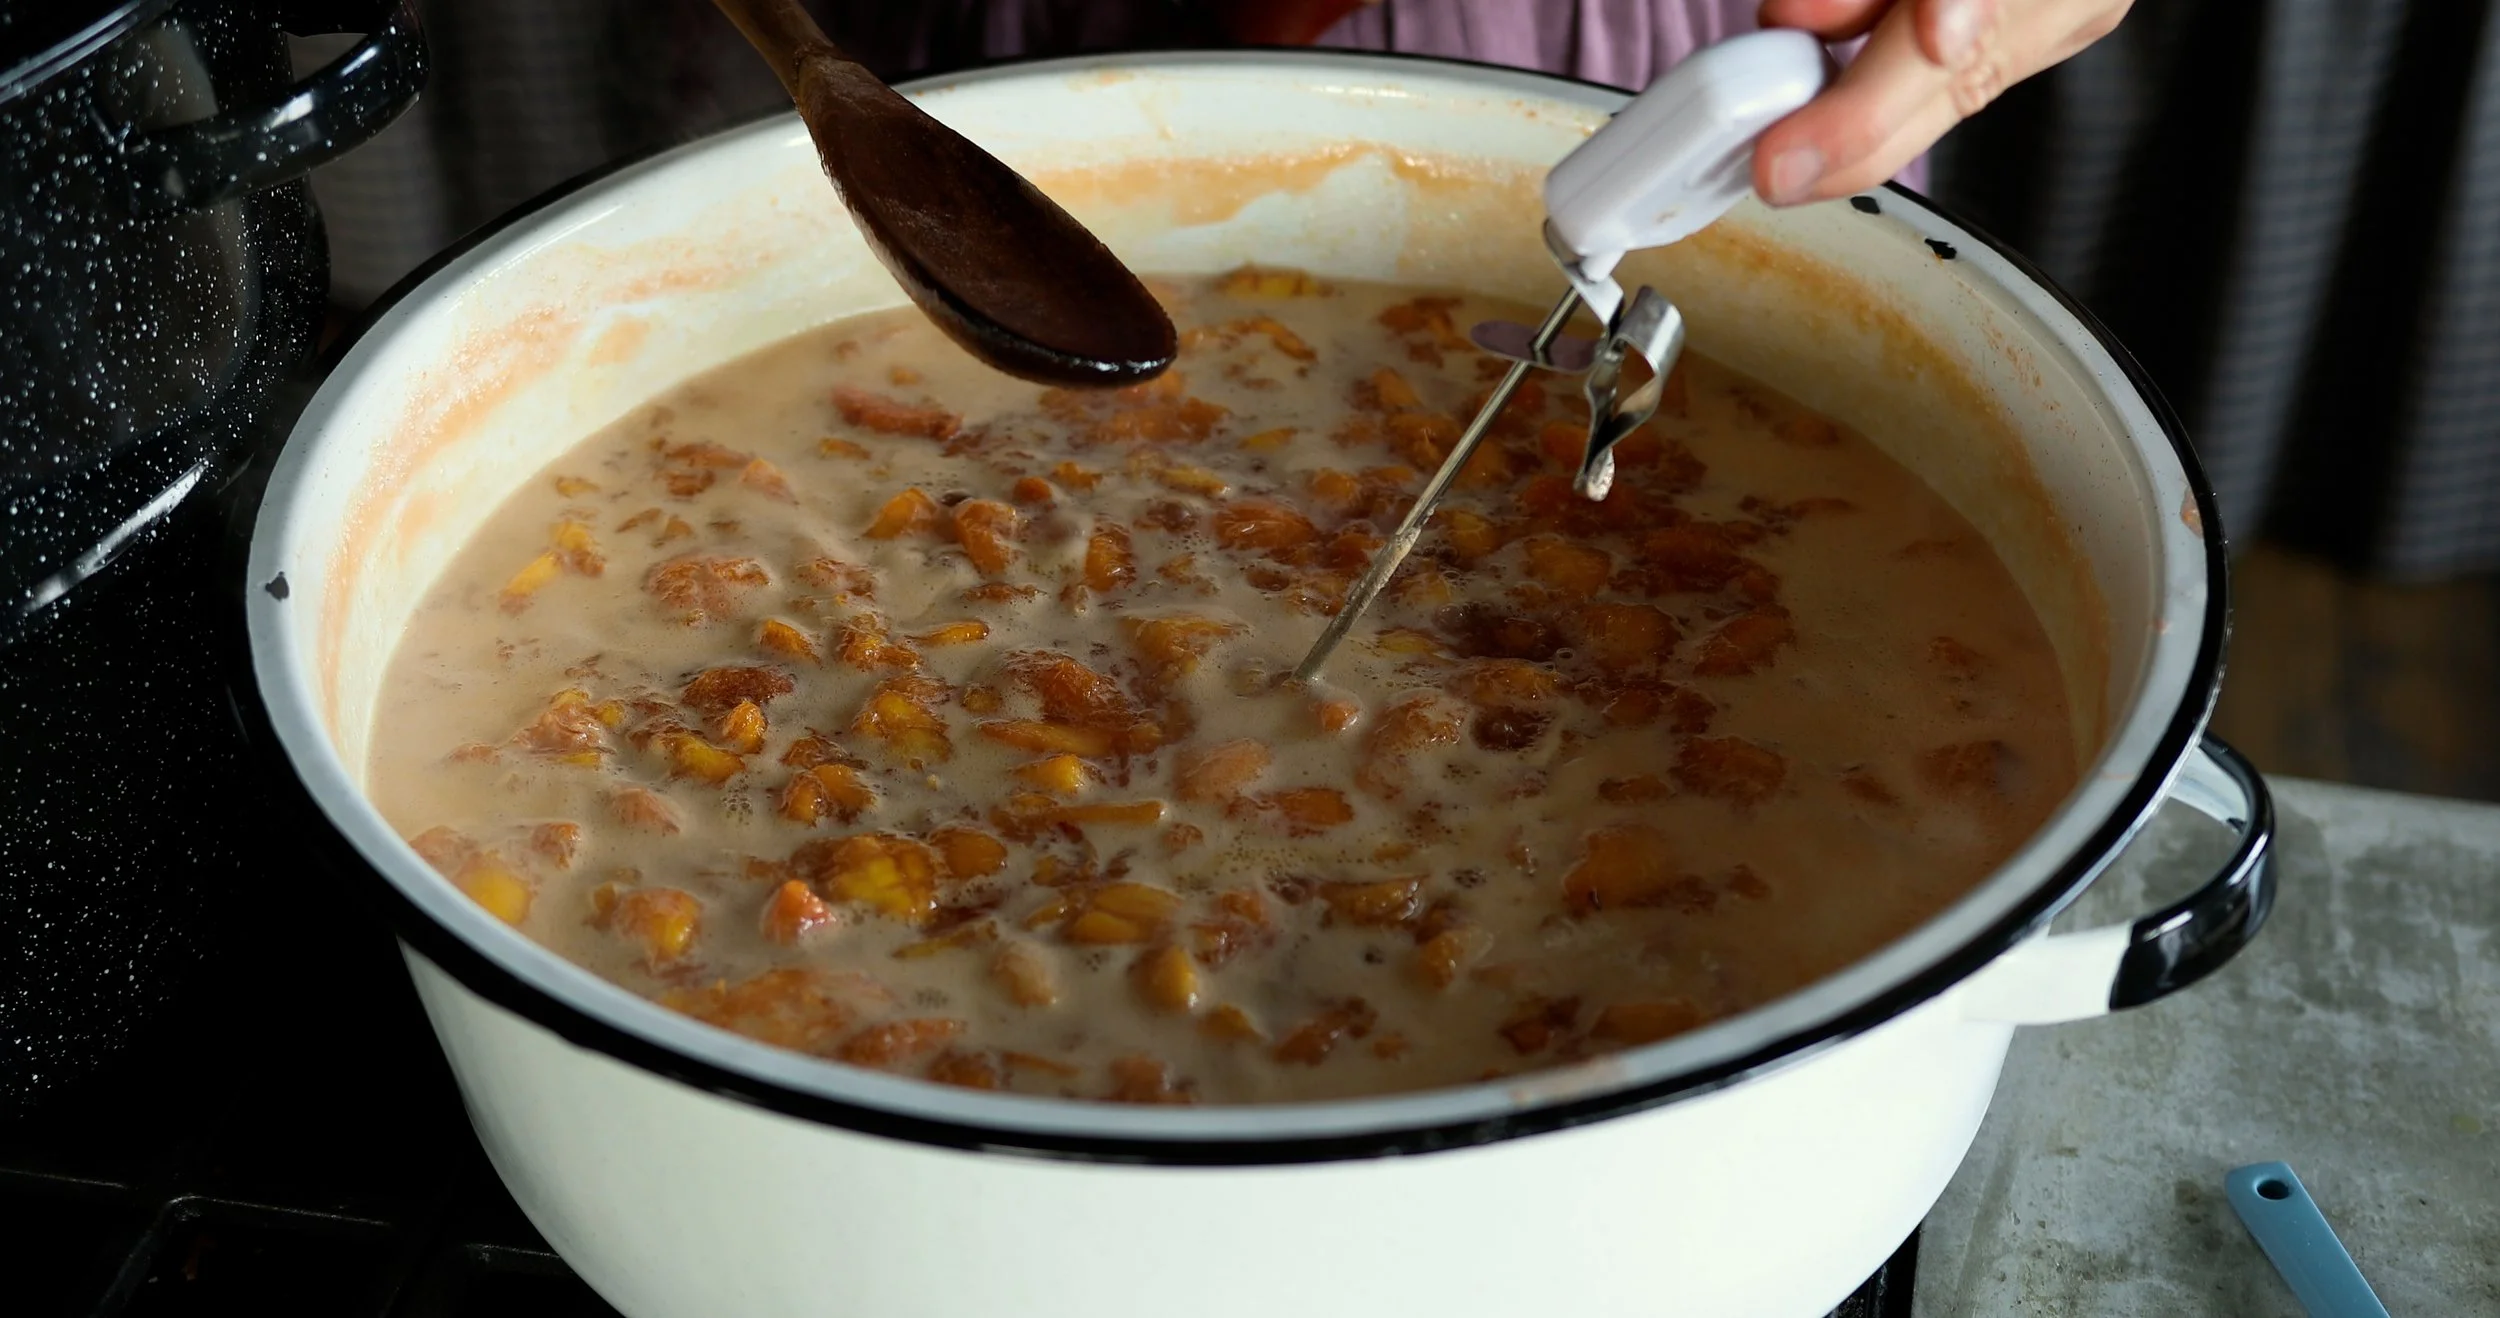
Step Four: If your jam begins to foam, and it most likely will, you may add up to 2 tablespoons (28 g) of butter to help keep the foam down. You may also choose to wait and skim the foam at the end of cooking.
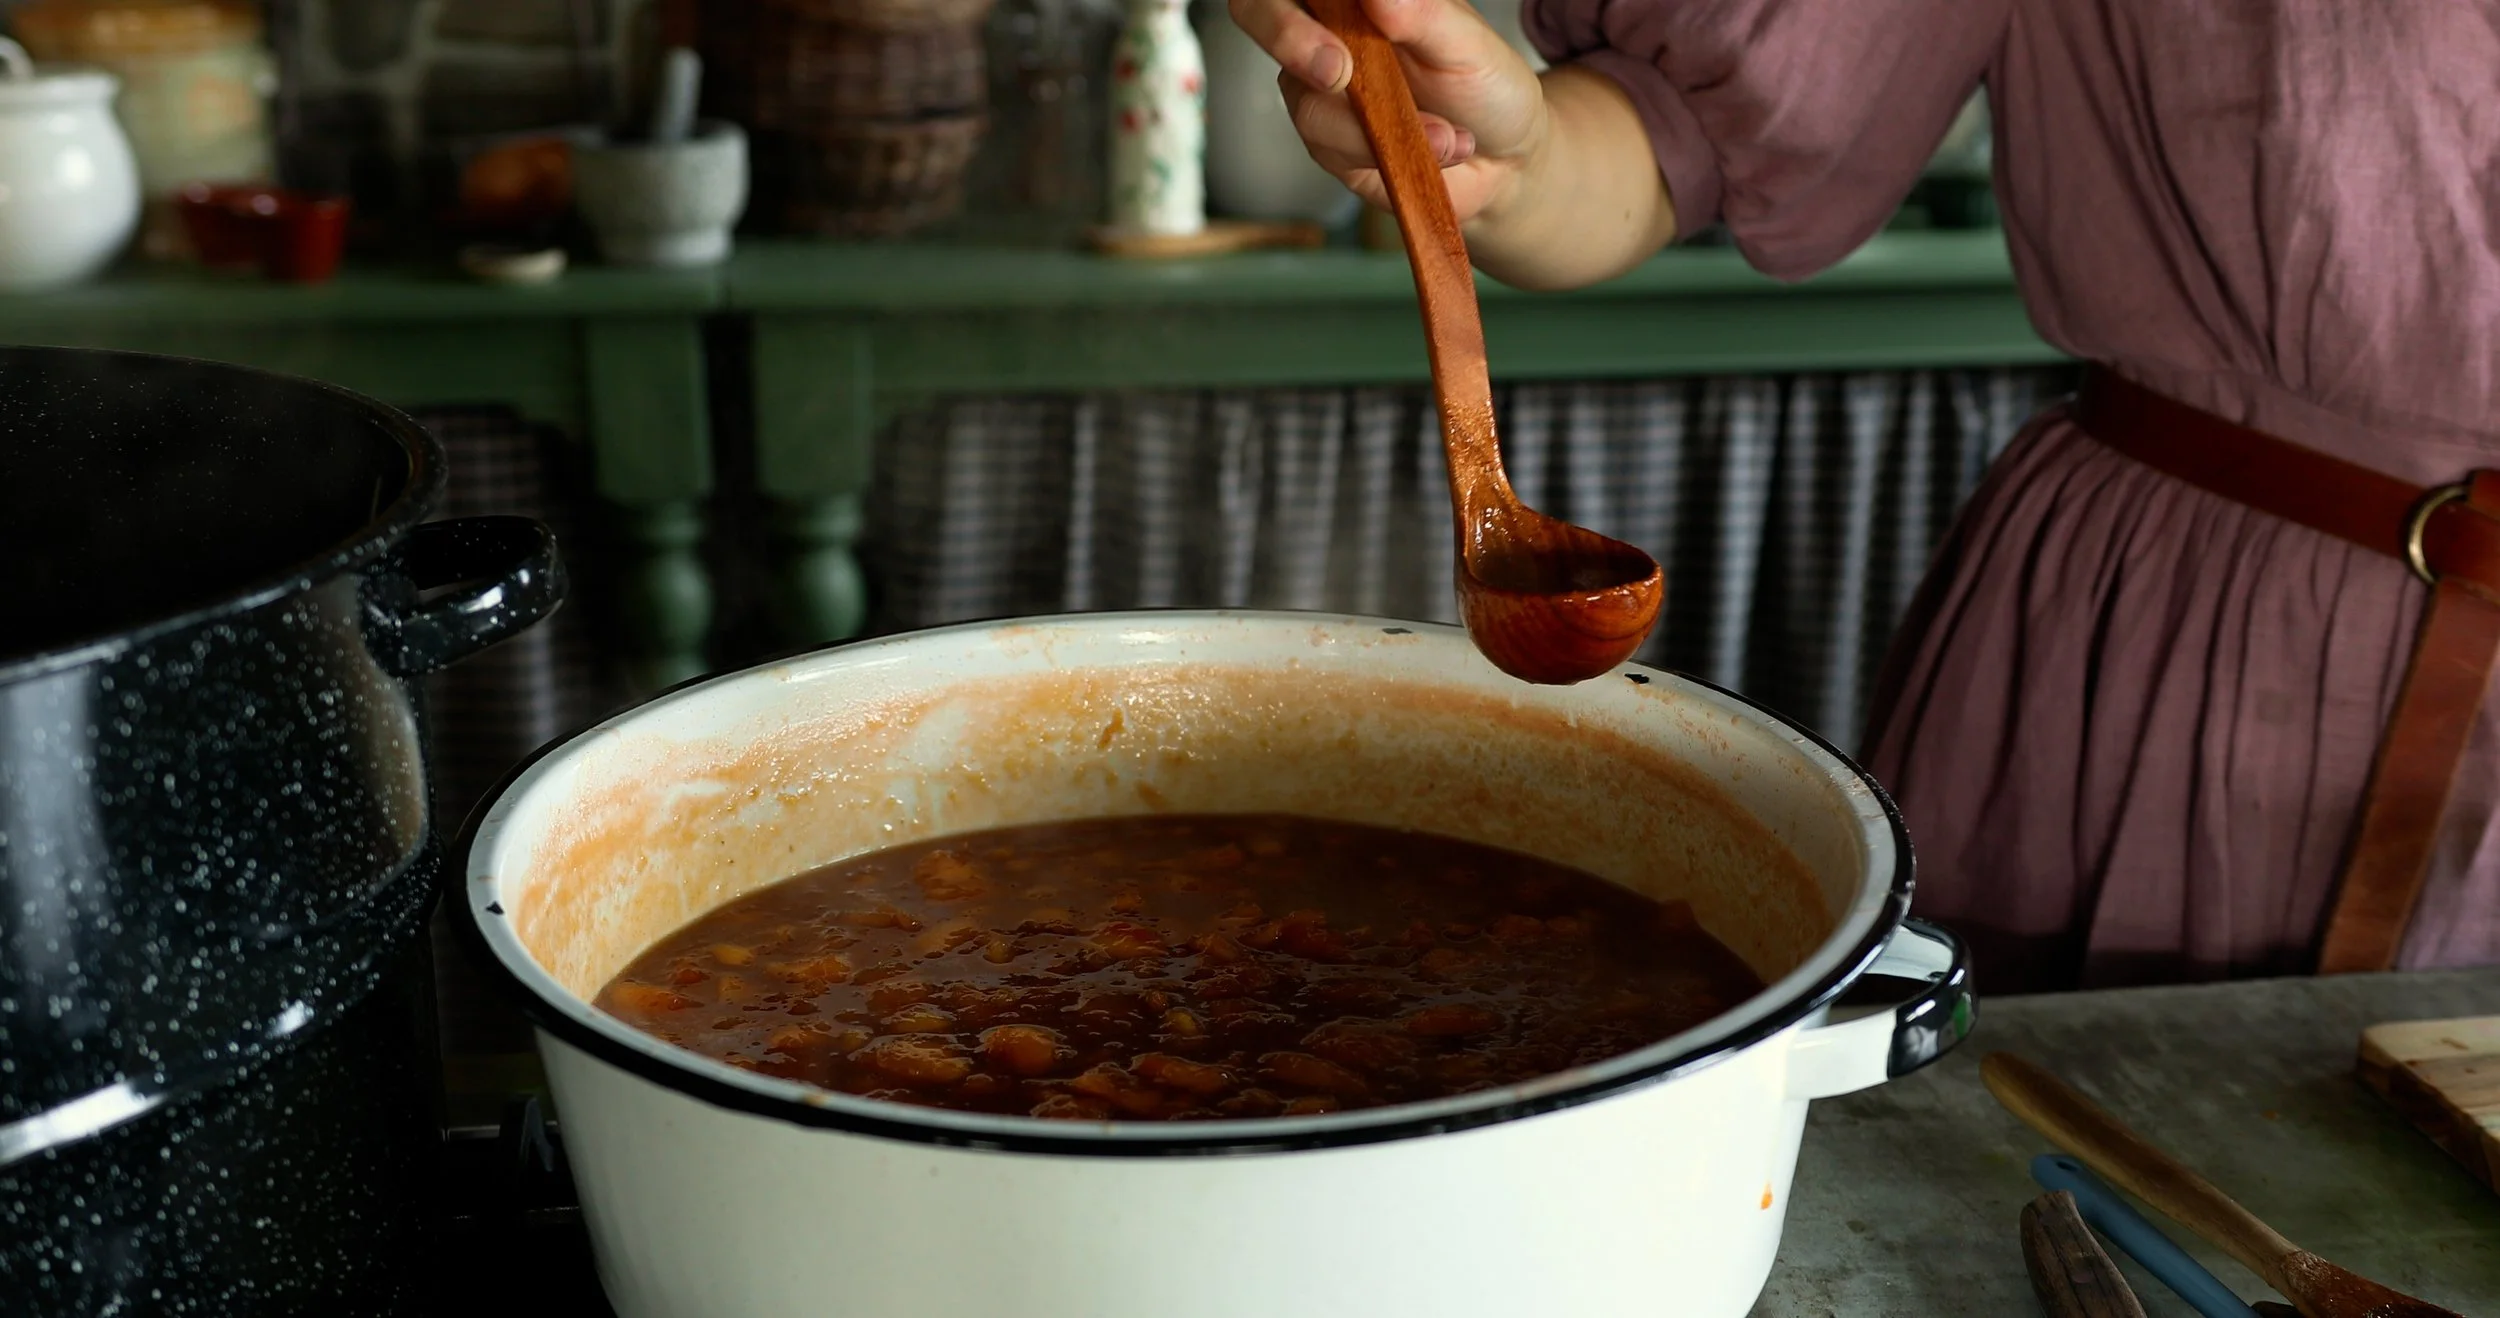
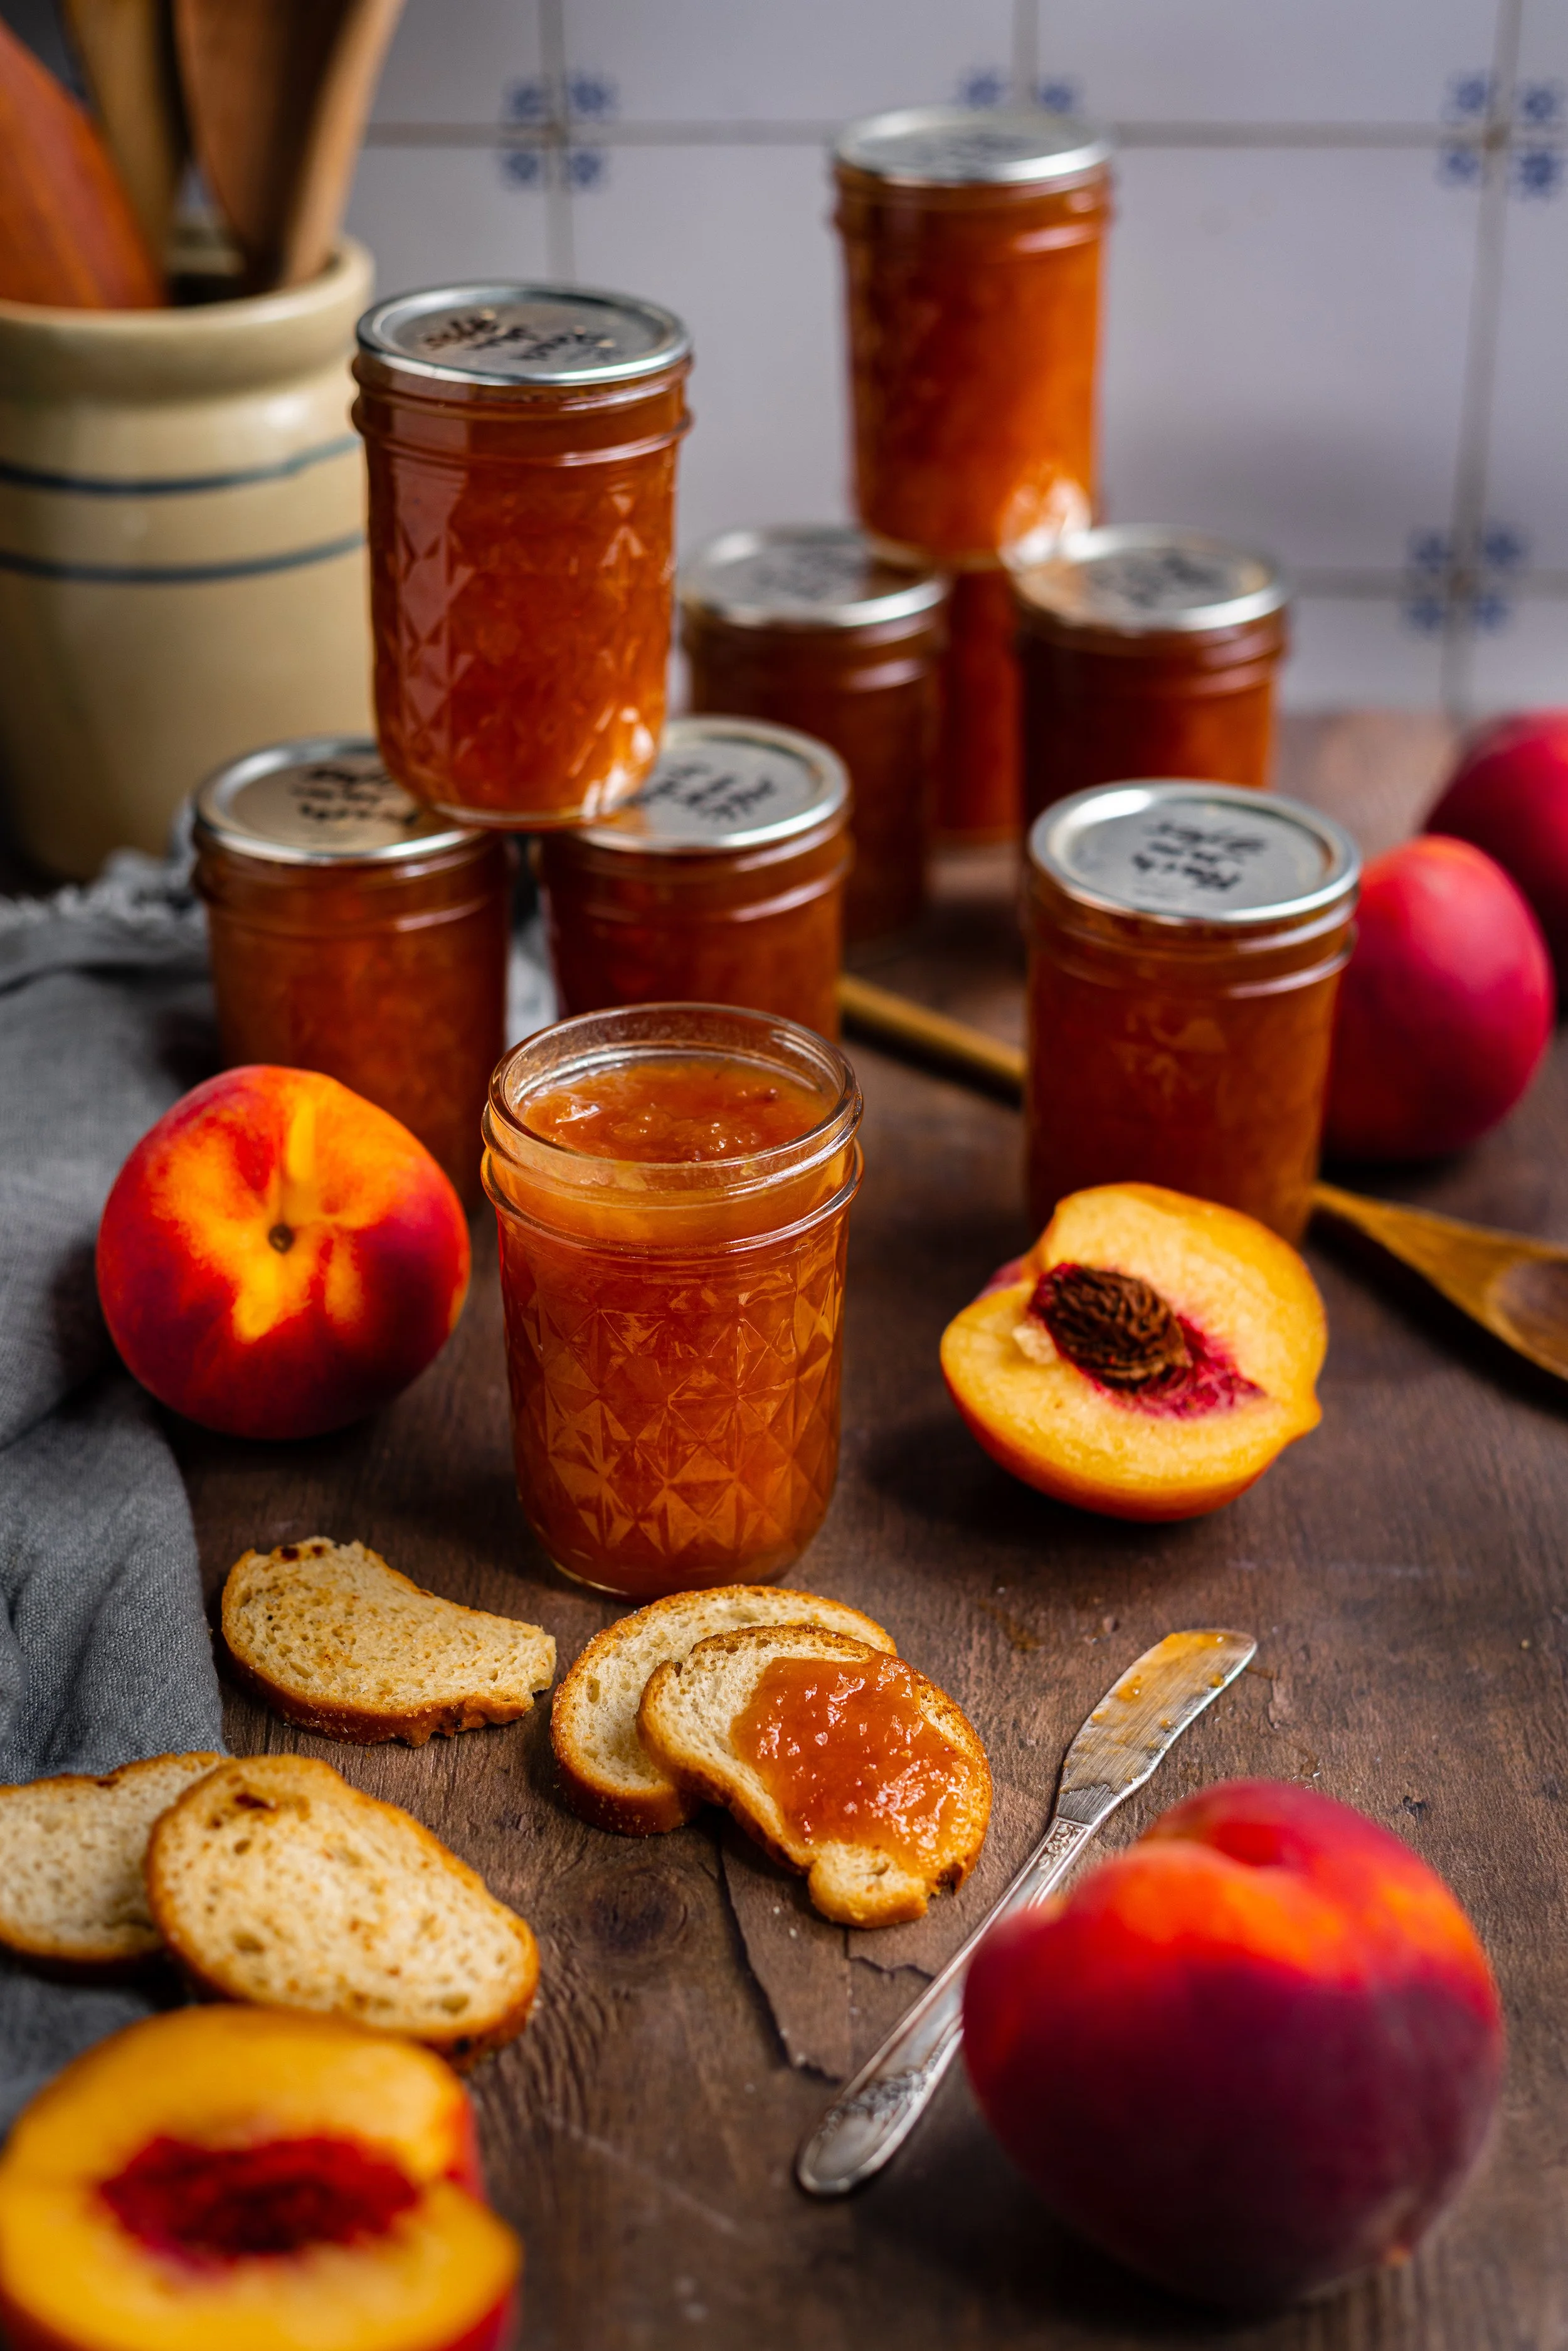
Step Five: The jam is ready once it reaches the gel stage, or about 220° F (104° C) at sea level. To check the temperature at your altitude, please refer to the USDA publications on jam making. You may also test the doneness of your jam by placing the jam on a chilled plate. If the jam gels up, it is ready. If it has liquid that runs around the outer edges, it needs to cook longer. Remove the jam from heat as soon as it hits the correct temperature. Skim off any foam and discard it.
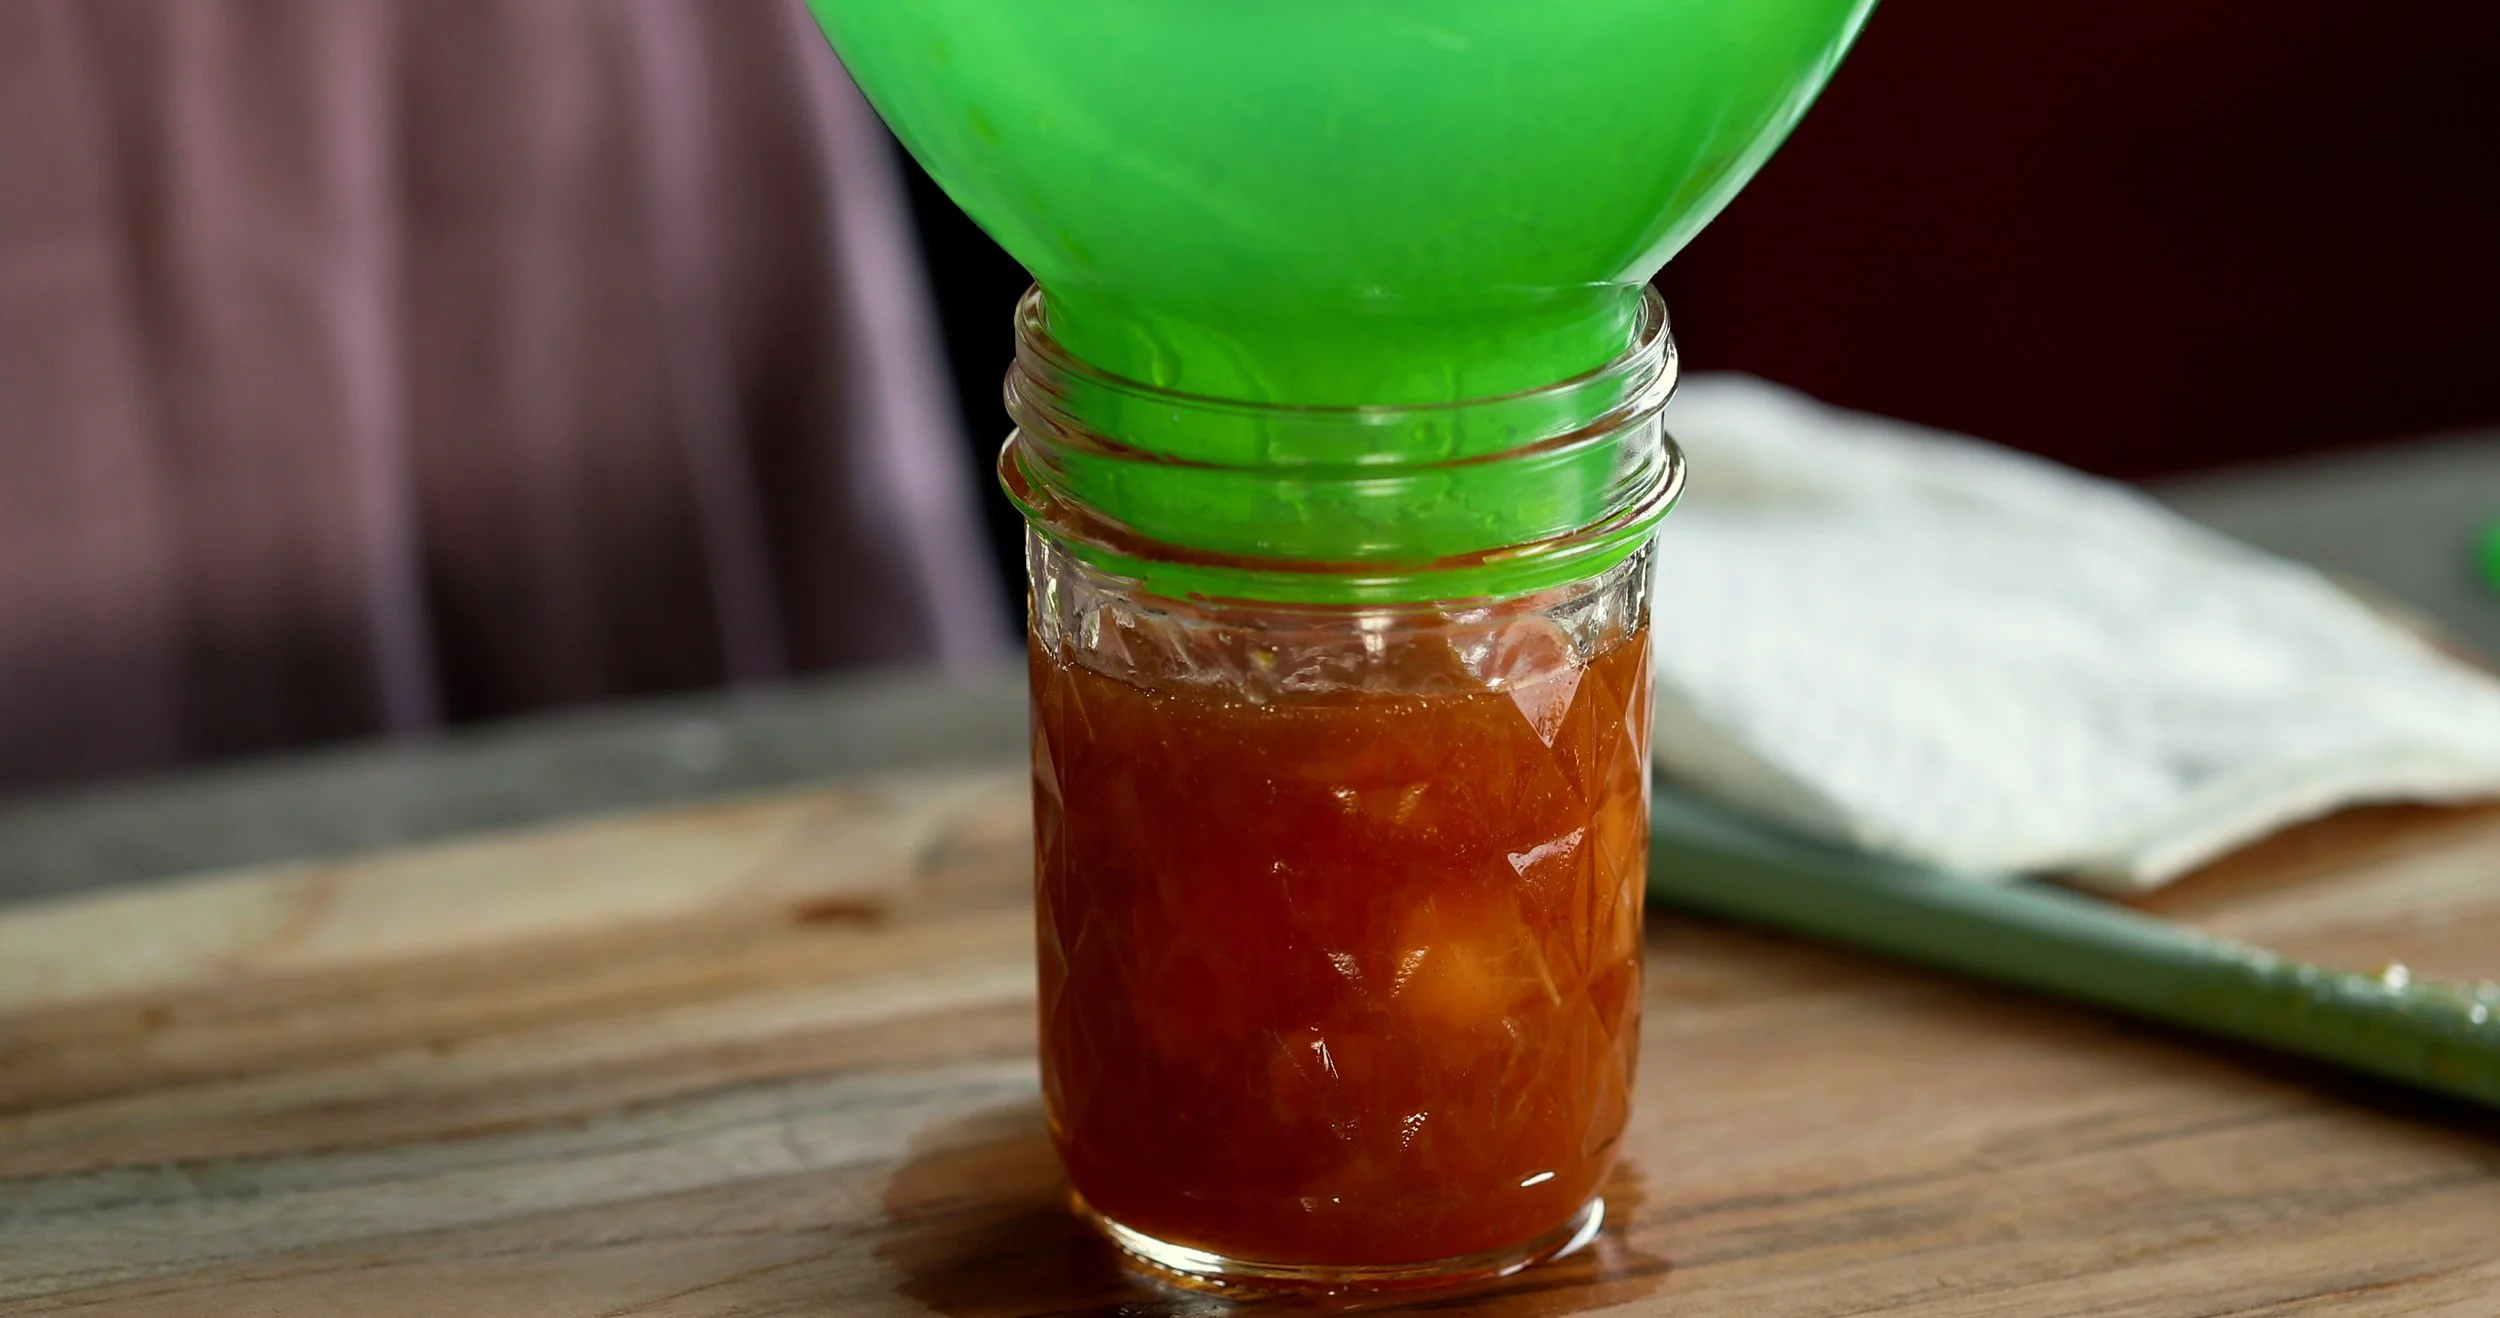
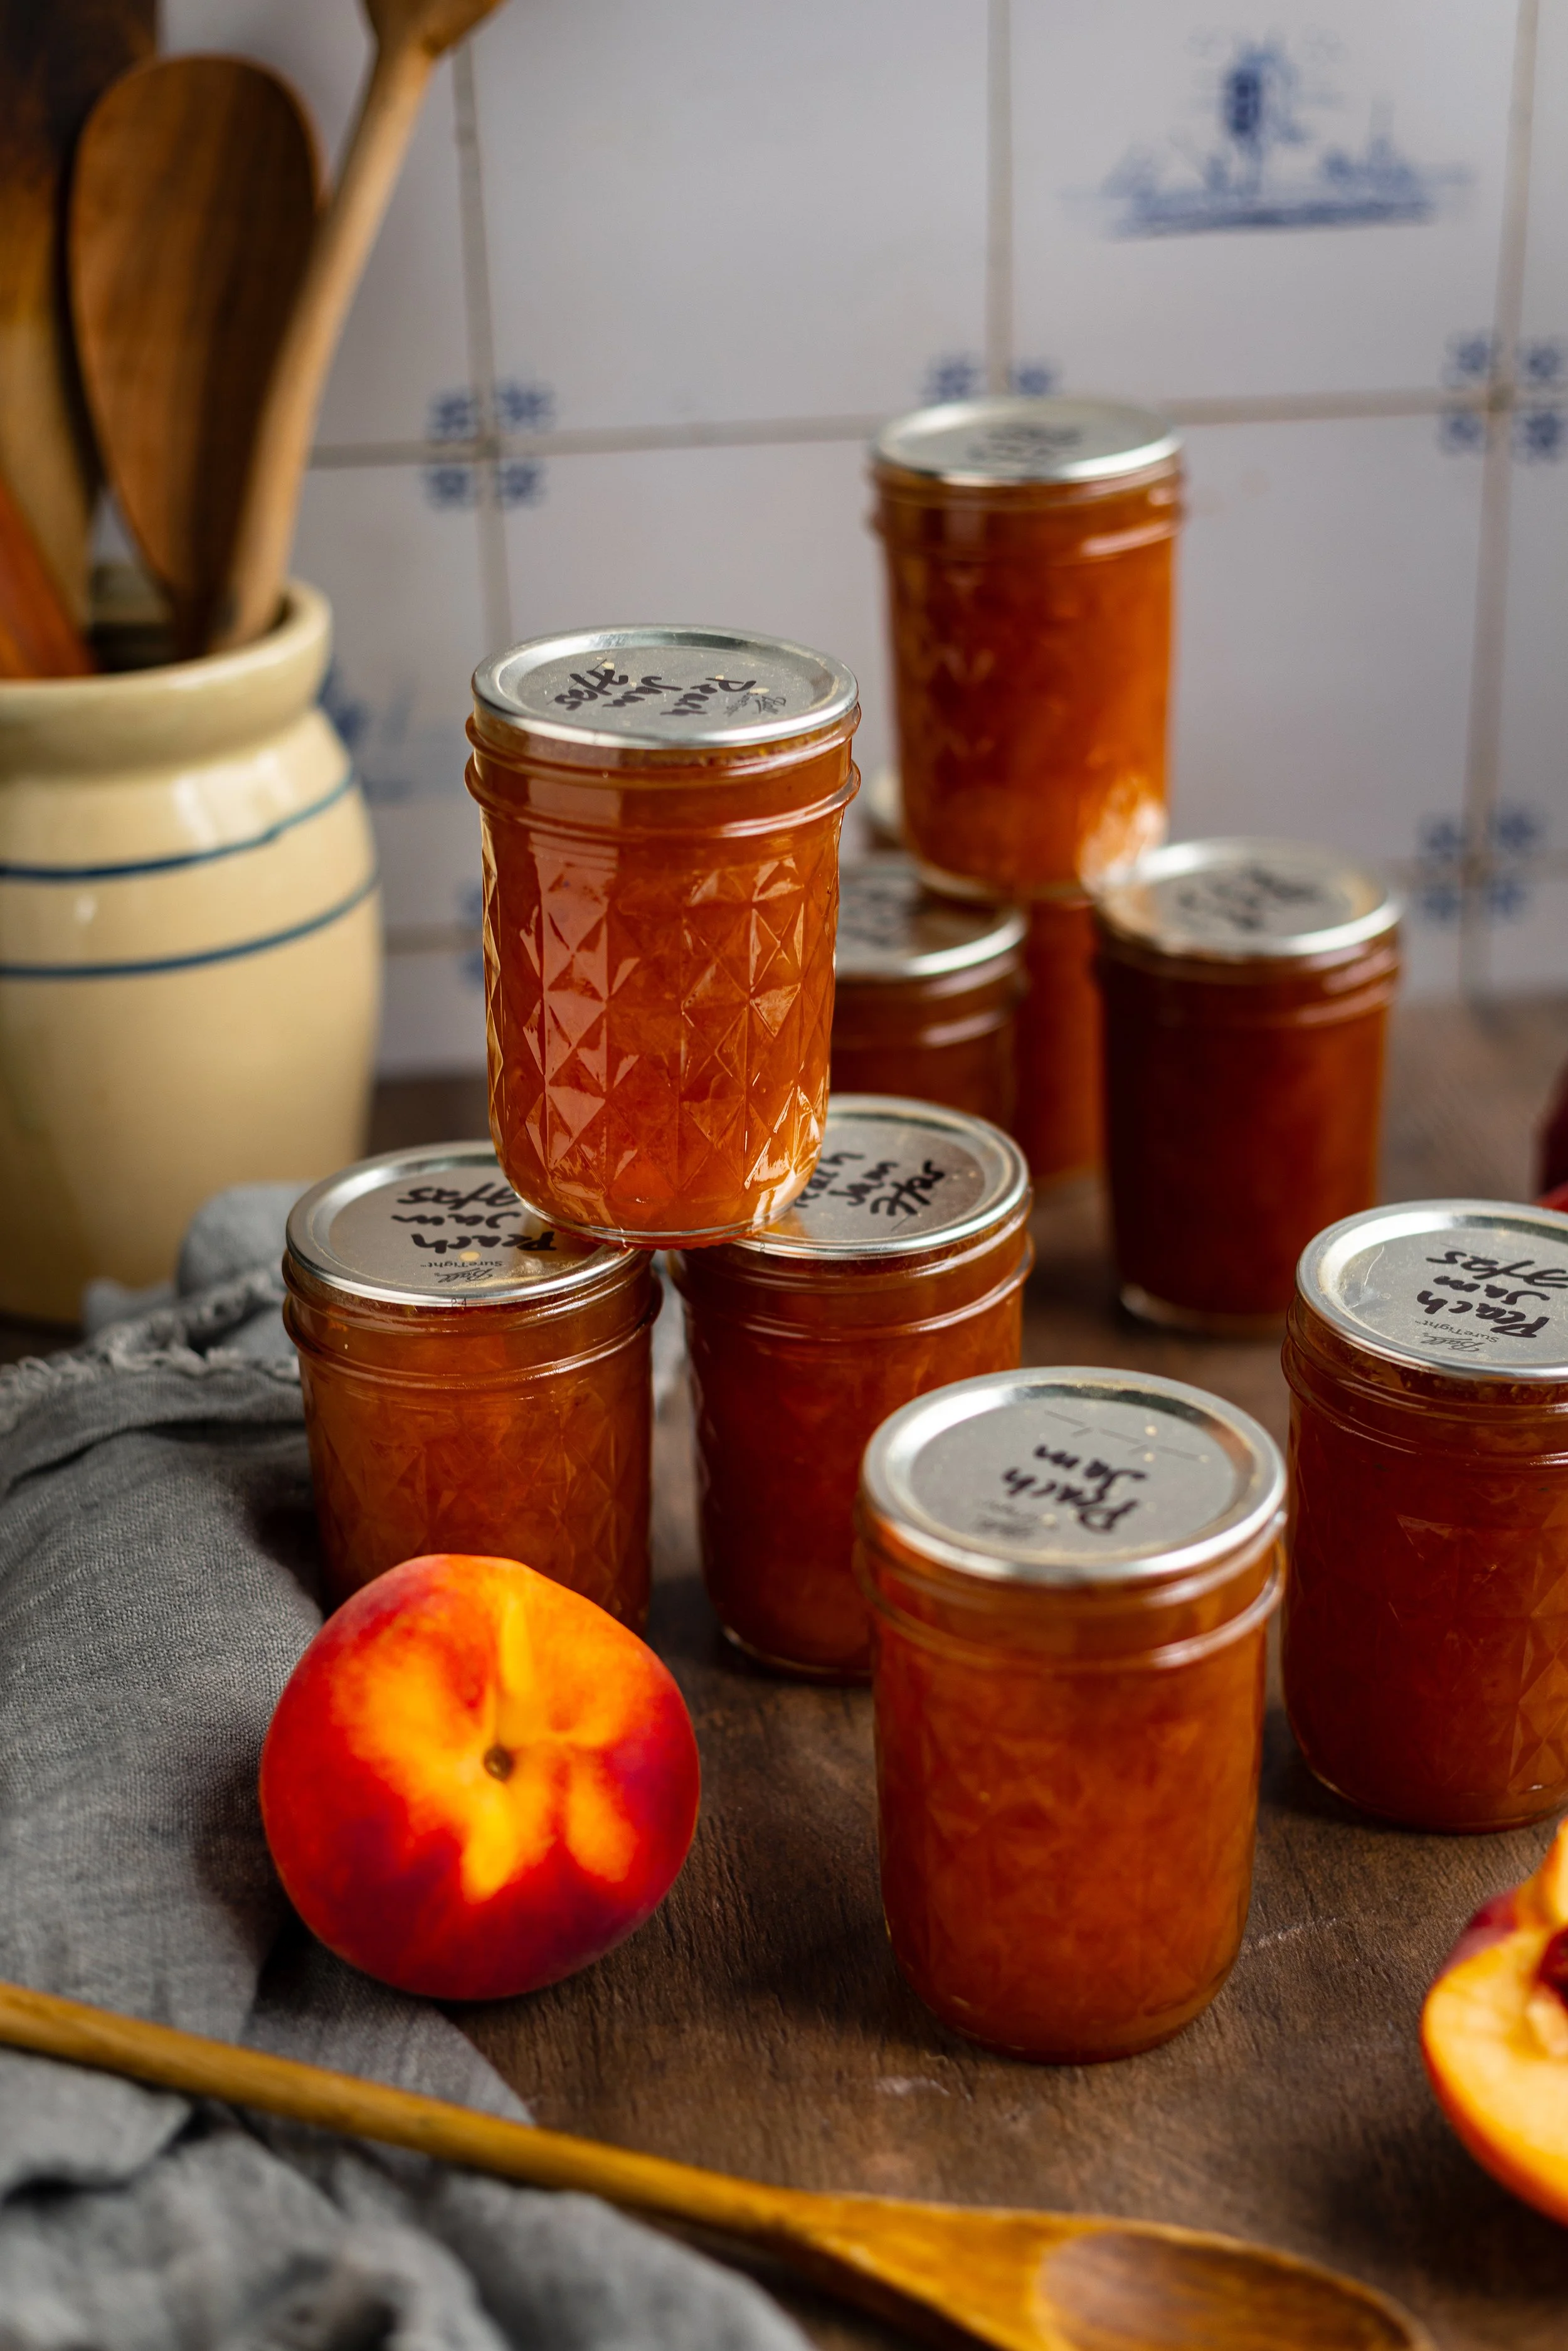
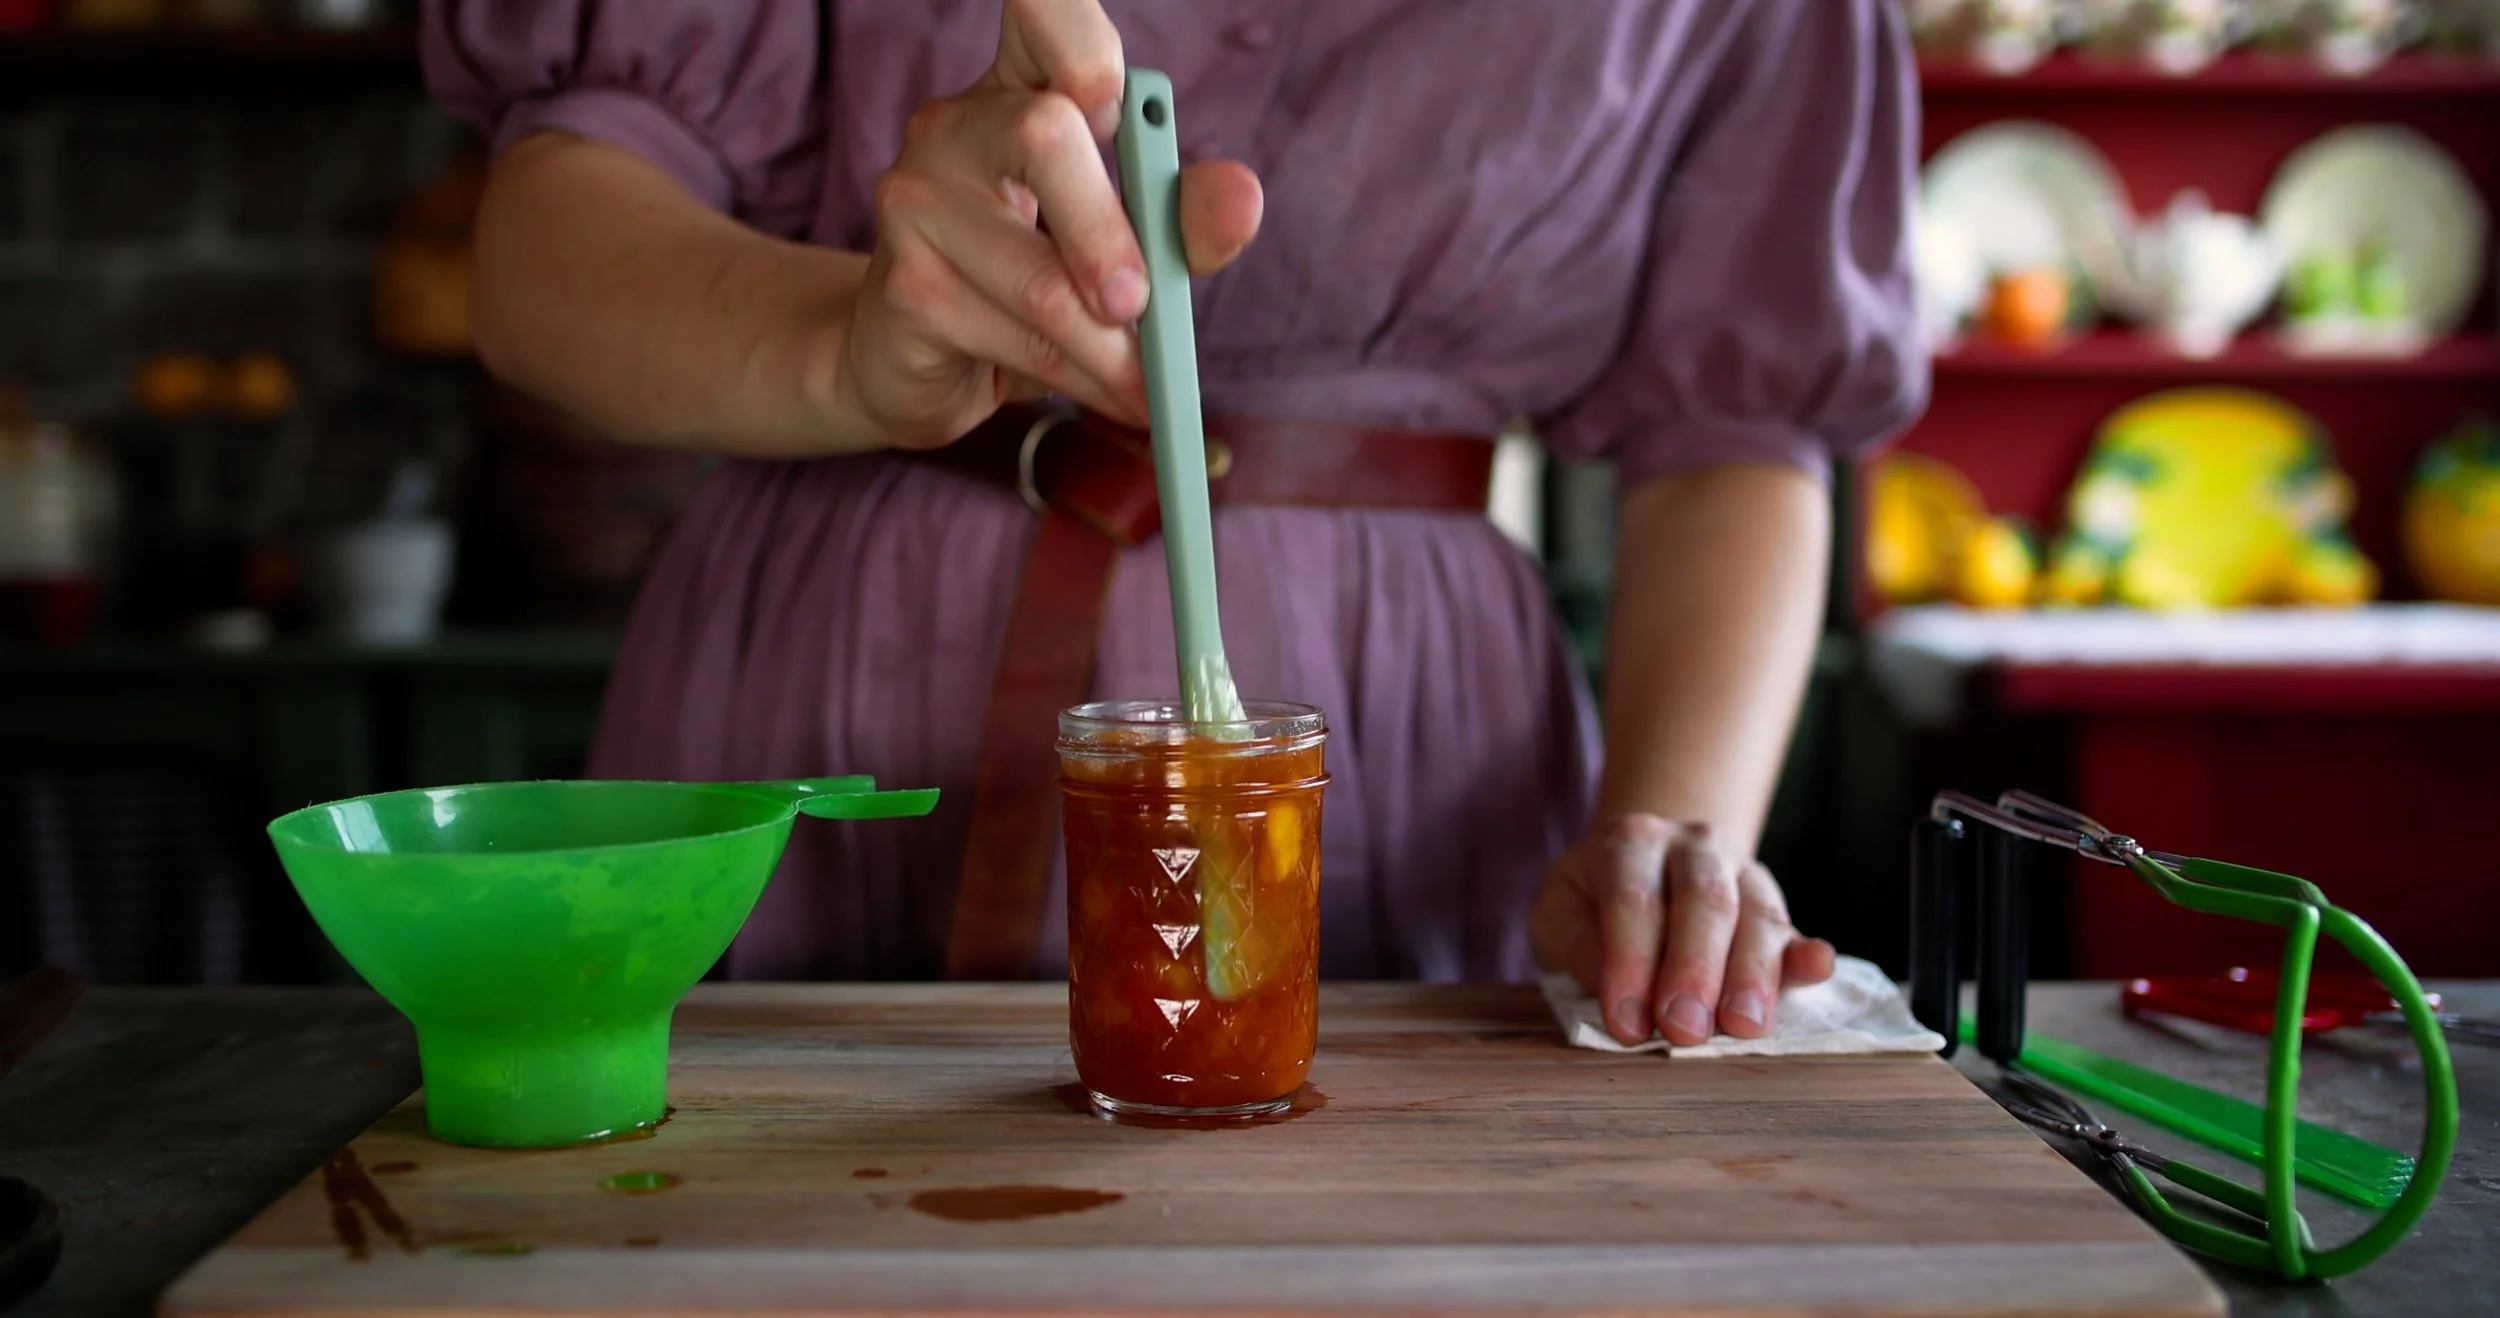
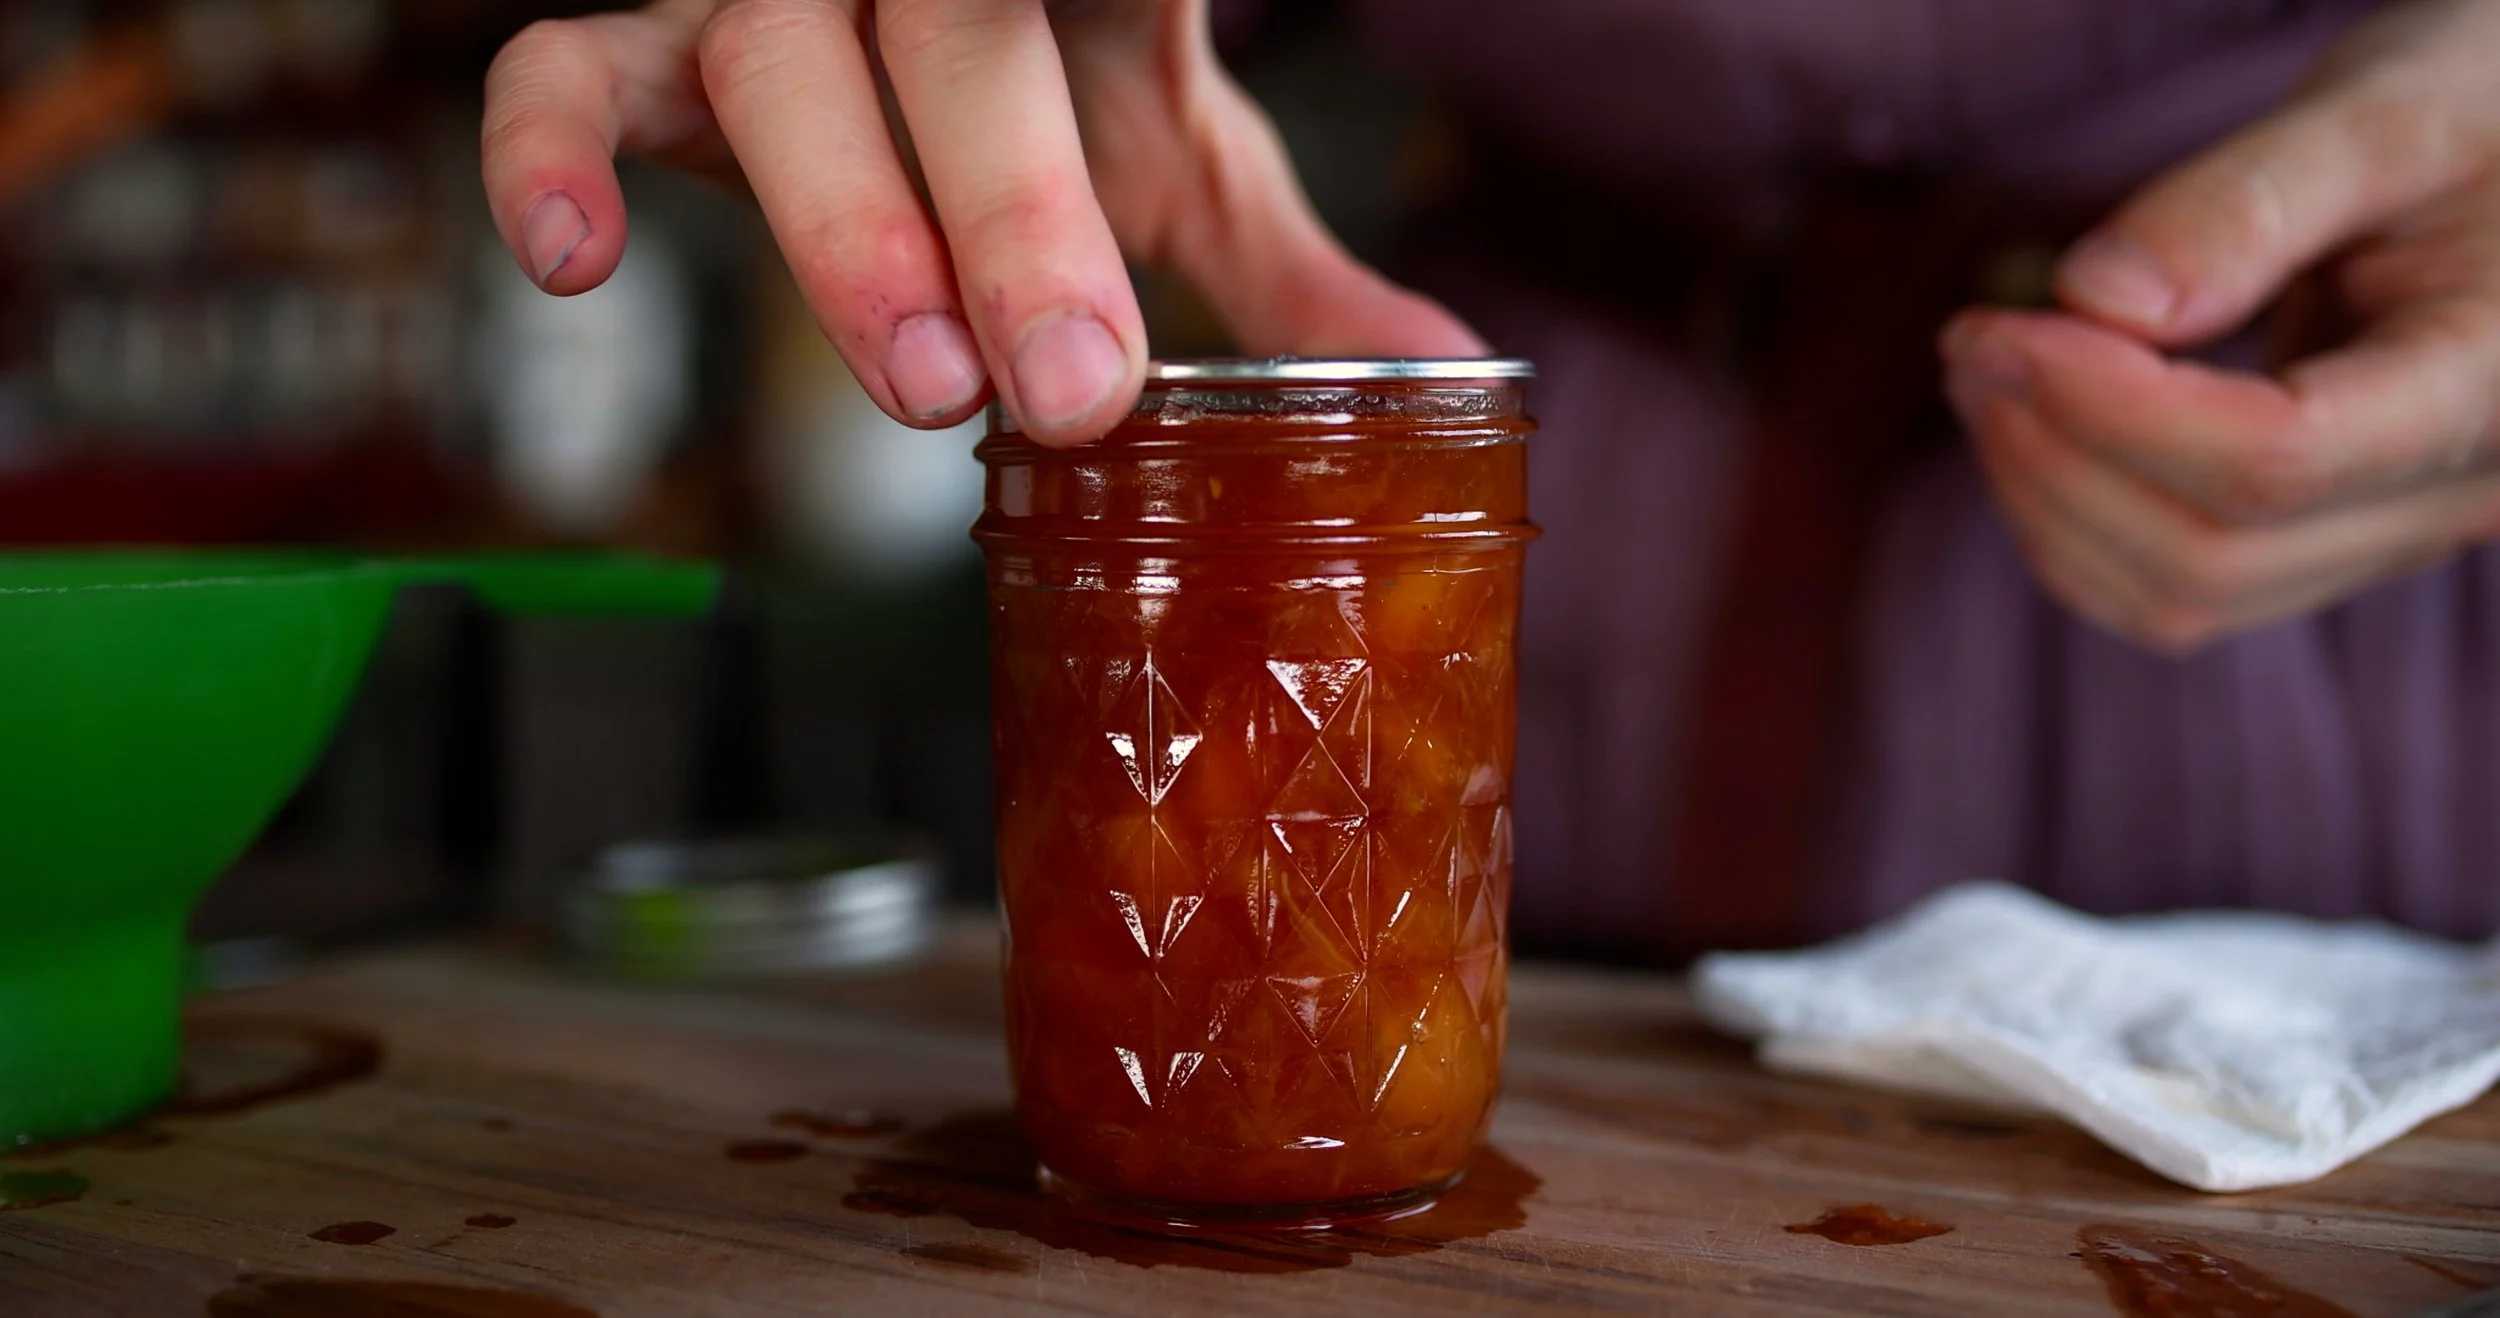
Step Six: Ladle the hot jam into a hot jar, leaving 1/4-inch (6.35 mm) headspace. Poke around to remove air bubbles, wipe the rim of the jar clean with a damp towel, apply the lid and band to fingertip tight, and place the jar back into the canner. Then, repeat the process with the remaining jars filling them one at a time.
Step Seven: Close the canner lid and bring the pot up to a boil. Process the jars for 5 minutes at 0 to 1,000 ft elevation (0 to 304 m), 10 minutes at 1,000 to 6,000 ft (304 to 1,830 m) elevation, or 15 minutes above 6,000 ft (1,830 m).
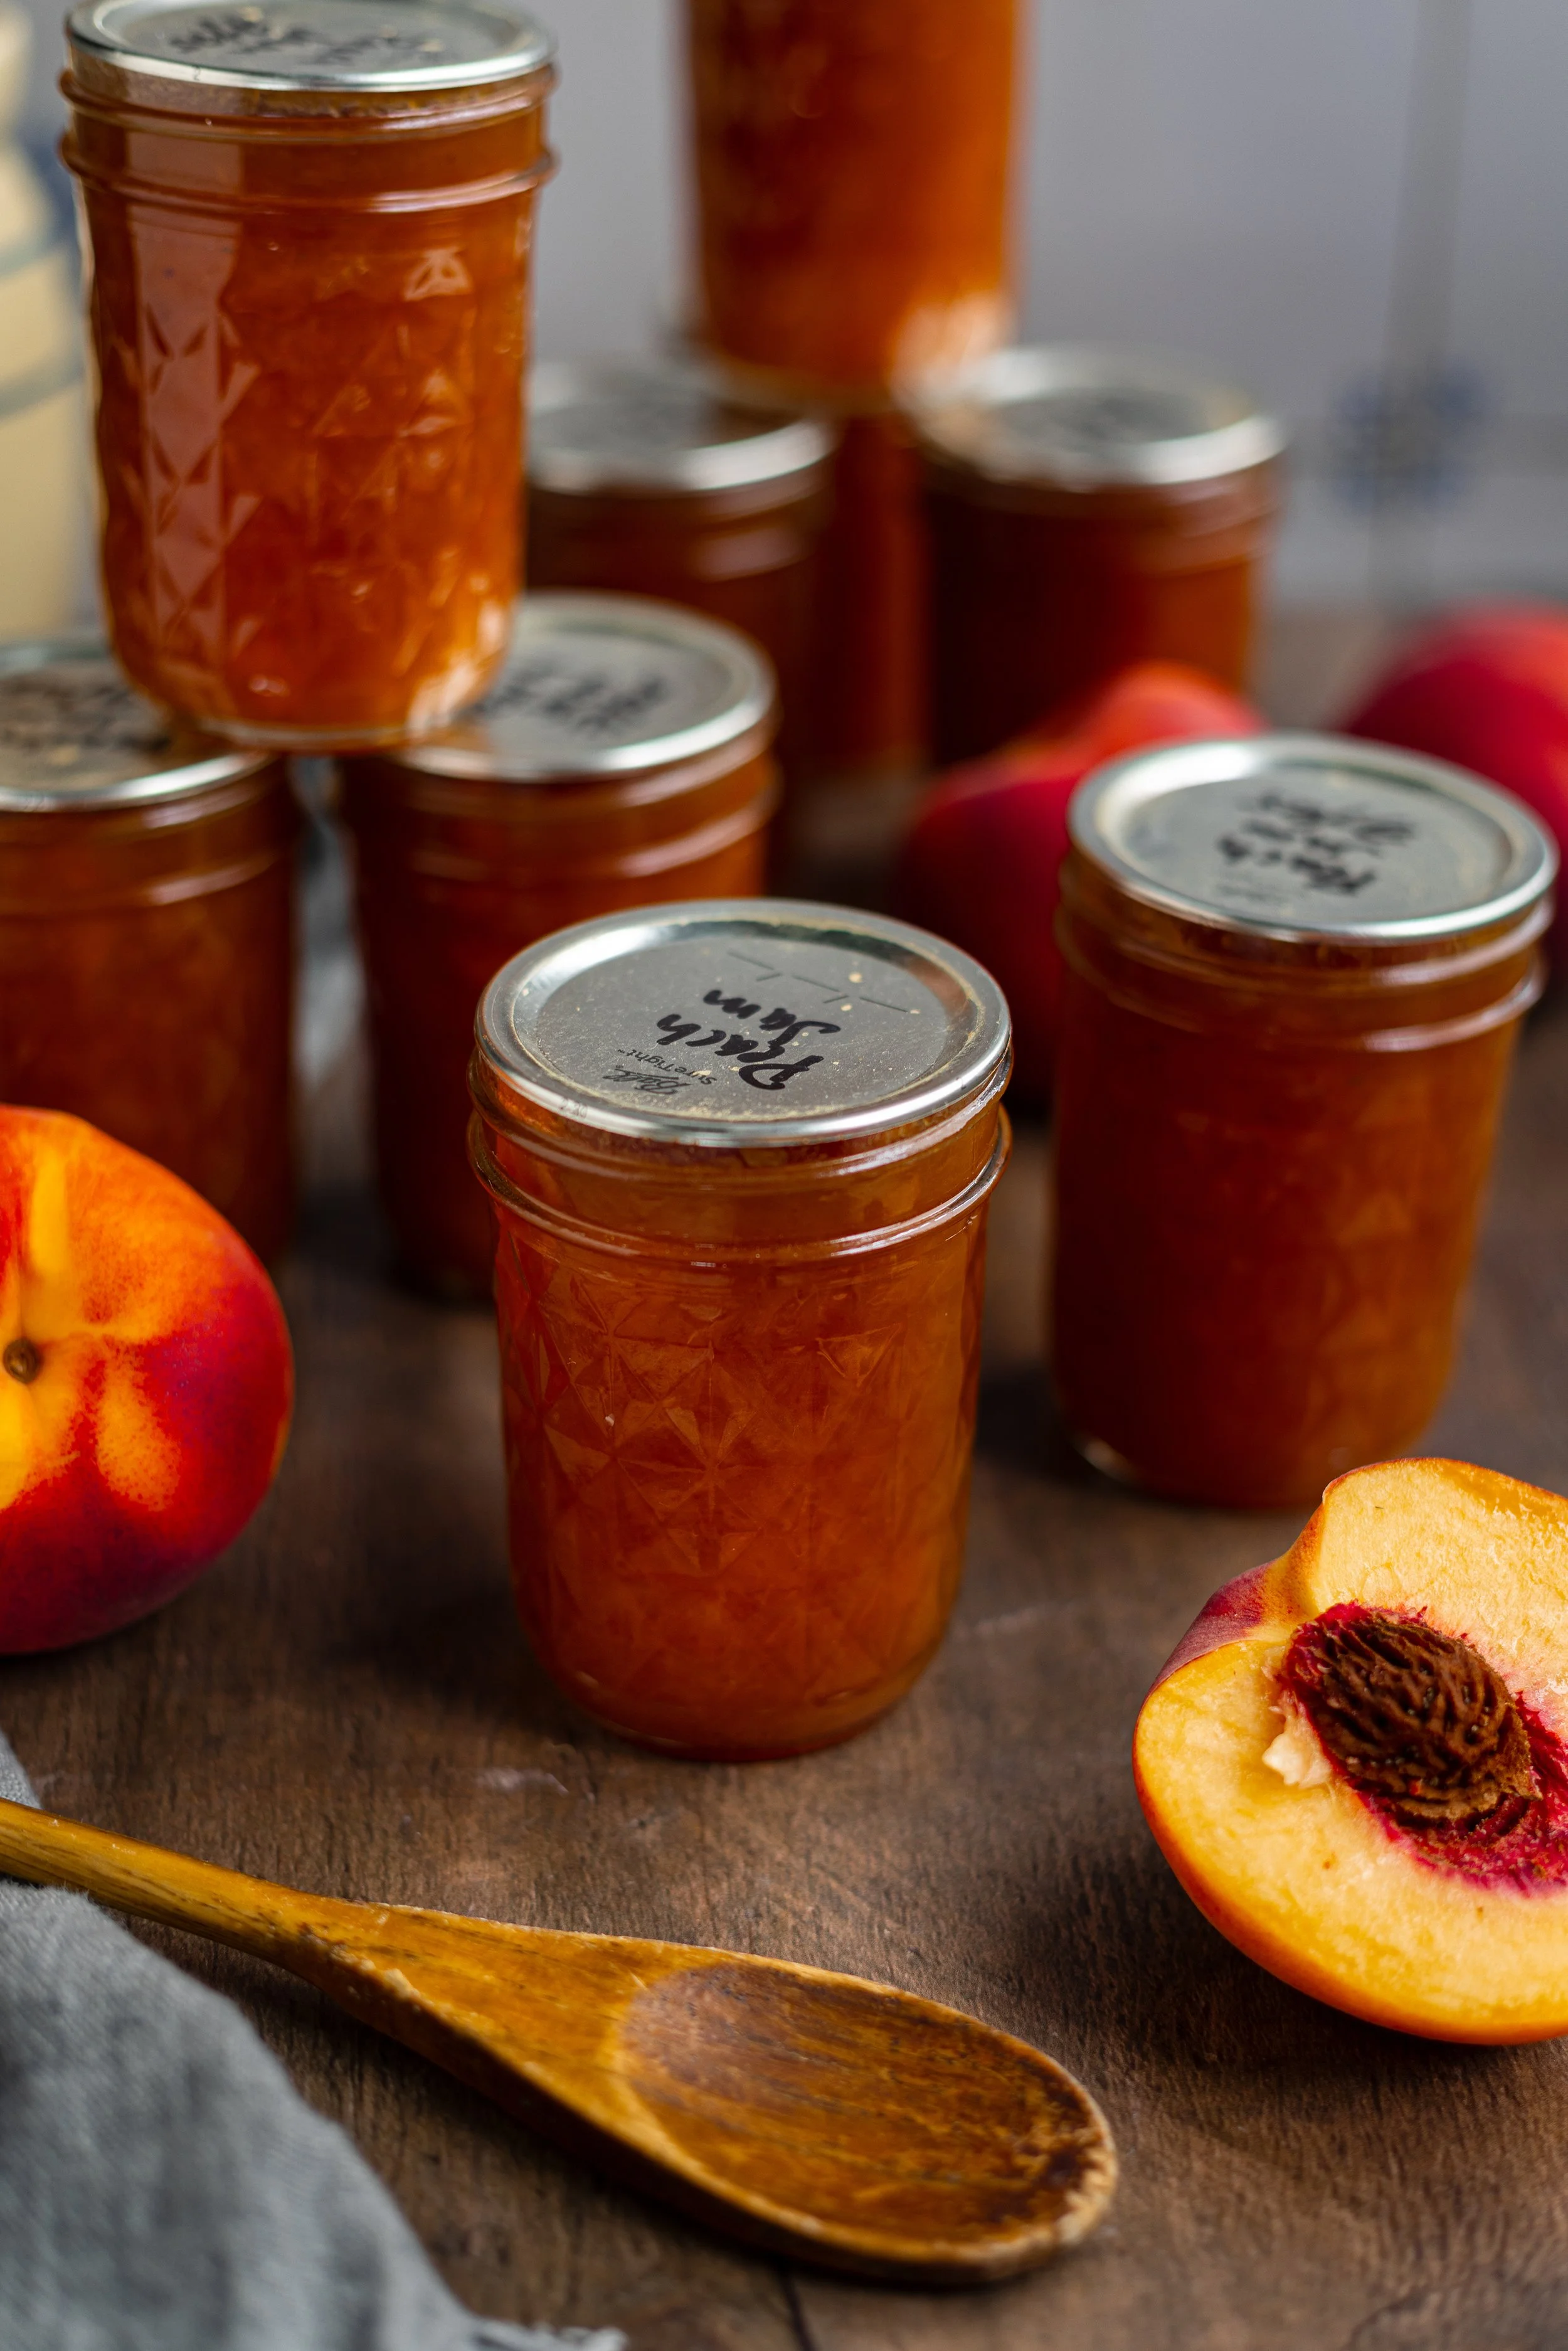
Step Eight: Turn off the heat, remove the canner lid, and let the jars sit in the water for 5 minutes. Then, move the jars to the countertop. Check the seals after 12 to 24 hours, storing the jars without the rings to prevent a false seal. These will store for 18 or more months in a dark spot like a cellar or pantry cabinet.
Alternate Preservation Methods
If you don’t wish to hot water bath can your homemade peach jam, you can make:
Refrigerator Jam: Make the jam according to the directions above. Store the finished jam in airtight containers, letting cool to room temperature before chilling. Refrigerate for up to 3 weeks.
Freezer Jam: Make the jam according to the directions above, letting cool to room temperature. Pour the cooled jam into freezer-safe containers, leaving at least 1/2-inch headspace for expansion. Freeze for up to 1 year. Thaw in the refrigerator before using.
Pro Tip: Freezer jam often has a softer set and extra-fresh flavor compared to canned jam!
Storage Instructions
Store sealed jars in a cool, dark pantry for up to 18 months or longer.
Opened jars can be kept in the fridge for 2 to 3 weeks.
Frozen jam lasts in the freezer up to 1 year and should be refrigerated once thawed.
Variations
Add a splash of vanilla extract for an extra depth of flavor after the boiling process has ended. Simply stir in the vanilla before ladling the finished jam into jars.
Make a warm spiced peach jam by adding a pinch or two of cinnamon, nutmeg, allspice, or ginger.
For a spicy kick, add a some chili peppers like jalapeños, habaneros, or Hatch chilis.
For reduced sugar jam, use a low-sugar pectin and adjust to taste.
Serving Suggestions
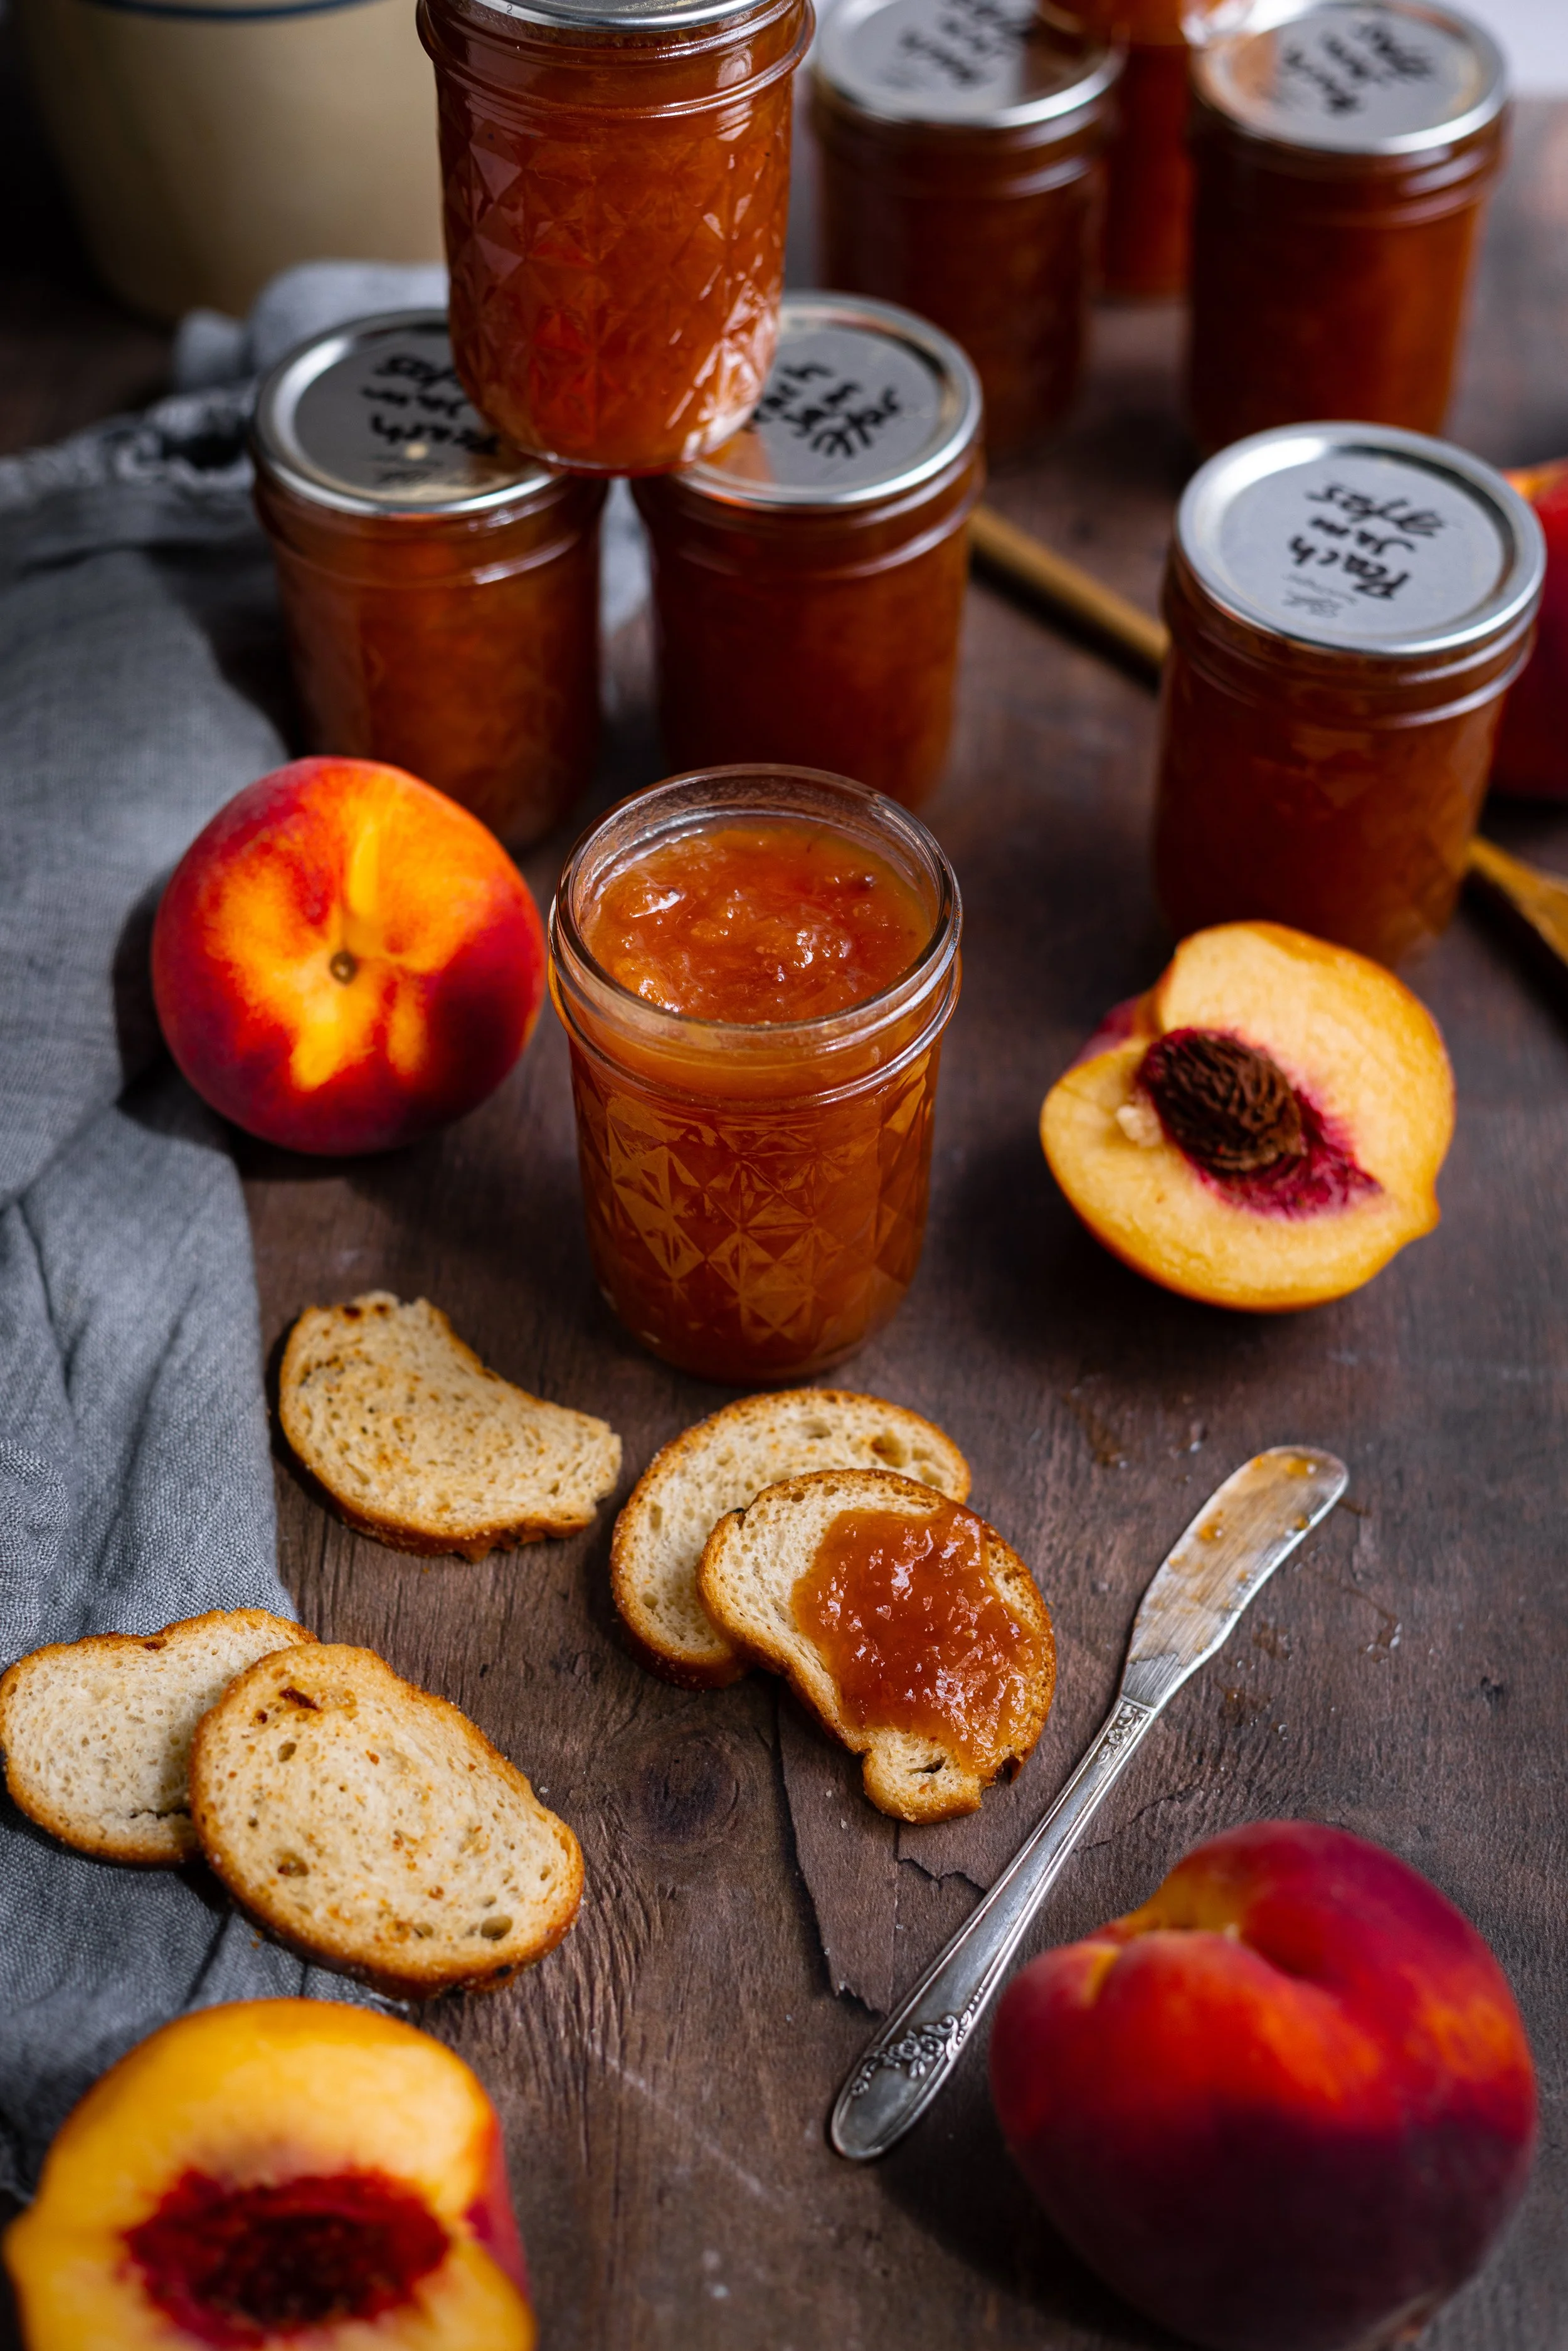
Spread your homemade peach jam over warm buttermilk biscuits, drizzle over vanilla ice cream, or use it as a glaze for cakes and pastries. Try your delicious jam with these summer recipes:
Linzer Cookies with Raspberry Jam - swap the raspberry jam for peach!
Final Thoughts
I love peach season! I cannot wait to dive into these jars of classic peach jam this winter. This simple and easy peach jam is the perfect old-fashioned canning recipe to try! Whether you are a beginner canner or have been canning for many year, this recipe is an instant classic that you will look forward to making each year. There is nothing better than cracking open a jar of peach jam and being filled with late summer memories of picking peaches with the people you love.
xoxo Kayla

Classic Peach Jam | Canning Recipe
Ingredients
- 6 pounds (2.8 kg) fresh peaches, peeled, pitted, and crushed
- 7 cups (1,400 g) granulated sugar
- 2 tbsp (30 ml) bottled lemon juice 5% acidity
- 2 tbsp (28 g) butter, optional
Instructions
- Prepare your boiling water bath canner. Sanitize your jars, lids, and rings. Gently simmer the jars in the canner until ready to fill.
- Prepare the peaches, crushing them with a potato masher until they are mostly in large hunks. This will be most easily done with very ripe peaches.
- Place all of the peaches in a large heavy-bottomed sauce pot. Place the pot over medium high heat and stir in the sugar and lemon juice. Bring the fruit to a boil and continue boiling over medium heat, stirring constantly so that the jam does not burn.
- If your jam begins to foam, and it most likely will, you may add up to 2 tablespoons (28 g) of butter to help keep the foam down. You may also choose to wait and skim the foam at the end of cooking.
- The jam is ready once it reaches the jam stage or about 220° F (104° C) at sea level. To check the temperature at your altitude, please refer to the USDA publications on jam making. You may also test the doneness of your jam by placing the jam on a chilled plate. If the jam gels up, it is ready. If it has liquid that runs around the outer edges, it needs to cook longer. Remove the jam from heat as soon as it hits the correct temperature. Skim off any foam and discard it.
- Ladle the hot jam into a hot jar, leaving 1/4-inch (6.35 mm) headspace. Poke around to remove air bubbles, wipe the rim of the jar clean with a damp towel, apply the lid and band to fingertip tight, and place the jar back into the canner. Then, repeat the process with the remaining jars filling them one at a time.
- Close the canner lid and bring the pot up to a boil. Process the jars for 5 minutes at 0 to 1,000 ft elevation (0 to 304 m), 10 minutes at 1,000 to 6,000 ft (304 to 1,830 m) elevation, or 15 minutes above 6,000 ft (1,830 m).
- Turn off the heat, remove the canner lid, and let the jars sit in the water for 5 minutes. Then, move the jars to the countertop. Check the seals after 12 to 24 hours, storing the jars without the rings to prevent a false seal. These will store for 18 or more months in a dark spot like a cellar or pantry cabinet.
Nutrition Facts
Calories
969Nutritional information is only an estimate. The accuracy of the nutritional information for any recipe on this site is not guaranteed.