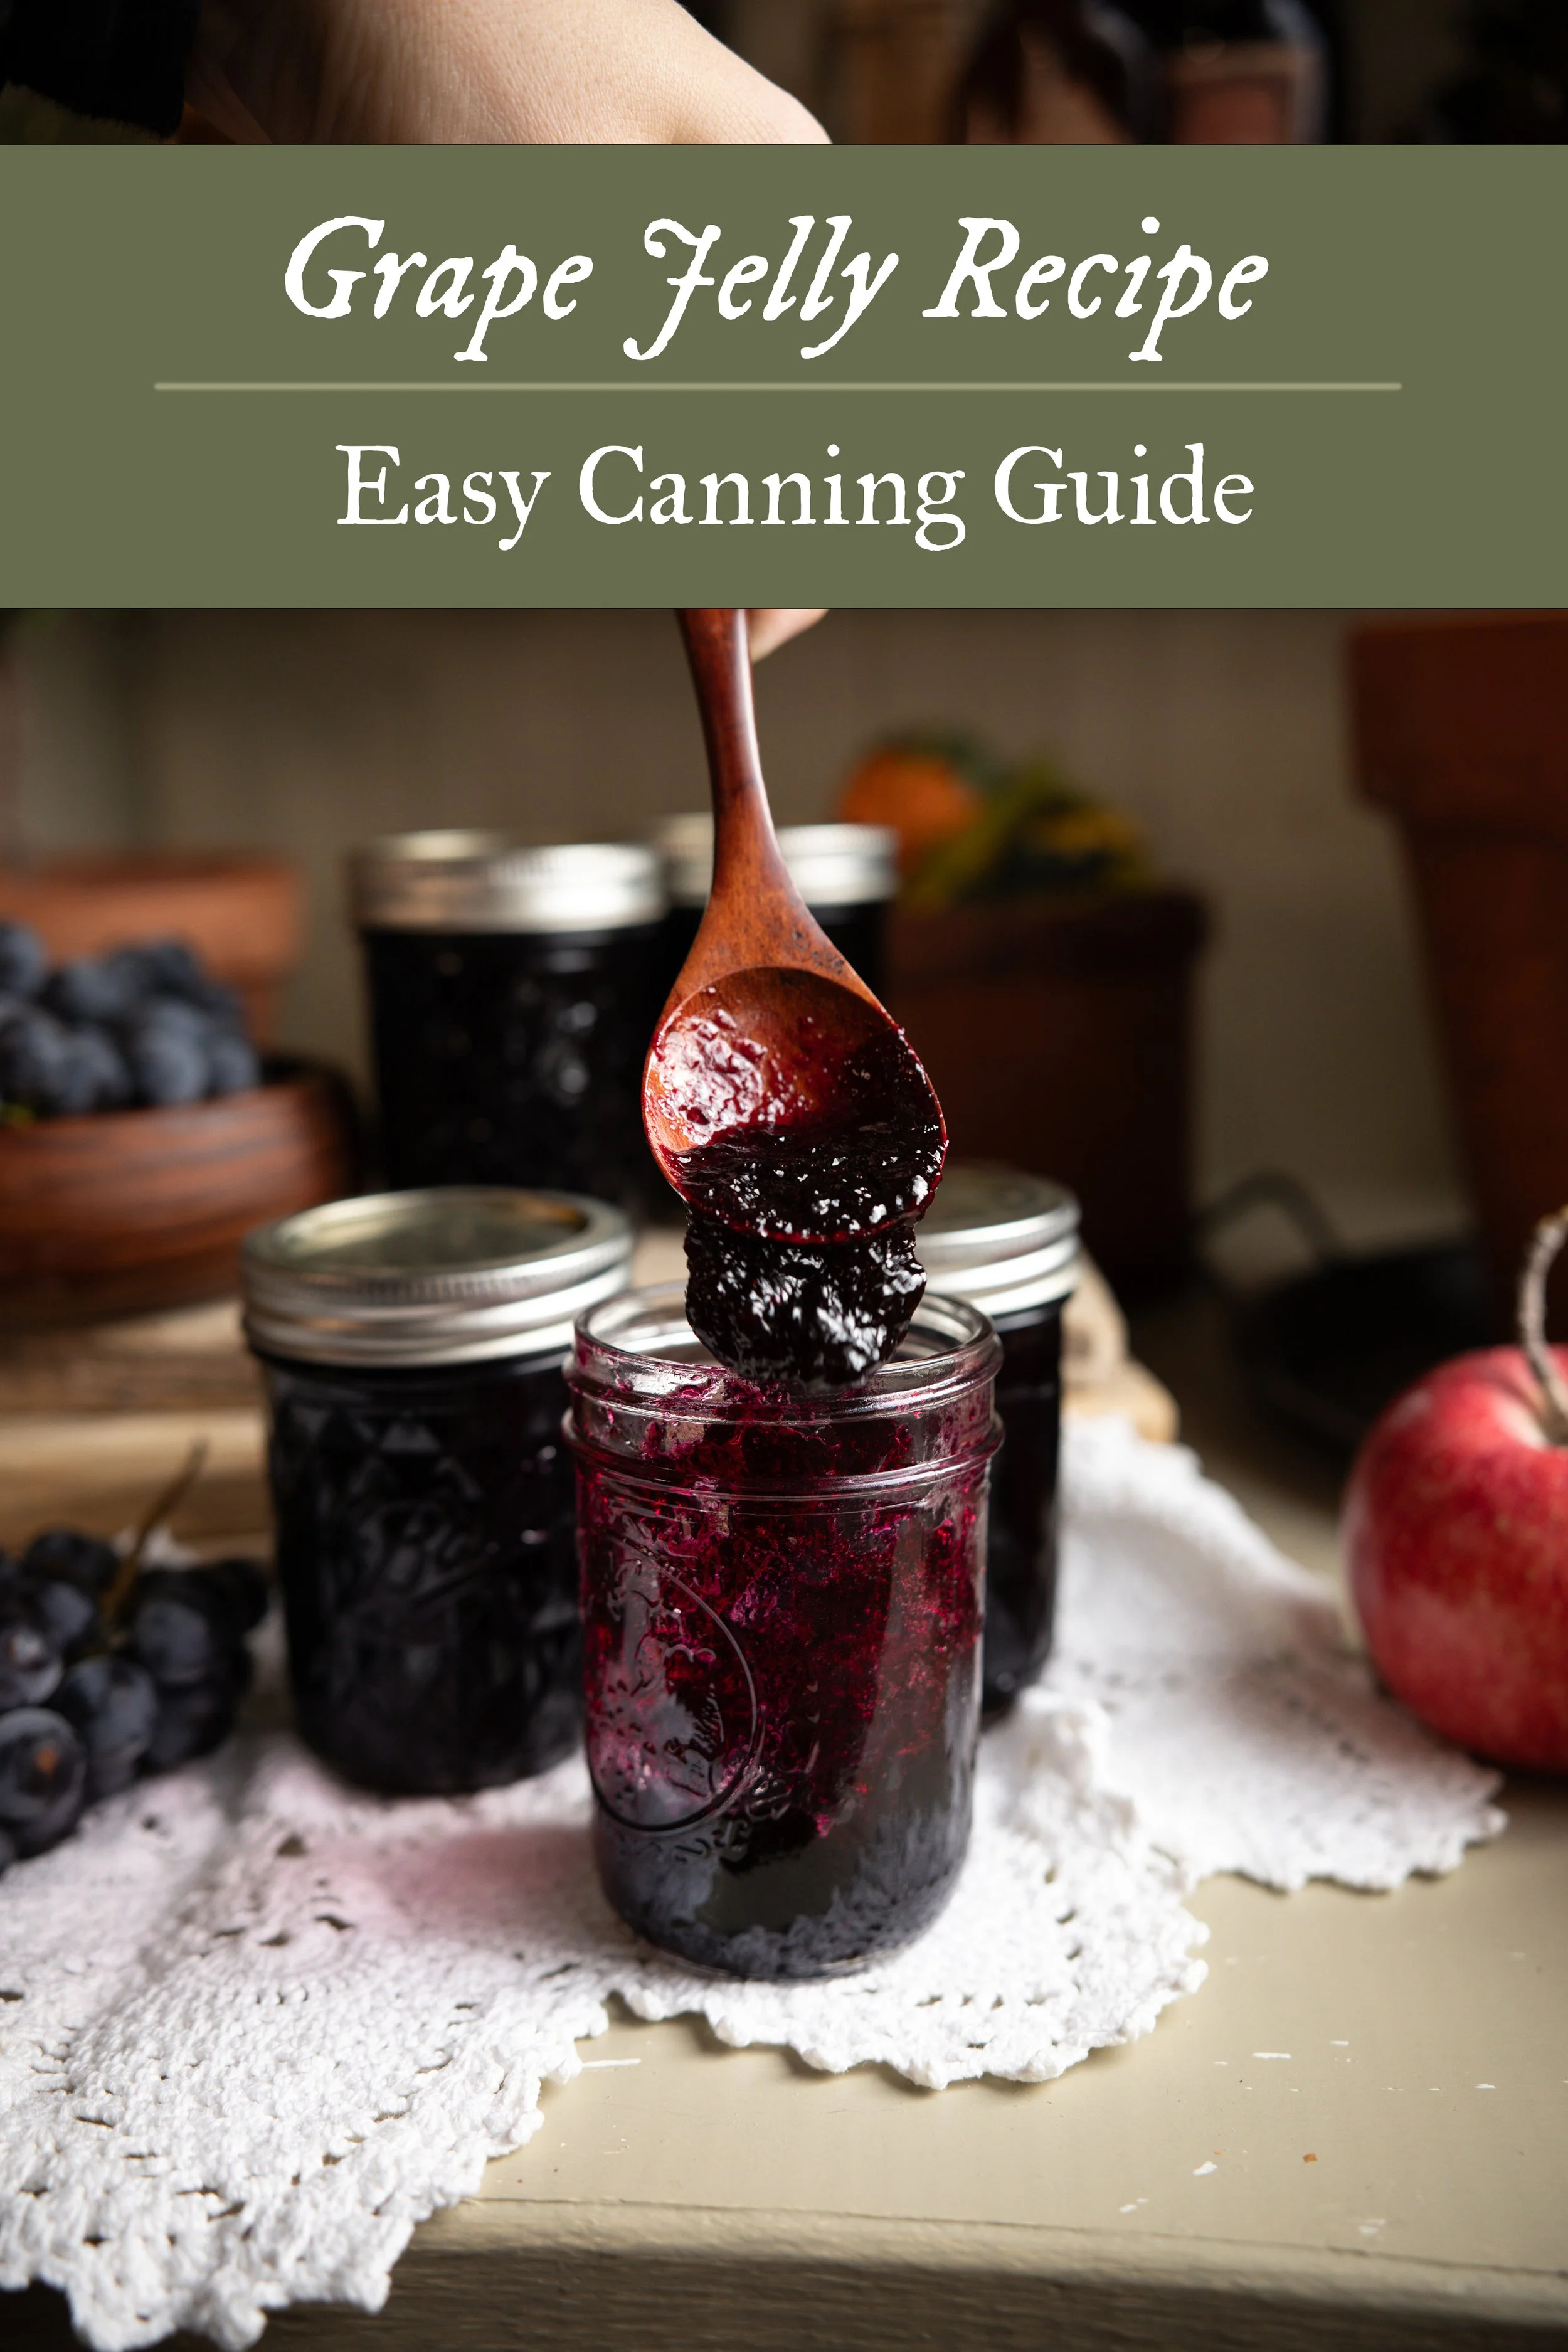
Grape Jelly: Canning Recipe & Guide
The sweet symphony of summer's bounty is something truly magical. As the warm sun kisses the earth, gardens burst with life, and orchards overflow with fruits ripe for the picking. Among the vibrant spectrum of nature's offerings, one of the most cherished gems has to be grapes. There's something enchanting about plucking those clusters of juicy, sun-ripened grapes, each a tiny orb of pure sweetness. If you're fortunate enough to have an abundance of grapes, whether from your own garden or a local farm, you're in for a treat. Today, we're embarking on a culinary adventure steeped in tradition – the art of canning grape jelly. This is a journey that connects us with generations past and allows us to capture the essence of summer's finest moments, one jar at a time.

tips for making jelly:
Use a Thermometer. There are several old-fashioned ways to check if a jam or jelly is finished and will set up, but by far the easiest way is to use a thermometer. Jelly is finished at 220° F (at sea level). For each 1,000 feet of altitude above sea level, subtract 2 degrees F. Checking the temperature will ensure that your jelly will set up no matter what.
Only Use Fresh, Ripe Fruit. The ripeness and freshness of your fruit will effect your final product. If the fruit has gone soft or has damage, it can spoil your final product.
Prepare a Spoon and Small Plate. If you do not have a thermometer, you can check the doneness of your jelly with a chilled spoon and plate. If the jelly comes off of the spoon in a sheet, it is ready. If you place a spoonful of the jelly on the chilled plate, and the edges are wrinkly and crinkly, then it is ready.
TIPS FOR CANNING JAMS & jellies:
Canning jam is quite simple and one of the easiest recipes that you can make for a beginner canner! Because fruit jam is a high-acid food, it can be processed in a hot water bath canner. You can find my full instructions for using a hot water bath canner in this post.
To begin, you will want to prepare your jars, lids, and bands. Wash and sanitize everything, then place them into the canner covered with simmering water. Make your jam recipe according to the instructions. Then, fill one hot jar at a time to the correct headspace, remove air bubbles in the jam, wipe the rim of the jar, and apply the lid and band.
This jam processes for 10 minutes at altitudes of 1,001 - 6,000 feet.


final thoughts:
In a world that often moves too quickly, canning grape jelly offers a return to the simplicity and authenticity of handmade, homemade treasures. With each jar, we encapsulate the flavors of summer, preserve the traditions of our ancestors, and create a sweet legacy for the future. The process itself, slow and deliberate, becomes a form of meditation, a moment to savor. So as you savor the fruits of your labor in the midst of winter or share a jar with a loved one, remember the connection you've forged with the past, and the gift you're passing forward. Canning grape jelly is more than a culinary endeavor; it's a timeless journey that lets us savor the beauty of life's sweetest moments.
xoxo Kayla
Grape Jelly: Canning Recipe & Guide

Ingredients
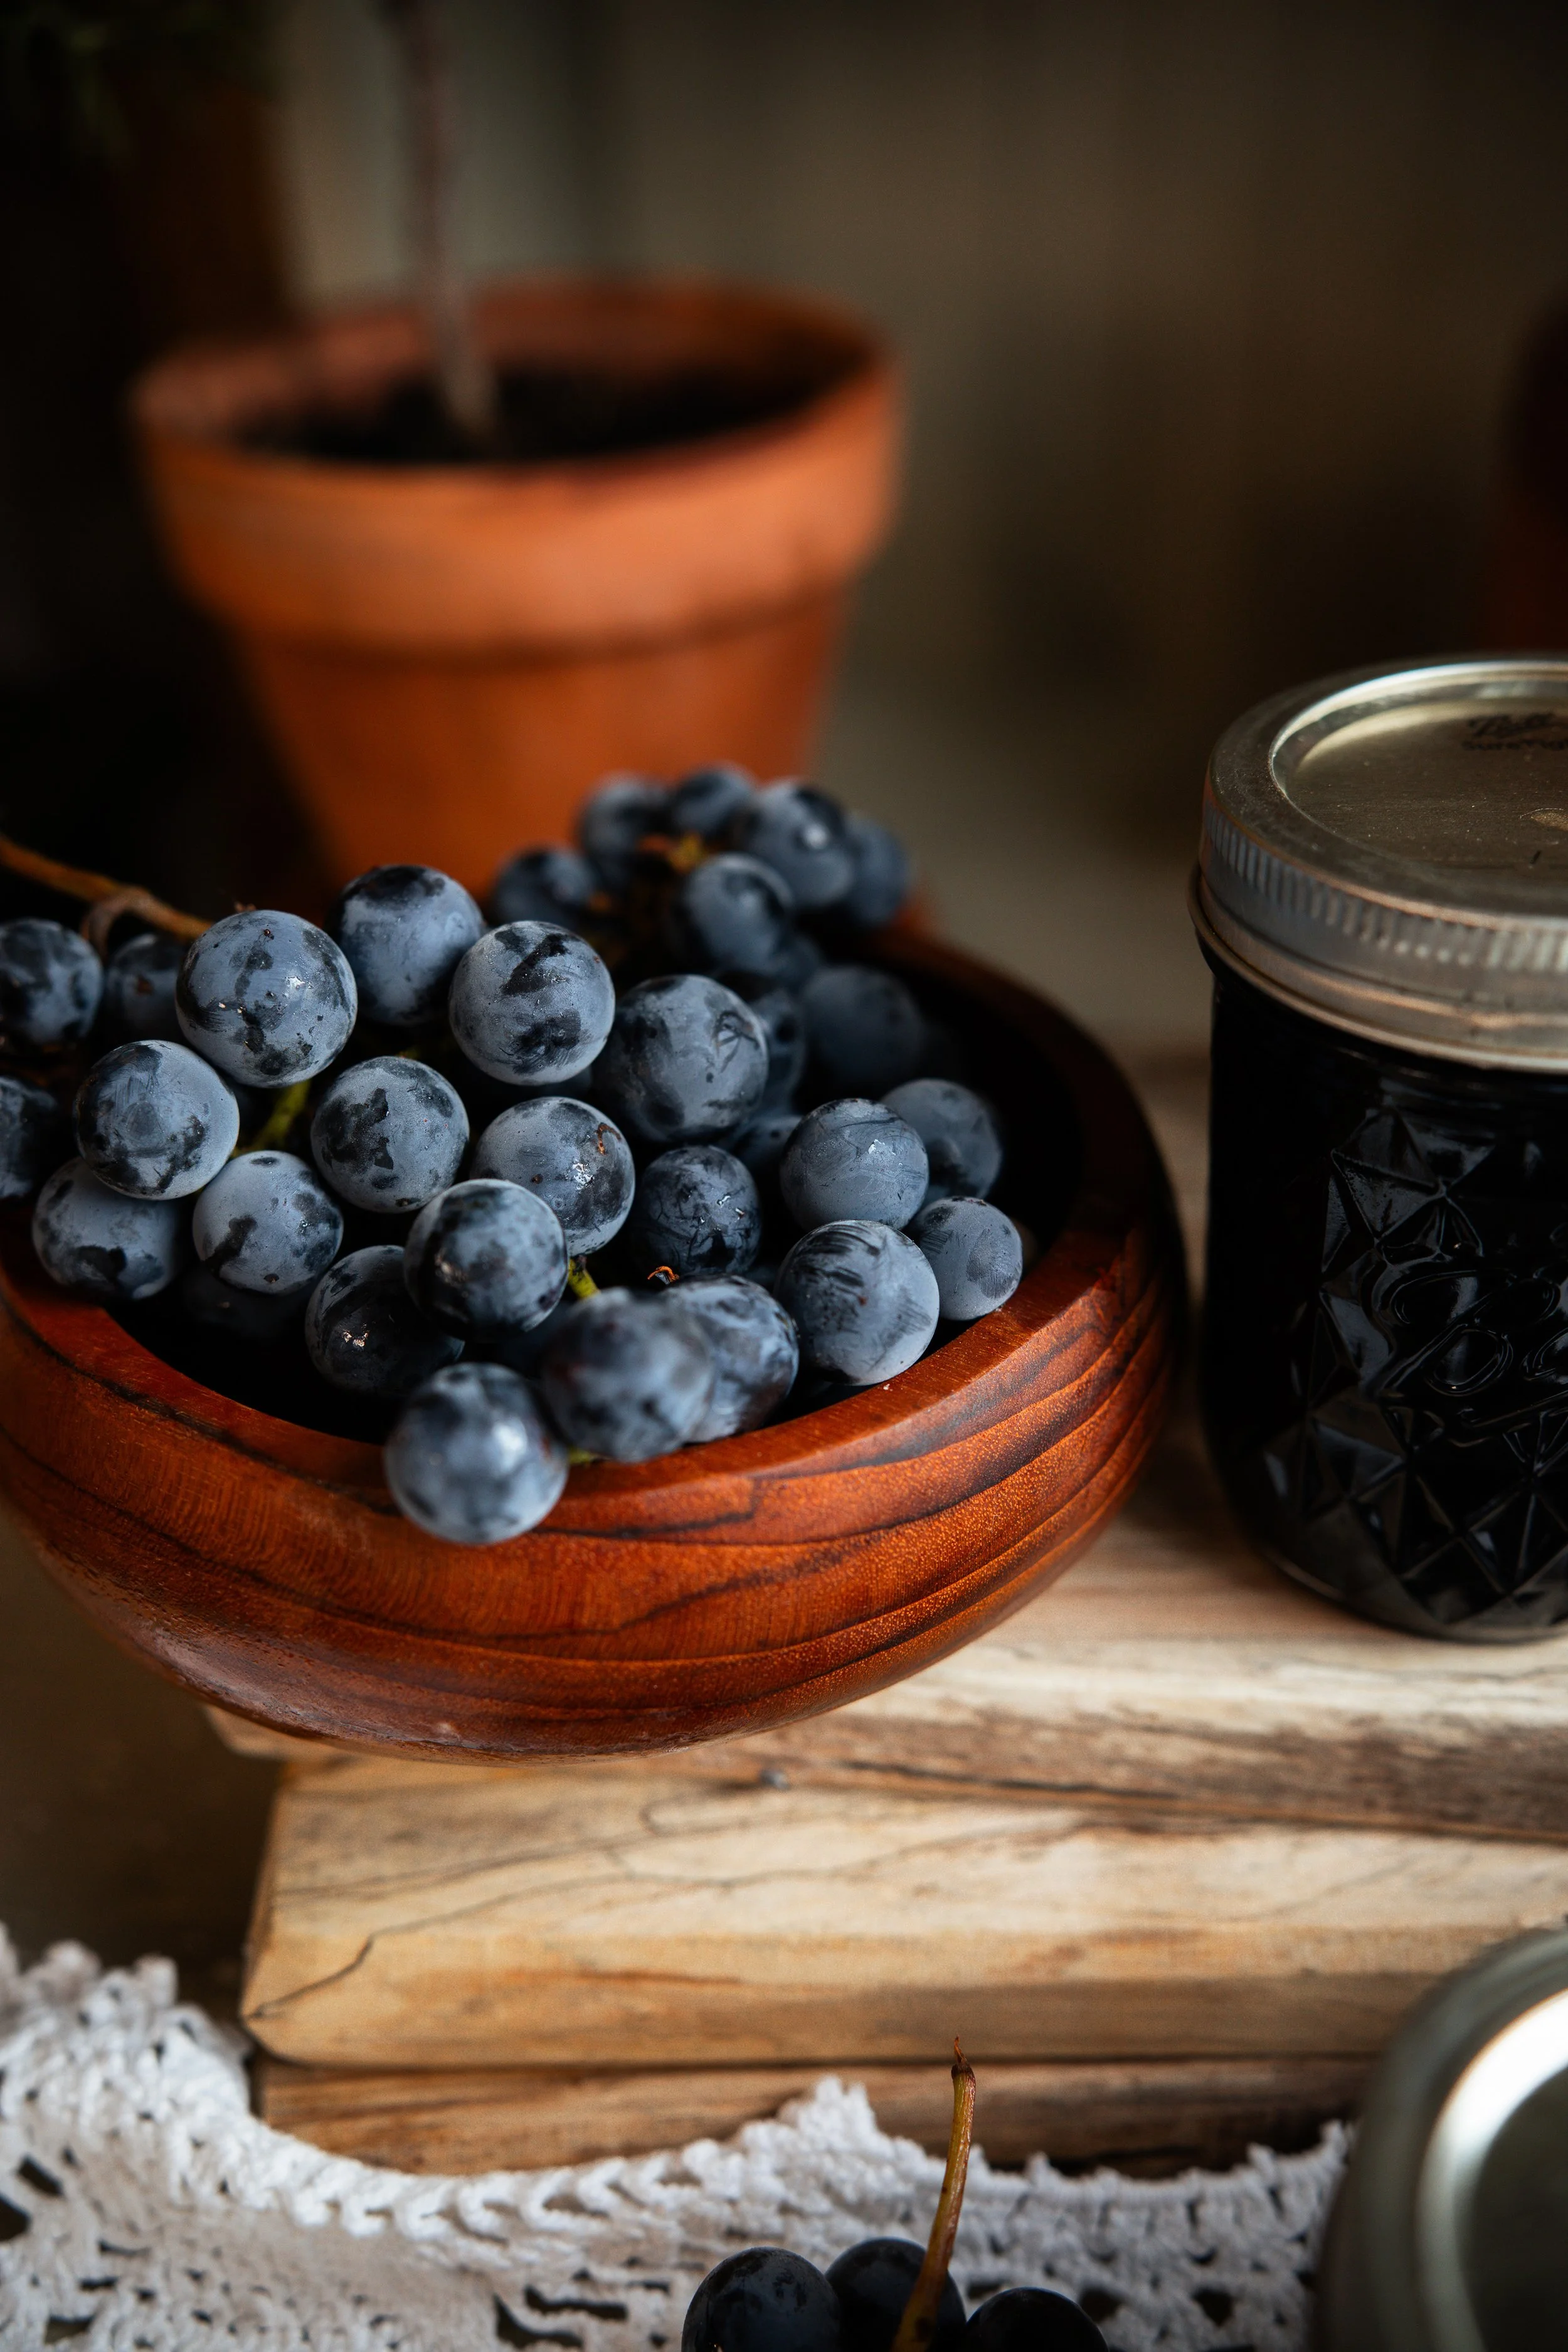
- 4 lbs (1.8 kg) fresh concord grapes, stems removed AKA 4 cups (720 ml) grape juice
- Water, enough to cover the grapes
- 3 cups (600 g) granulated sugar
Instructions
- Prepare your boiling water bath canner. Sanitize your jars, lids, and rings. Gently simmer the jars in the canner until ready to fill.
- Prepare the grapes, crushing them with a potato masher until they are evenly and well crushed.
- Place all of the grapes in a large heavy-bottomed sauce pot. Cover them with just enough water to come over the tops of the grapes. Place the pot over medium high heat. Bring the fruit to a boil and continue boiling over medium heat for about 20 to 30 minutes.
- Transfer the cooked grapes to a jelly bag or a colander lined with a double layer of cheesecloth set over a very deep bowl or pot. Let the juice drip from the bag into the bowl for at least 2 hours. Do not squeeze the bag, as this can make the juice and resulting jelly cloudy.
- After 2 hours, discard the grape pulp and wash the jelly bag in boiling water to use another time. Cover the bowl and place it into the fridge. The juice needs to be refrigerated for 24 to 48 hours to allow sediment to rise.
- After the chilling period, strain the juice again through a fine mesh sieve into a large pot. Place the pot on the stove over medium-high heat and stir in the sugar until it dissolves. Gently boil the jelly until it reaches the jam stage or about 220° F at sea level. To check the temperature at your altitude, please refer to the USDA publications on jam and jelly making. You may also test the doneness of your jelly by placing the jelly on a chilled plate. If the jam gels up, it is ready. If it has liquid that runs around the outer edges, it needs to cook longer. Remove the jelly from heat as soon as it hits the correct temperature. Skim off any foam and discard it.
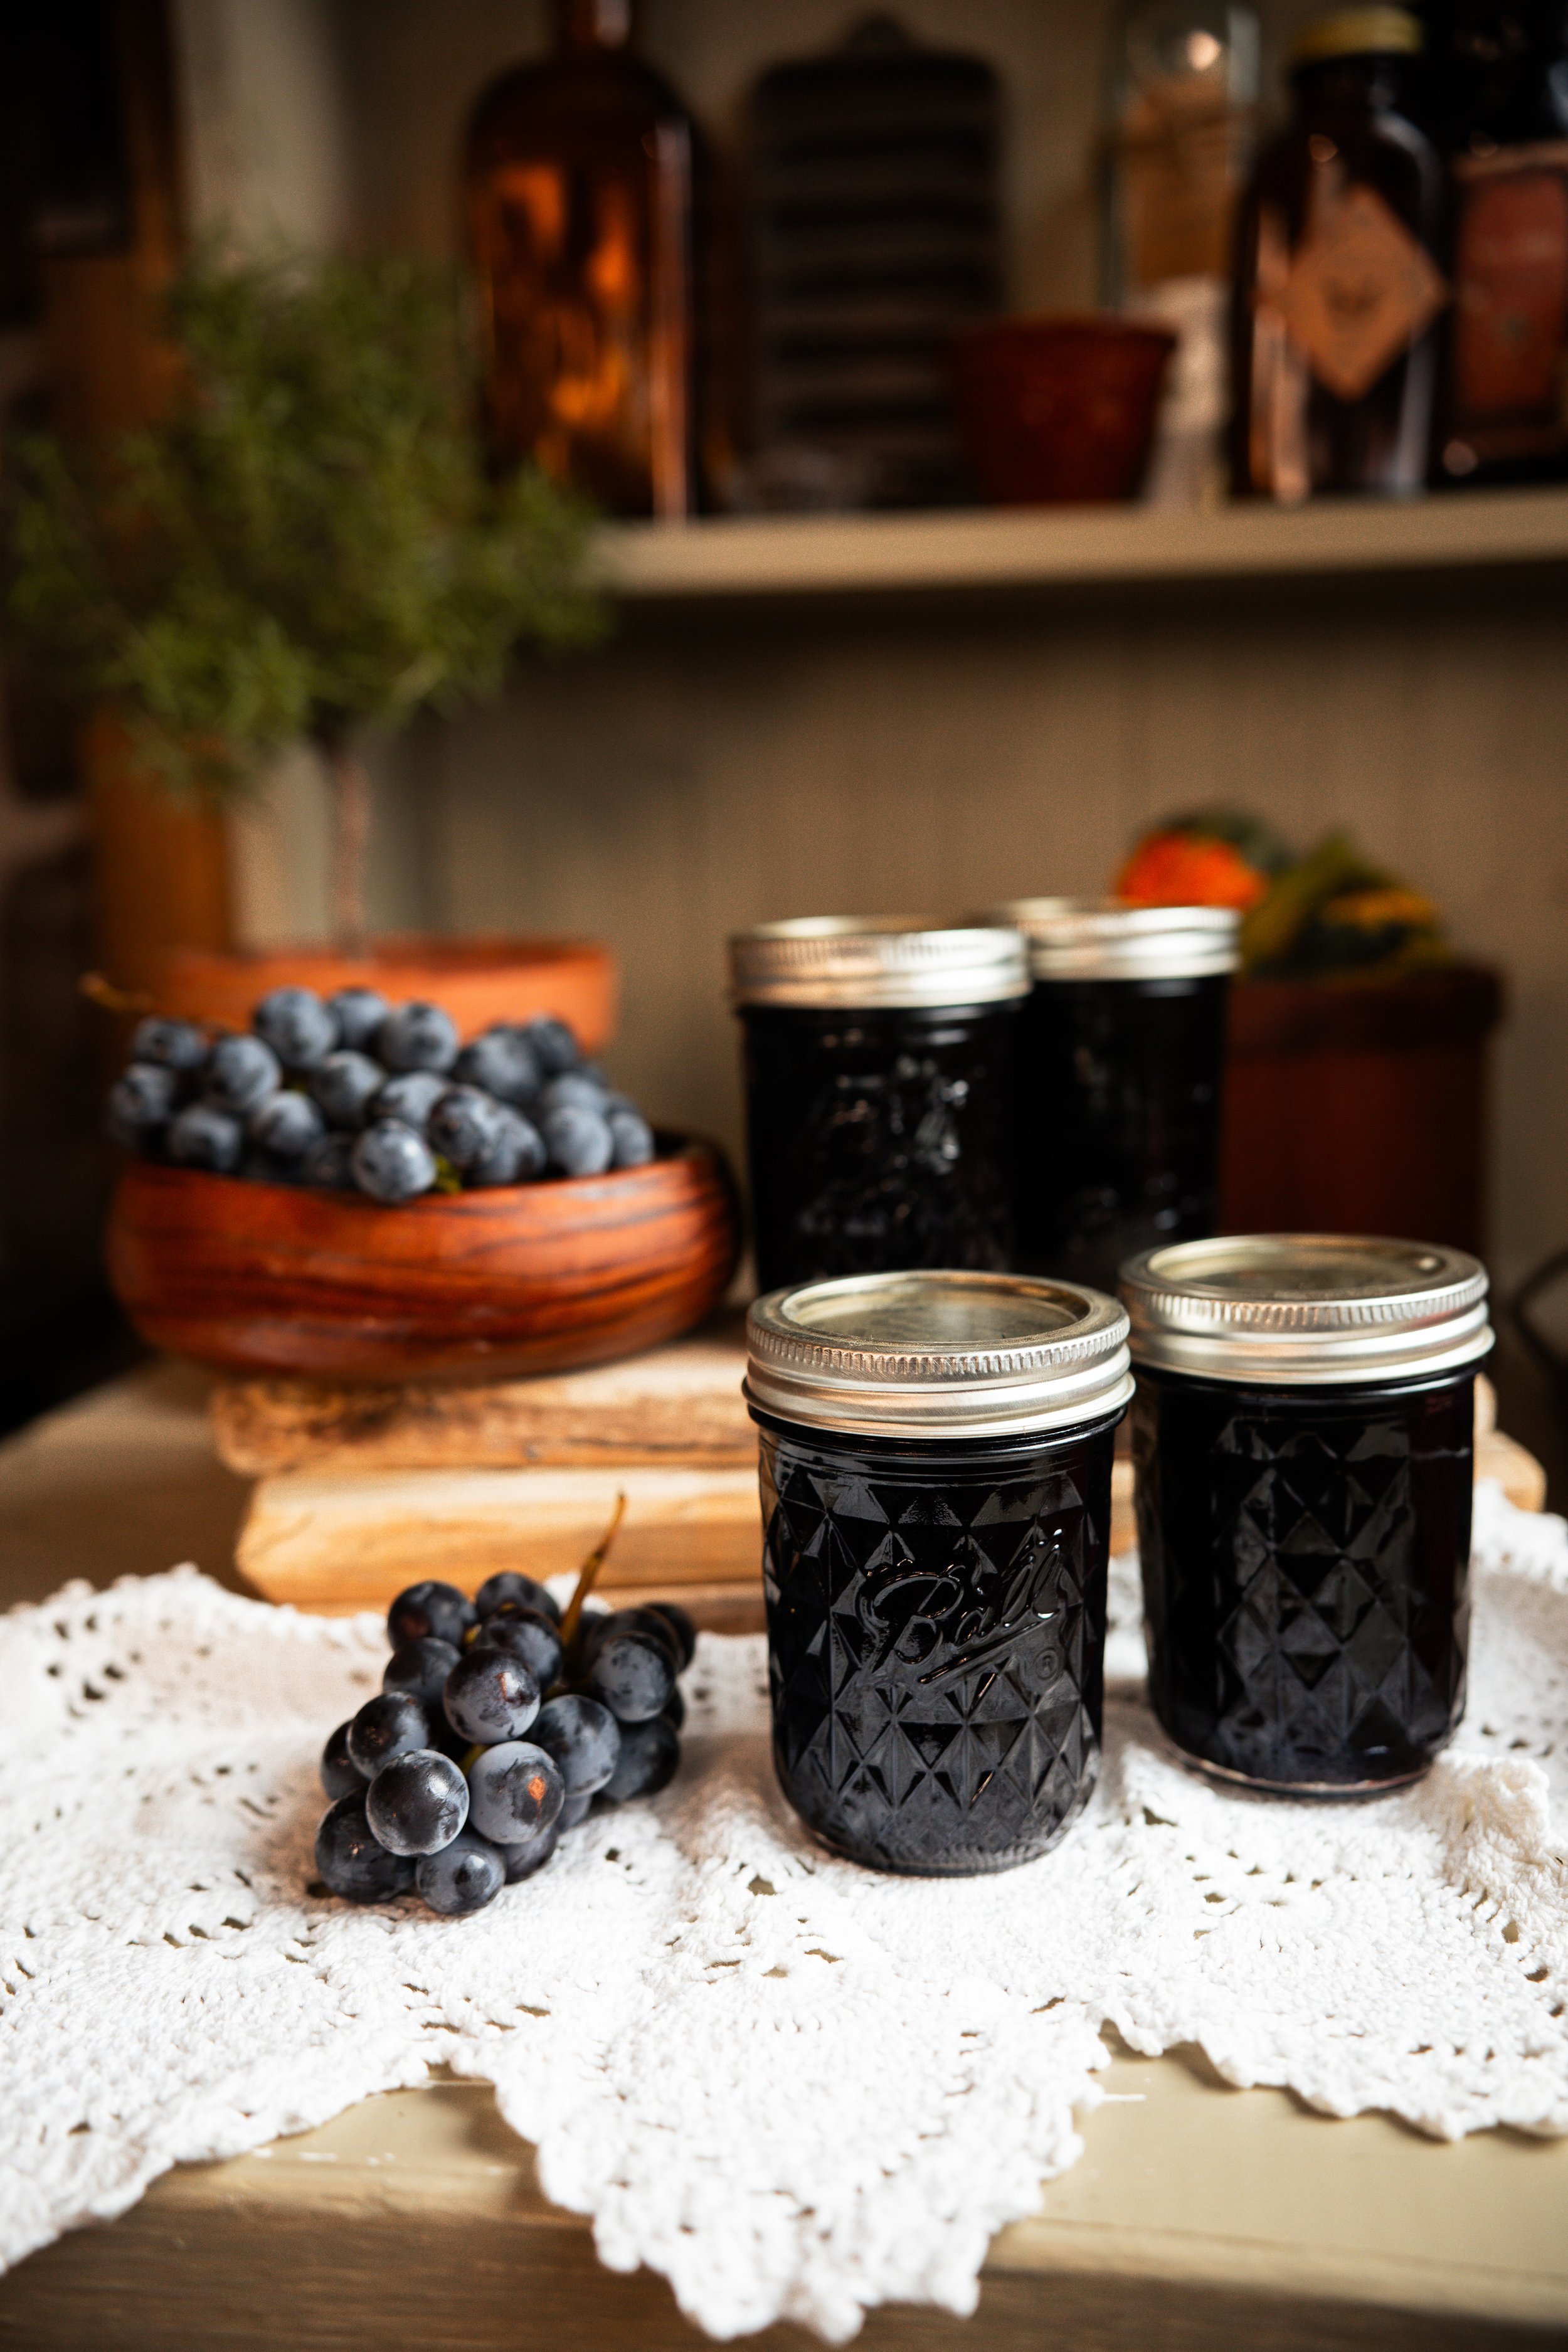
- Ladle the hot jelly into a hot jar, leaving 1/4-inch headspace. Poke around to remove air bubbles, wipe the rim of the jar clean with a damp towel, apply the lid and band to fingertip tight, and place the jar back into the canner. Then, repeat the process with the remaining jars filling them one at a time.
- Close the canner lid and bring the pot up to a boil. Process the jars for 5 minutes at 0-1,000 ft elevation, 10 minutes at 1,0000-6,000 ft elevation, or 15 minutes above 6,000 ft.
- Turn off the heat, remove the canner lid, and let the jars sit in the water for 5 minutes. Then, move the jars to the countertop. Check the seals after 12 to 24 hours, storing the jars without the rings to prevent a false seal. These will store for 18 or more months in a dark spot like a cellar or pantry cabinet.