Old-Fashioned Preservation Methods: Hang Drying Herbs
This post may contain affiliate links, please see our privacy policy for more information.
I have to be completely honest with you: This is the best herb year that we have ever had. The results of our raised garden beds has been prolific! This year, we moved our raised beds out into the big open field under the direct sunlight and filled them to the brim with fresh compost, fertilizer, and soil. Wow! I have a feeling the success story of herb garden has a lot to do with this change as well as the weather has been ideal for them. The days have not been as stiflingly hot as summers past, allowing the beautiful green leaves to continue growing rather than forcing the plants to bolt or send off flowers and go to seed.
We have been growing an herb garden for nearly a decade now. My herb garden is actually what inspired me to begin writing this blog, as I learned more about gardening and herbal medicine and folklore. I do not write about them much anymore, but it is still something that I am quite passionate about.
Herbs are a wonderful addition to any kitchen or home medicine cabinet. While I do think that plant medicine is fascinating, today I would rather focus on the culinary purposes of the herbs.
Herb preservation methods are very simple: grow, pick, dry, and store. It’s really that easy! In this post, I hope to share with you some of the tips that I have picked up on over the years of gathering and storing my herbs for use in the kitchen.

how to harvest herbs:
Harvesting Leaves and Flowers:
Different herbs have different harvesting requirements to allow for the plants to continue to produce lovely fresh stems for you. For all plants, it is best practice to only cut 1/3 of the plant and leave the rest to grow. Once the regrowth has begun, you can cut away the other parts and continue the practice.
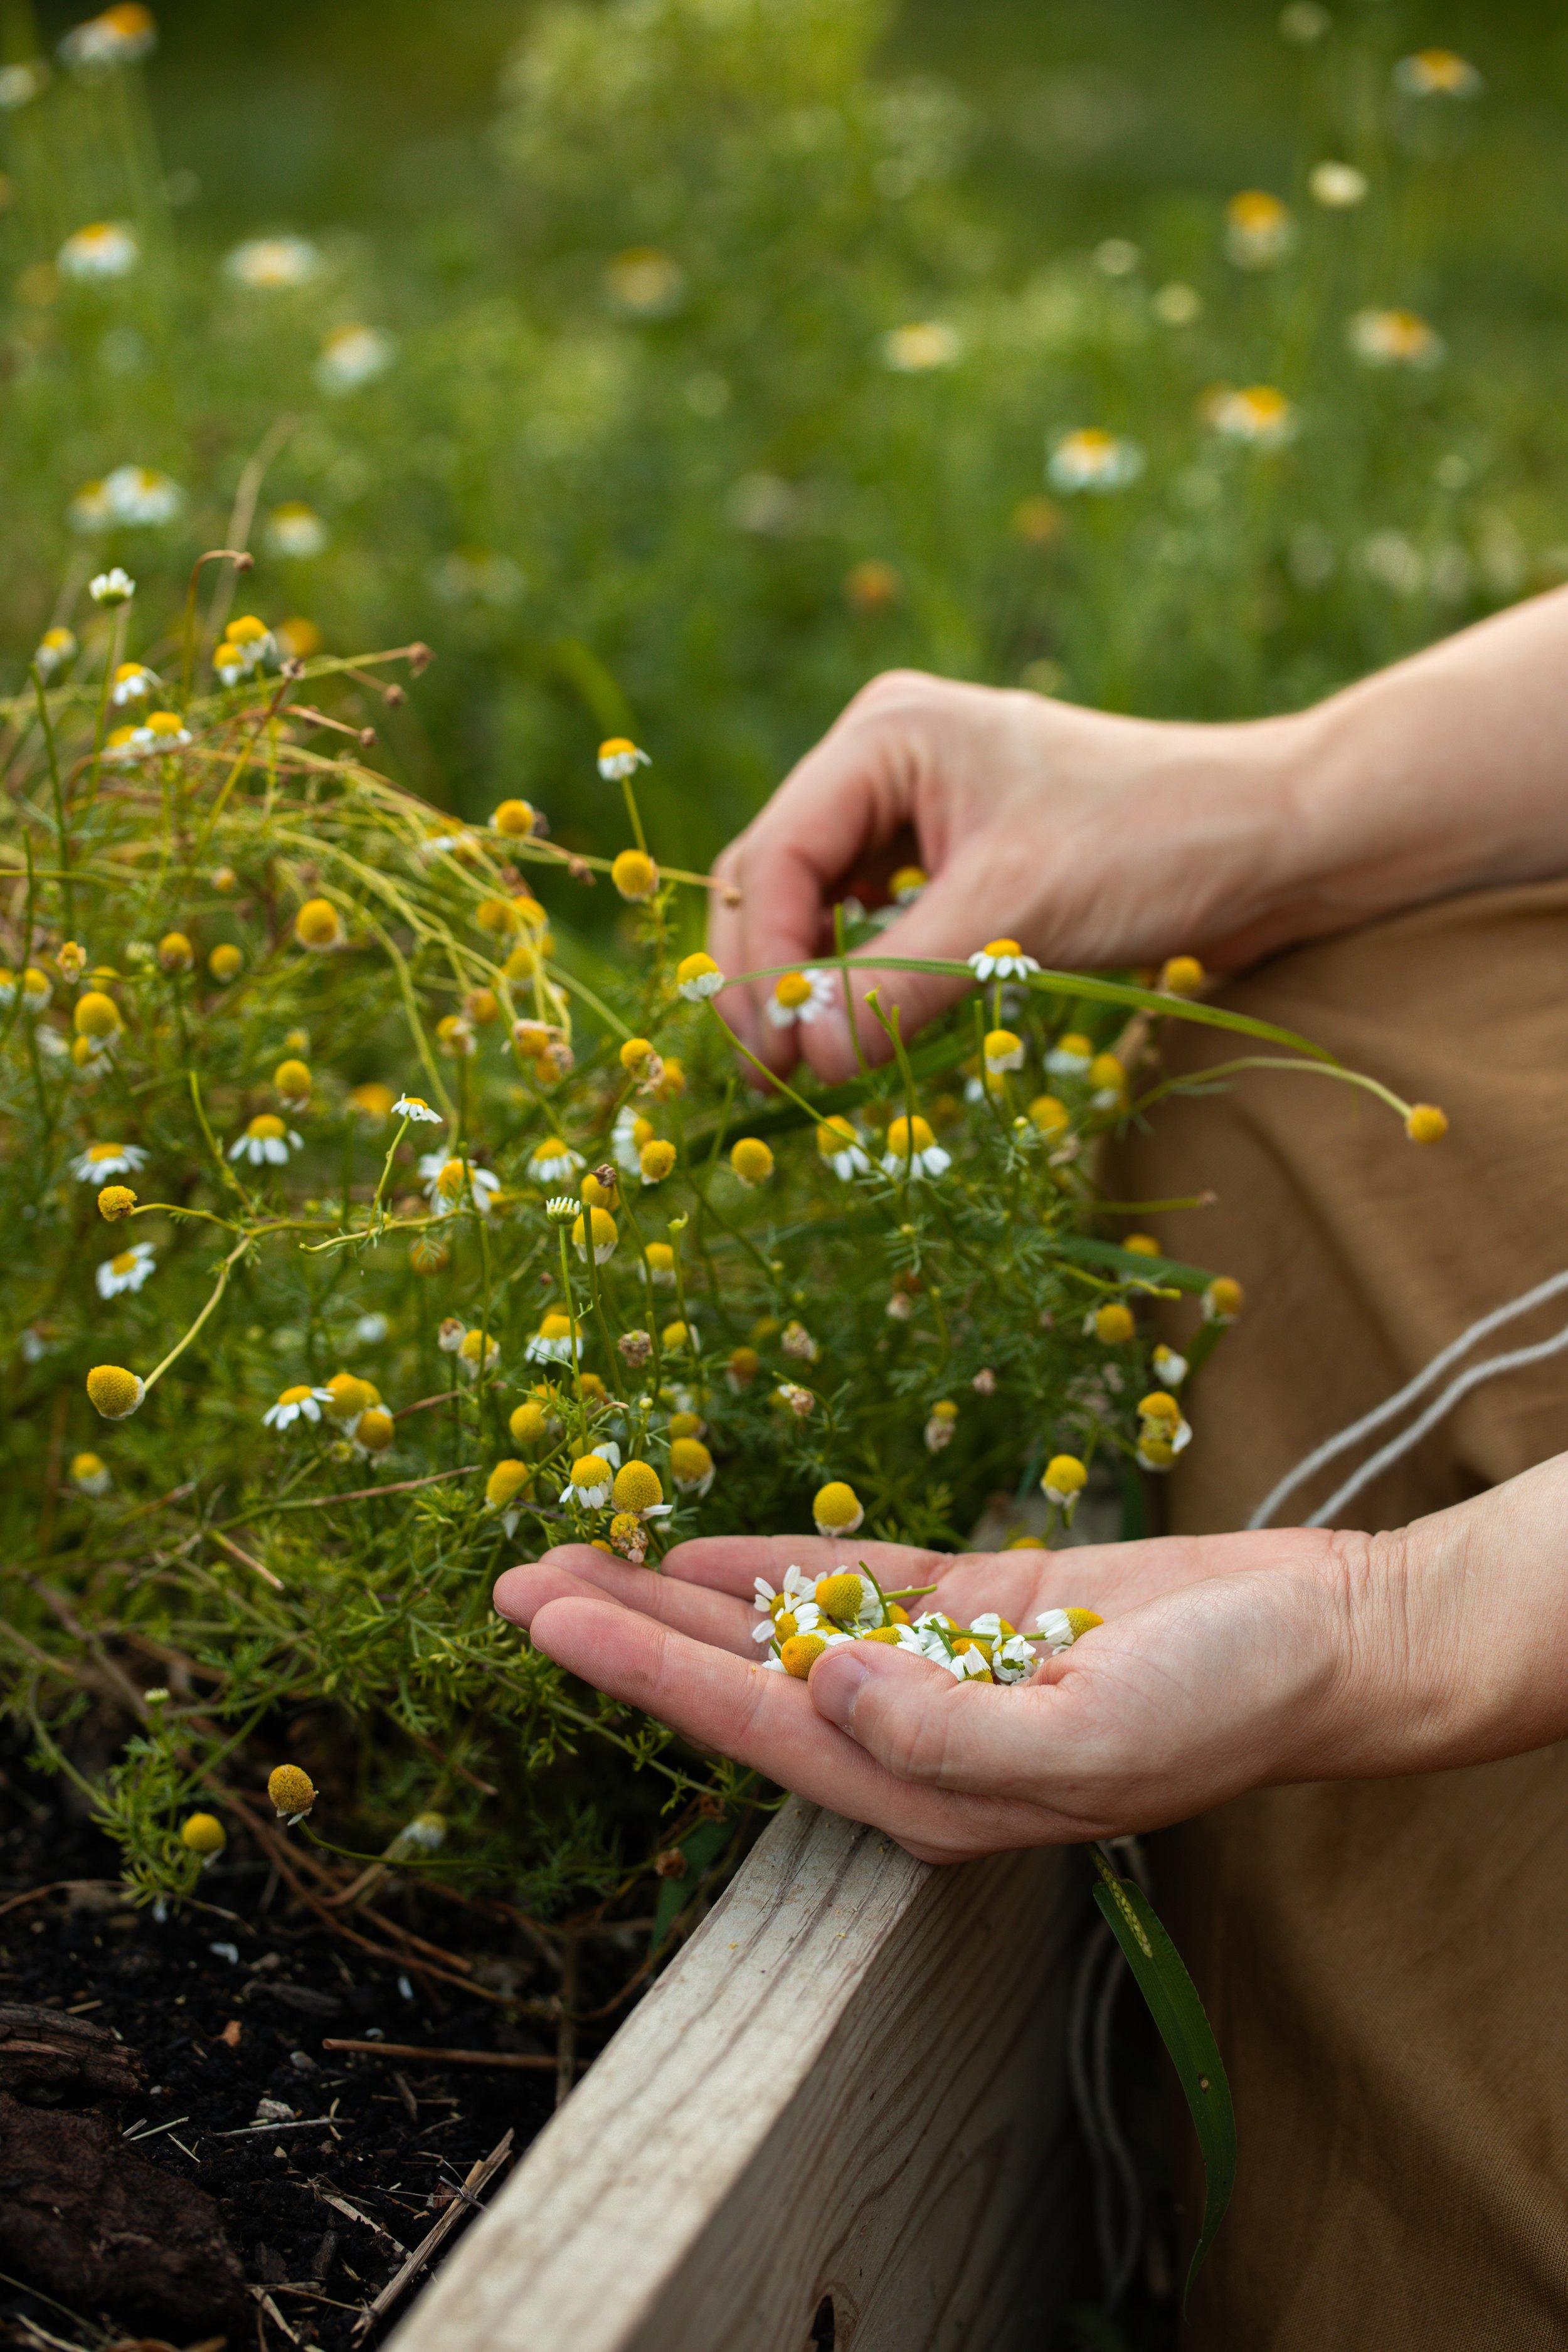
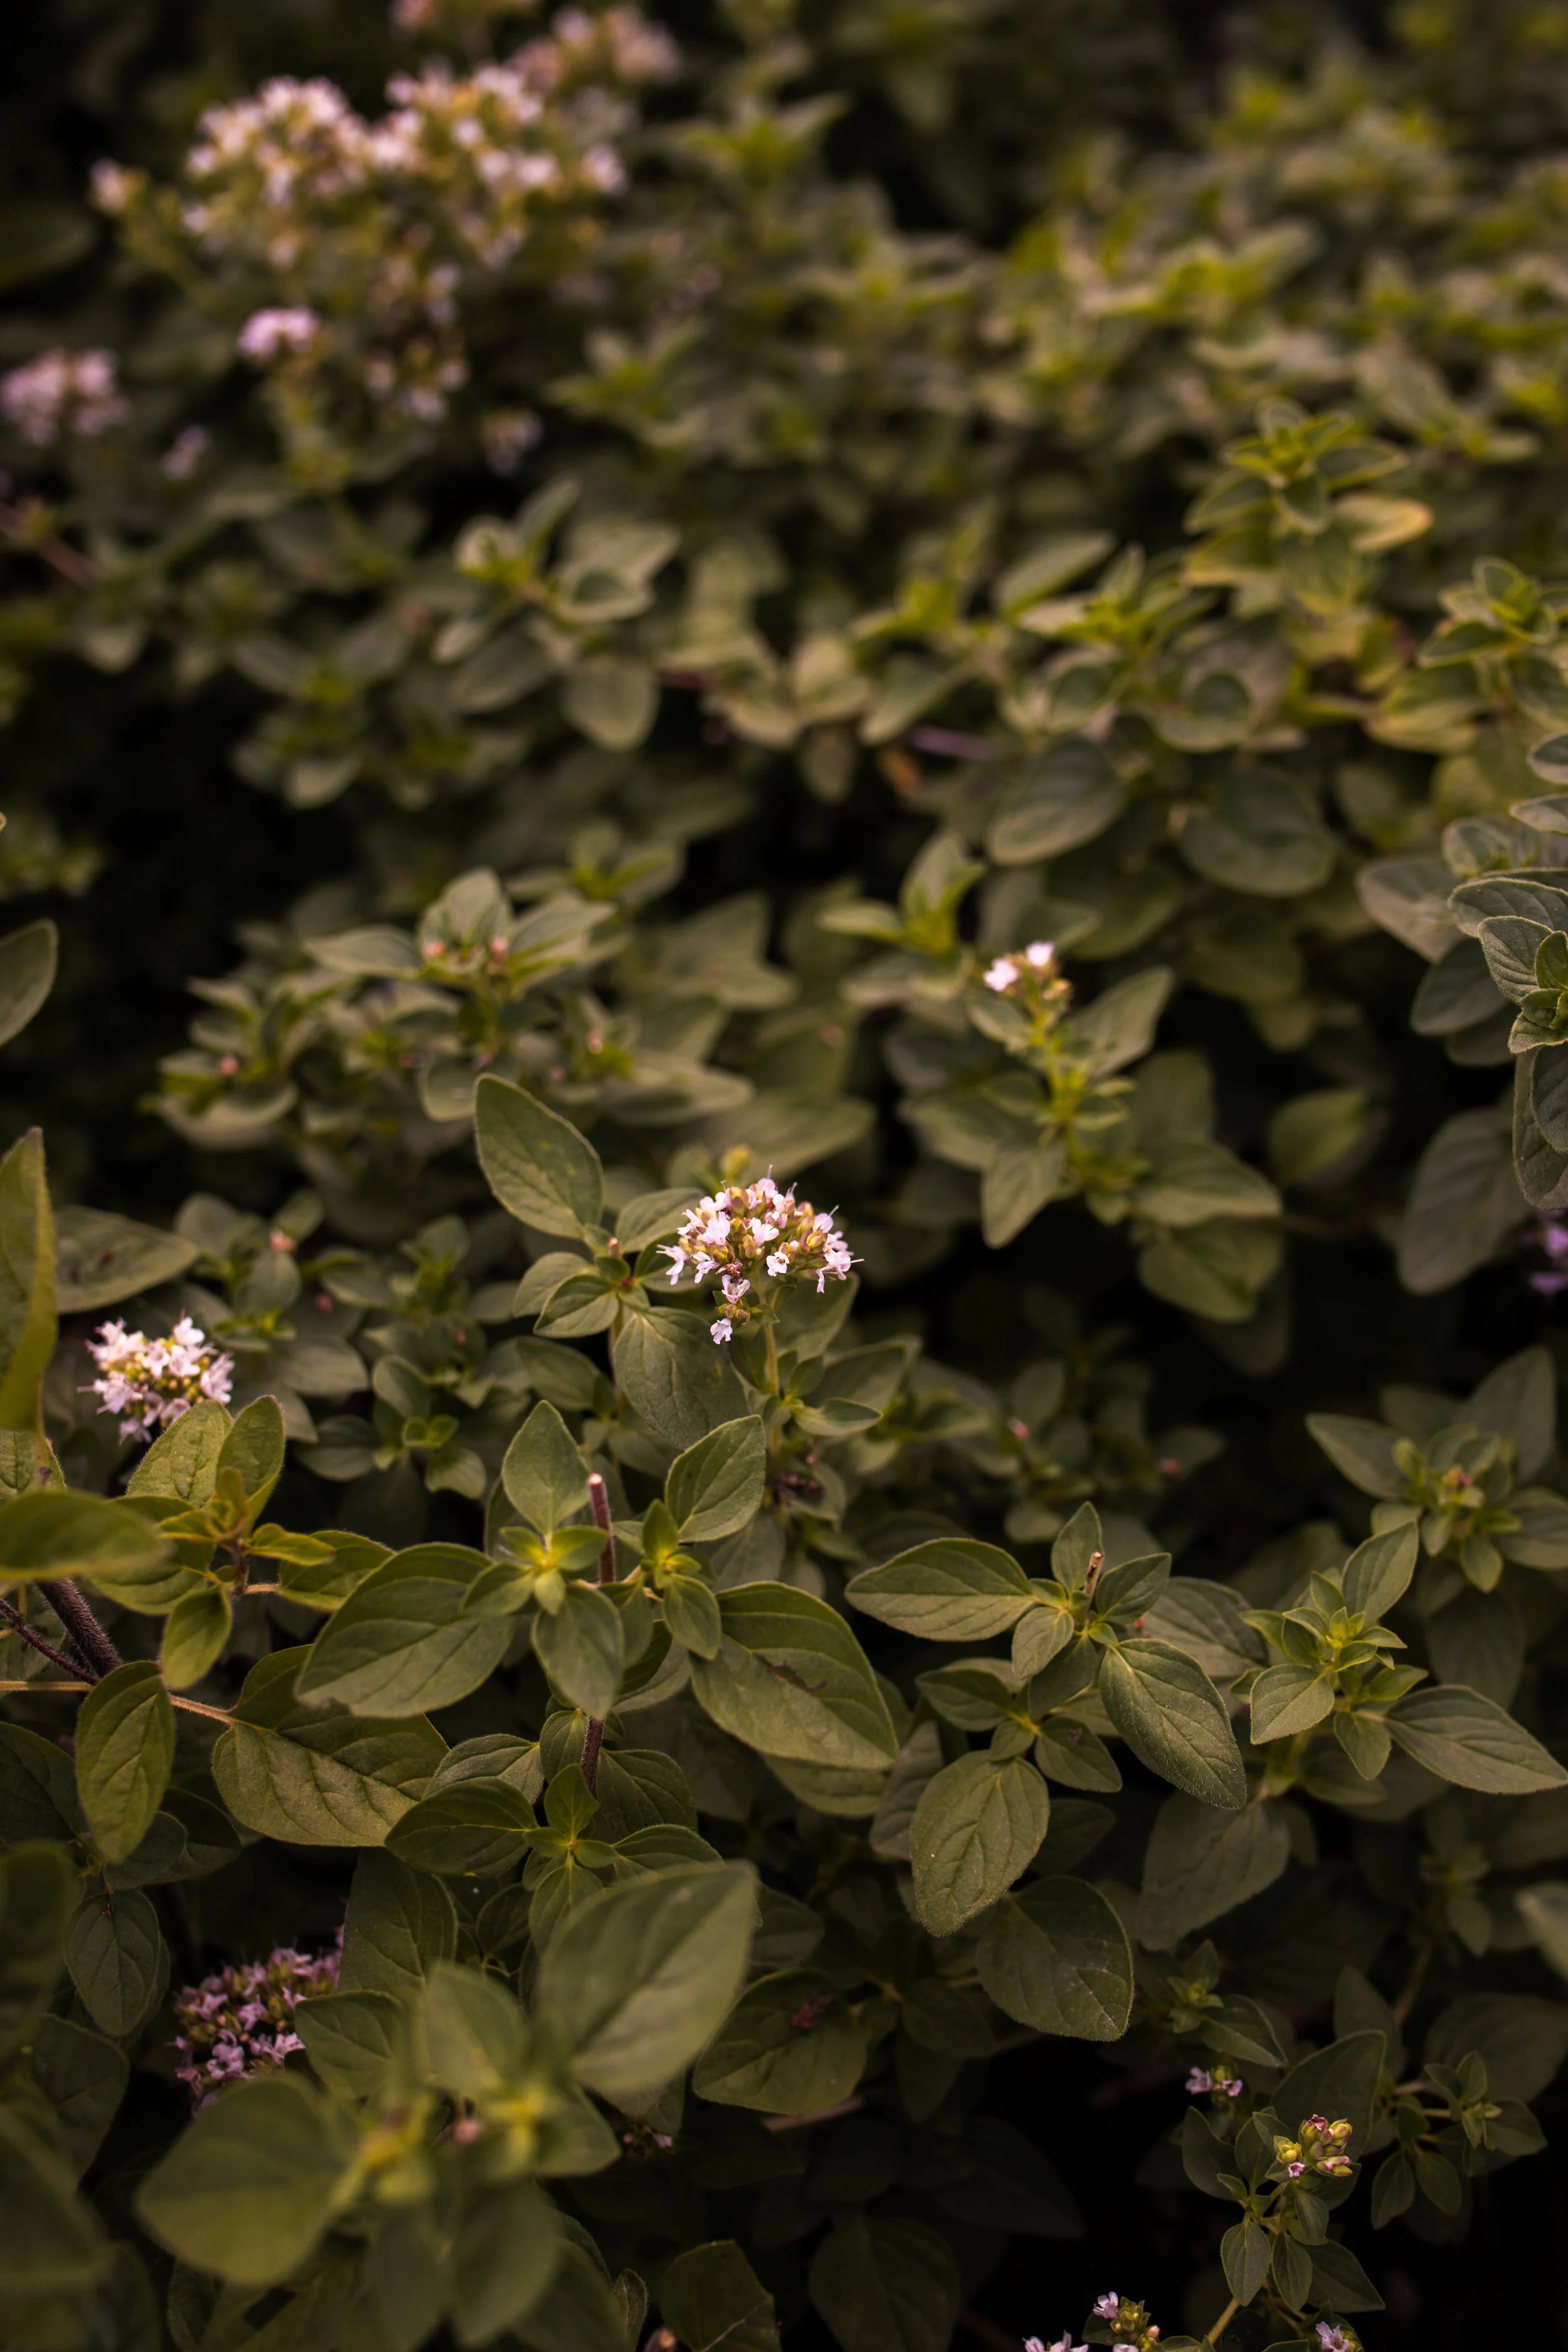
There are different methods for picking, such as pinching or cutting. Some herbs are better suited for certain methods. For instance, herbs that require pinching are usually those that you are harvesting the flowers from like chamomile or dill. This is also a preferred method for softer stems like basil or sage. For woody stems, like thyme or oregano, you may want to get a clean pair of scissors to help cut away.
Herbs that have woody stems can be cut freely. This would include herbs like rosemary, thyme, or oregano. You will want to cut the new shoots, not the thick woody stems. This is the base of the plant, and they are much more like a shrub than a flower.
For herbs that grow shoots straight from the ground like parsley and chives, these can be cut just above the ground leaving about 1-inch of plant sticking out of the soil. It will grow more shoots from the base where you cut.
For fleshy herbs like basil and sage, you will notice that they grow in branches. The branches look a bit like the letter T or Y. It will have one base stem, then branch off the sides. If you pinch back the stem in that V, the lateral branches will continue to grow bigger and bushier. Then you can pinch those back and so on.

Preparing herbs for drying:
Once the herbs have been picked, they need to be prepared for preserving. This may include washing your herbs, if you prefer to do so. This will all depend on where you acquired your herbs from and your own growing methods.
I prefer not to wash my cuttings, but I also do not spray my plants and do not have issues with animals harming them. If you do not want to wash your plants, you may want to give them a gentle shake outdoors to release any critters that may be living on the leaves.
If you choose to wash your plants, simply rinse them under cool running water and shake as much of the water off as possible. If you have a salad spinner, this can be helpful to get rid of the water.
If you notice any yellow or damaged leaves, pick those off and place them in your compost pile.
how to dry herbs:
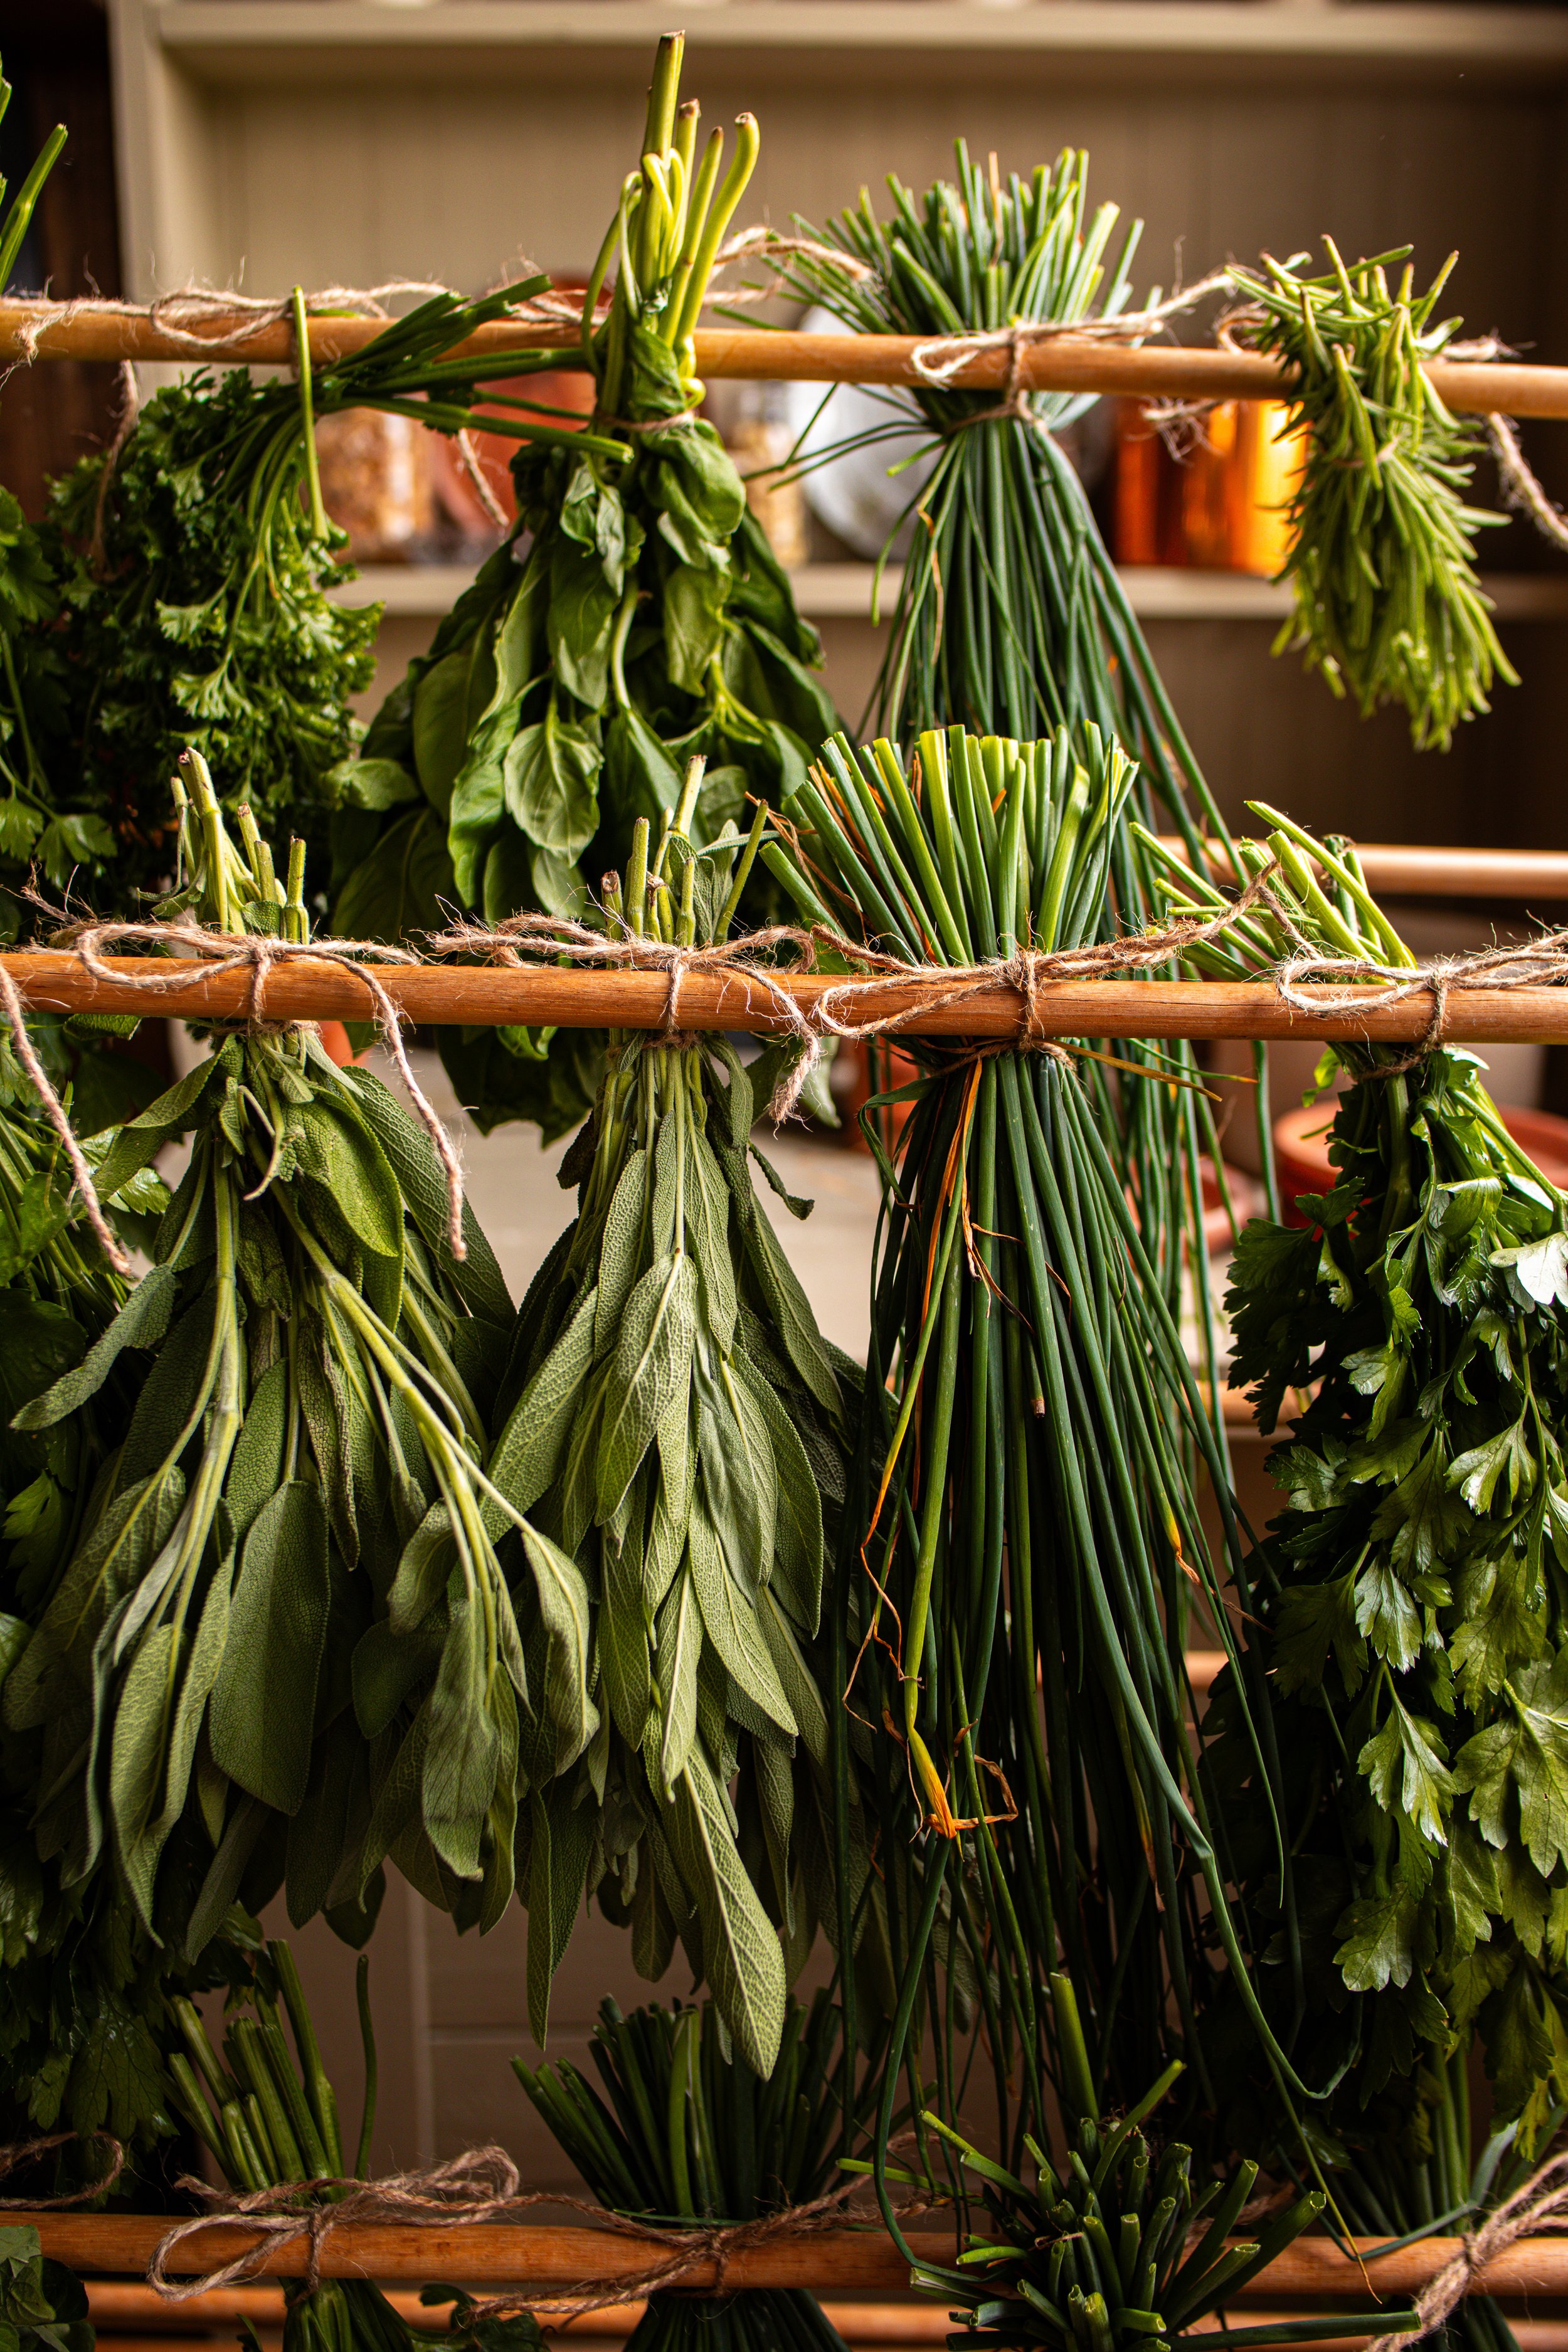
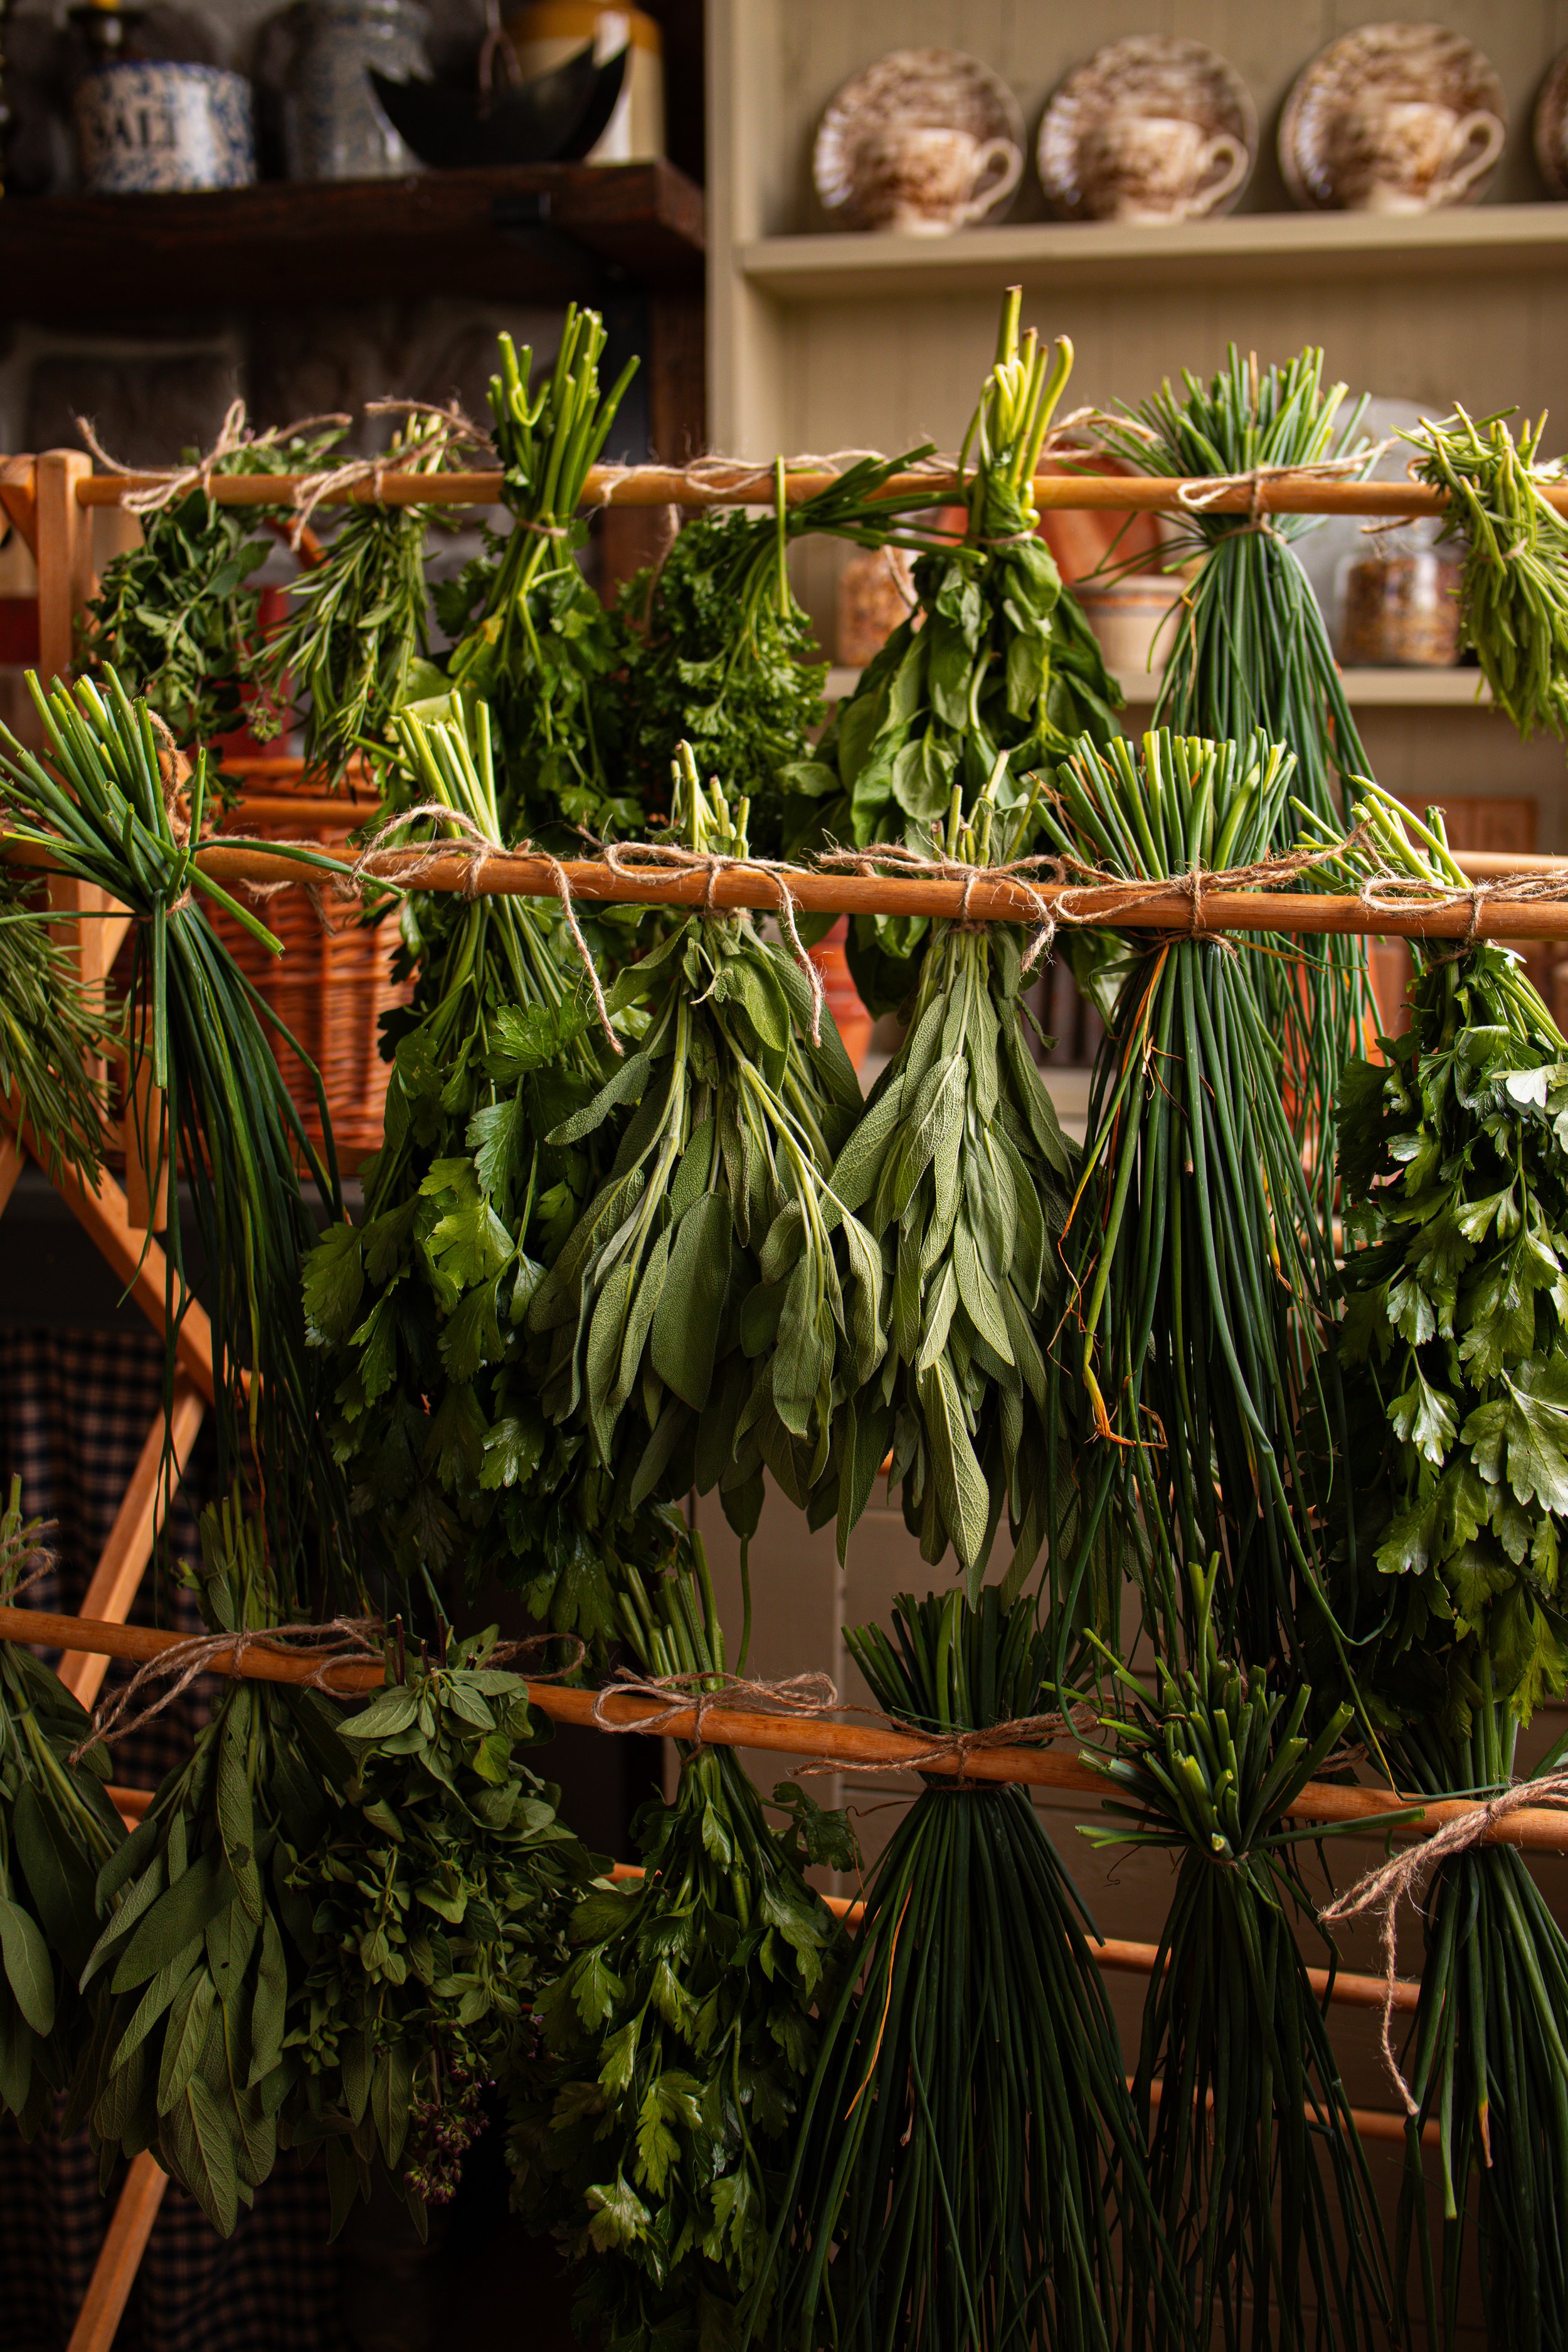
To dry herbs successfully without them becoming moist, mildewy, or moldy they will need good air flow and a bit of warmth. Historically, herbs would have been hung and dried near the wood stove so that they could be well heated and ventilated without becoming too hot.
Bundling Herbs is the easiest method for drying, in my opinion. It looks beautiful, too! Though, of course, you have to have the room to do so. I like to use my indoor clothes drying rack to hang my herbs on. To bundle herbs, simple gather up about 8 to 10 stems, bunch them together, and tie off with a piece of twine. I have used rubber bands in the past, but the twine works best in my opinion. The herbs will shrink as they dry, and the rubberband does not shrink with them.
Using Screens is another method that works wonderfully. Simple purchase herb drying screens or an old window with a screen attached. Lay the herbs, spaced evenly, on the screen and simply let them dry. This method is faster than bundling as the herbs are fully exposed to air. This is the Herb Drying Rack that I use.
Both of these methods take about one week to fully dry out, though it can be longer or faster depending on the temperature of the room you are in.
Other methods that can be used include a dehydrator or even the oven.
storing your herbs:
Once the herbs are dried, it is time to pack them away for storage. They are ready when there is no longer any moisture in the leaves or stems, and they should be very easily crumbled.
To store the herbs, usually you want to save the leaves. I pick off the leaves on my dried stem and then simply crumble them with my hands, a knife, or even a mortar and pestle. If you would like fully ground herbs, a coffee grinder works perfectly.
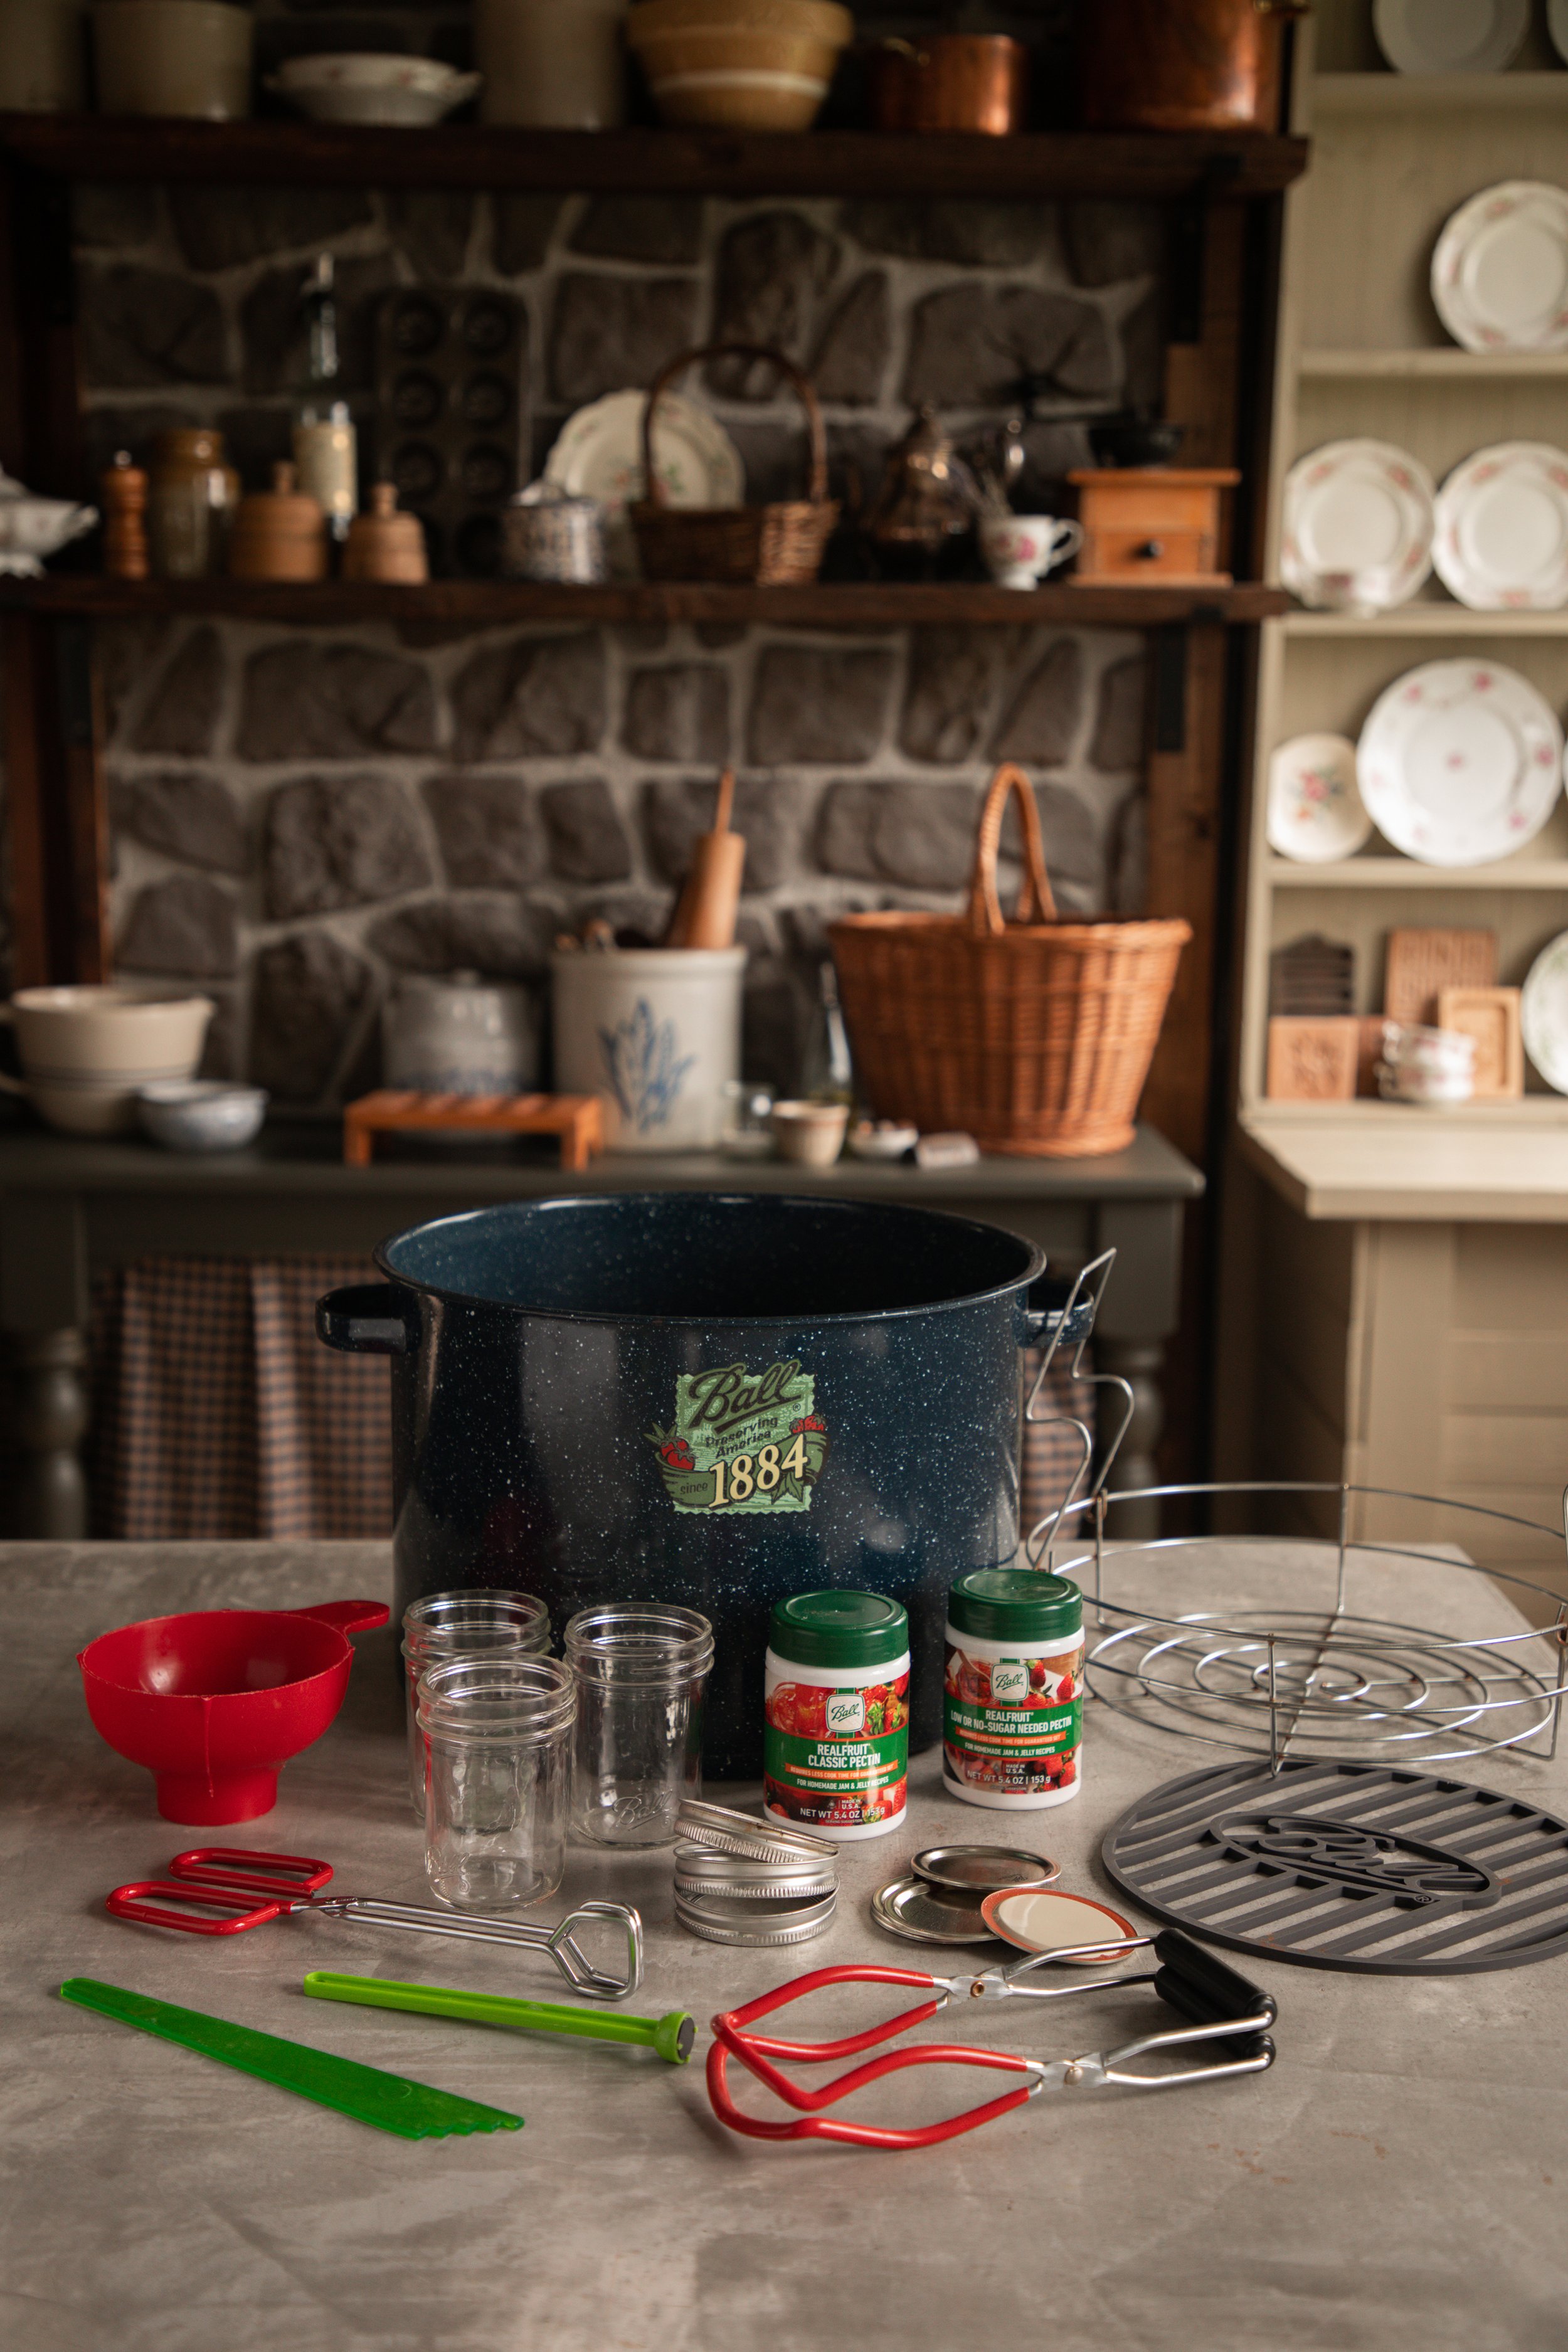
When the herbs have been processed to your liking, they can be stored in airtight containers. Mason jars or little bottles with lids work great! Then, store the jars in a darkened cupboard at around 60 to 70° F.
Freshly dried herbs will keep for use for about 2 years. Isn’t that amazing?
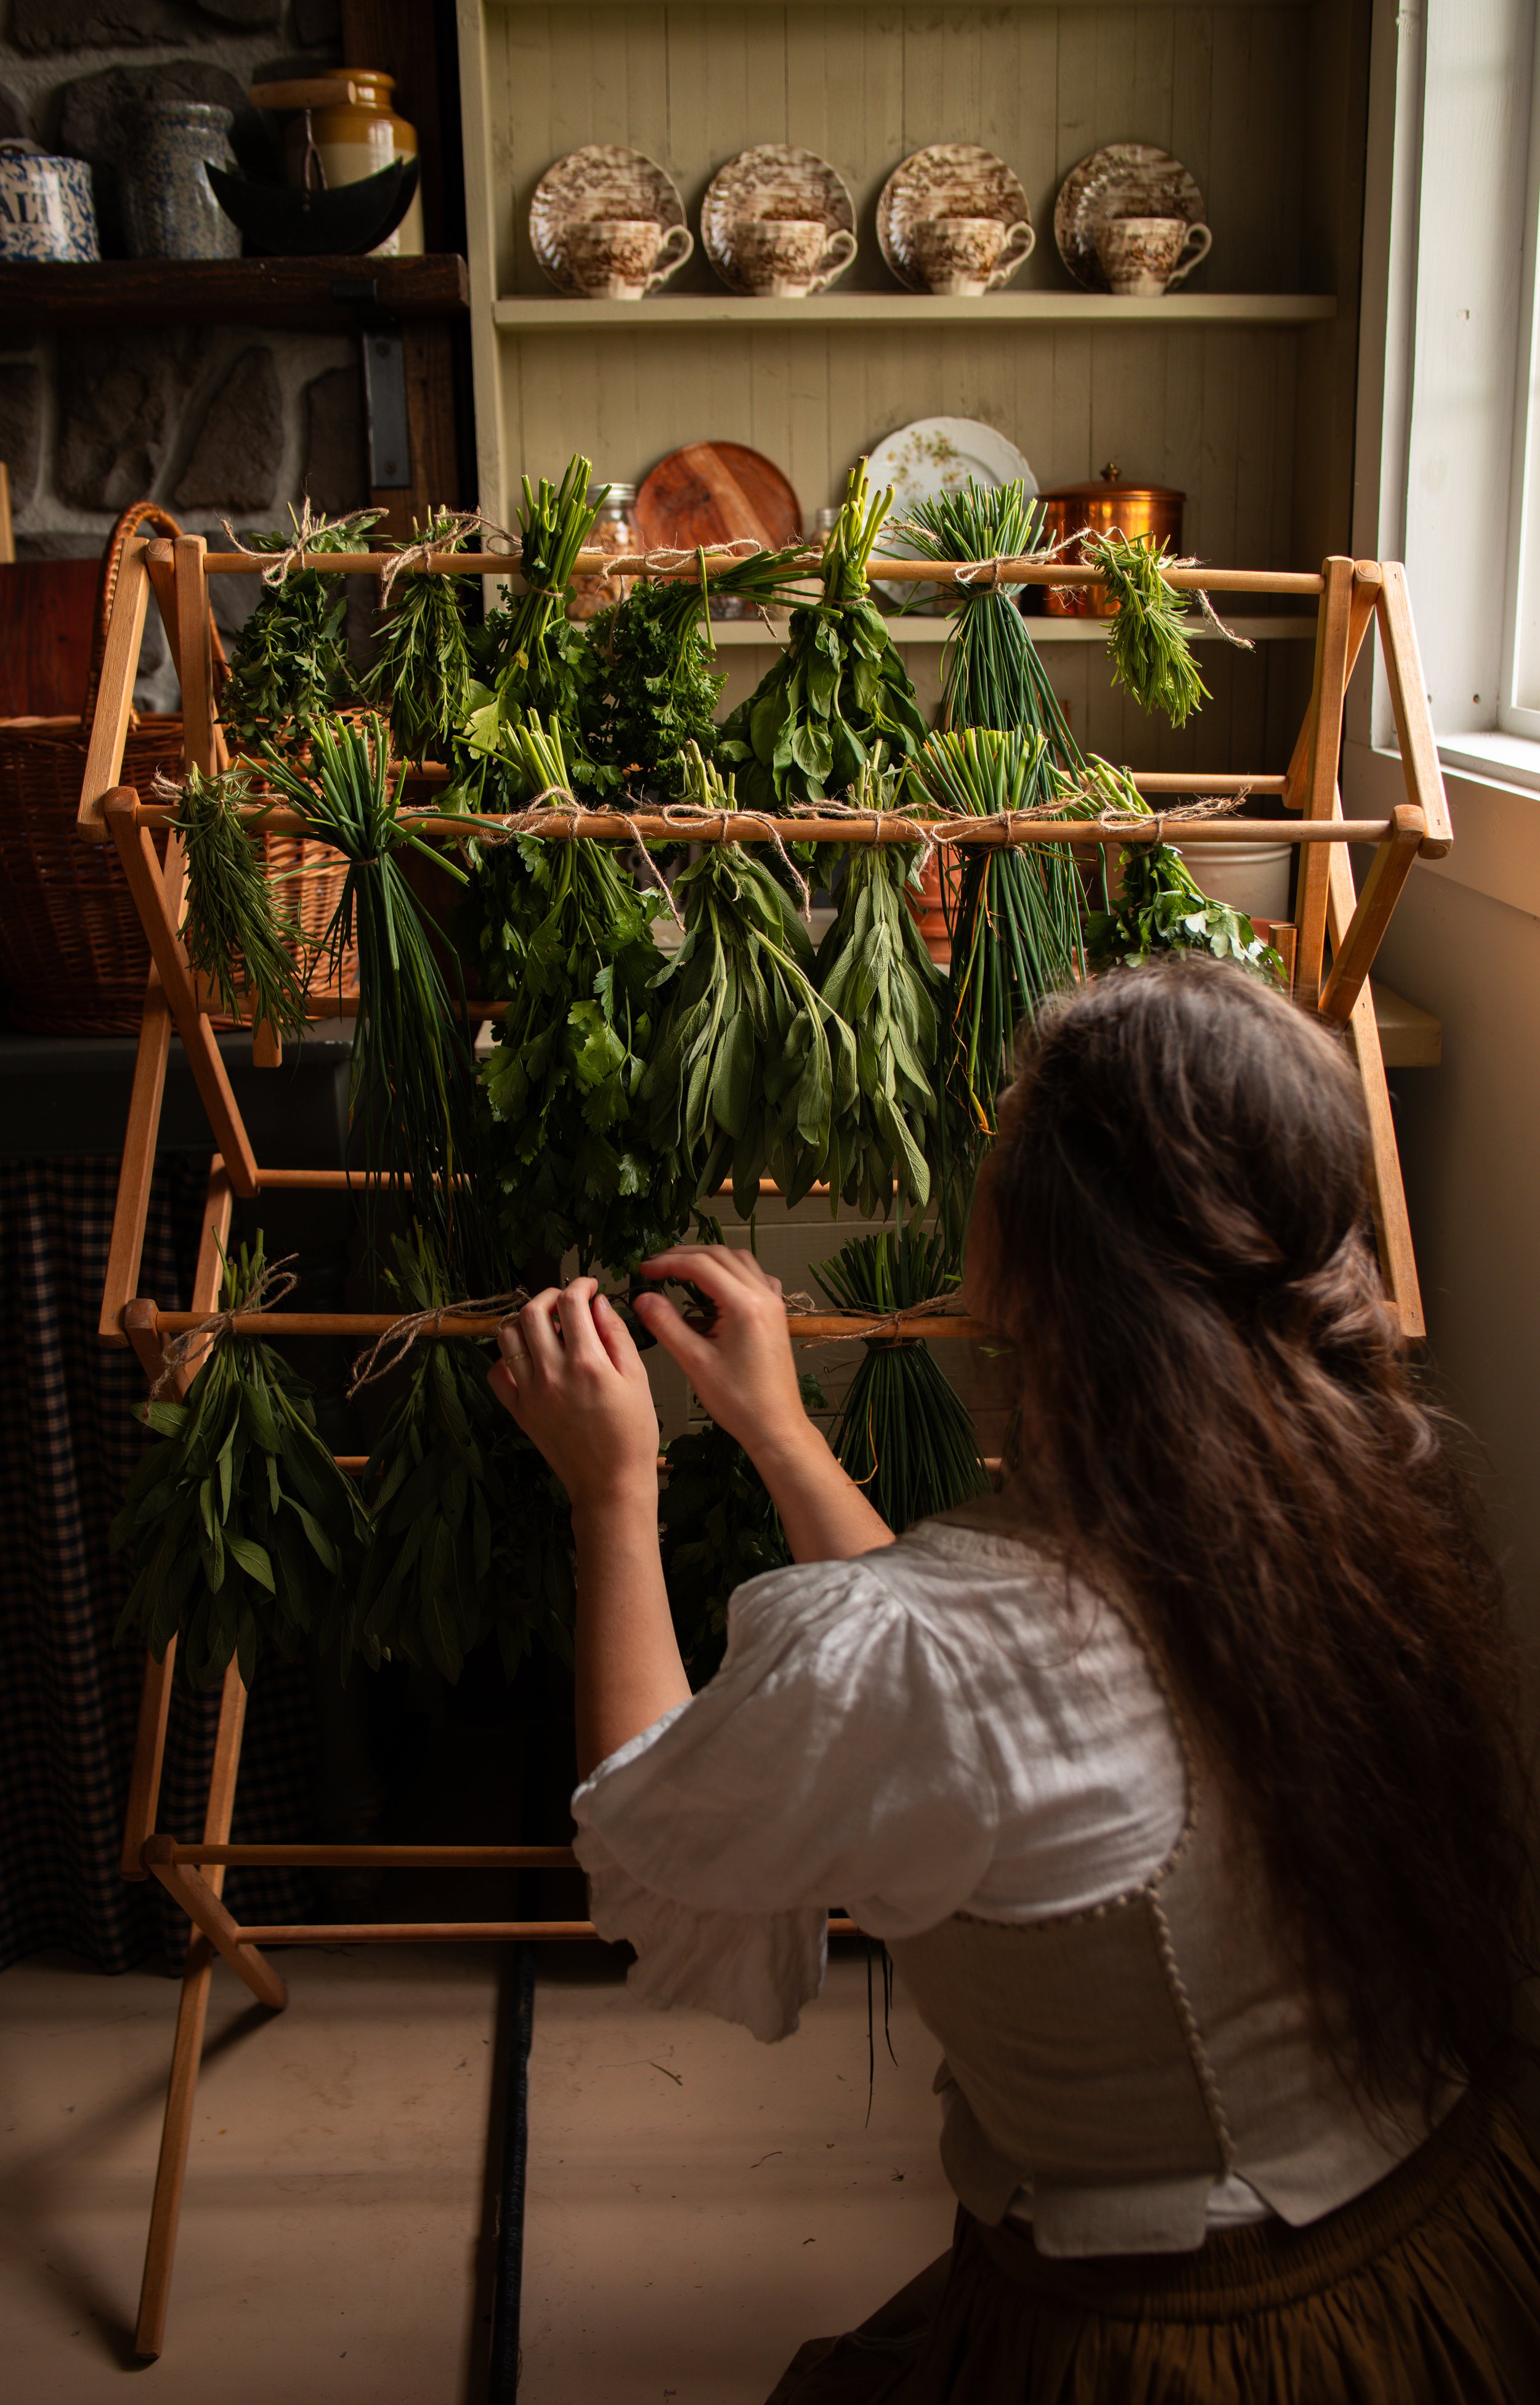
Hang drying herbs is such a peaceful practice. I love learning about herb preservation methods and food preservation methods. To me, this is so simple and easy and makes me feel as if I have stepped back in time.
I hope that you enjoyed reading about my favorite ways to preserve herbs at home.
xoxo Kayla