From Scratch Chicken Broth: Pressure Canning and Preserving Guide
This post may contain affiliate links, please see our privacy policy for more information.
DISCLAIMER: This is not a tested and approved canning recipe. This is my own personal recipe and it is potentially unsafe for canning. Please can this with caution and understand the signs of food that has gone bad. This is a LOW ACID FOOD that needs to be pressure canned. Do not try to can this recipe in a hot water bath canner.
Dear Reader,
Did you know that making your own chicken broth from scratch is incredibly simple? If you have ever wanted to learn how to make chicken broth from scratch and how to preserve chicken broth safely, then this guide will a wonderful help to you! In this guide, I will share my method for making chicken broth from scratch as well as give you some different ideas for how to preserve chicken broth for many months at home.
is homemade chicken broth healthier?
Chicken broth was one of the things that I really wanted to learn how to make myself. At first, I thought that I was saving us money, but it really doesn’t come down to that. If you do the math, the homemade broth (in our current economy) ends up being the more expensive option. However, I would not make saving money the main focus of eating a from scratch, whole ingredient food diet.
I will tell you that making your own homemade broths is super easy and it tastes infinitely better than anything I have ever purchased from the store. It’s full of nutrients and good things for your body. When you read or hear about broths that are meant to heal the sick, this is what they are talking about - not the kind from the store! You can adjust the amount of salt added, really the amount of anything added. You control what goes in.
the difference between stock, broth, and bone broth:
I have shared on our blog a few times about making bone broth. This recipe is for just chicken broth, and not for the more concentrated and collagen rich bone broth.
Stocks, broths, and bone broths are only slightly different in how they are made. They all contain the same ingredients but in different quantities and the processing time of each is what makes them different from each other.
STOCK: Made from mostly bones, water, herbs, spices, vegetables. There is more water than with broth, making it a less concentrated version. It is cooked for about 1 to 2 hours.
BROTH: Made from mostly meat and some bones, water, herbs, and vegetables. It has a little less water than stock. It is cooked for about 1 to 2 hours.
BONE BROTH: Made from meaty bones, water, herbs, spices, vegetables, and vegetable scraps. It has a very low solids to water ratio: 1:2. It is cooked for 12 to 24 hours.

tips for pressure canning:
Pressure canning can seem really scary at first! It took me an embarrassingly long amount of time to gather up the courage to give my canner a try. Once I did, I have never looked back! I love being able to can almost anything I want at home. I learned how to pressure can chicken broth because I hate having to store frozen liquid.
Read the entire instruction manual for your canner. Pressure canners generally all work the same, however it is essential to read over your canner’s instruction manual before use. Different canners are different sizes and may have varying needs, like the amount of water added.
Grease your canner and check for blockages. Before using your canner, it is a good practice to grease or oil the lip of the pot and the rubber ring around the canner. Sometimes these can become sealed together. Simply rub a little olive or coconut oil over these spots before starting your canning process. In the same stride, always check to make sure the pressure gauge opening and any other openings are free from blockages.
Adjust the recipe based on your elevation. Living at a higher or lower elevation than sea level can impact the amount of time you need to process your food. All pressure canning recipes are written for zero-1,000 ft. elevation, so adjust accordingly!

the method:
Why is cooking broth so easy? Well, you just toss everything into a pot and leave it to simmer! That’s it. The vegetables don’t even have to be cut nicely, if you are planning to compost them after. It’s one of the easiest things you can throw together in an afternoon and have ready to use for supper or in the following days.
I love to use a whole chicken, but you can certainly use chicken parts. For a really flavorful broth, you are going to want big pieces of meat. This is where the lovely fat comes from, which I tend to leave in the broth. You can choose to skim this out or wait for it to solidify and scrape out.
Once the broth has come to the flavor and color of your liking, then you are ready to pressure can chicken broth. Below you will find my full instructions for preserving chicken broth, including freezing chicken broth and storing chicken broth in the refrigerator.

final thoughts:
Below you will find instructions for preserving your broth, including pressure canning, freezing, and storing in the refrigerator.
Enjoy!
xoxo Kayla
similar recipes:
DISCLAIMER: This is not a tested and approved canning recipe. This is my own personal recipe and it is potentially unsafe for canning. Please can this with caution and understand the signs of food that has gone bad. This is a LOW ACID FOOD that needs to be pressure canned. Do not try to can this recipe in a hot water bath canner.
From Scratch Chicken Broth (with Pressure Canning Instructions)
")
Ingredients
- 3 lb (1.4 kg) whole chicken
- 1 large onion, skin removed and chopped into quarters
- 3 large carrots, chopped roughly
- 5 to 6 medium stalks of celery, chopped roughly
- 1 head garlic, crushed and skins on
- Mix of fresh herbs, about 8 to 10 sprigs (thyme, sage, parsley, lavender, oregano, etc)
- 2 tbsp (30 ml) apple cider vinegar
- 1 tbsp (18 g) kosher salt
- 2 tsp (6 g) black peppercorns
- 1/2 tsp grated nutmeg
- 2 quarts (1,920 ml) water, or enough water to cover the feet and vegetables
Instructions
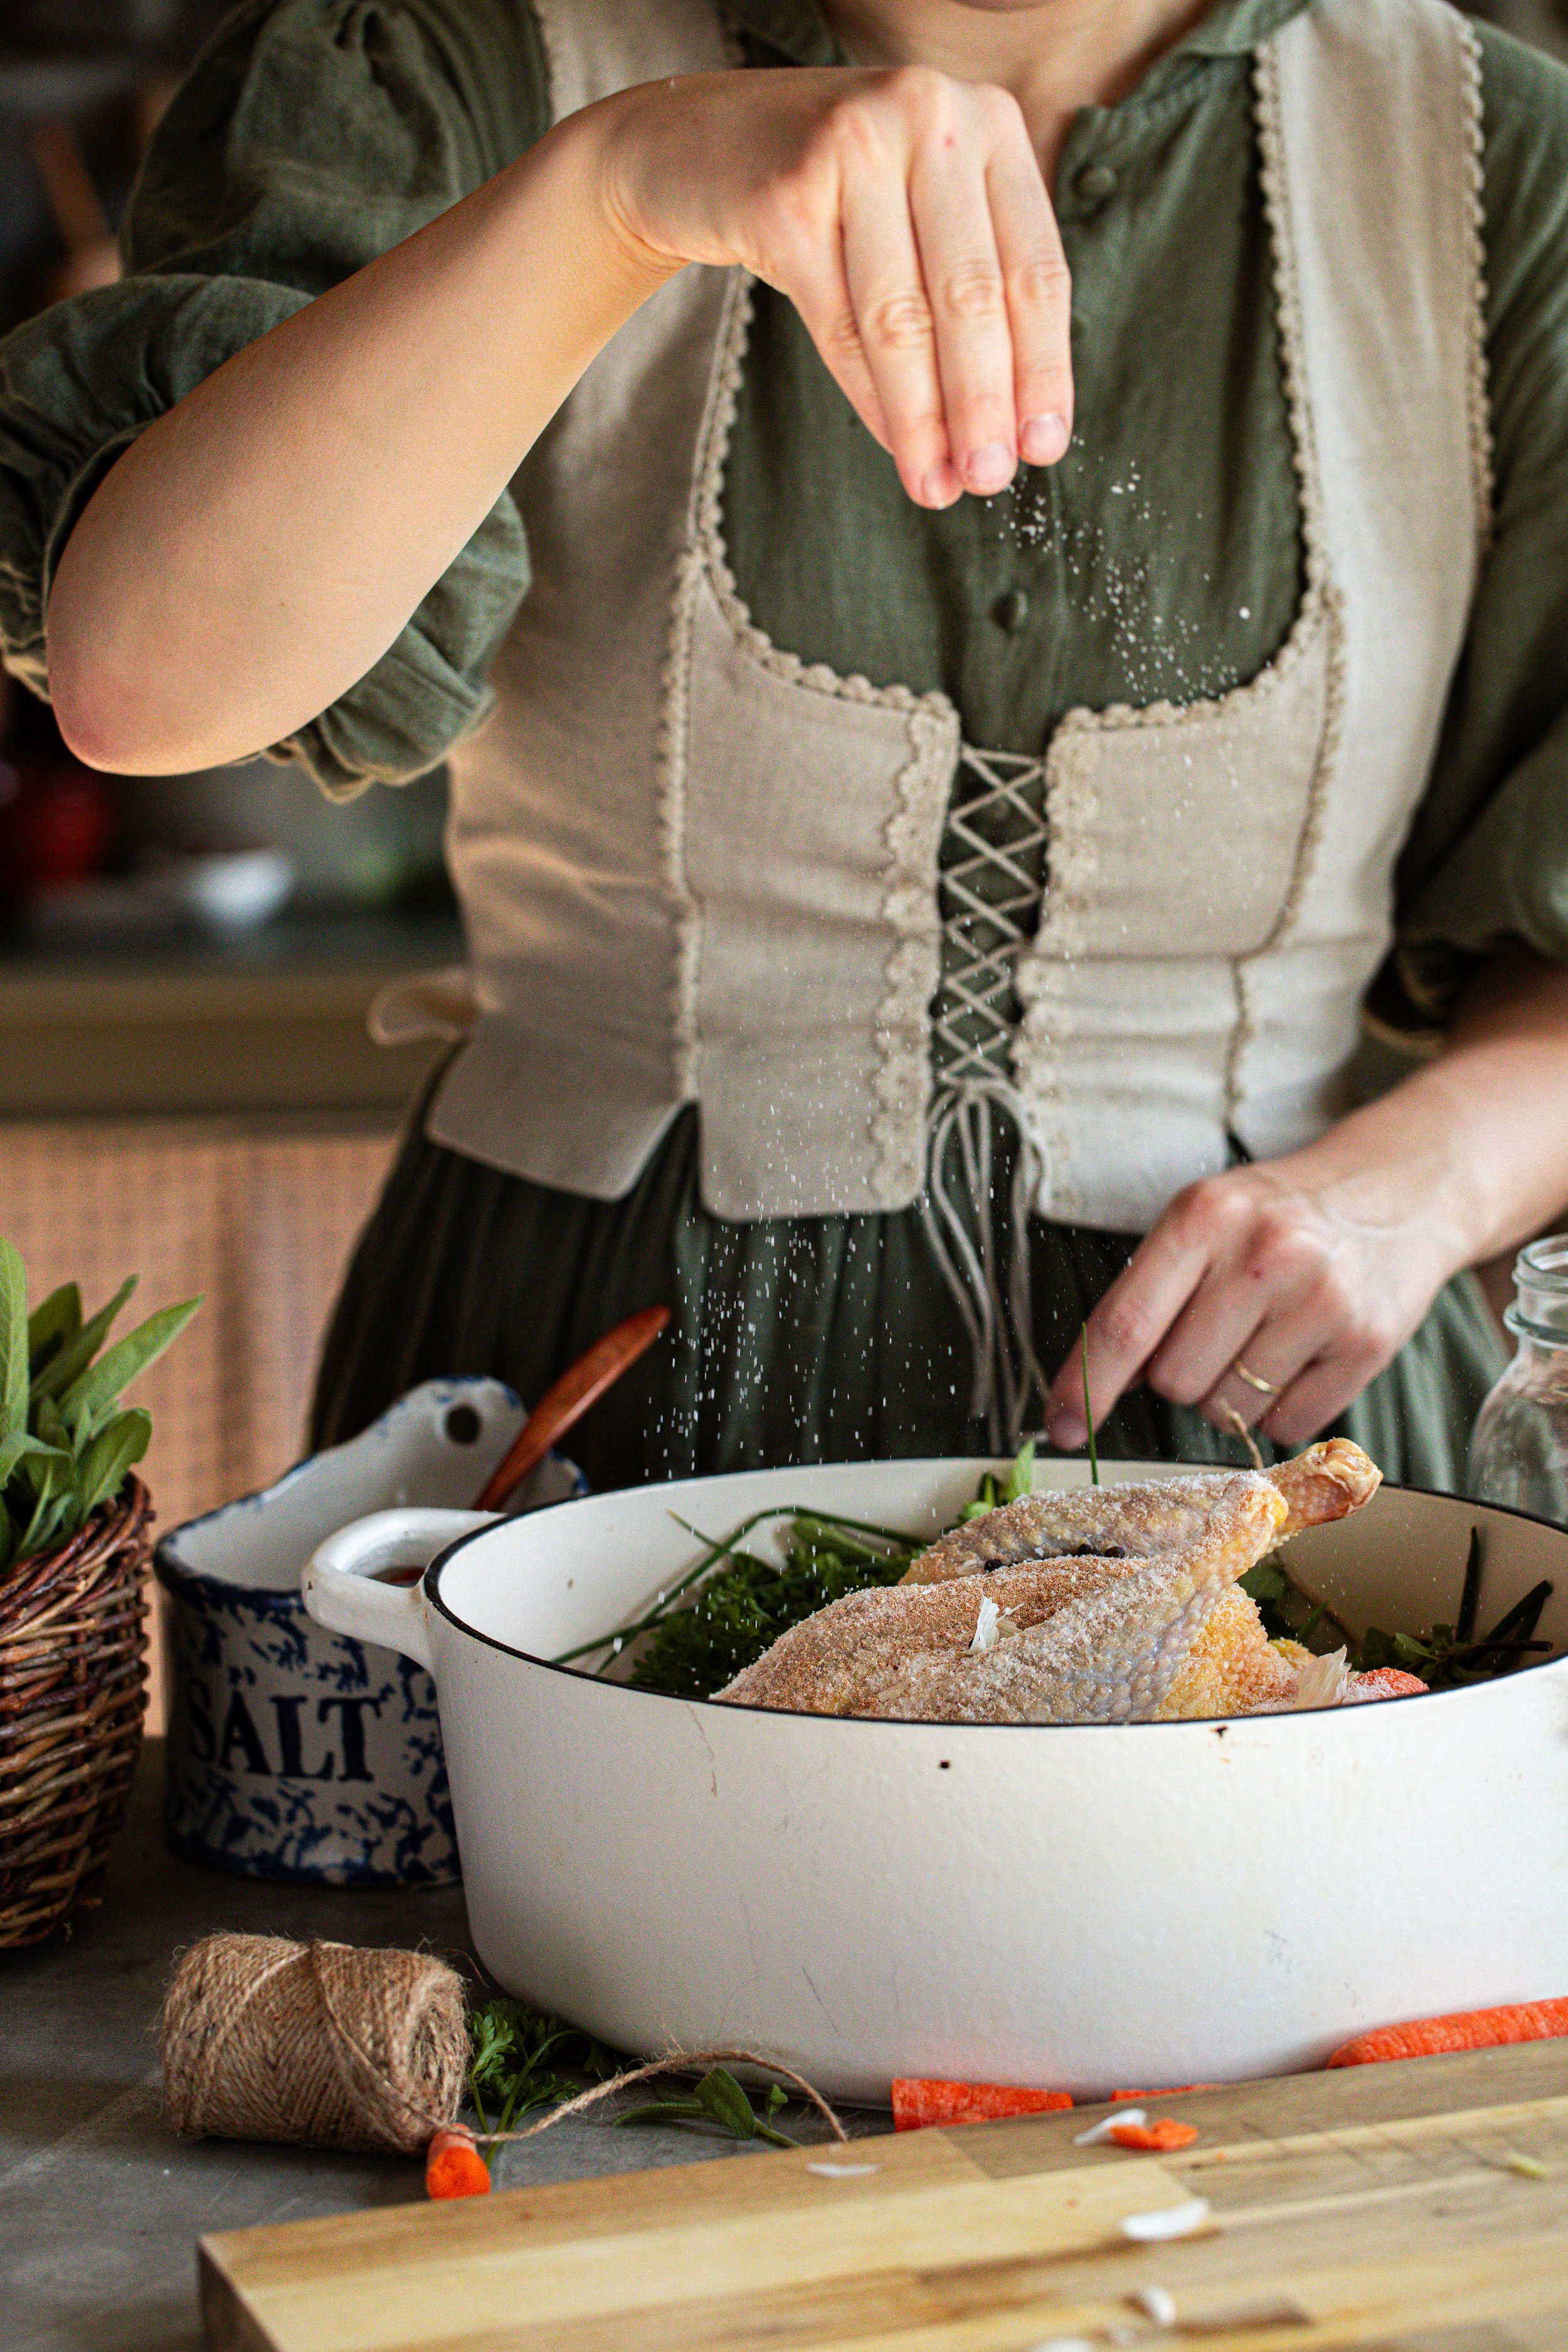
- Place a 7 quart stock pot over the stove. Add the whole chicken, the onion, carrots, celery, and garlic. Tie any fresh herbs you are using into a bouquet Garni, or tie them together with twine, wrapping around them entirely like a smudge stick but not as heavily bound. Add the herbs into the pot along with the apple cider vinegar, salt, peppercorns, and nutmeg.
- Cover the contents of the pot with the water. If 2 quarts (1,920 ml) is not enough, cover until all of the chicken and vegetables are fully covered. Bring the pot up to a boil over medium heat. Lower the heat to a simmer and cover the pot to prevent the loss of any broth.
- Continue to cook the broth for about 1.5 to 2 hours, or until the broth is the color and flavor to your liking. You may choose to simmer this broth for up to 12 hours, though it will become dark in color and thickly concentrated, creating a bone broth. Check continually, stirring a bit, and add more water if it has reduced. You want the liquid to remain at the top of the contents of the broth.
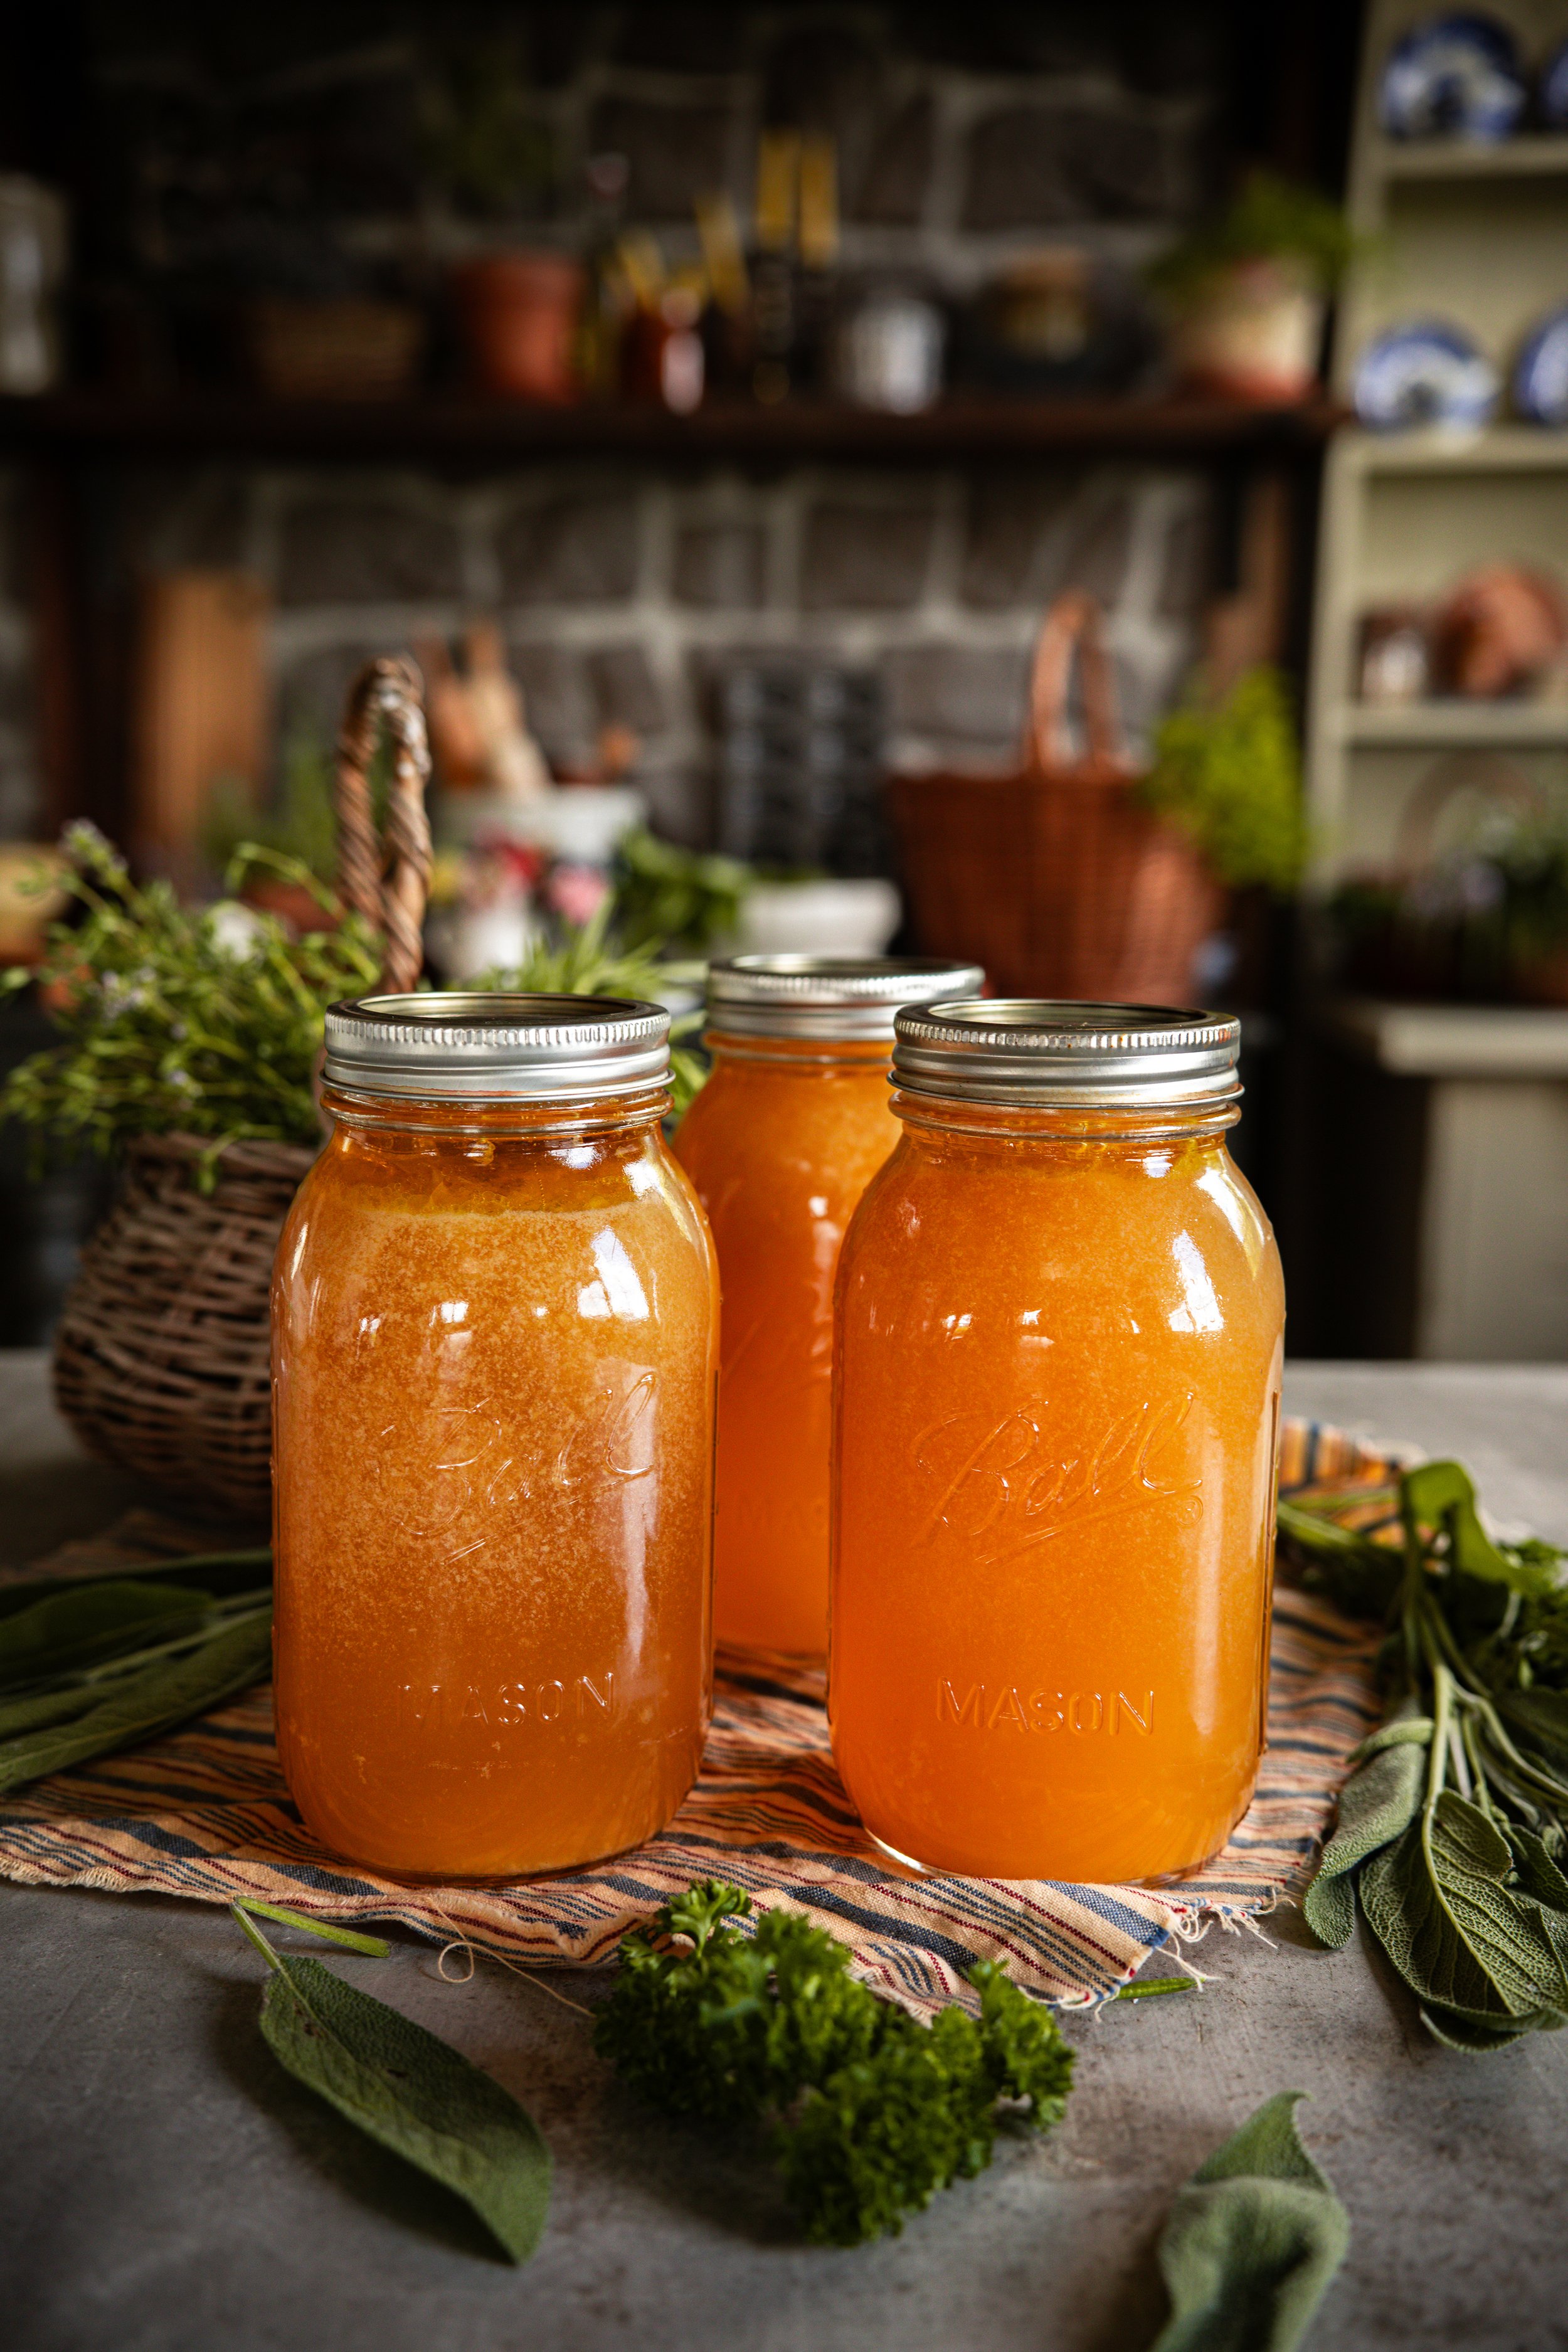
- When the broth is finished cooking, strain out the vegetables and place the broth into containers with an airtight lid. Let the broth cool to room temperature on the countertop and then place the containers into the fridge. After 24 hours, the broth will have gelled. Keep the broth in the refrigerator for about 5 to 7 days.
- Place the broth into freezer safe containers, filling to the designated freezer line. Place in the freezer and store for up to 1 year.
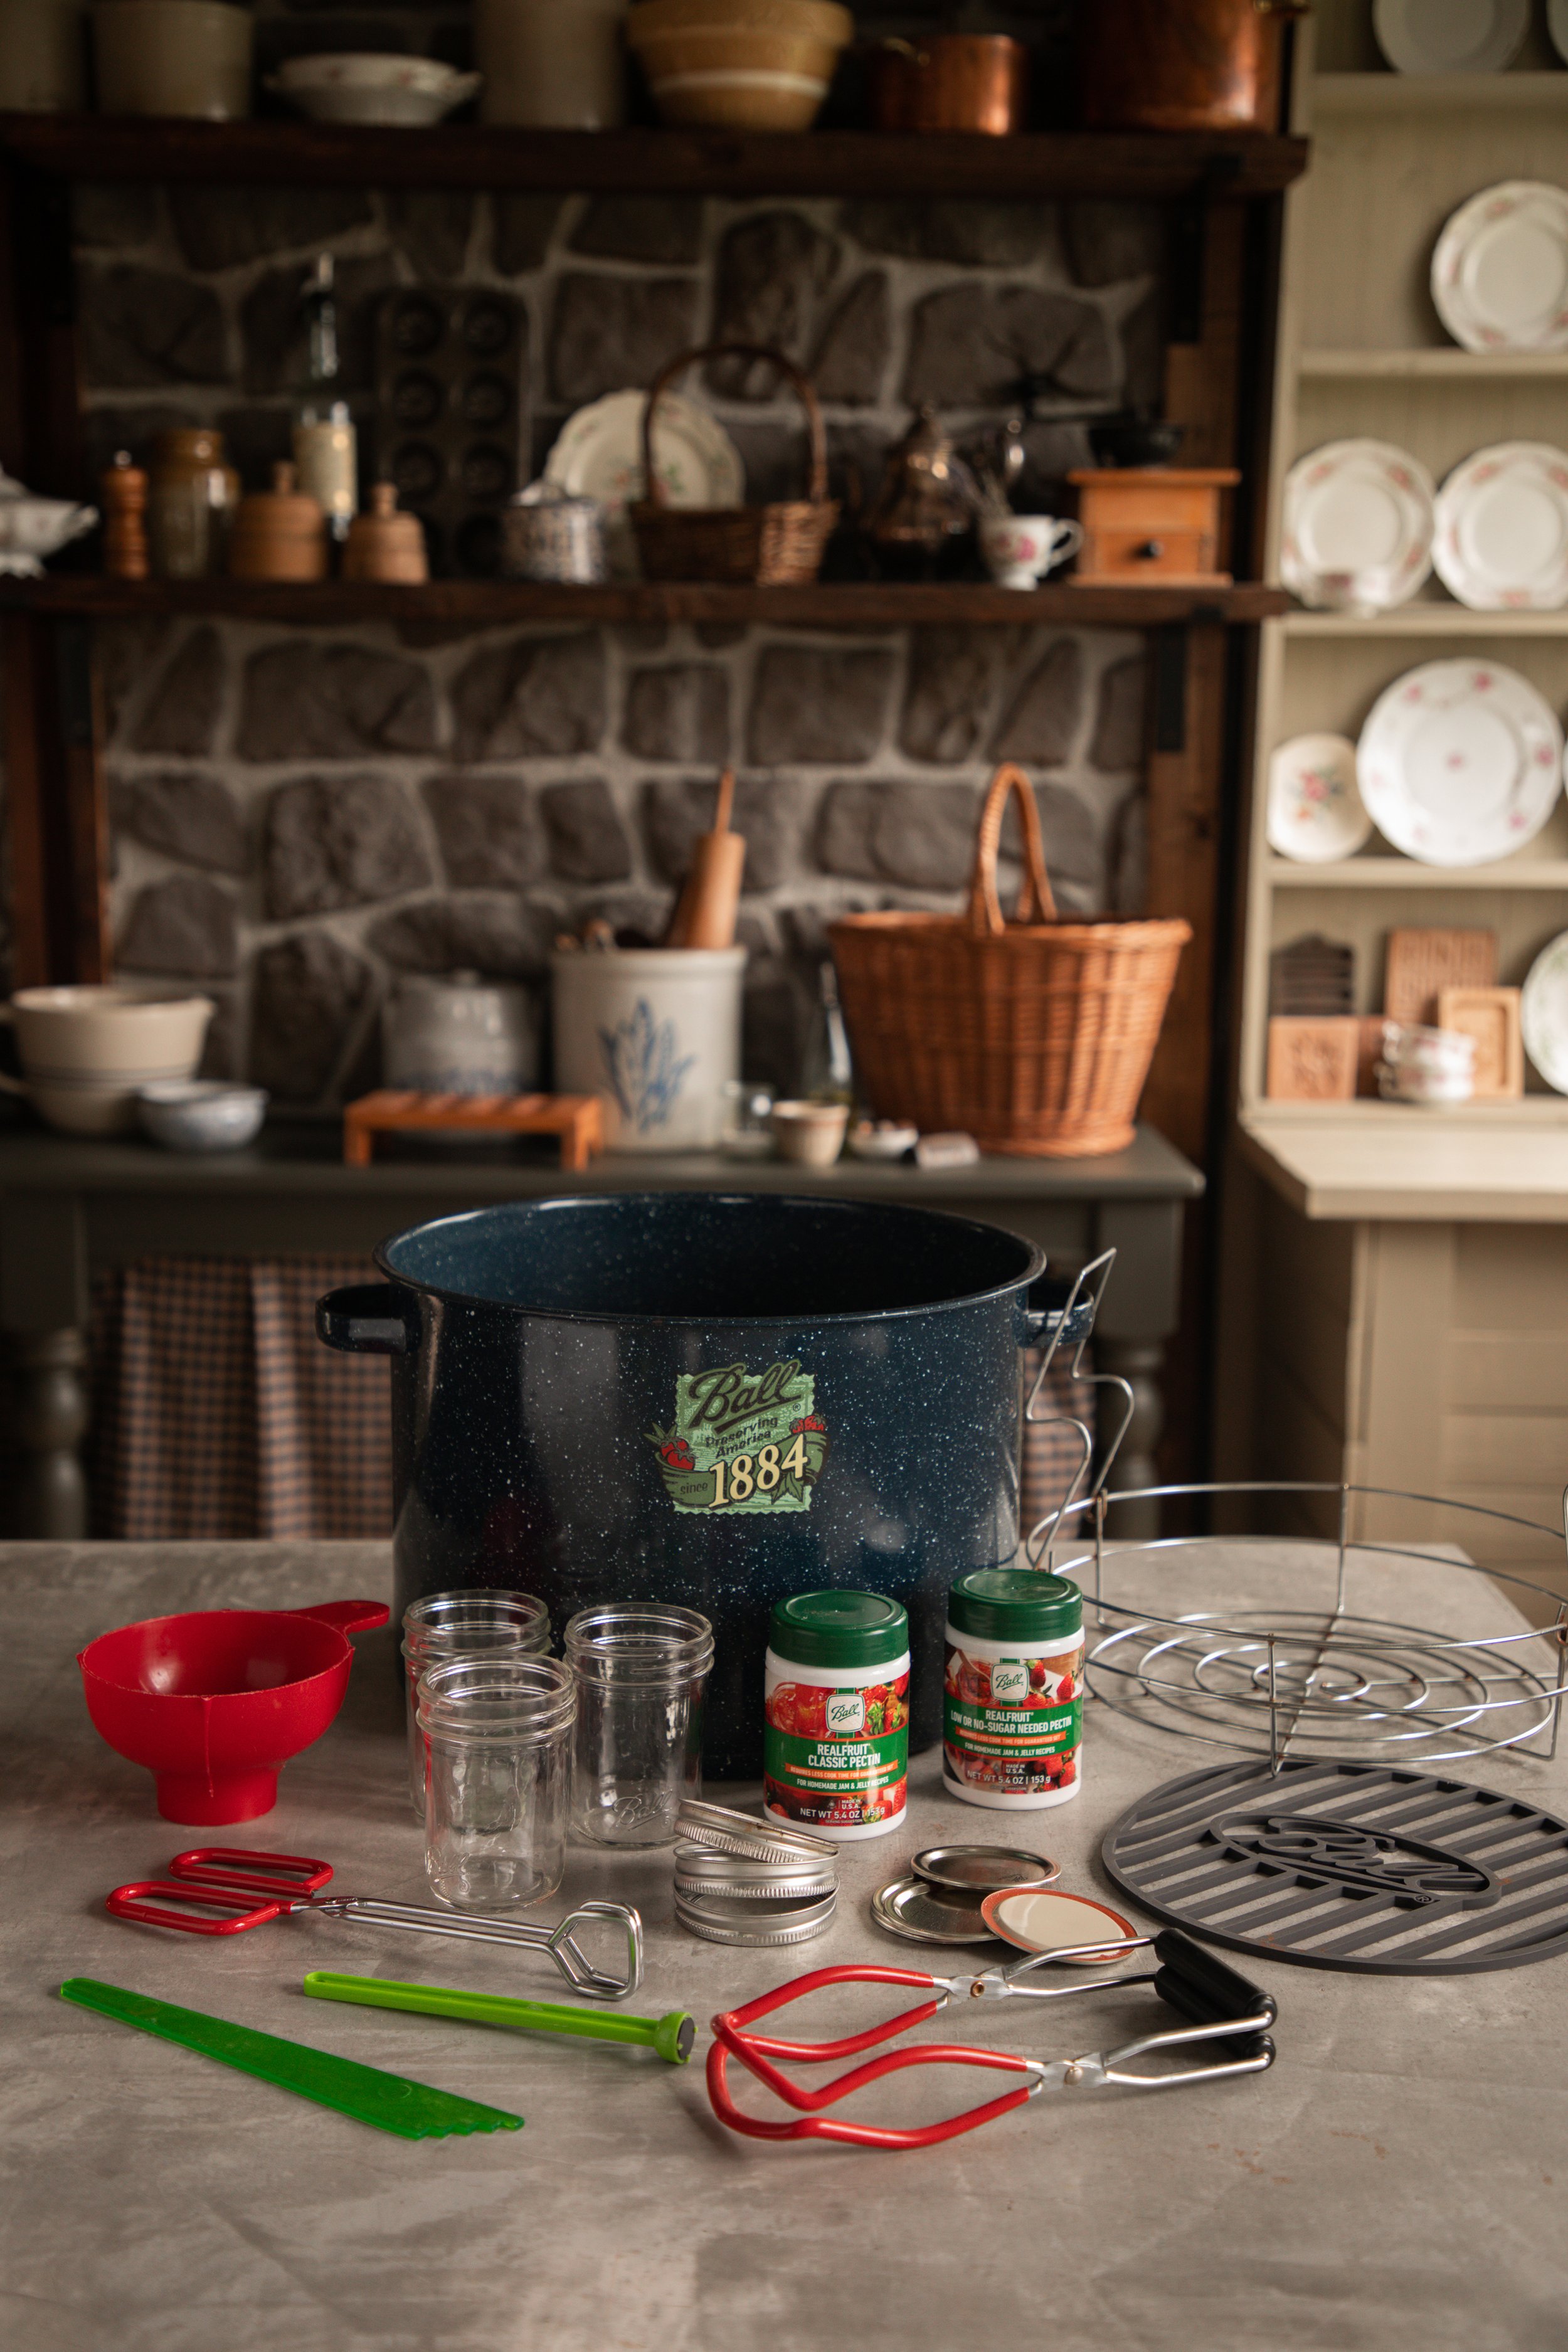
- Clean and sterilize 4 pint or 2 quart jars, lids, and bands. Place into the pressure canner with about 1 tablespoon of white vinegar. Depending upon the recommendations of your pressure canner, fill with water. The jars should be standing in at least 2-inches of water. Bring the water in the canner to a simmer and heat the jars for at least 10 minutes.
- Meanwhile, bring the strained broth back up to a boil.
- Remove a jar from the canner and fill with broth, leaving 1-inch headspace. Remove air bubbles and adjust headspace as necessary. Wipe the jar rims, apply the lid, and twist on the band to fingertip tight. Place the jar back into the canner. Repeat with the remaining jars.
- Place the lid onto the pressure canner, turn the heat on high, and let the steam vent for 10 minutes. Place the pressure gauge onto the canner and bring the pressure up to 10 pounds. Process the jars at 10 pounds of pressure, pint jars for 20 minutes and quart jars for 25 minutes.
- Turn off the heat and let the pressure drop back down to 0 pounds. Remove the pressure gauge and let the steam vent for 10 minutes. Remove the canner lid and let the jars stand in the hot water for another 10 minutes. Remove the jars and let stand until the lids seal.
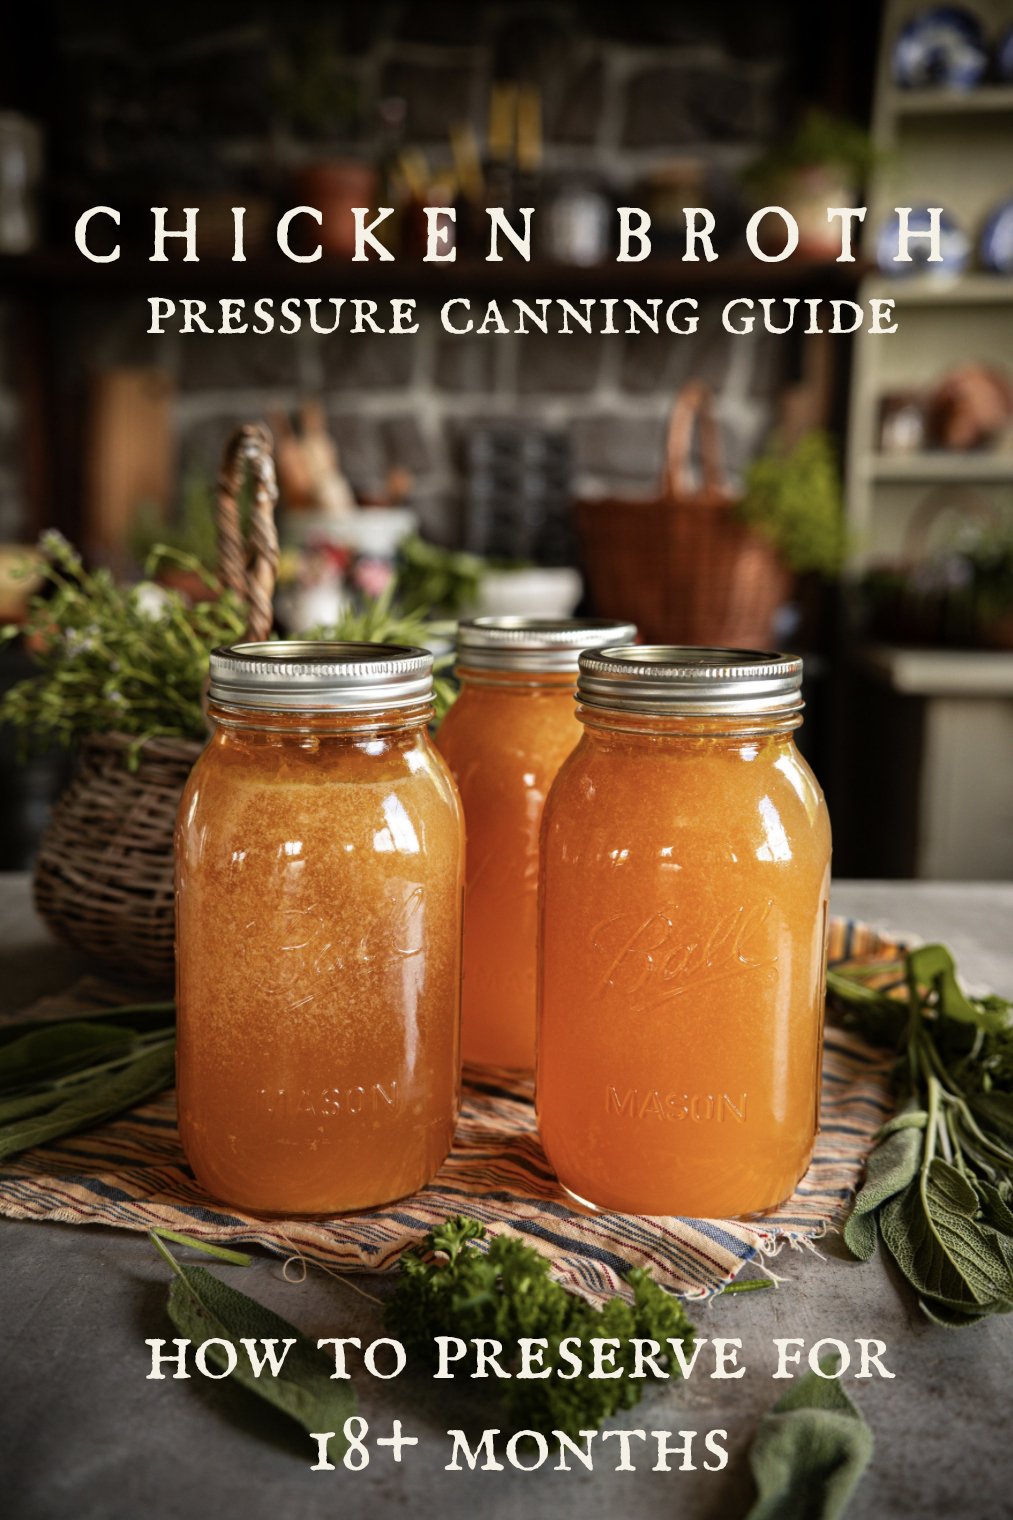
- Check the seals on the lids after 12-24 hours. Label and store for up to 18 months.
more posts you may enjoy!


This recipe was originally published in June 2023 and has been updated as of January 2024.