Home Canning & Preserving Basics
This post was originally published on March 23, 2020 and has been updated as of May 2023.
Canning has been a big part of my life and my career as a writer and content creator. After 10 seasons of teaching myself to can and now sharing my love of preserving my own food at home with others, I feel like I finally have the confidence and voice to share this incredible skill that so many have either forgotten or are too afraid to try. The one thing that I have always loved about canning is the accomplished feeling of packing away all of the food that I worked hard to grow or forage. This is a part of my annual life routine now, and I do not believe that I will ever be able to give it up, no matter where I lived!

is canning safe?
Preserving food can, of course, be scary if you are unaware of the steps needed to be taken to safely can food. You can follow all of the steps and still mess up, but the best thing that you can do for yourself as a canner is to research the signs that your food has gone bad.
When in doubt, throw it out has always been my motto, and it’s a good one to have!
The flip side to canning is that you just have to be courageous and give it a try. Humans have been preserving food for thousands of years, and I do truly believe that a lot of the scare behind home canning is how food companies market their products and lead us to believe that it is unsafe. Just as many people become ill or worse by eating contaminated store-bought foods; like I said, you need to know the signs that your food is not safe for eating and that is by following all of the canning rules and understanding what botulism is.
As I am a home canner and a blogger, I do not want to lead you to believe that I am expert on canning safety. While I have been canning for 10 years, this does not mean that I know everything about food safety. Please read these publications about home canning safety by the USDA for more information.

Basic Canning Equipment:
BOILING-WATER CANNER
A majority of the most popular canning recipes - jams, jellies, pickles, relishes, fruits, and tomatoes - can be canned with equipment you already have around your house. These items are processed in a boiling-water canner, or a hot water bath. This is not something that you will have to run out to the store and purchase if you already have a large, deep heavy-bottomed pot at home. A hot water bath canner must have a lid a rack that fits in the bottom for jars to sit on. This allows the heat to encompass the entire jar, including the bottom.
Any pot that is used as a boiling-water canner must be large enough to completely surround and immerse your jars in water. Ideally, a pot would be at least 3 inches deeper than the height of the jars being used. This allows space for the jars to be covered by at least 1 inch of water and giving them enough lift on the bottom using the rack. When the rack is filled with jars, do not remove it from the pot - lift the jars out individually! A substitute rack could be a round cake cooling rack or tie extra jar screw bands together to cover the bottom of the pot.
PRESSURE CANNER
If you are looking to heat-process low acid foods such as vegetables, meat, poultry, or fish then you will need a special piece of equipment called a pressure canner. These are tall and heavy duty with a pressure gauge and a lid that can be locked into place. I will not be talking much about pressure canners in this post.

SMALL SAUCEPAN
You’ll want to have a small saucepan on hand for simmering lids and screw bands while you boil your jars.
CANNING JARS
Glass canning jars are the only containers currently recommended for safe home canning processes. These are often called mason jars and have a unique, threaded neck designed to engage with canning screw bands and lids. The top of the jar must be smooth without chips to work with the sealing agent on the lids.
Lids are made with a special sealing compound embedded into the outer rim. To soften the compound, you simply simmer (do not boil) the lids in a small saucepan for 10-15 minutes. Lids can only be used for sealing jars once, and this is crucial. If you soften too many lids while canning, they can be used again, but a lid that has been used to a seal a finished jar can never be used to seal a jar again. You will want a steady supply of lids on hand!
The screw band, the second part of the closing mechanism, is only there to help hold down the lid while processing the jars in the boiling water. After this, it is not needed, not even for storage. In fact, keeping the screw band on your jars while storing can possibly lead to a false seal. Leaving it on can also cause the screw band to rust. These can be reused many times.
UTENSILS
Jar Lifter. This is a metal tool with a rubber outer seal used to lift hot jars out of the boiling water. They look like large squared tongs. Regular metal kitchen tongs should not be used as they can easily scratch the jars or the protective surfaces of the lids. They are also slippery and not strong enough to lift most jars out of the water.
Canning Funnel. While not entirely necessary, this tool does come in handy when filling jars with hot liquids! They are plastic and have a wider mouth opening than your standard kitchen funnel. This makes the jar-filling process easier and more tidy.
Magnetic Wand. Not a necessary tool, but a helpful one. These are small wands with a magnet on the end to carefully lift jar lids and screw bands out of hot water with ease.
Nonmetallic Spatula. Use a small rubber or silicone spatula for pressing out air bubbles in your filled jars.
Remember to use nonmetallic utensils when canning to prevent the damage of jars.

the process
HOT WATER BATH
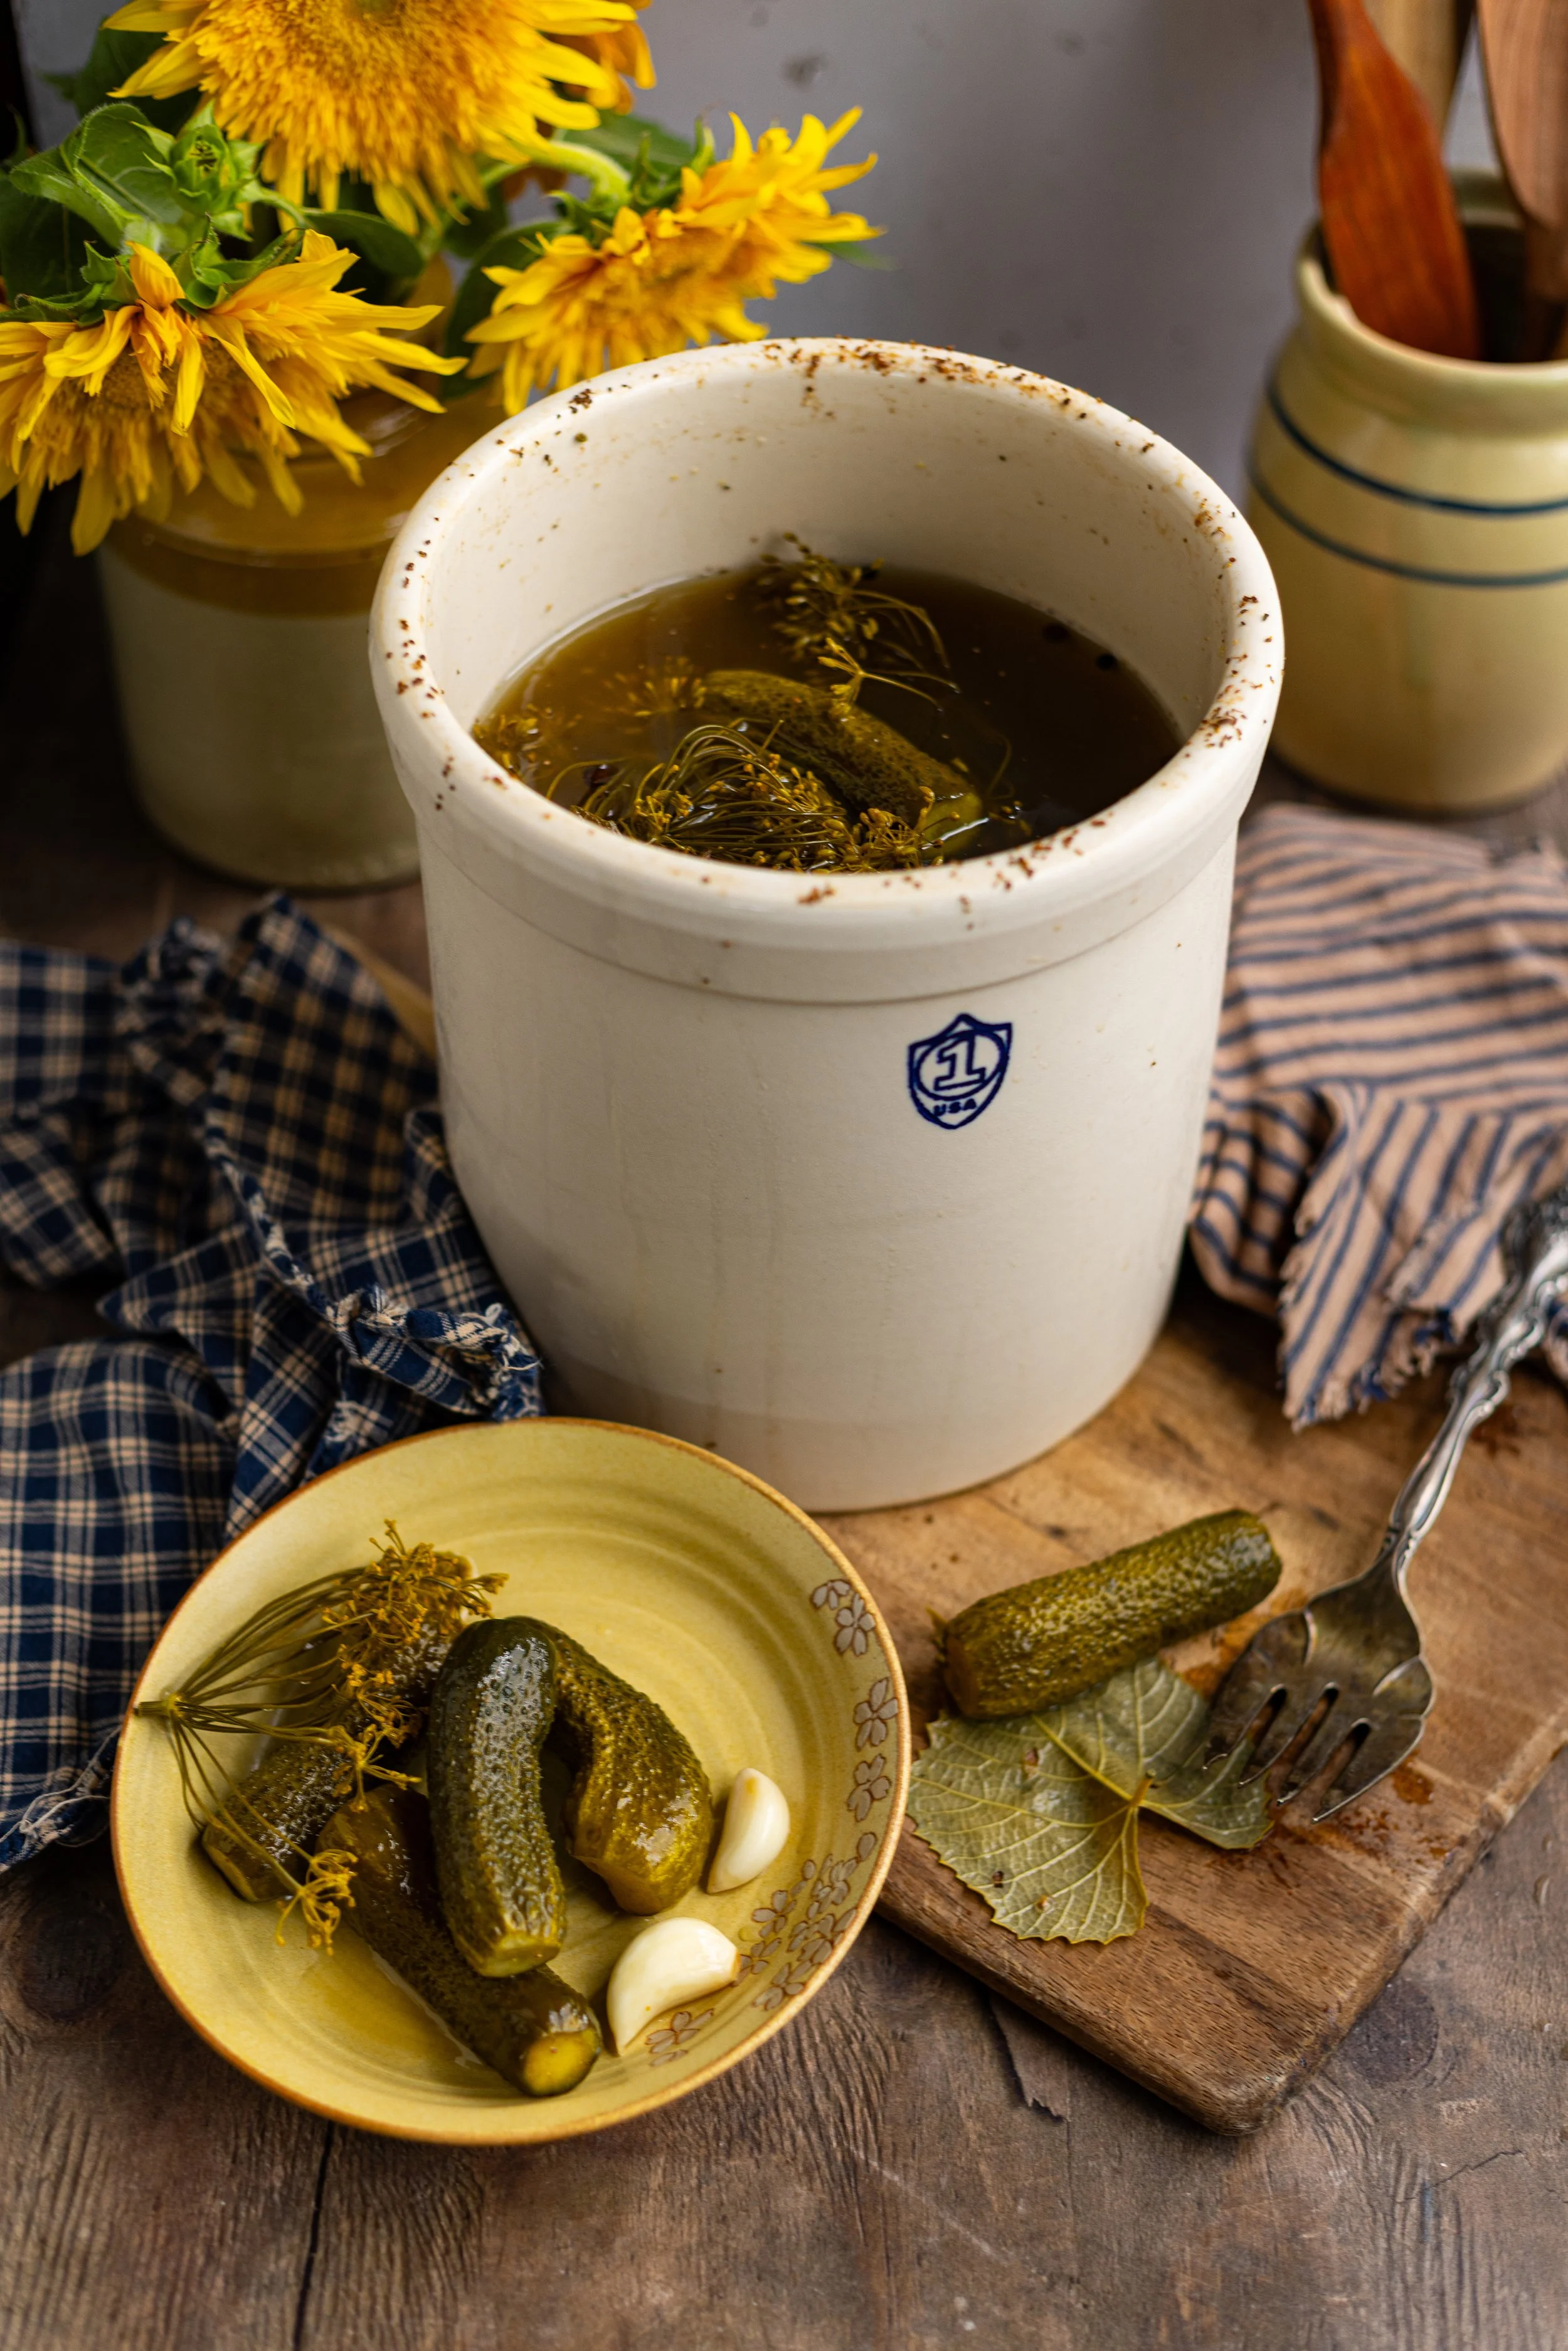
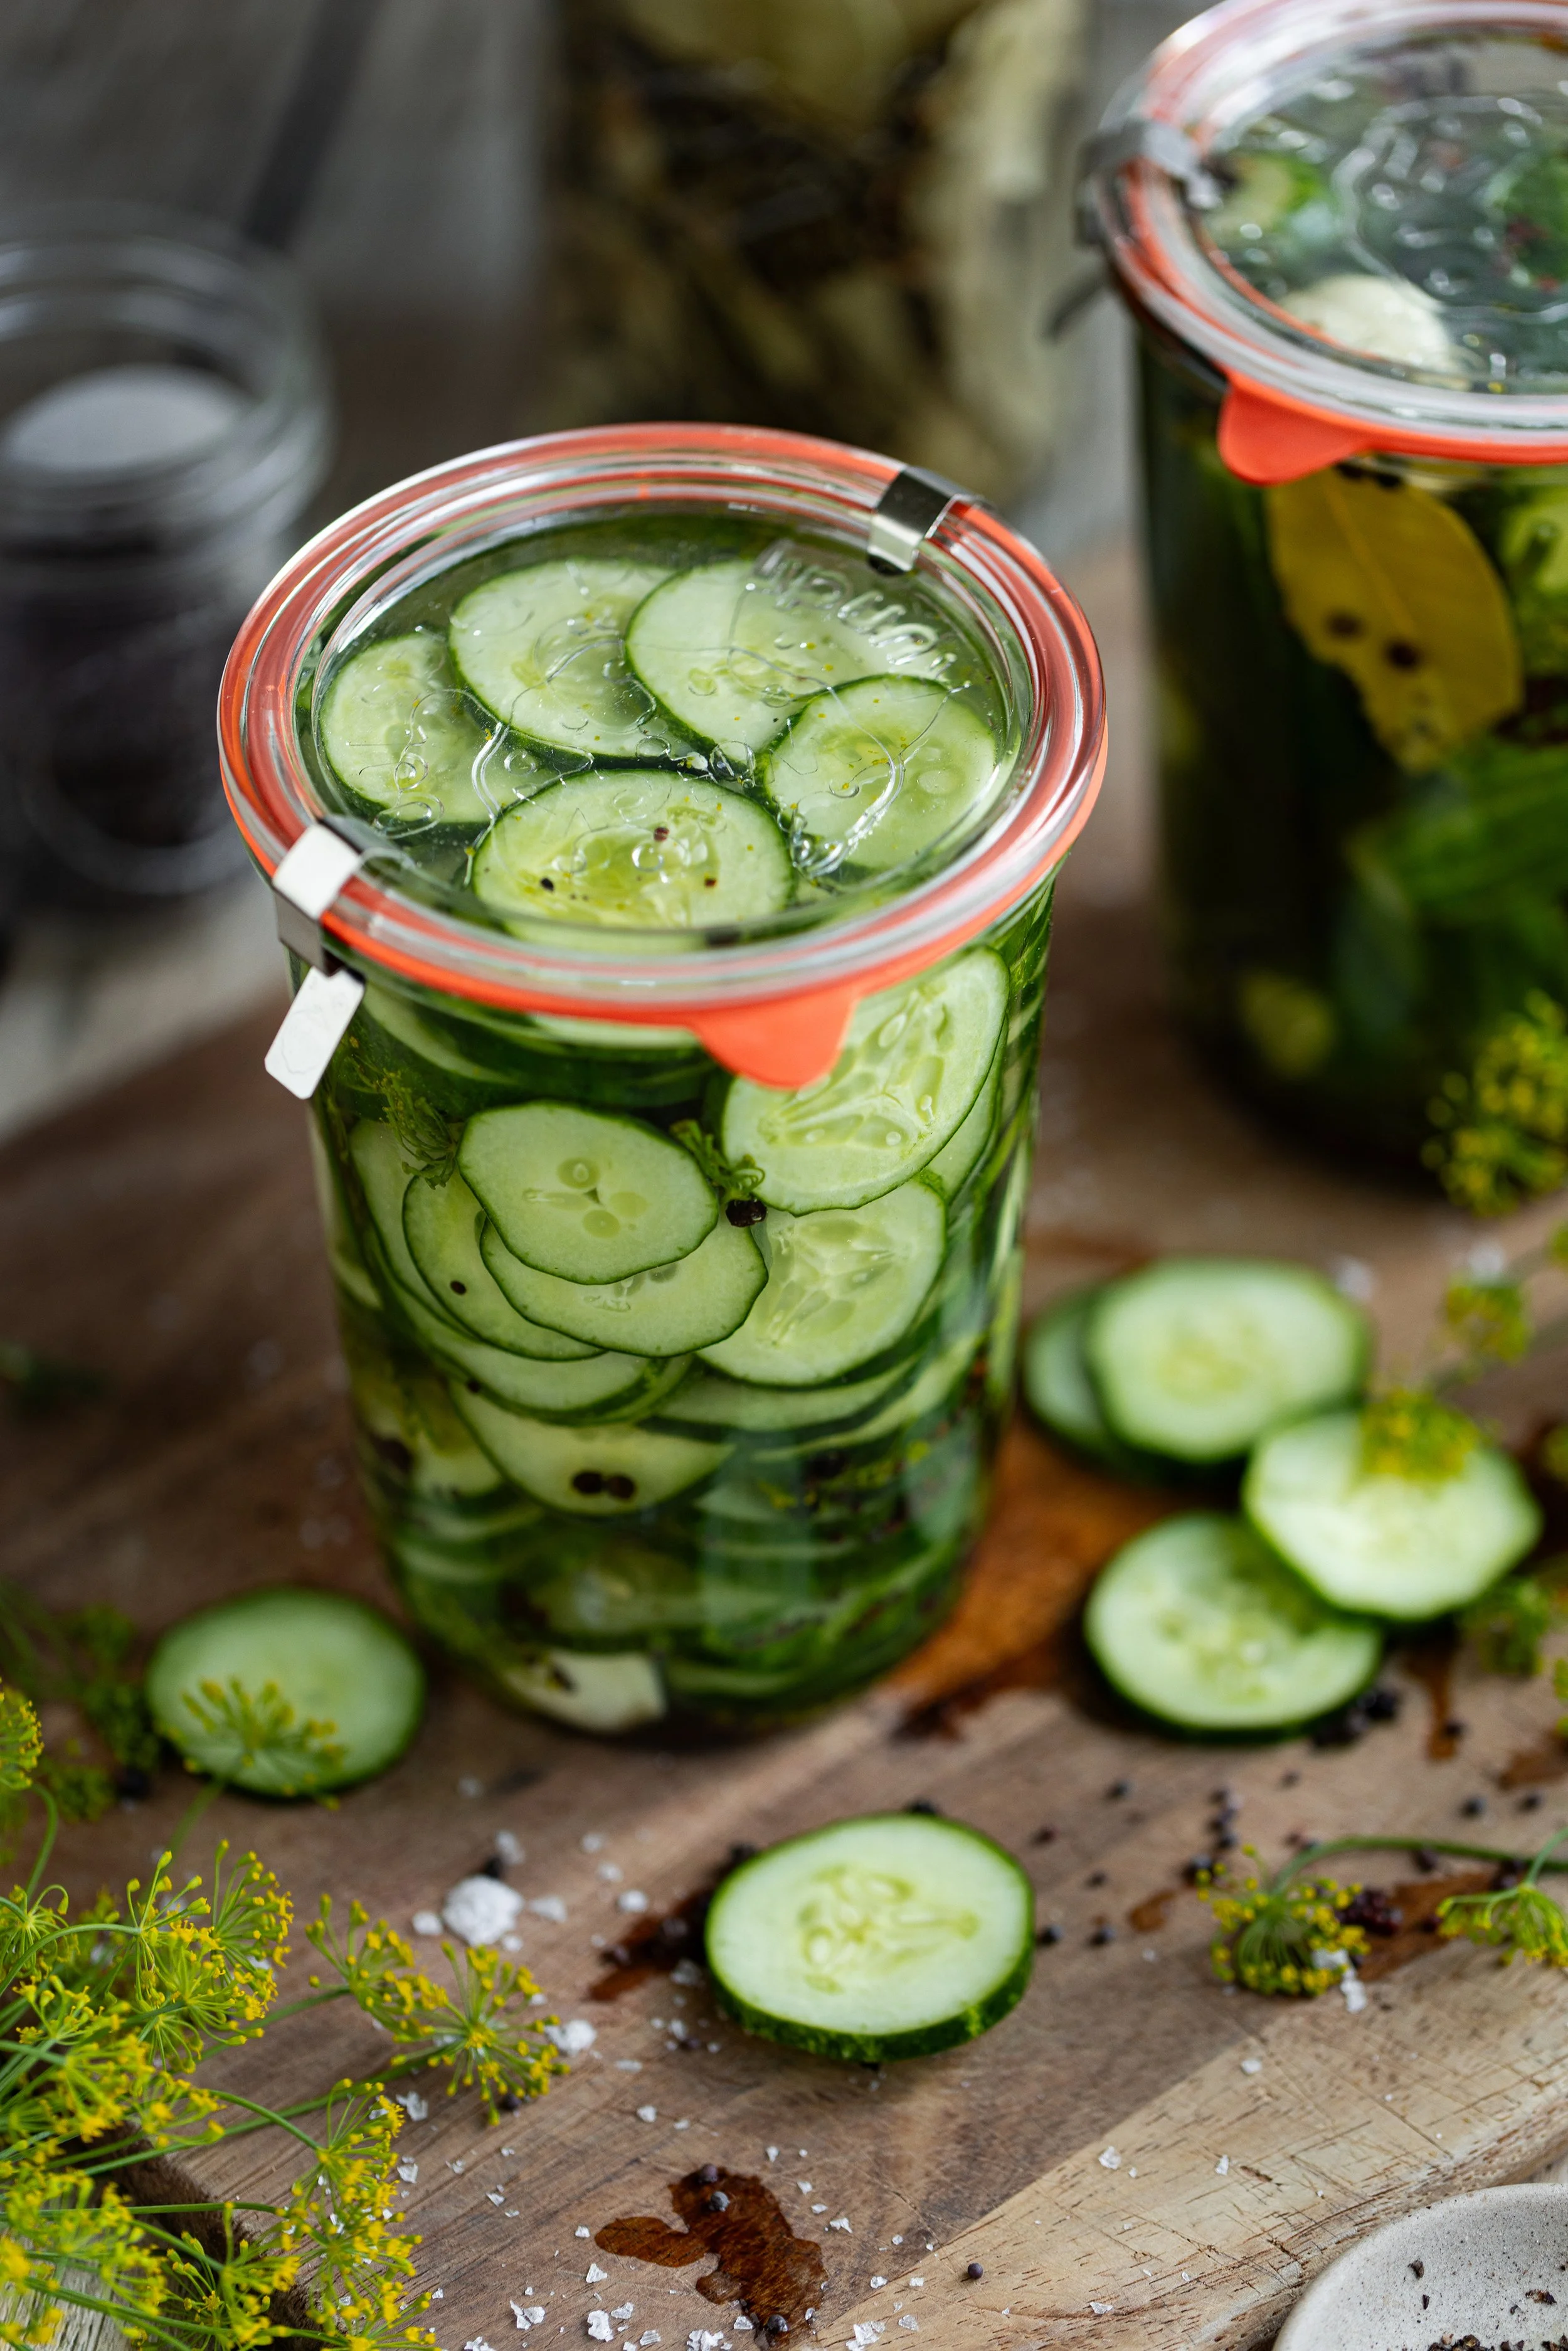
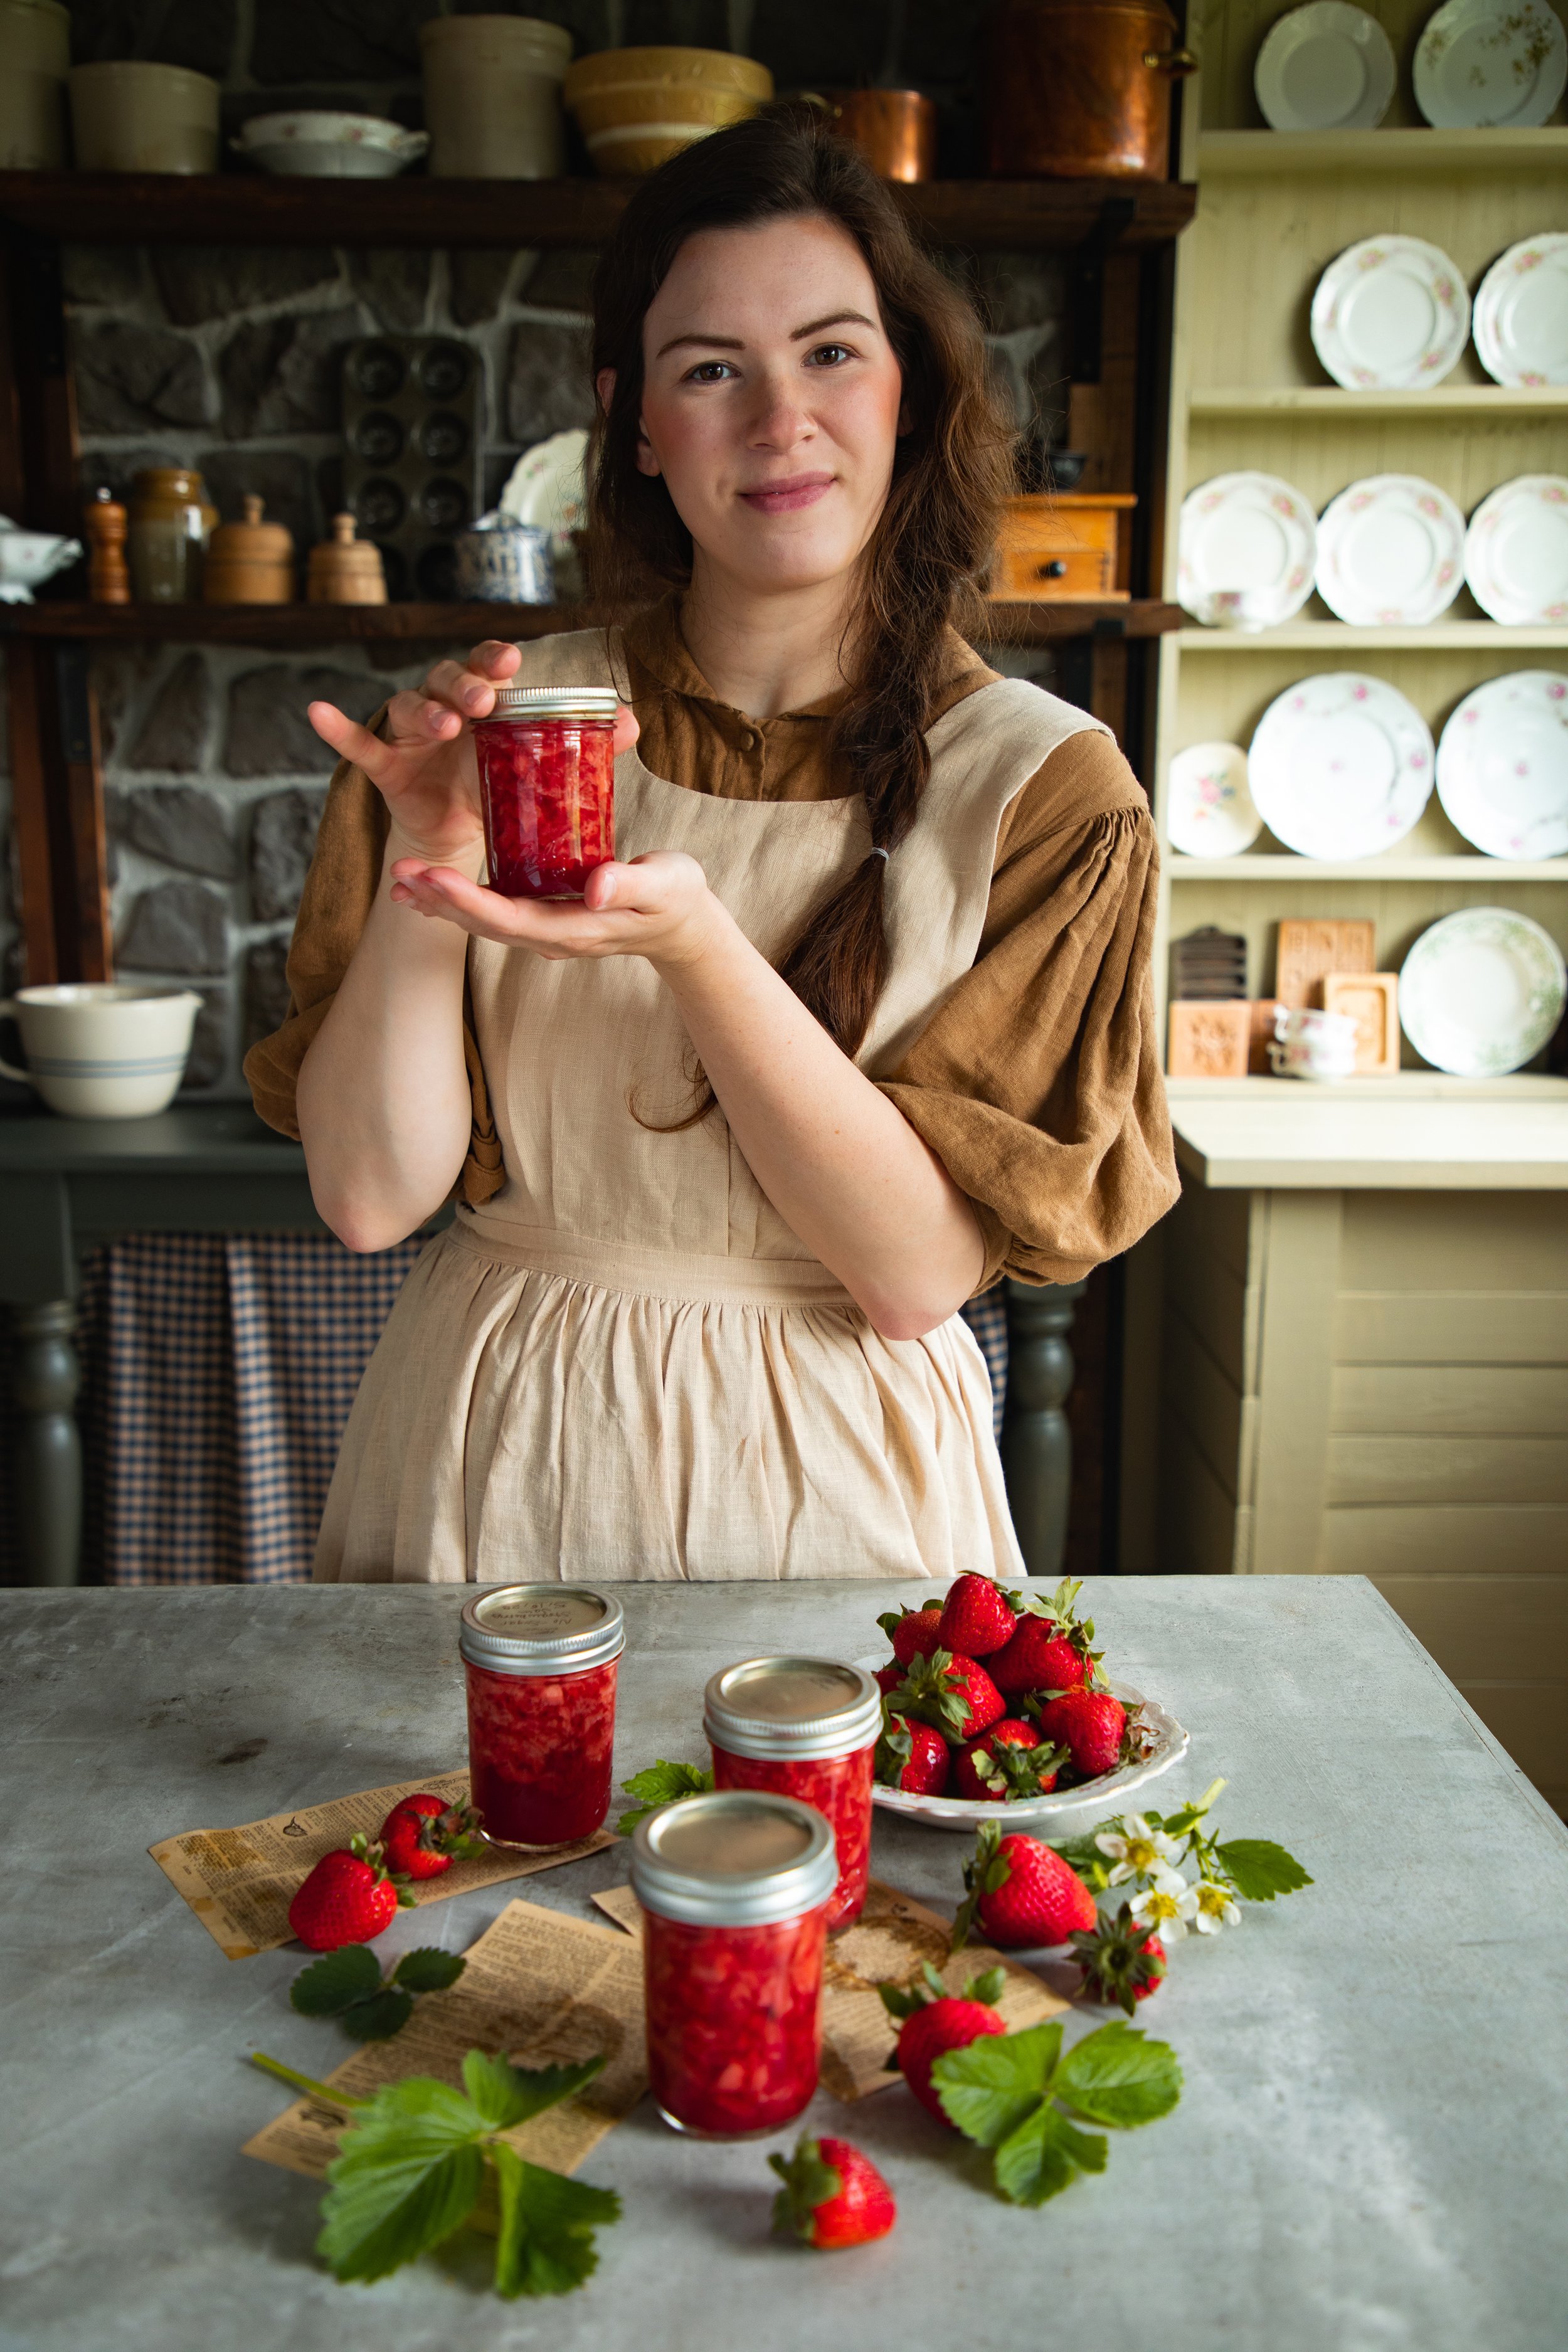
As above, this particular blog will be covering home canning using the boiling water bath method and not necessarily how to pressure can foods. Foods with high-acid content can be canned using a boiling hot water bath, which heats the jar and its contents to 212 degrees F. This includes soft spreads (jams, jellies, fruit butters, conserves, preserves, and marmalades), fruits and fruit juices, salsa, relish, chutney, condiments (ketchup, chili sauce, barbecue sauce, mustard, vinegar), pickles, and basic tomatoes.
When preserving high-acid foods, please follow these simple steps:
Clean the jars and closures. Carefully inspect the jars and closures you are about to use for any scratches, nicks, cracks, uneven rim surfaces, or any other damage. Wash in hot water with a mild soap and rinse well. There is no need to dry them.
Heat the jars. This does not have to be your first step, depending on what you are cooking. Fill your canning pot with water and a few tablespoons of distilled white vinegar (this helps to keep the jars from becoming frosty/clouded). Place a rack in the bottom the required number of mason jars for your recipe on the rack. Cover the canner and bring the water to a simmer over medium-low heat. Keep jars hot until you are ready to use them. The key is heat - everything should be nice and hot for this to work!
Prepare the closures. In your small saucepan with a few teaspoons of vinegar, place the lids and cover with water. Bring to a simmer and do not boil. Keep hot until ready to use.
Prepare your recipe. If your recipe takes longer than 30 minutes to prepare, wait to heat the jars and lids until you have reached the booking stage.
Fill the jars. Using a jar lifter, remove the jars one at a time, pouring the hot water back into the canner. Place the jar on a heat protected surface. Place the funnel in the jar and ladle the prepared hot food into the jar until it reaches the recommended headspace for the recipe. This is usually anywhere between 1/4-1/2 inch.
Use the nonmetallic spatula to remove any air bubbles in the food. Press it around inside two or three times. Adjust headspace as needed.
With a clean towel, wipe the rims of the jars to remove any food that may have fallen. This could cause a false seal.
Place the lids, centered, on top of the jar. Apply the screw band with your fingers until resistance is met, then increase to fingertip tight. Do not over-tighten or use a tool to do so. This could also result in a false seal.Process the jars. Return the filled and sealed jar to the canning pot. When all jars are in the canner, adjust the water level in the canner if needed so that the water is at least 1 inch above the tops of the jars. Cover the canner and bring the water to a rolling boil, or a hard continuous boil. Begin counting the processing minutes when this happens.
Cool the jars. When the processing time is over, turn off the heat and remove the canner lid. Allow the jars to sit in the hot water for 5 minutes. With the jar lifter, remove the jars one at a time to a heat-protected surface. Do not dry jars or lids - it will evaporate quickly. Place upright in a draft free space for at least 24 hours. This is when you can listen for the familiar pop! of the lids, but you may not notice it. After 24 hours, check the seal by removing the screw band and lifting the jar by the edges of the lid a few inches off of the counter. If the lid does not fall off, then the seal is good! If the lid falls off, it must be reprocessed or refrigerated immediately. Use unsealed refrigerated products within a few days of making.

storage
Jars that have proper seals should be properly labeled before storage with the name of the food product and the date it was made. If you did not add vinegar to the water of your canner, then you can use a wet washcloth dampened with vinegar to wash the outside of the jars. Remove the screw bands and store.
Store finished canned foods in a cool, dark place such as a pantry or cupboard. Basement storage works the best as they are cooler and offer consistent temperatures. Do not store jars in a place with elevated temperatures. Do not stack jars on top of one another. For the best quality product, eat within one year of processing. Foods stored for longer than one year may not necessarily be bad, but the flavor, color, and texture of the product could have changed overtime. Most lids are only recommended by canning companies to work that long as well, though they can work longer.

BEFORE EATING
Always inspect your jars before opening and eating to see if the finished product has gone through any visual physical changes. Do not use, no matter what, any product that has become unsealed or shows signs of spoiling.
Spoiled food occurs when the gases produced cause the lid to swell and breaks the seal. This can be anything from mold, gassiness, cloudiness, fermentation, yeast growth, seepage, spurting liquid, slime, or foul odors. I tend to trust the seal, but I always smell my canned goods before using. If it smells strange or looks strange, I throw it out! One thing that I have learned over the years is that food that is raised above the level of liquid in the jar that siphons out while processing (for example: corn canned in water or peaches canned in syrup) does become discolored but it is generally still safe to consume.
The fear of eating home canned goods is contracting botulism. This is a severe food poisoning caused by eating bacteria growing in improperly canned foods. It is rare to occur, but is something quite serious and should be well-known by all home-canners. Symptoms include: weakness of muscles that control the eyes, face, mouth, and throat. This can spread to the arms, neck, torso, and legs. It can lead to respiratory issues where the muscles used to breathe are weakened and result in suffocation.
Please be safe and read these publications by the USDA about safe canning practices.
These are the most basic rules of home canning, but there are several other factors that should be researched as well before getting started such as adjusting for altitude, gel stages, acidity levels, cooking times, and yields. But for the most part, the above rules and steps will help you to get started canning something simple like jams or pickles!
So what will you can first? You can take a look through our archive of canned goods recipes, and get ready for even more this coming summer!
xoxo Kayla