Making and Preserving Bone Broth with Chicken Feet
On our farm, we butcher our chickens to eat fresh and preserve for eating throughout the entire year. Because we do this ourselves (raising, slaughtering, and butchering), we try our best to use all of the parts of the animal that we can in our home kitchen and our gardens. While there are many parts of the chicken that can be used on the homestead, today we are talking about the feet. Chicken feet are entirely useful and highly nutritious. They are considered a delicacy in many countries, though it is altogether unheard of to eat these collagen-rich goldmines in the American kitchen.
I have yet to meet anyone who has cooked with chicken feet, though I am certain almost everyone has eaten a chicken foot without even knowing it. This is byproduct that is used in many different commercially made food products. This simple fact makes me think of the episode on Victorian Farm where historian Ruth Goodman reminds us all that, if you eat pork, you have most definitely eaten eyeballs!
Chicken feet consist of bones, skin, and tendons, but no muscles. This makes them fully packed with high levels of protein, calcium, collagen, and cartilage that are easily absorbed by our bodies when turned into broth. In fact, chicken feet are about 70% collagen! This makes a chicken foot broth excellent for muscle and joint pain, illness, and minimizing arthritis.
ingredients & recipe:
makes 2 quarts of broth
2 pounds chicken feet, about 16-18 feet
2 large onions, chopped roughly with skins on
4 large carrots, chopped roughly
6 stalks of celery, chopped roughly
1 head garlic, crushed and skins on
Mix of fresh herbs, about 6-8 sprigs (thyme, sage, parsley, lavender, oregano, etc)
1/4 cup apple cider vinegar
1 tbsp kosher salt
2 tsp black peppercorns
1/2 tsp ground nutmeg
2 quarts (8 cups) water, or enough water to cover the feet and vegetables
Directions:
Wash the feet thoroughly and remove the joint at the tips of the toes containing the nails/claws. Discard the toe tips.
Fill a large pot with enough water to fully cover the chicken feet. On the counter, fill a large bowl with cold water and ice. Bring the water to a boil. Add the chicken feet and boil for about 5 minutes. Immediately transfer the hot chicken feet to the ice bath. When cool enough to handle, begin to remove the scaly layer of skin from the chicken feet. Underneath the skin is the fleshy layer with the delicious collagen. Discard the skin.
Place the peeled chicken feet in a 4 quart dutch oven or large stockpot. Add the onions, carrots, celery, and garlic. Tie any fresh herbs you are using into a bouquet Garni, or tie them together with twine, wrapping around them entirely like a smudge stick but not as heavily bound. Add the herbs into the pot along with the apple cider vinegar, salt, peppercorns, and nutmeg.
Cover the contents of the pot with the water. If 2 quarts is not enough, cover until all of the chicken feet and vegetables are fully covered. Bring the pot up to a boil over medium heat. Lower the heat to a simmer and cover the pot.
Continue to cook the broth for at least 6 hours, though 12 is best. Check continually, stirring a bit, and add more water if it has reduced. You want the liquid to remain at the top of the contents of the broth.
If you do not want to cook the broth this long on the stovetop, you can also make this in the crockpot. Cook on low for 10-12 hours or overnight.
When the broth is finished cooking, strain out the vegetables and place the broth into containers with an airtight lid. Let the broth cool substantially, though not necessarily to room temperature, and place the containers into the fridge. After 24 hours, the broth will have gelled. Keep the broth in the refrigerator for about 5-7 days.
to preserve the broth:
If you would like to preserve your broth for use later than 1 week, it will be best to preserve its delicious. You can do this in two ways:
to freeze:
Place the broth into freezer safe containers, filling to the designated freezer line. Place in the freezer and store for up to 1 year.
to pressure can:
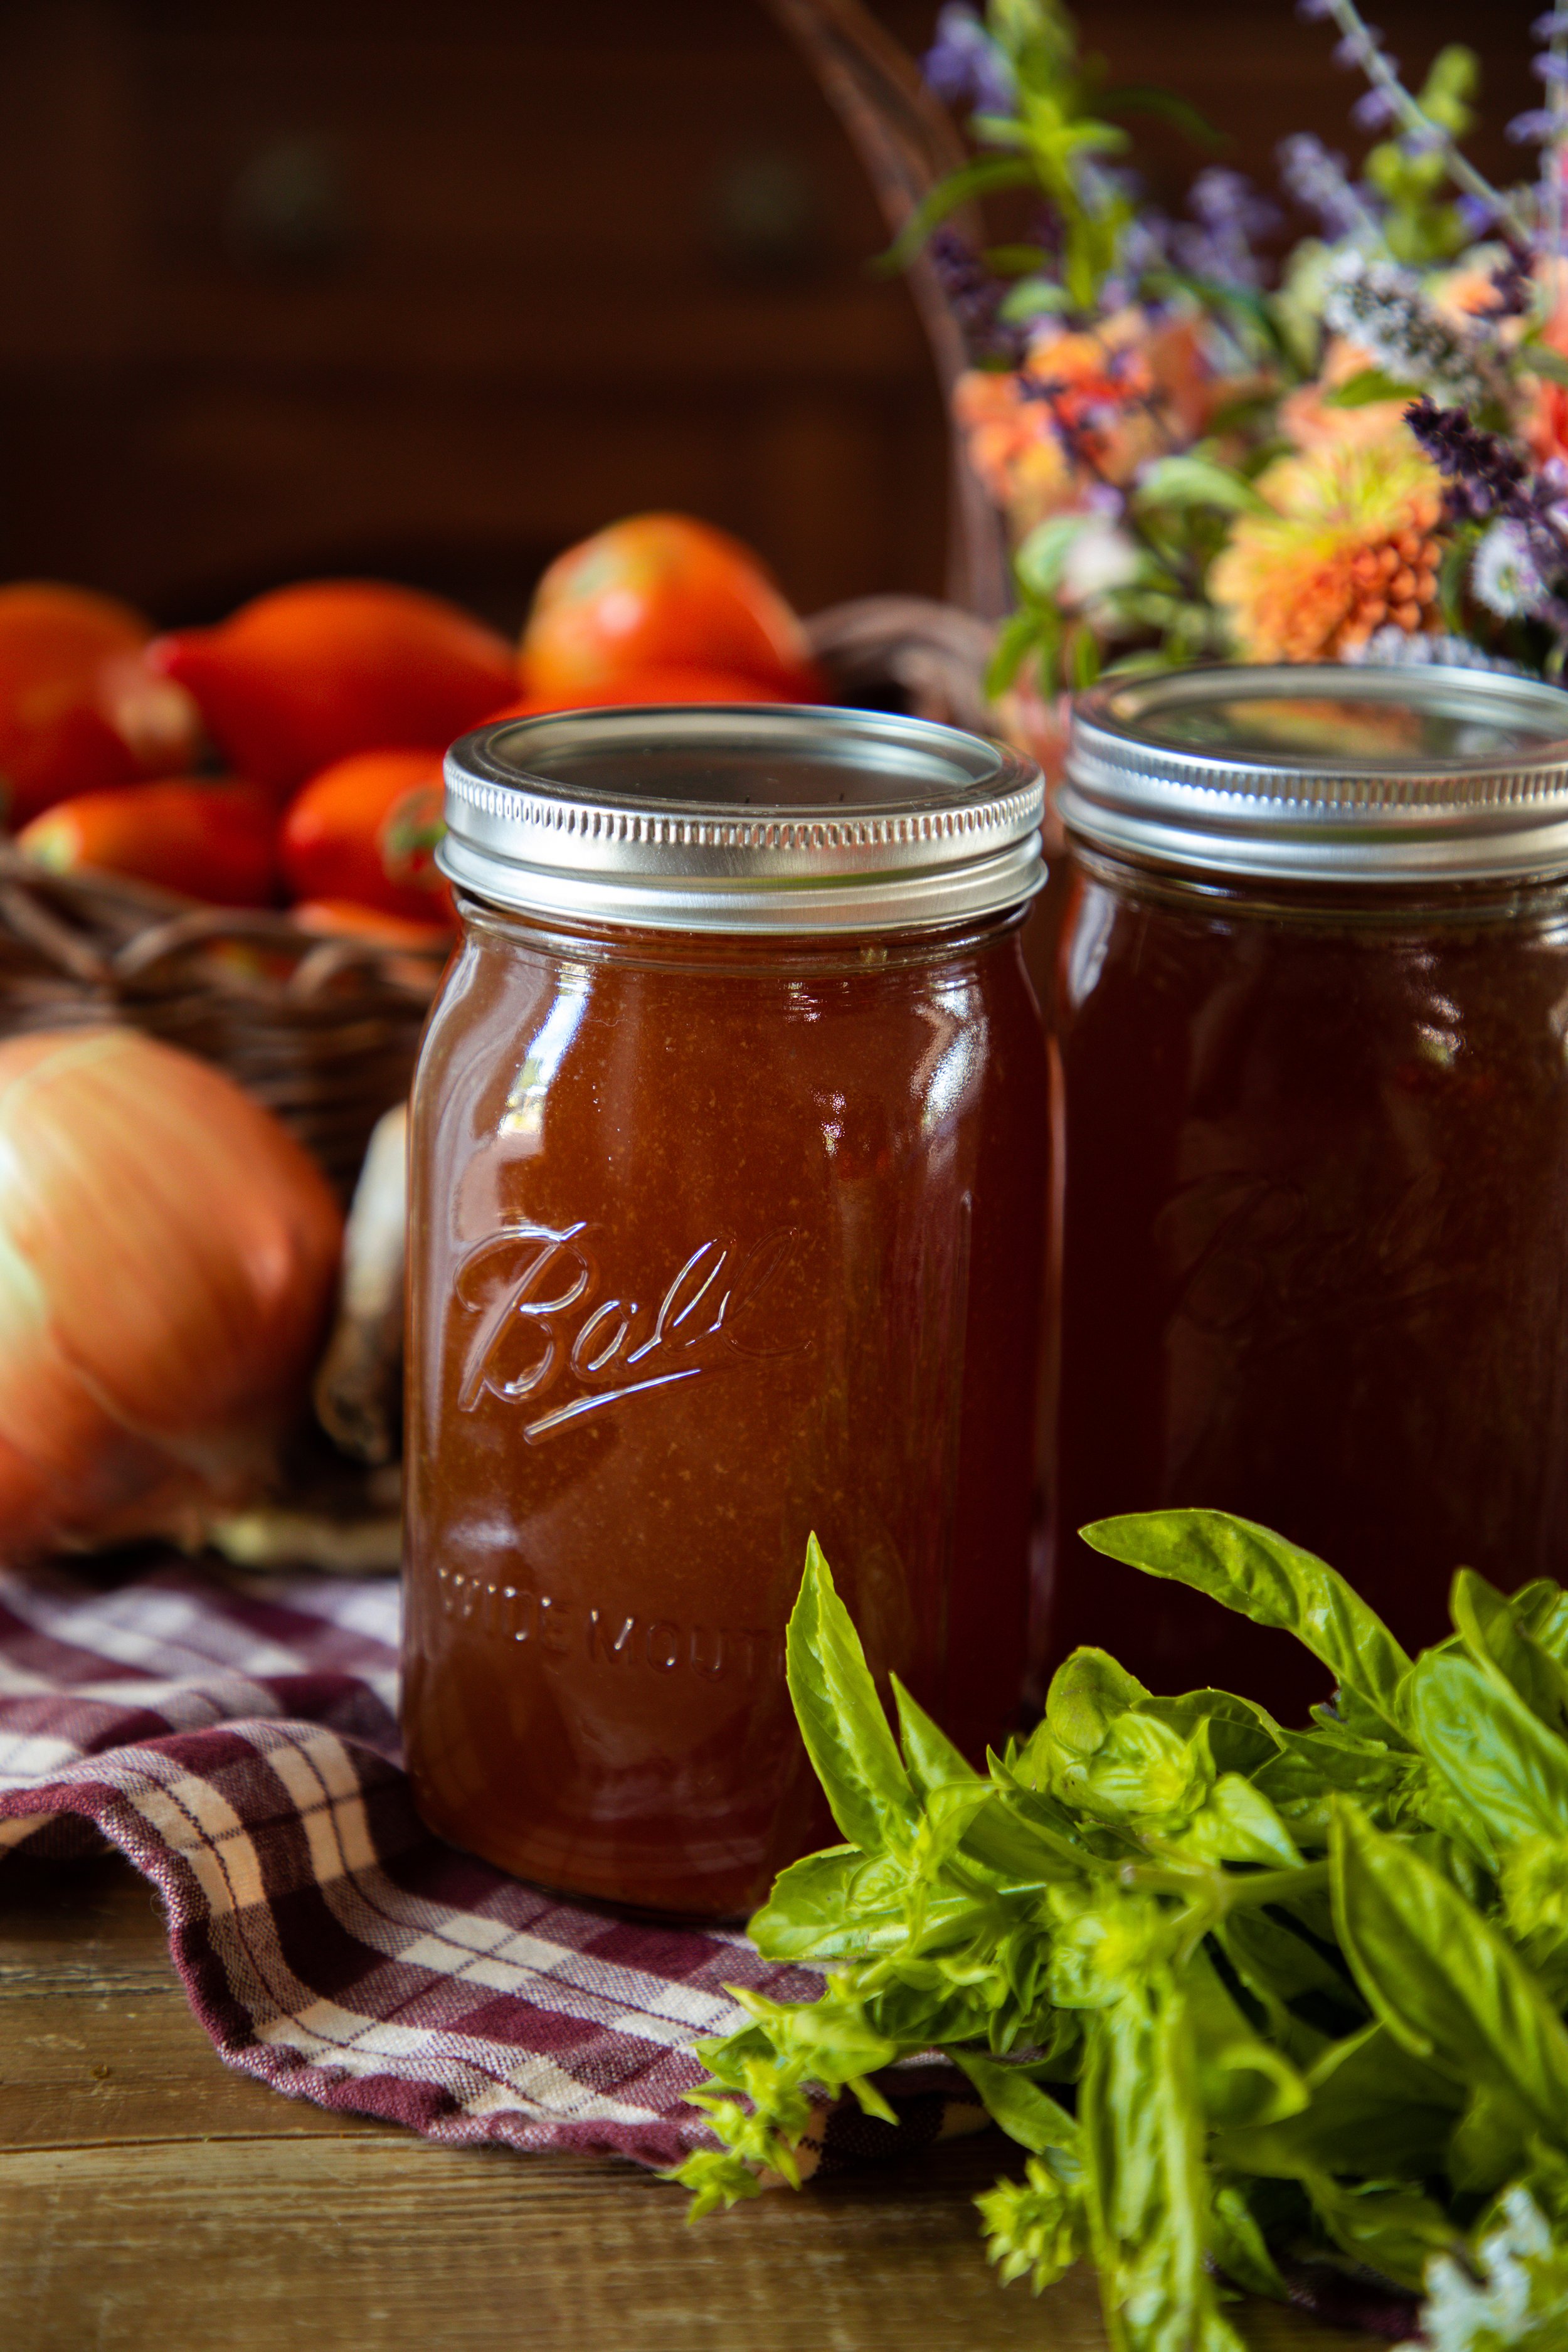
Clean and sterilize 4 pint or 2 quart jars, lids, and bands. Place into the pressure canner with about 1 tablespoon of white vinegar. Depending upon the recommendations of your pressure canner, fill with water. The jars should be standing in at least 2-inches of water. Bring the water in the canner to a simmer and heat the jars for at least 10 minutes.
Meanwhile, bring the strained broth back up to a boil.
Remove a jar from the canner and fill with broth, leaving 1-inch headspace. Remove air bubbles and adjust headspace as necessary. Wipe the jar rims, apply the lid, and twist on the band to fingertip tight. Place the jar back into the canner. Repeat with the remaining jars.
Place the lid onto the pressure canner, turn the heat on high, and let the steam vent for 10 minutes. Place the pressure gauge onto the canner and bring the pressure up to 10 pounds. Process the jars at 10 pounds of pressure, pint jars for 20 minutes and quart jars for 25 minutes.
Turn off the heat and let the pressure drop back down to 0 pounds. Remove the pressure gauge and let the steam vent for 10 minutes. Remove the canner lid and let the jars stand in the hot water for another 10 minutes. Remove the jars and let stand until the lids seal.
Check the seals on the lids after 12-24 hours. Label and store for up to 18 months.
So what do you think? Will you try cooking with chicken feet? I can’t believe how much this broth gels! It’s incredible. The trick is to add enough acetic acid into the broth while cooking at a high enough temperature. If you are pressure canning the broth, it will not maintain the gel, just so you know! I like to keep all of the fat in my broth, though you can strain this out if you prefer.
If you are in the market for a pressure canner, this is the brand that I use.
xoxo Kayla
This post contains affiliate links which help me to earn an income to support my family. Thank you for helping to do so!


