Tomato Sauce Canning Recipe and Guide: A Cozy Step-by-Step for Homemade Preserves
This post may contain affiliate links, please see our privacy policy for more information.
Updated: April 21, 2025
Put up jars of rich, homemade tomato sauce with this easy canning guide that walks you through the best tomatoes to use, safety tips, and foolproof water bath or pressure canning instructions.

Now that I grow and preserve my own tomatoes, I have my own little grocery store supply that I can dip into throughout the winter. Homegrown tomato sauce tastes so much better than any you could purchase at the grocery store, and it is made with love! In this canning guide for tomato sauce you will learn how to properly harvest, prepare, cook, and preserve tomato sauce for your own family. Whether you’re brand new to canning or a seasoned pro, this guide will help you stock your pantry the old-fashioned way.
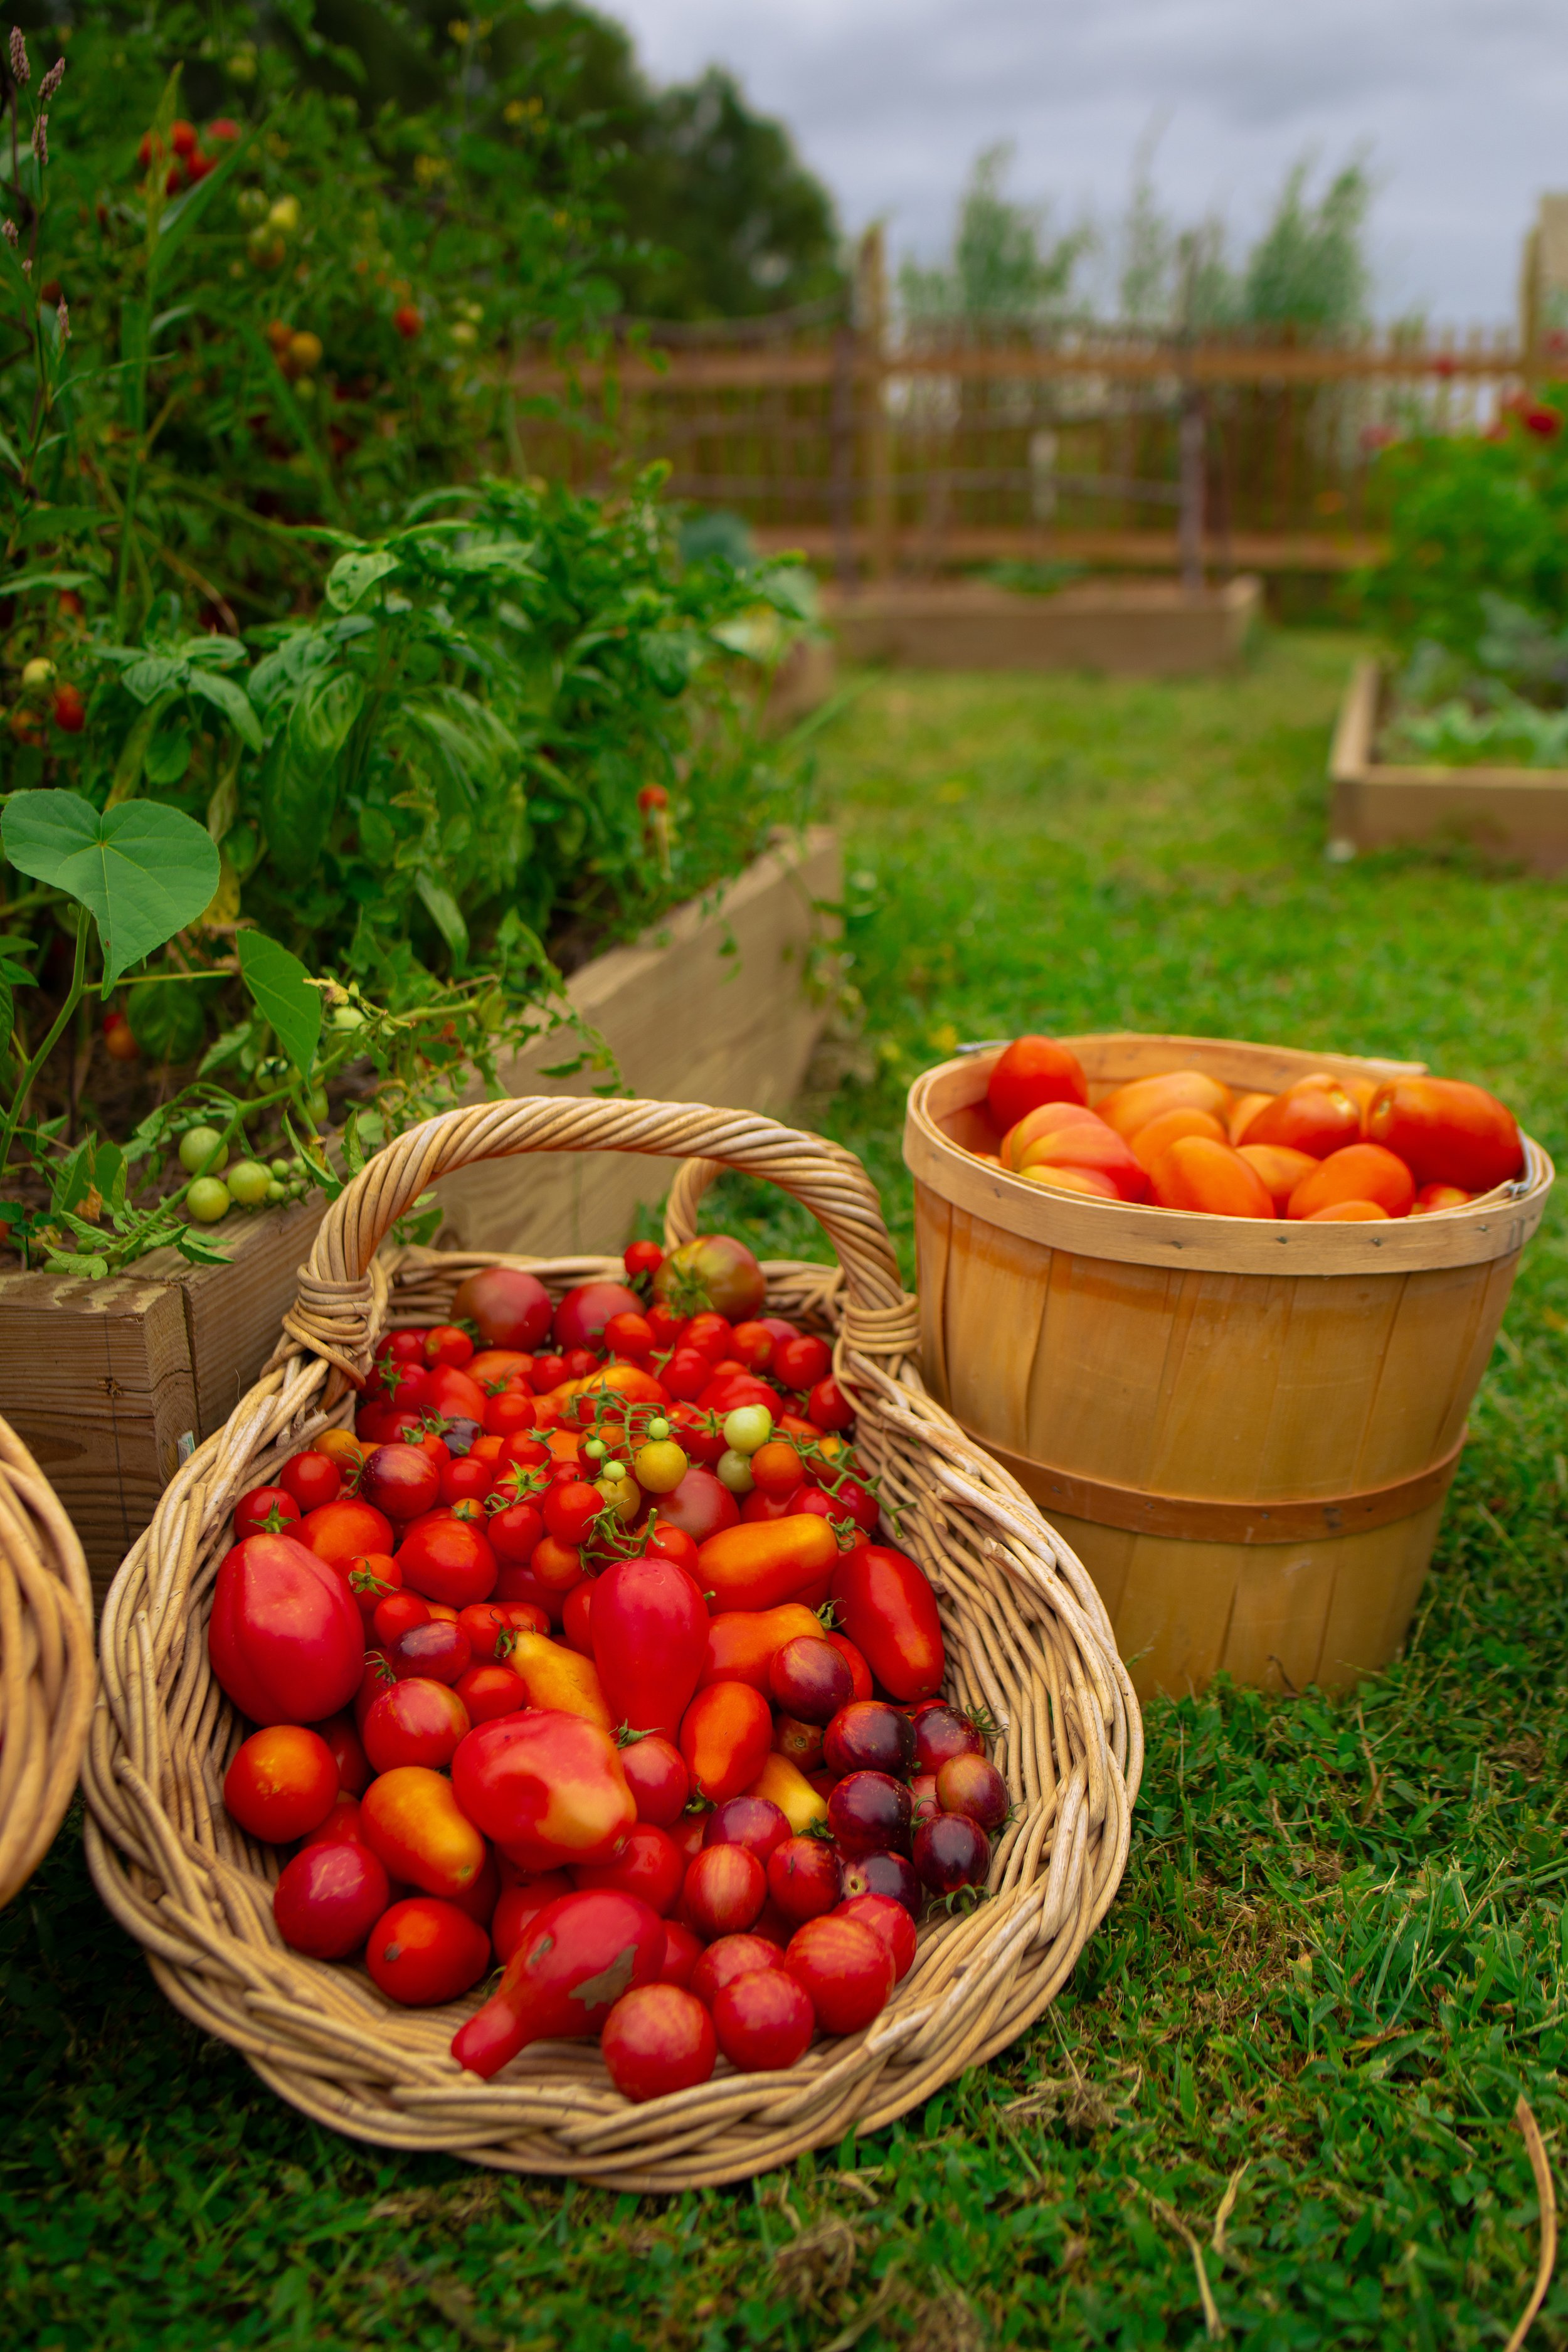
Best Types of Tomatoes for Canning Tomato Sauce:
For the richest, most flavorful sauce, look for paste tomatoes. These varieties have thicker flesh and fewer seeds, making them ideal for saucing. My favorites include:
That said, you can certainly use any tomato that you have on hand to make tomato sauce, but you may have to wait longer for the sauce to cook down. Paste tomatoes are specially bred for sauce making because of their meatier texture and centers. Salad tomatoes, or the beefsteak and heirloom tomatoes, have a higher percentage of water.
Note: Tomatoes that are going to be used for canning should be disease-free, firm, and ripened fully. Under-ripened tomatoes are more acidic than red tomatoes, so they do not need additional acid in the jar to be canned safely!

canning tips for Tomato Sauce:
Peel your tomatoes for a smoother sauce (blanch and slip off the skins). This is not necessary, but it helps if you do not have a food mill!
Simmer low and slow to concentrate flavor.
Always acidify! Even though tomatoes are acidic, it’s essential to add lemon juice or citric acid to make your jars safe for shelf storage. You can use bottled lemon juice or citric acid to ensure that your sauce is shelf stable.
A food mill or immersion blender makes quick work of smoothing the sauce.
If water bath canning, use bottled lemon juice or citric acid—it's consistent in acidity.

Canning Safety Notes:
Follow tested recipes and USDA guidelines to ensure safety.
Use new lids for canning. Most canning jar companies only recommend using lids once, in case that seals become damaged after storing food in a previous season. Using old lids can result in a false seal and spoiled food.
Assembly line can rather than batch canning. This means filling one jar at a time rather than filling all of the jars at once. This ensures that the jars stay hot, keeping them from going through temperature shock when being put into the water bath canner.
Use plastic utensils to prevent cracking your jars.
Add 2 tablespoons bottled lemon juice per quart jar (or 1 tablespoon per pint) before filling with sauce.
Leave ½ inch headspace in each jar.
Wipe rims clean before sealing to ensure a proper seal.
Process in a boiling water bath for 40 minutes (pints) or 45 minutes (quarts), adjusting for altitude. Begin the timer once the water is at a full rolling boil!
For pressure canning, process at 10 PSI for 15 minutes (pints) or 20 minutes (quarts) depending on your canner type.
After 12 to 24 hours, check the seals on your jars. Remove the ring and gently lift the jar by your fingertips about 1-inch from the countertop. If the lid stays on the jar, it has sealed properly.

Canning supplies you’ll need:
Canning Jars, New Lids, and Bands. I prefer to use Ball® jars, lids, and bands. You will need NEW canning lids to safely can your green beans. Do not can with used lids, as the seals can be damaged.
Large Sauce Pot with a Lid. You will definitely want a large sauce pot with a lid to cook down your sauce! I love using enameled cast iron for cooking tomatoes like this one or this one.
Jar Lifter. You will definitely want this tool to help lift the hot jars in and out of the canner!
Food Mill. For years, I spent hours blanching, peeling, and coring tomatoes to make my homemade sauce. A food mill remoives the step of blanching and peeling the skins from your tomatoes. It will save you a lot of time! I like this Classic Food Mill or the more old-fashioned Chinois with Pestle.
Canning Funnel. A funnel can be nice to have to avoid spills. Use a nonmetallic funnel to avoid breakage.
Nonmetallic Spatula. Another tool that can be helpful to avoid breakage of your jars, and it can be great for removing air bubbles.
Headspace Measurer. This tool is made to easily measure the headspace of your food, which is necessary for low-acid canning to avoid siphoning! It can also double as an air bubble popper.
Lemon Juice (bottled) or Citric Acid.

how to can tomatoes:
Step One: Prepare a boiling water bath canner. Place clean, sterilized jars into the canner and simmer them until ready to use. Wash the lids and bands in warm soapy water and set these aside.

Step Two: Add the tomatoes, onion, and garlic to a large heavy-bottomed pot. Place it over medium-high heat and bring the vegetables to a boil, stirring occasionally to prevent burning.

Step Three: Once boiling, reduce the heat to a simmer and cover the pot. Check the sauce occasionally, stirring, until the sauce is reduced by half and thickened slightly. This should take about 1 1/2 to 2 hours.

Step Four: Remove the sauce from heat. Transfer the sauce to a food mill, running it through to remove the skins and seeds.
Step Five: Place the sauce into a clean pot and bring it back up to a boil. Once it is boiling, remove the pot from heat and begin to fill the jars.


Step Six: Remove a single jar from the canner. Add 1 tablespoon (15 ml) of bottled lemon juice or 1/4 teaspoon of citric acid to pint (16 oz) jars, or 2 tablespoons (30 ml) of bottled lemon juice / 1/2 teaspoons of citric acid to every quart (32 oz) jars.

Step Seven: Fill the jar with the hot tomato sauce to 1/2-inch headspace.


Step Eight: Remove air bubbles and adjust headspace as necessary. Wipe the rim clean with a damp towel, apply the lid, and adjust the lid to fingertip tight. Place the jar back into the canner. Then, repeat the same process with the remaining jars.

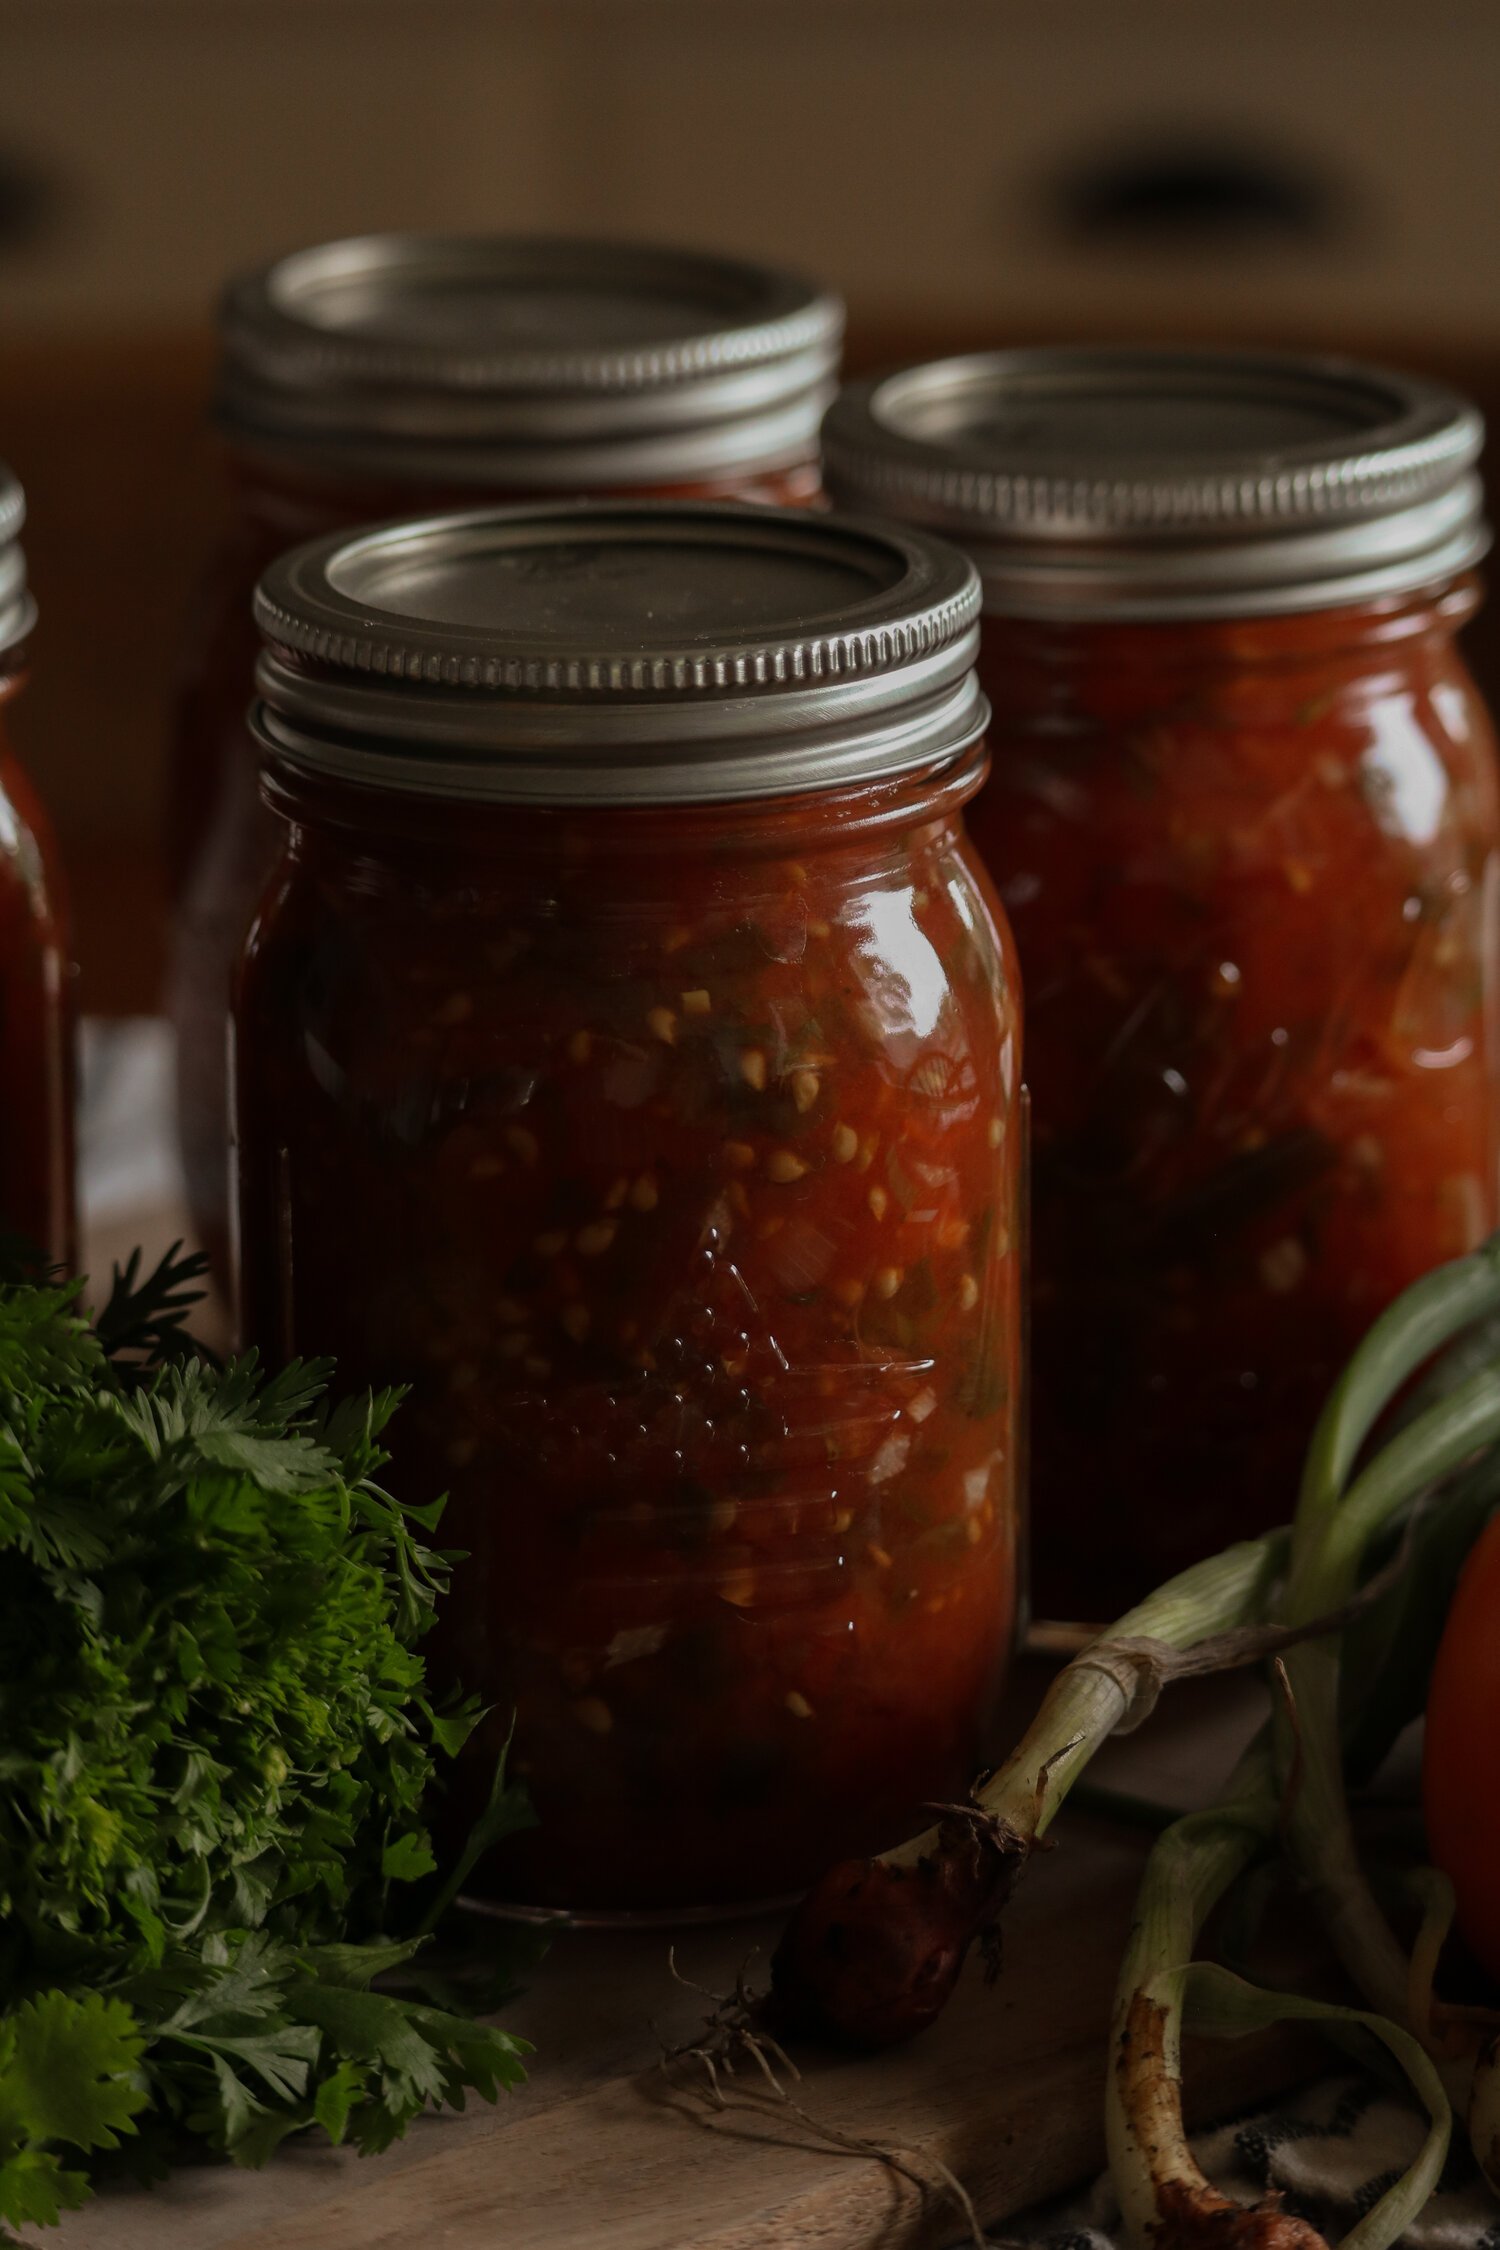
Step Nine: When all of the jars are filled, close the canner. Increase the temperature and bring the water to a boil. Process the jars for 35 minutes. Turn off the heat and remove the canner lid. Leave the jars in the water for 5 more minutes, then remove them from the canner and place them on the counter. Check the seals after 12 to 24 hours and store the jars in a dark cupboard without the bands for up to 18 months.

Storage Instructions:
Store sealed jars in a cool, dark place. Use within 12–18 months for best quality. Once opened, refrigerate and use the tomato sauce within a week.
Serving Suggestions:
Use your tomato sauce for comforting winter pastas, soups, baked eggplant, pizza nights, or slow-cooked roasts. It also makes a lovely gift tied up with twine and a handwritten label. Pair it with:

Variations:
Add dried Italian herbs during the simmer for a more seasoned sauce
Try making Fresh Basil-Garlic Tomato Sauce for a flavor twist!
Mix in roasted tomatoes or red bell peppers for deeper flavor
For a spicier version, add red pepper flakes—dried only!
Make a yummy Barbecue Sauce with smoky spices

final thoughts:
I hope that you enjoyed learning more about tomato sauce canning! Making tomato sauce is rather simple. There’s something deeply comforting about lining up jars of tomato sauce, still warm from the canner, and knowing you’ve captured just a little bit of summer to carry into the colder months. Whether you’re filling your pantry for the first time or adding to a long tradition of home preserving, this simple sauce is one worth making again and again. I’d love to hear about your canning days—leave a comment below or tag me on Instagram @underatinroof so I can see your harvest!
With this post you will get to enjoy preserving summer’s bounty!
xoxo Kayla
watch on YouTube:
Tomato Sauce: Canning Recipe

Ingredients
- 10 lbs (4.5 kg) paste tomatoes, chopped into chunks
- 2 large onions, diced
- 6 cloves garlic, minced
- 6 tbsp (90 ml) bottled lemon juice
Instructions
- Prepare a boiling water bath canner. Place clean, sterilized jars into the canner and simmer them until ready to use. Wash the lids and bands in warm soapy water and set these aside.
- Add the tomatoes, onion, and garlic to a large heavy-bottomed pot. Place it over medium-high heat and bring the vegetables to a boil, stirring occasionally to prevent burning.
- Once boiling, reduce the heat to a simmer and cover the pot. Check the sauce occasionally, stirring, until the sauce is reduced by half and thickened slightly. This should take about 1 1/2 to 2 hours.
- Remove the sauce from heat. Transfer the sauce to a food mill, running it through to remove the skins and seeds.
- Place the sauce into a clean pot and bring it back up to a boil. Once it is boiling, remove the pot from heat and begin to fill the jars.
- Remove a jar from the canner. Fill the jar with hot tomato sauce to 1/2-inch headspace. Remove air bubbles and adjust headspace as necessary. Wipe the rim clean with a damp towel, apply the lid, and adjust the lid to fingertip tight. Place the jar back into the canner. Then, repeat with the remaining jars.
- When all of the jars are filled, close the canner. Increase the temperature and bring the water to a boil. Process the jars for 35 minutes. Turn off the heat and remove the canner lid. Leave the jars in the water for 5 more minutes, then remove them from the canner and place them on the counter. Check the seals after 12 to 24 hours and store the jars in a dark cupboard without the bands for up to 18 months.