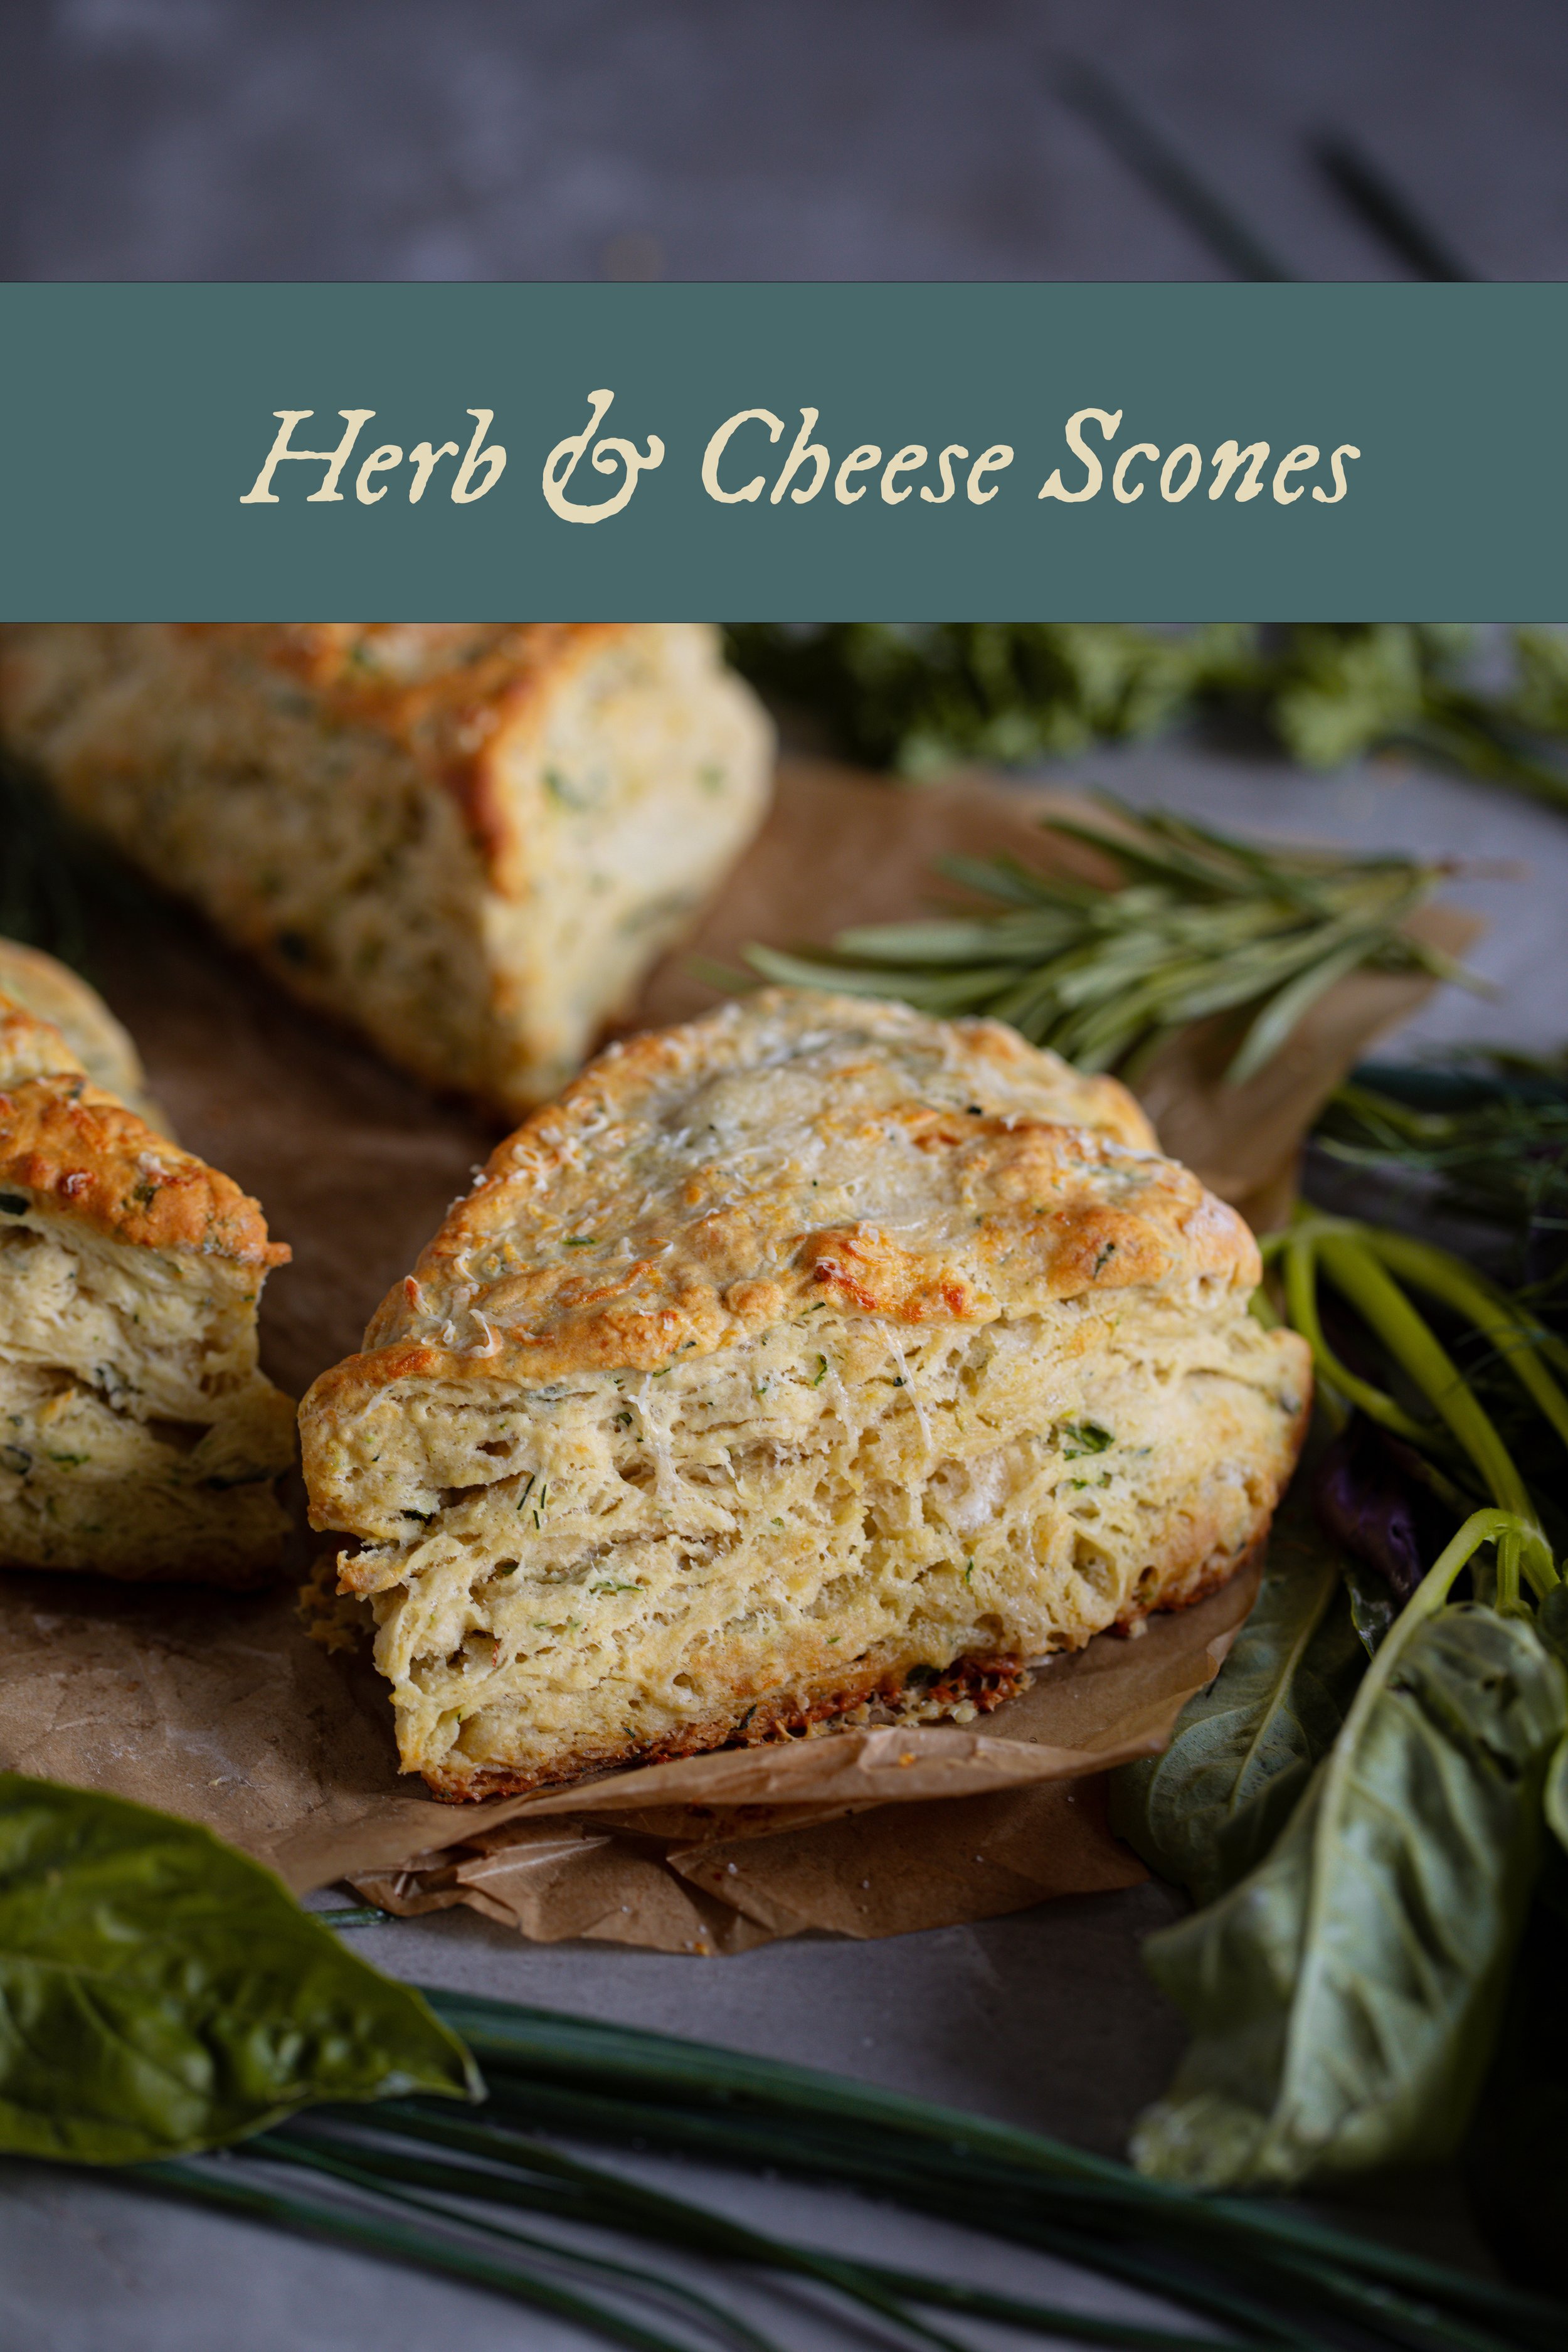
Herb & Cheese Scones
This post may contain affiliate links, please see our privacy policy for more information.
While I am still waiting patiently for that first garden ripened tomato, our herb garden has been abundantly producing gorgeous green herbs the past few weeks. I recently made a beautiful pesto lasagna from our basil that I will have to recreate and share here! The weather must be favoring them, because I can’t remember a growing season in recent years where the herbs didn’t get planted and then immediately bolt, producing their flowering heads, and going straight to seed before we could catch up with them.
I thought it might be fun to share a tried and true recipe for herb and cheese scones. These are so easy to make, I have shared them in other forms in the past, and they are always such a crowd pleaser! Kyle and I enjoyed them with our breakfast yesterday morning, paired with a Scottish Lorne sausage (in our July ebook) and over easy eggs. Yummy! Do you prefer sweet or savory breakfast?

Historical herbs in cooking:
I have always found the history and folklore of herbs fascinating. It is what inspired me to even start writing this blog all those years ago. Herbs have been used in cooking for over 60,000 years. How incredible is that? Herbs have been found buried in Egyptian tombs, and there are many recipes from Ancient Rome that involve the use of herbs, whether medicinally, spiritually, or for flavor.
In fact, herbs were mostly used in cooking to disguise flavors and bring something aromatic to a dish. From what I remember researching, herbs were used as a way to cover up unpleasant human scents and they were worn as crown, woven in the hair, or around the neck in a sachet. I recently read that they were also used to cover up the stench of slowly decaying meat, much like how we use a odor neutralizer for our refrigerators nowadays.
the method:
Making biscuits or scones takes a slight bit of practice. Everything depends upon how much the dough is worked and how the butter is kept cold. For my recipe, I always make it the same way:
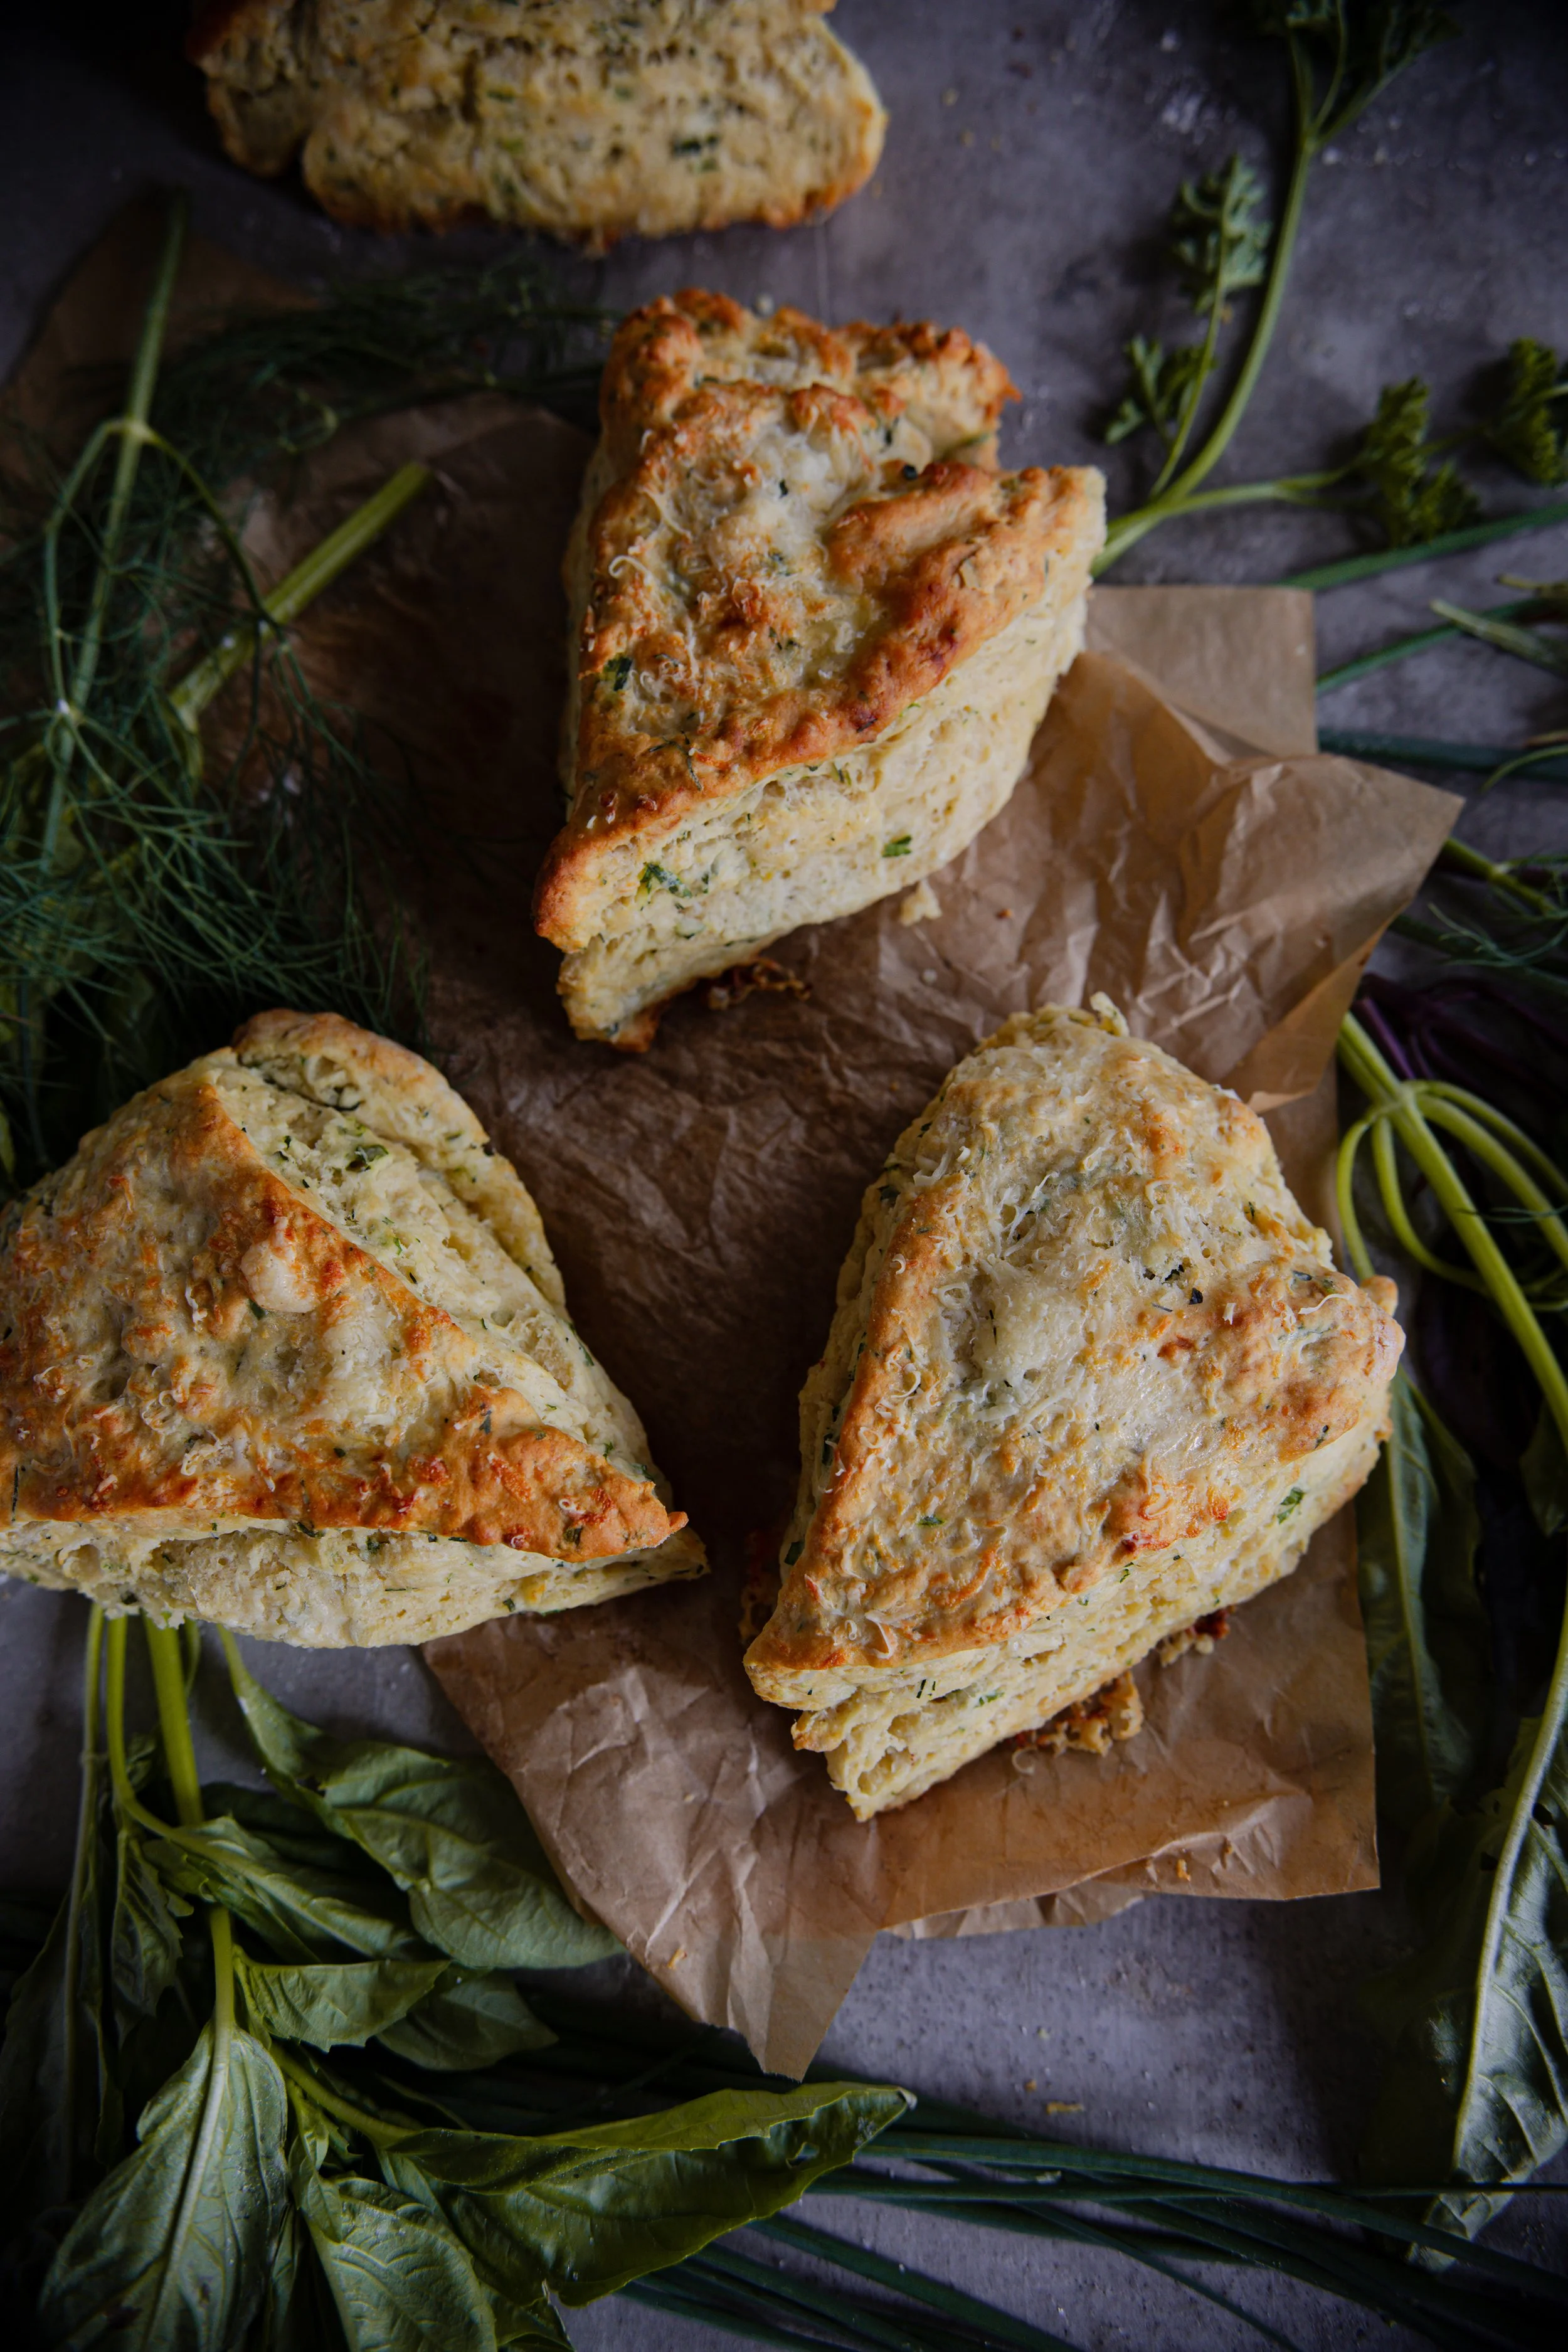
I fold the dough over itself about 7 to 8 times. This creates those lovely, flaky layers.
Then, I roll it out to about 1/2-inch thick. The thicker the dough is before you cut it, the taller your final biscuits will be. If you want mile high biscuits, do not press out the dough super thin. The less you have to bring the dough together, the better.
For this scone recipe, you are rolling it out into a circle and cutting into wedges, which means you will only have to roll it out once.
If you feel like your dough is becoming too warm, pop the cut scones back into the fridge or freezer for about 15 to 30 minutes.

These are so perfect for a savory breakfast! They split open beautifully and would be so delicious as a bacon and egg sandwich. They would also make an excellent lunch option. Enjoy!
xoxo Kayla
Herb & Cheese Scones

Ingredients
- 4 3/4 cups (552 g) all-purpose flour
- 4 tsp (18 g) baking powder
- 1 tsp baking soda
- 1 tsp kosher salt
- 1 cup (120 g) sharp white cheddar cheese, shredded
- 1/2 cup (60 g) parmesan cheese, grated
- 1/2 cup (16 g) minced fresh herbs such as parsley, dill, thyme, rosemary, chives, etc
- 1 cup (232 g) cold butter, cubed
- 2 cups (480 ml) buttermilk
- Heavy cream, for brushing
Instructions
- Preheat the oven to 425° F. Prepare a large baking sheet with parchment paper and set aside.
- In a large bowl, mix together the flour, baking powder, baking soda, and salt. Mix in the cheddar cheese, parmesan cheese, and herbs. Reserve about 1/4 cup of the cheeses.
- With a pastry blender or fork, cut in the butter until the mixture forms coarse crumbs about the size of a large pea.
- Pour the buttermilk over the entire mixture and mix together with a wooden spoon or fork until a solid piece of dough forms. Finish kneading with your hands until there are no longer any dry bits in the bowl. Fold the dough over itself about 7 to 8 times to create the flaky layers.
- Roll the dough out to a circle that is about 1/2-inch thick. Cut straight down through the dough with a sharp knife into 8 wedges.
- Place on the parchment lined baking sheet. Brush the tops with heavy cream and sprinkle with the reserved cheese. Bake for 20 minutes or until golden brown and cooked through.