Red Velvet Valentine Vintage Cake: Piped Buttercream Cake Decorating
This post may contain affiliate links, please see our privacy policy for more information.
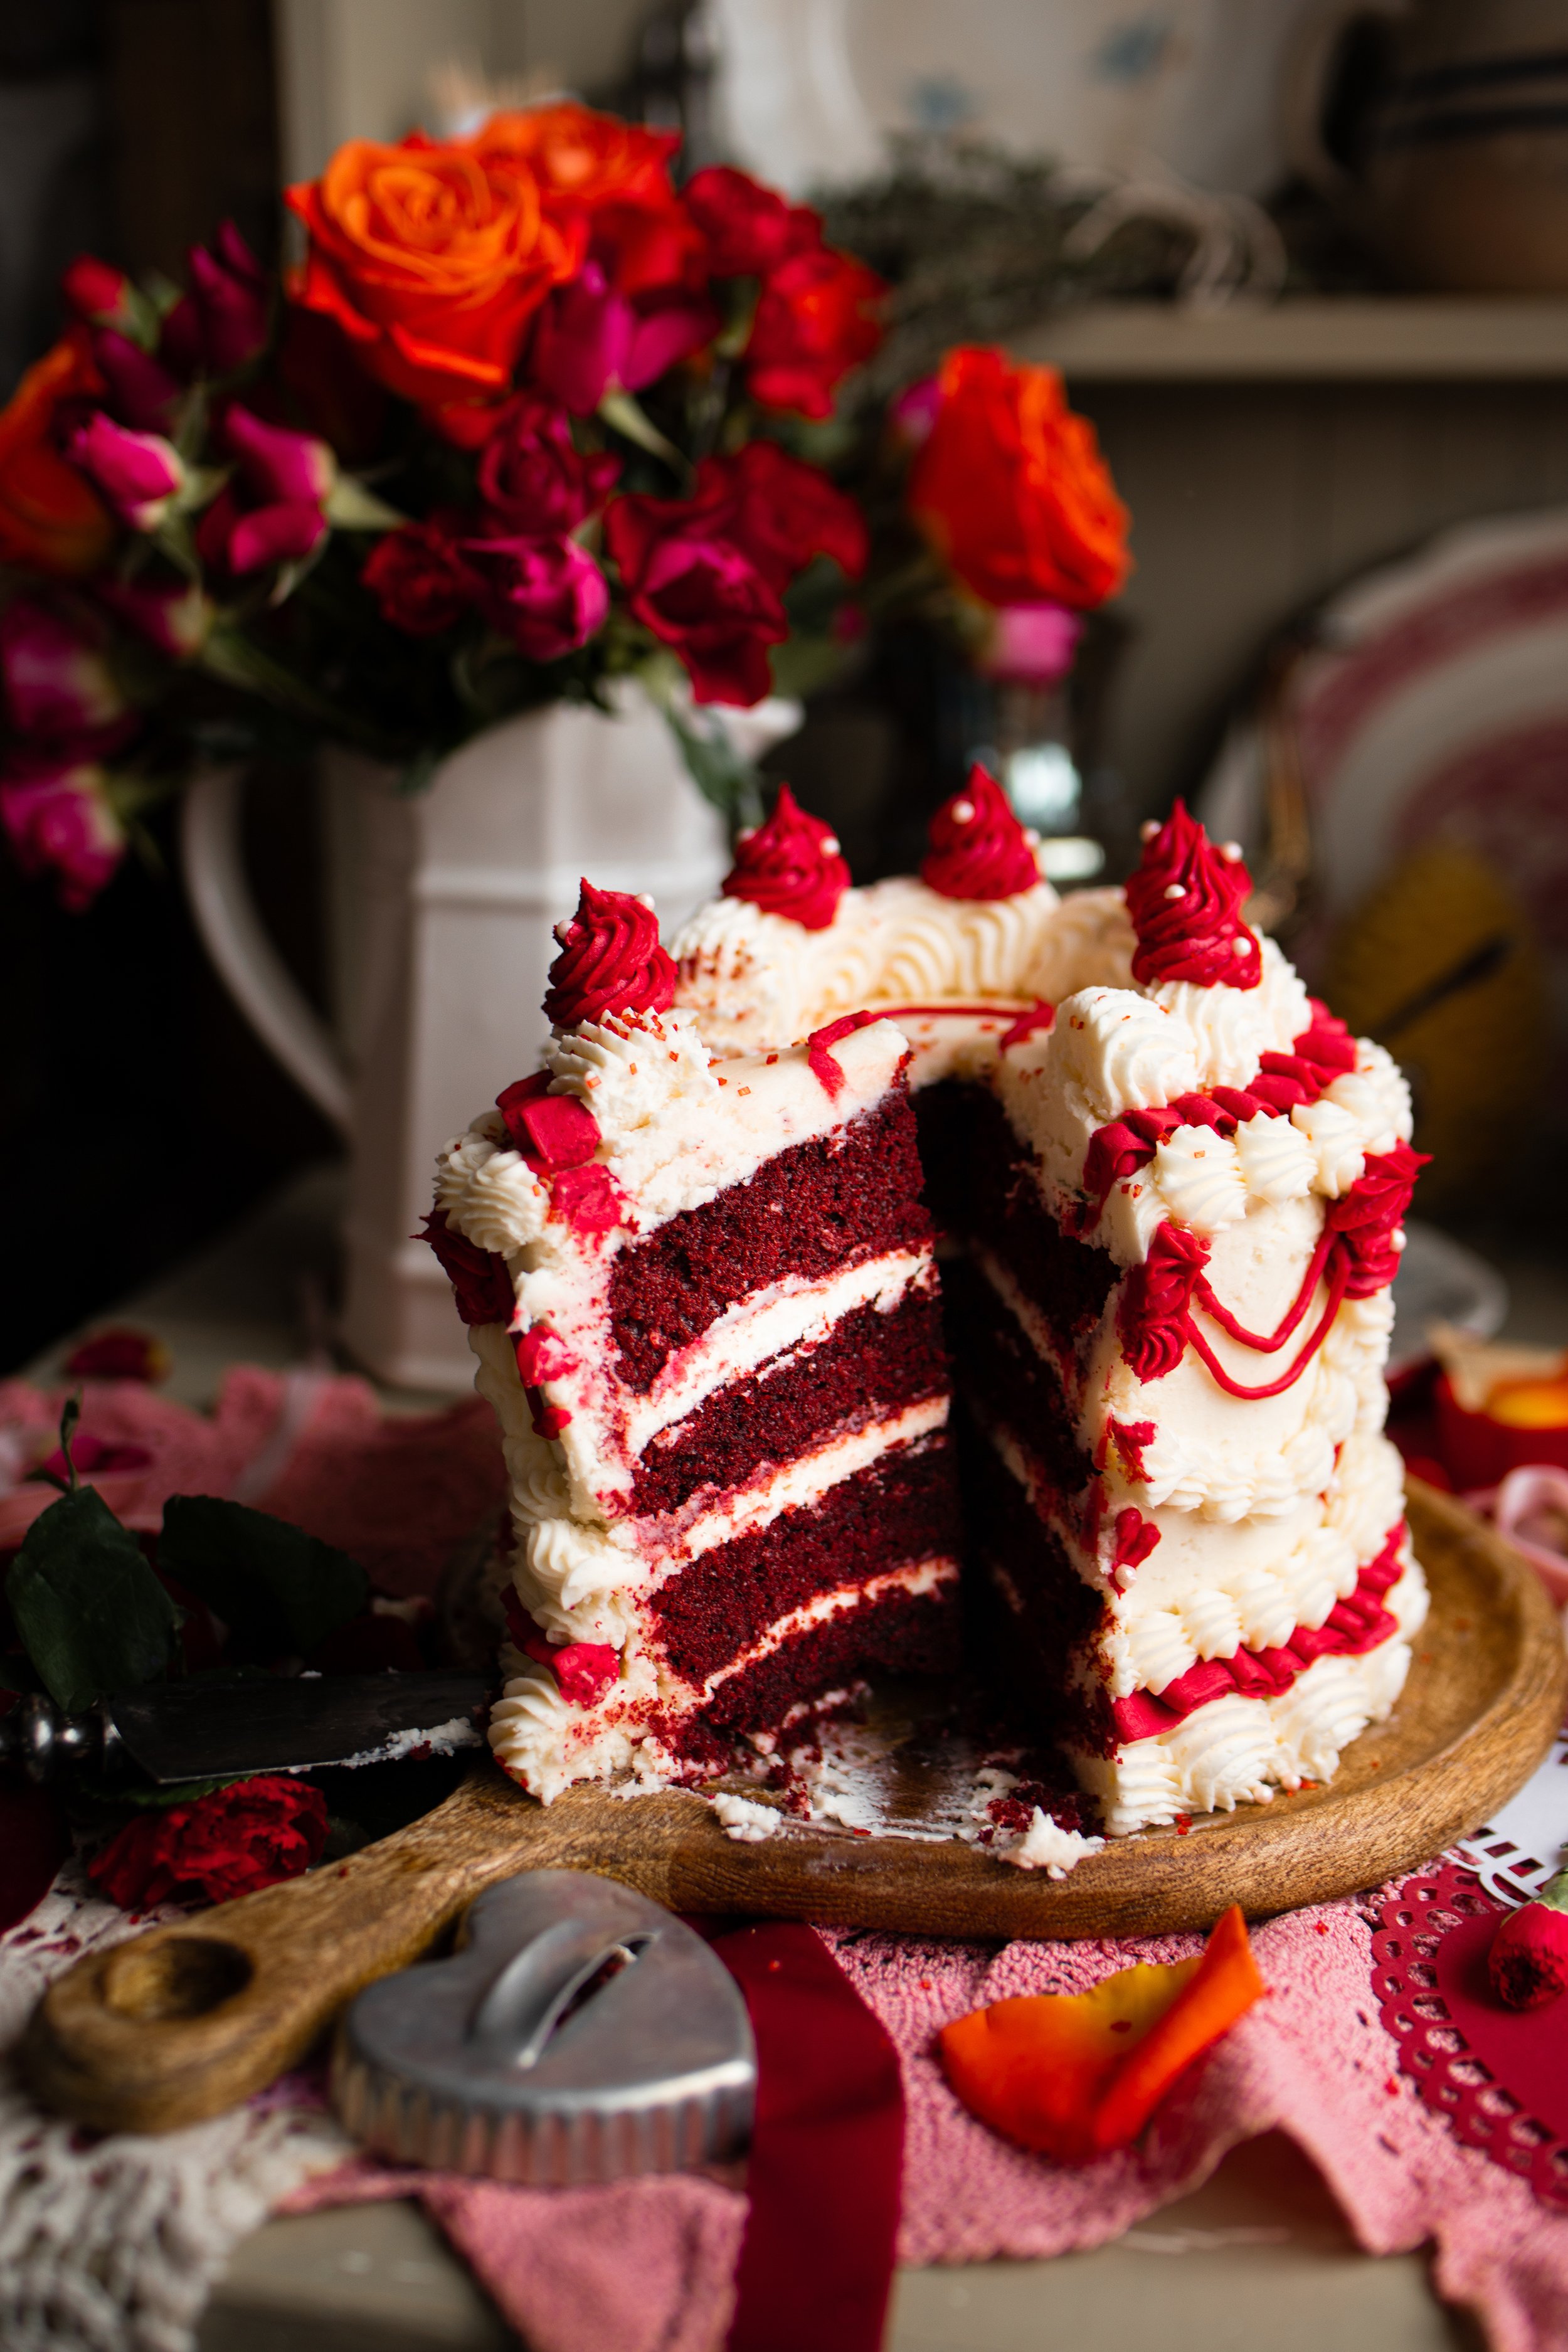
Are you looking for the cutest Valentine’s Day themed cake to make this year? This super moist red velvet cake is decorated in a vintage style with lambeth buttercream piping techniques. This adorable cake is incredibly moist, soft, and fluffy and covered with the perfect buttercream frosting. You will absolutely love serving this beautiful red velvet cake for a Galentine's Day dessert treat! Vintage style cakes are so charming, and make a perfect Valentine’s Day dessert recipe.

what is a lambeth style cake?
This decorating technique of over-piping is named after Joseph Lambeth, who published a book on the style in the mid 20th century. However, this style of cake decorating dates back much further than the 1930s. In fact, there are many books written about “Over-piping techniques” that are from the mid to late 1800s. This style of cake is what I always picture in my mind when thinking about dessert illustrations from the Victorian era.

Gathering Ingredients:
Cake Flour. For this recipe, I recommend using cake flour for a super light and fluffy cake. If you do not have cake flour, you can use all-purpose flour in its place, just make sure to sift it before mixing the batter.
Cocoa Powder. I suggest using Dutch process cocoa powder for this recipe, but you can also use unsweetened cocoa powder in its place.
Sugar.
Baking Soda.
Salt.
Buttermilk. Bring your buttermilk to room temperature before mixing the batter. If you do not have buttermilk, add a splash of distilled white vinegar or lemon juice to a cup of plain milk.
White Vinegar. You will want to make sure that you use distilled white vinegar for this recipe. Other types of vinegar will alter the overall flavor of the cake.
Vegetable Oil. You can use any type of neutral baking oil for this recipe such as canola, avocado, or liquid coconut oil.
Vanilla Extract.
Eggs. Bring your eggs to room temperature before mixing the batter.
Coffee. Coffee helps to compliment the flavor of chocolate in this cake. You can use decaf coffee or espresso for this recipe, too!
Cream of Tartar.
Red Gel Food Coloring. I find it best to use gel food coloring for baking as you do not need as much to create deeply saturated colors. I like this brand!

HOW TO MAKE A SUPER FLUFFY CAKE:
This red velvet cake recipe is incredibly soft, moist, and fluffy. It’s a wonderful layer underneath all of that fluffy buttercream frosting! This cake stays moist for several days after baking, so it’s perfect not only for a fanciful cake this like, but for cupcakes or cake truffles, too!
Add Oil or Melted Butter. Rather than creamed butter, this cake uses oil to retain is moisture and have a fluffier crumb. If you prefer to use butter rather than oil, you will want to melt the butter and let it cool slightly before mixing it into your batter.
Add Stiffened Egg Whites. I incorporated stiffened egg whites and cream of tartar into this cake recipe to give it some lift without the help of baking powder. This combination of meringue and baking soda give this cake a boost of fluffiness without being too bready.
Add Buttermilk and Vinegar. With its higher level of acidity, buttermilk is the perfect ingredient to react with the baking soda, causing the cake to rise and add an incredible slightly tart flavor. This combined with the strong black coffee and Dutch processed cocoa powder really make red velvet cake a unique flavor!

tips for piping buttercream frosting:
Working with buttercream can be difficult to master, and I still am not the world’s best cake decorator. I definitely fall more in the category of developing a tasty recipe and lacking in the presentation department - ha! However, I have learned some new techniques over the years that have taken my cakes from looking like a gigantic lump to a much prettier end result.
Buttercream needs to be slightly warm. I know, it seems strange. However, I have had such incredibly better decorated cakes by letting my butter become warmer than I ever had before. There is a fine line between having the butter become too melted vs too cold, so you will want to try and achieve a butter internal temperature of around 60° F (16° C). This helps the frosting become super spreadable and easy to work with, rather than fighting back against you and tearing apart your cake.
Beat the butter longer. In the same stride as having slightly warmer butter, you will also want to beat the butter for a longer amount of time than you might think! I cream my butter for about 8 minutes before adding in the powdered sugar and other ingredients. Then, once all of the ingredients have come together, I continue to beat the buttercream until its incredibly soft, fluffy, and close the consistency of shaving cream.
Temperature is your friend. When you are ready to begin piping on your designs, you will want to have moderate temperatures, somewhere between 60 to 70° F (16 to 22° C). If your home is too warm or too cold, you may have difficulties with keeping your frosting soft and easy to pipe.

MY FAVORITE CAKE DECORATING SUPPLIES:
To make a vintage style red velvet cake, you will need some cake decorating supplies! You do not have to be incredibly fancy or professional when it comes to what you use. However, there are some tools that definitely come in handy and can really help make the entire process easier.
Cake Decorating Tips. If you want your piping details to have certain shapes, you will need some cake decorating tips. This set of tips is great for a beginner and will give you almost everything you need to get started! You may also want some jumbo sized tips or a set of French Star tips in multiple sizes.
Piping Bags. Personally, I like to use disposable piping bags because they are easier to work with, but there are also plenty of lovely reusable piping bags.
Bench Scraper. A bench scraper will make a huge difference to your vintage style cake! A Lambeth cake needs to have a smooth side so that the overpiping really stands out on the cake. To make this happen, you will want to have a bench scraper to smooth off your edges and help drag off any excess frosting.
Food Coloring. To create a cake that really pops, you may want to add some food coloring to your cake. If you are trying to stay away from artificial dyes, I like this brand of natural food colorings.

final thoughts:
If you love the flavor of red velvet, then you are going to love this from scratch red velvet cake. The vintage style frosting makes in truly special and will add a wow factor to your presentation. It can be truly therapeutic, I think, to work on making a beautiful cake even if it is just for you! I hope that you enjoy making this moist red velvet cake recipe for your Valentine’s Day celebrations.
xoxo Kayla

Red Velvet Valentine Vintage Cake
Ingredients
- 2 1/2 cups (312 g) cake flour
- 1/2 cup (59 g) Dutch processed cocoa powder
- 2 cups (400 g) granulated sugar
- 1 tsp baking soda
- 2 tsp kosher salt
- 1 cup (240 ml) buttermilk
- 1 tsp distilled white vinegar
- 1 1/2 cups (360 ml) vegetable oil or other neutral oil
- 1 tbsp (15 ml) vanilla extract
- 4 large eggs, separated
- 1/4 cup (60 ml) hot strong coffee
- 1 tsp cream of tartar
- 2 oz red food coloring (I like this brand)
- **To make this a Lambeth Style frosted cake, double this recipe
- 1 1/2 cups (290 g) salted butter, softened to room temperature
- 6 cups (708 g) powdered sugar, sifted
- 6 tbsp (90 ml) heavy cream
- Food coloring, optional
Instructions
- Preheat the oven to 350° F (177° C). Butter and flour 3 9-inch (23-cm) cake pans and set these aside for now.
- In a large bowl, begin by sifting together the flour, cocoa powder, sugar, baking soda, and salt. Sift these ingredients 2 to 3 times to fully mix them together.
- Once the dry ingredients have been sifted, add the buttermilk, vinegar, oil, vanilla, egg yolks, and coffee. Whisk or beat on medium speed until well combined, about 5 minutes.
- In a separate large bowl or the bowl of a standing electric mixer fitted with a whisk attachment, beat the egg whites and cream of tartar on medium-high speed until the whites come to stiff peaks. This takes about 6 to 8 minutes.
- Gently fold the stiffened egg whites into the cake batter until they are completely incorporated, about 4 minutes.
- Divide the batter among the prepared cake pans. Then, bake the cakes for about 30 to 35 minutes or until a toothpick inserted in the center of the cakes comes out clean.
- Let the cakes rest in the cake pans for about 10 minutes before transferring them to a wire cooling rack to cool down completely. Wait until the cakes are room temperature before frosting them.
- When you are ready to decorate the cakes, it is time to make the buttercream. This recipe is enough to frost the outside of the cake and add a few decorations, but not enough to add all of the same details that I made on the photographed cake. If you would like to replicate the cake that I made, I would suggest doubling this recipe.
- Begin by beating the butter in a standing electric mixer fitted with a whisk attachment. It needs to be at room temperature but not overly soft. You should be able to easily make an indent with your finger, but the butter should not be melty or greasy. It should ideally be at about 60° F (16° C).
- Beat the butter in the mixer until it is pale yellow in color, light, and fluffy. This takes about 5 to 6 minutes.
- Then, slowly begin to add the powdered sugar. It will become thick and stiff. When this happens, add the heavy whipping cream. At this point, it will look like thick crusty frosting. Scrape down the sides of the bowl and then beat the mixture for 5 to 7 minutes, or until the frosting becomes fluffy, light, and full of air. It should appear foamy, like shaving cream, and be super soft and malleable.
- If your butter is too cold or the frosting is not fluffing up, you can warm the bowl slightly by blowing a hair dryer on high heat on the outside of the bowl.
- When the buttercream has finished, divide it into bowls and color it to your liking. To replicate my cake, I colored about 1/3 of the frosting with a red food coloring.
- First, spread a small portion of buttercream on your cake's stand or plate. Even out the cake layers by slicing off some of the top with a serrated knife to make sure the cake is completely flat. Place one layer of cake down.
- Transfer about 1/3 of your frosting to a piping bag fitted with a large round tip and pipe frosting onto the top of the cake, spreading it evenly. Then, put on the remaining layers of cake with frosting in between the layers. Pipe frosting all over the top and down the sides, spread it evenly all over the cake and scraping it away to create the thin layer of frosting or a crumb coat.
- Chill the cake for about 15 minutes to let the crumb coat set. Then, bring the cake back out onto the counter and add the remaining frosting to fully cover the red velvet layers underneath.
- To make a Lambeth cake the sides need to be as smooth as possible so using a bench scraper is ideal. Scrape around the outside of the cake to make a flat surface.
- Divide your frosting among piping bags with various cake tips and decorate the cake to your liking! The cake can be left at room temperature for about 2 days, or it can be refrigerated for 4 to 5 days.
Nutrition Facts
Calories
1299