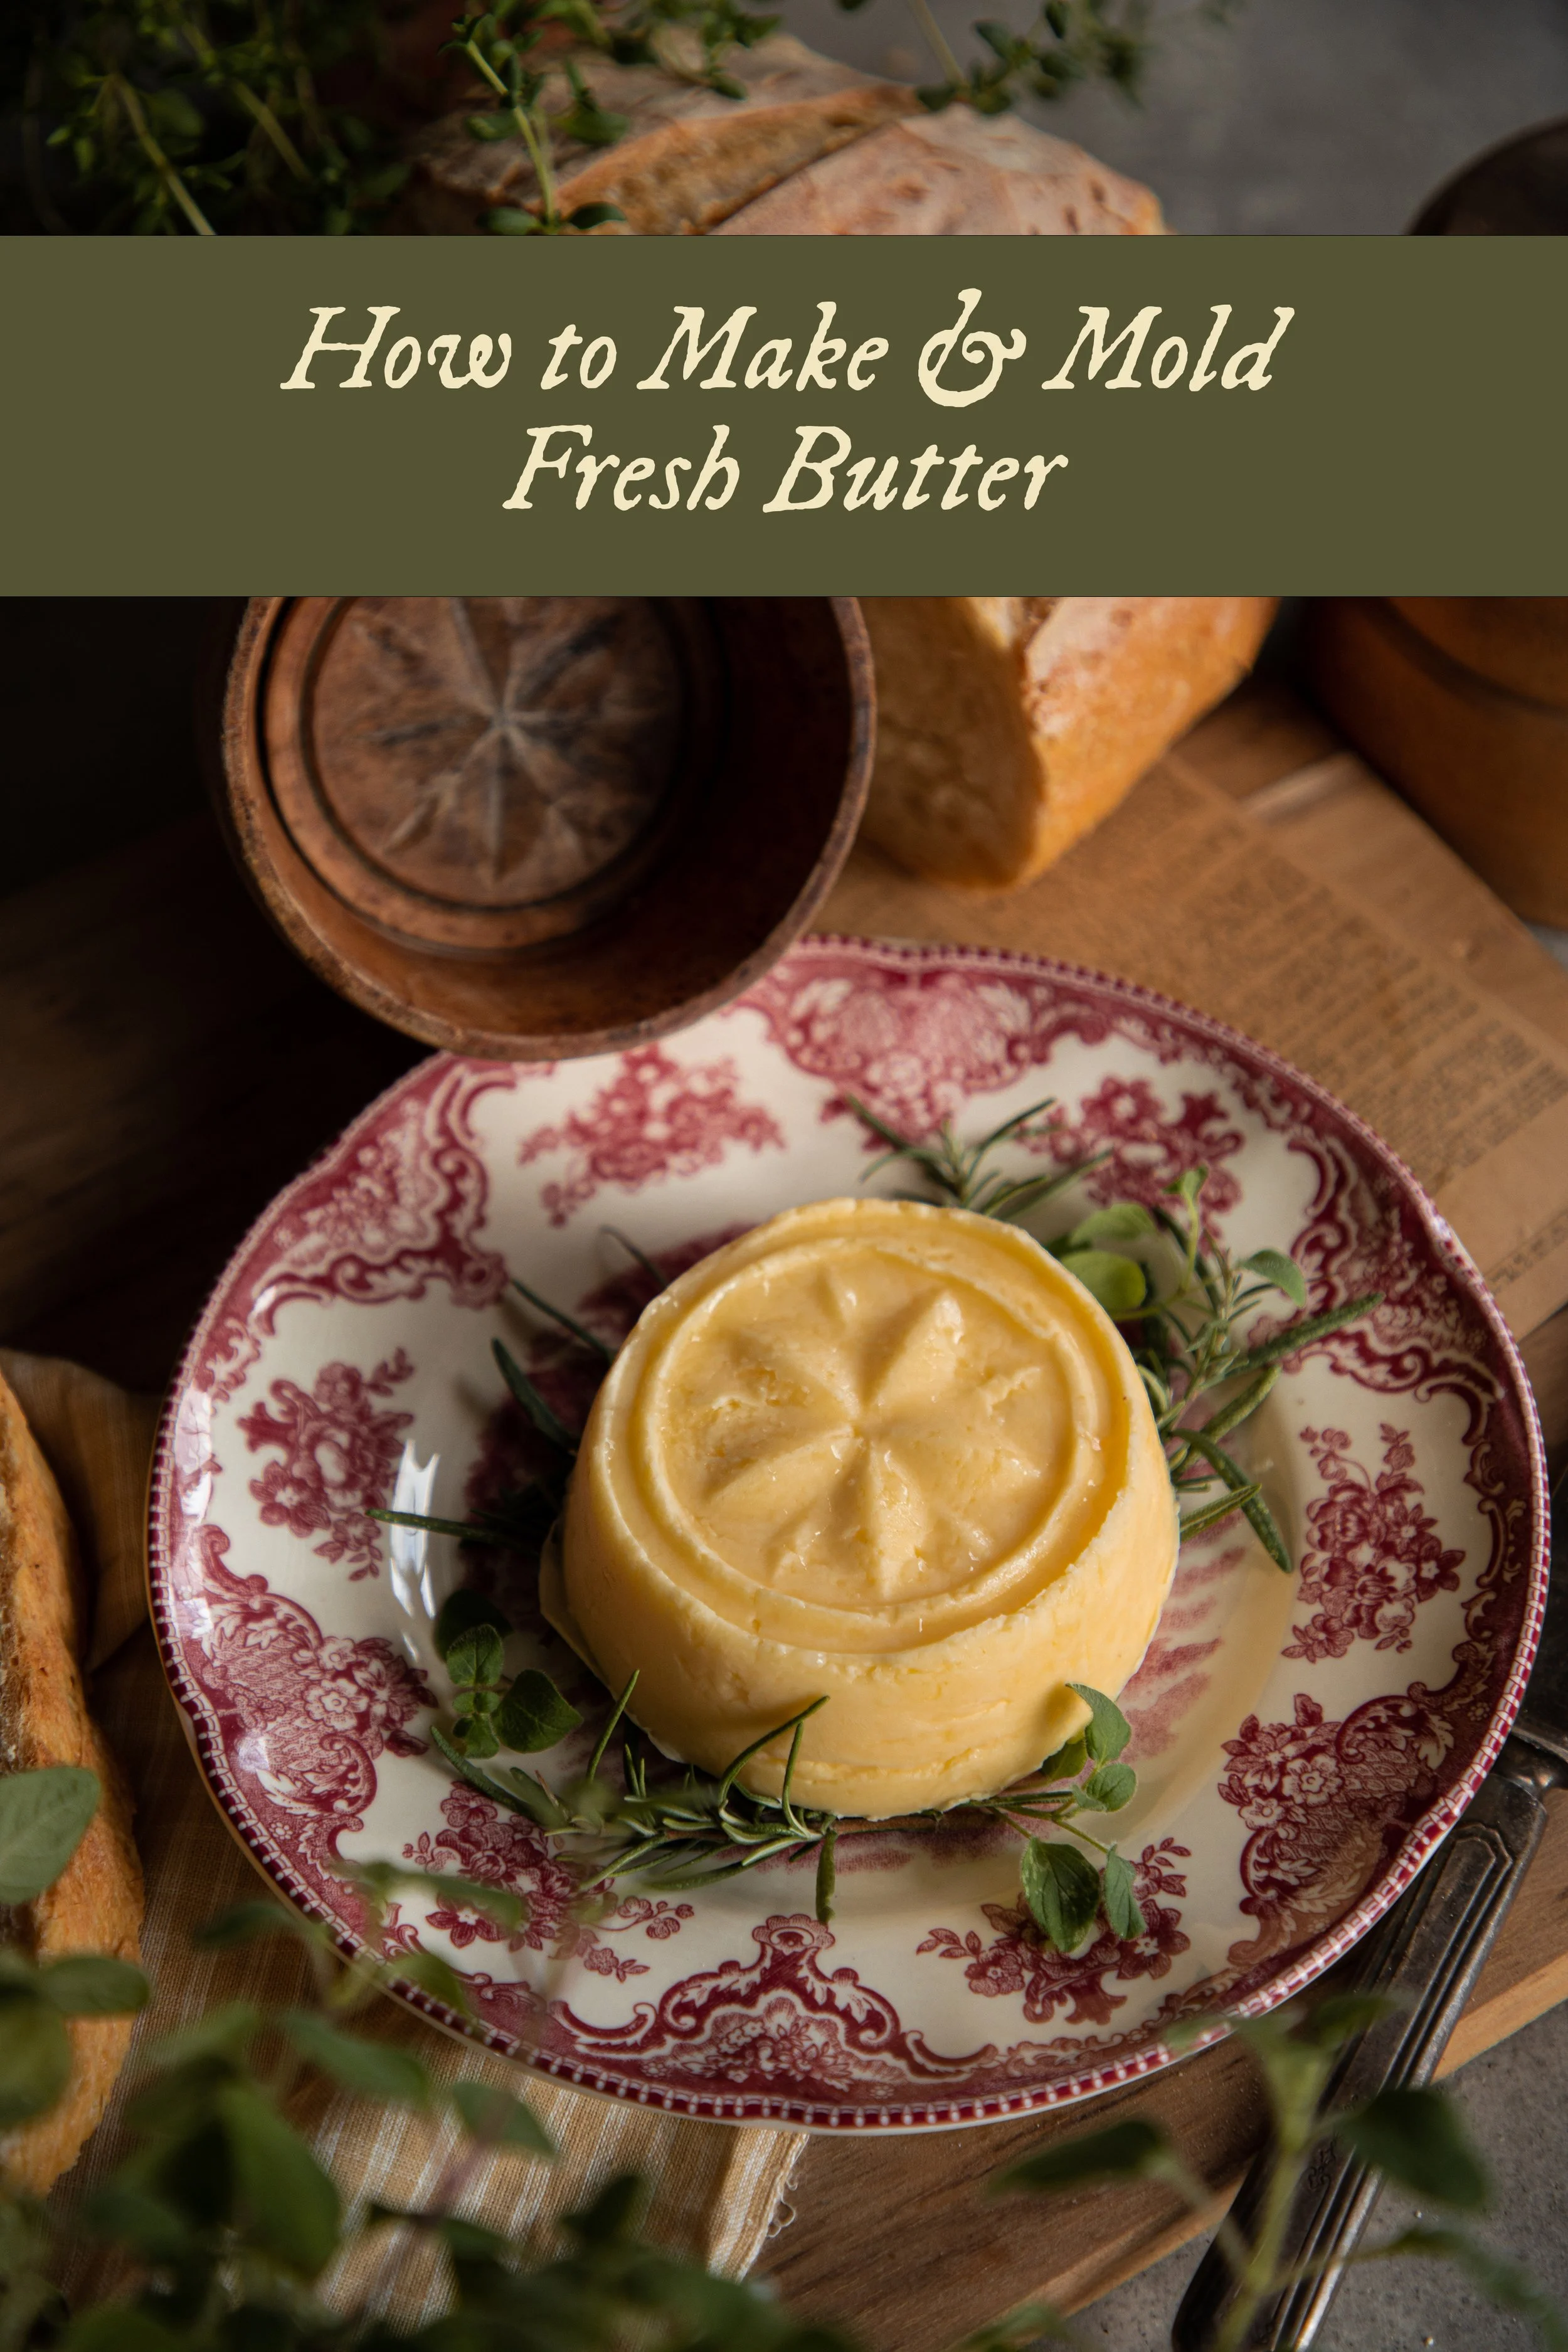
How to Make & Mold Fresh Butter
Tomorrow is Thanksgiving, and what goes better with fresh rolls than homemade butter? I wanted to share my tips for making fresh butter at home, which is incredibly easy to do and gives you such a delicious product compared to store bought butter!
All you need is heavy cream and perhaps a bit of salt, if you like salted butter!
what type of cream is best?
To make the best homemade butter, the more local and unprocessed your butter is, the better the final product will be. In my opinion, you can tell a lot about the quality of butter by the richness of its color. Even my butter is not very yellow, but it is more yellow than what I purchase from the store!
Unfortunately, purchasing raw milk and cream is illegal where I live, so I buy organic pasture raised cream. If you have access to fresh cream, I would certainly try to use that!

tips for making homemade butter:
Butter is one of the easiest things that you can make at home! You do not even need any special equipment other than a mason jar with a lid.
Use HEAVY whipping cream. Light cream will be difficult to churn into butter. Having a high butterfat content is what we are aiming for!
Use room temperature cream. You can also use chilled cream, it will just take a little bit longer to churn the cream into butter. It will be a lot faster to whip into whipped cream, however!
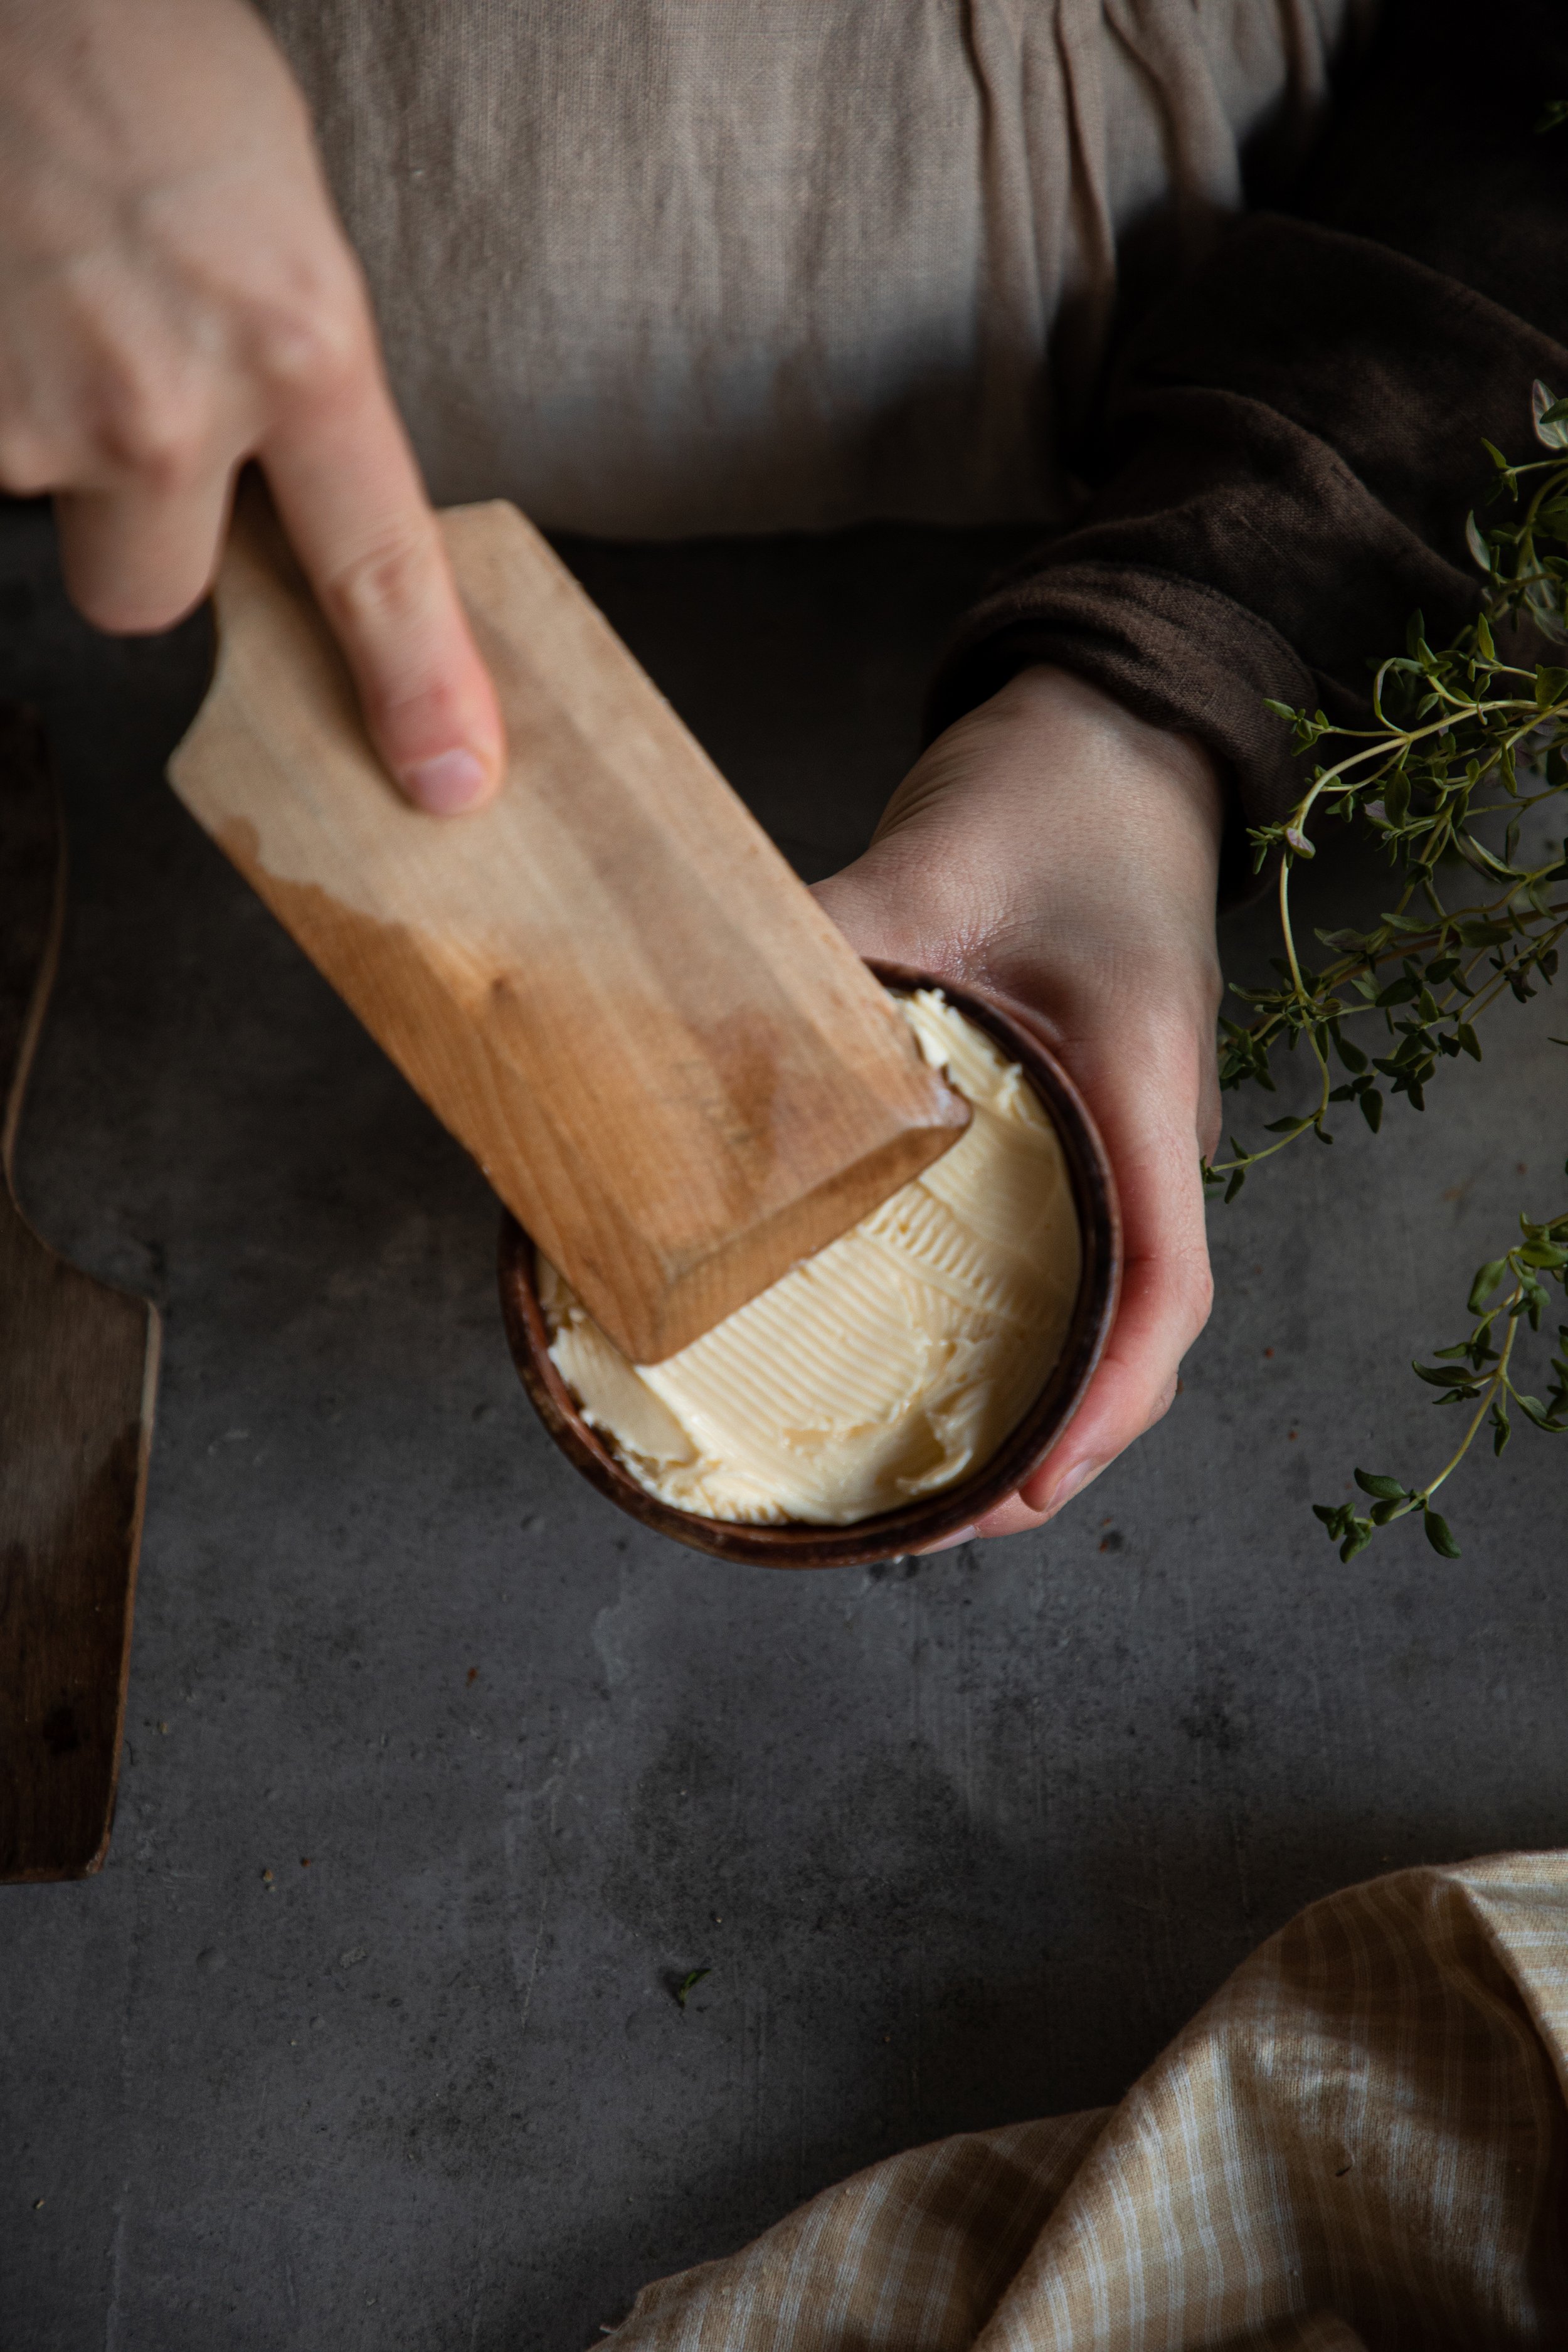
Remove any residual buttermilk. One thing that may cause your homemade butter to go bad more quickly is any leftover buttermilk that is in the butter. This can easily be squeezed out with your hands in a bowl of ice cold water. However, using butter paddles makes this process much easier, and you have a lot more power.
Save the buttermilk. The liquid part that is leftover after separating your heavy cream is called buttermilk. This is a glorious acidic byproduct that can be used in many baking and cooking recipes! Use it to help react with the baking soda or baking powder in your pancakes, waffles, biscuits, quick breads, cakes, and even in dressings, marinades, and more.
Make compound butter. We have shared compound butter recipes in the past, like this Herbes de Provence Compound Butter. Any butter with mix-ins such as herbs, fancy salts or spices, cinnamon, honey, etc is considered a compound butter. This is best to make right after the butter has been churned. It is easier to work the ingredients into a softened butter rather than a chilled one.
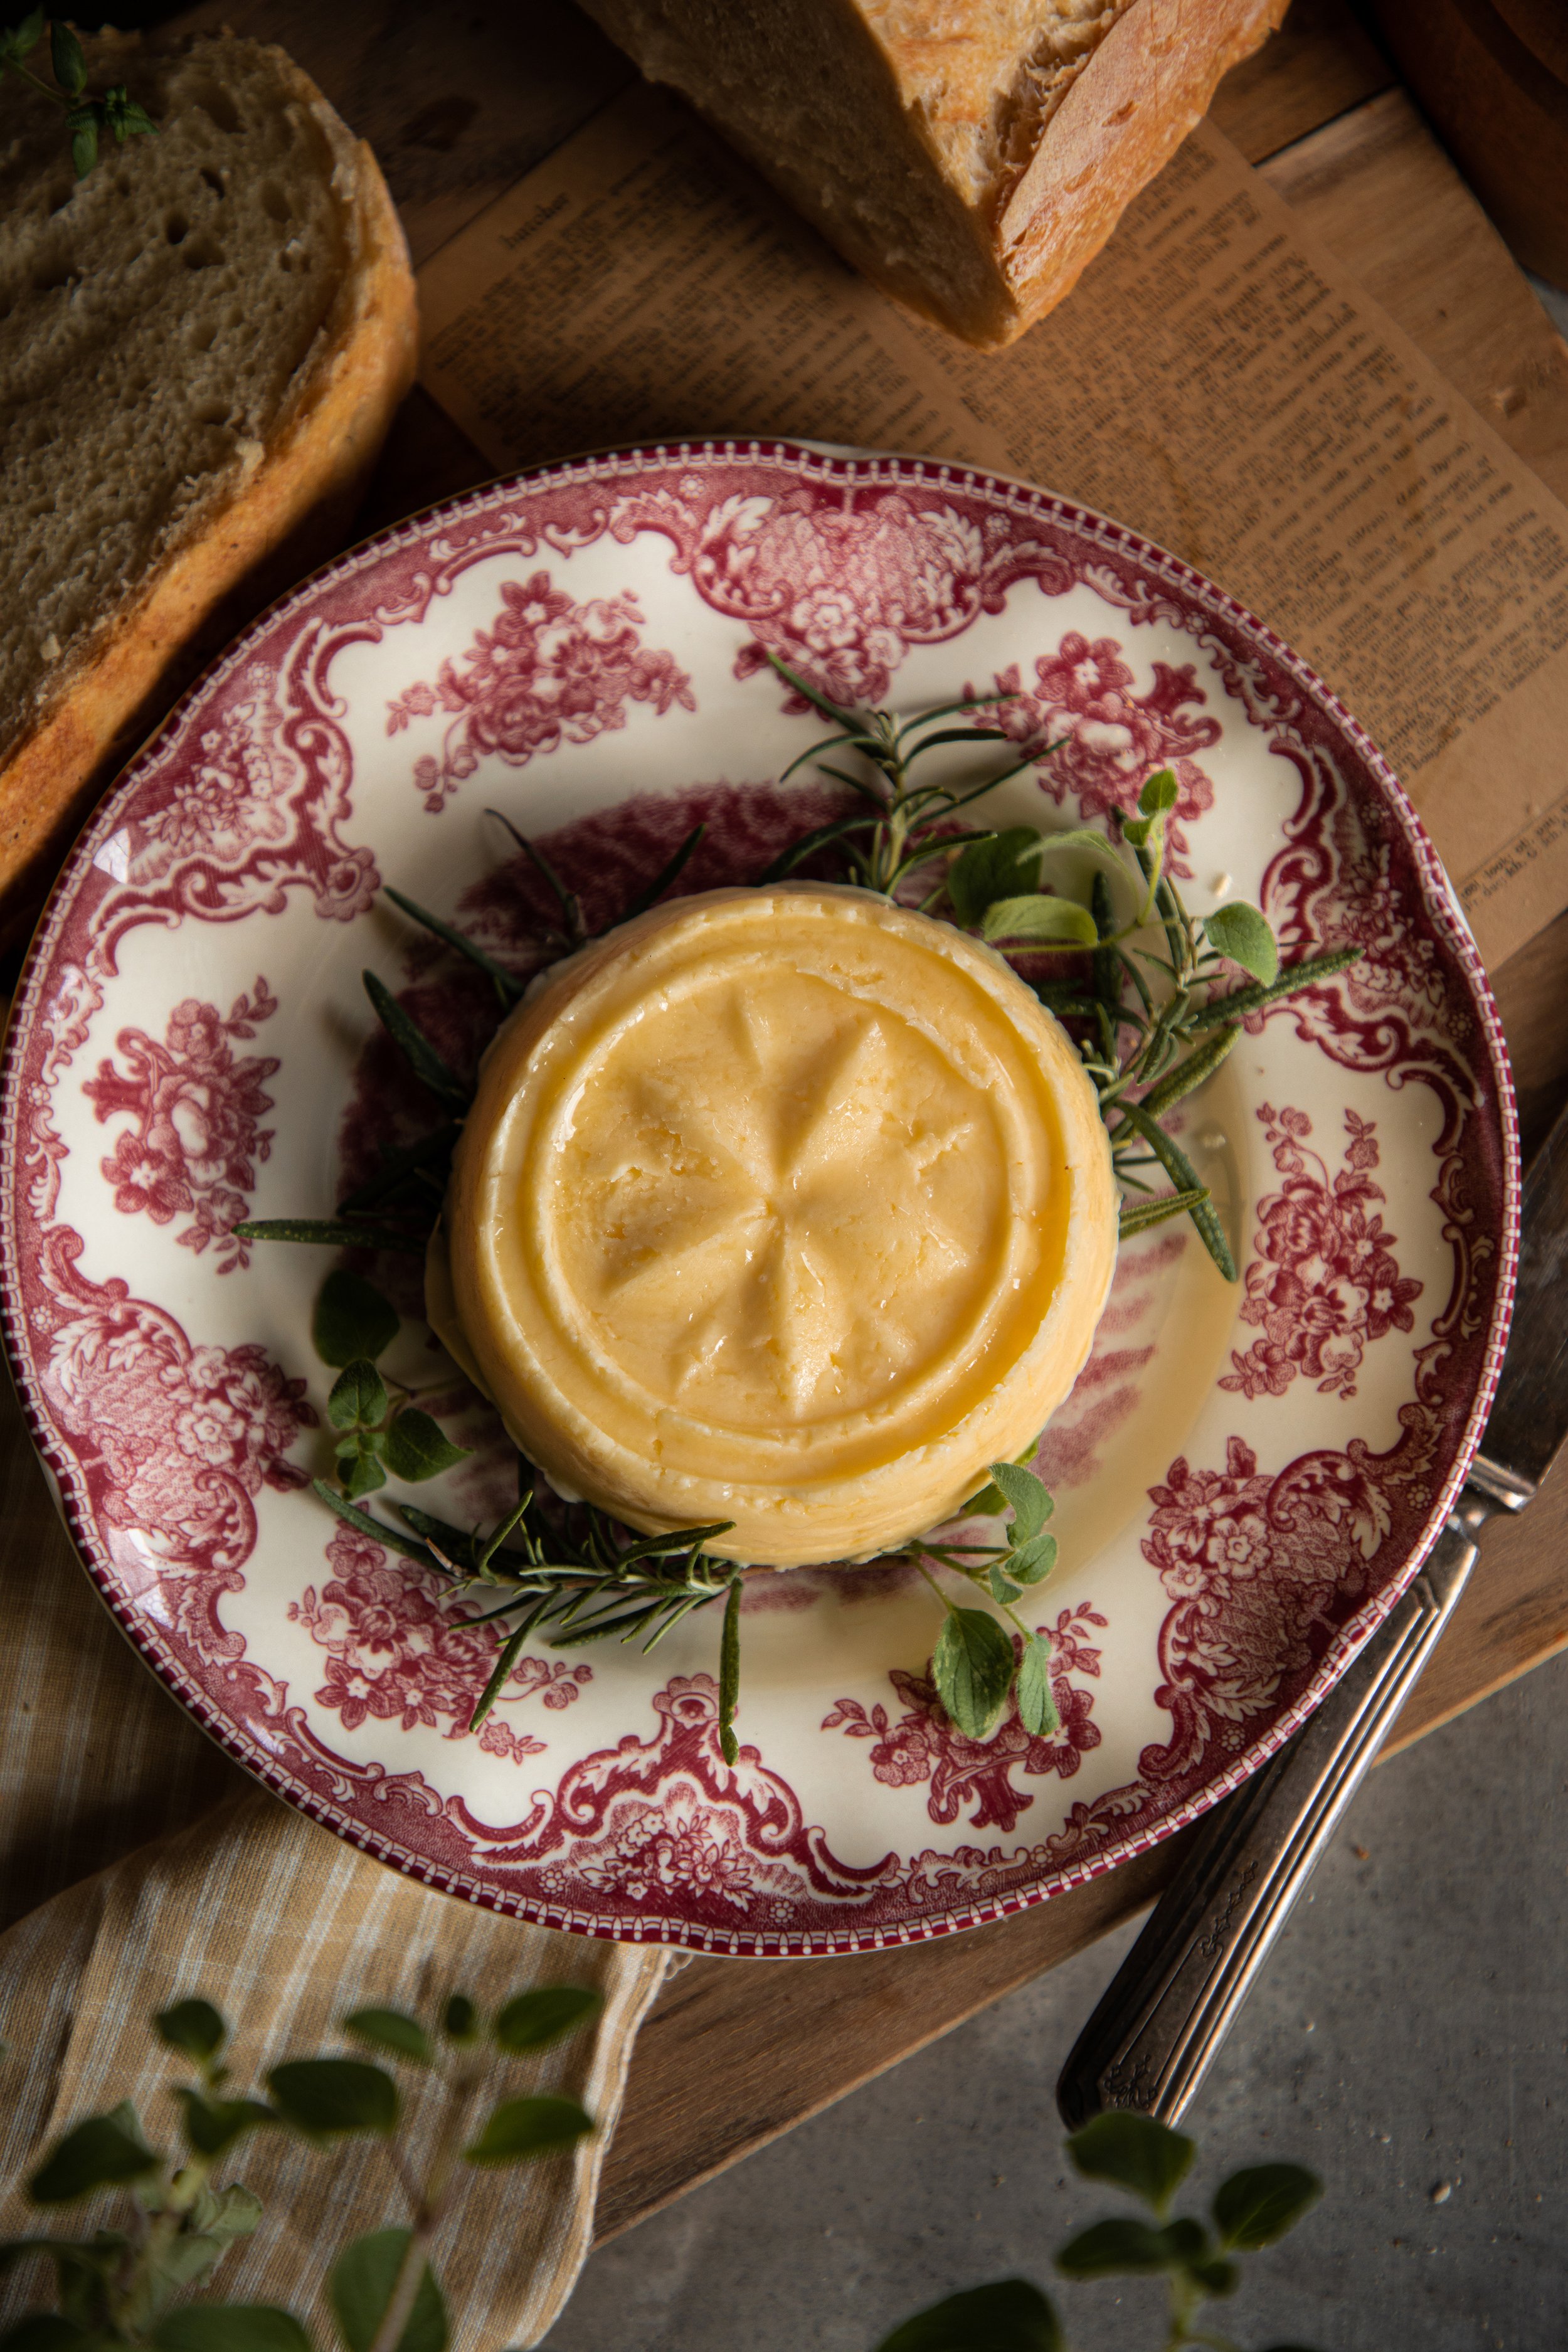
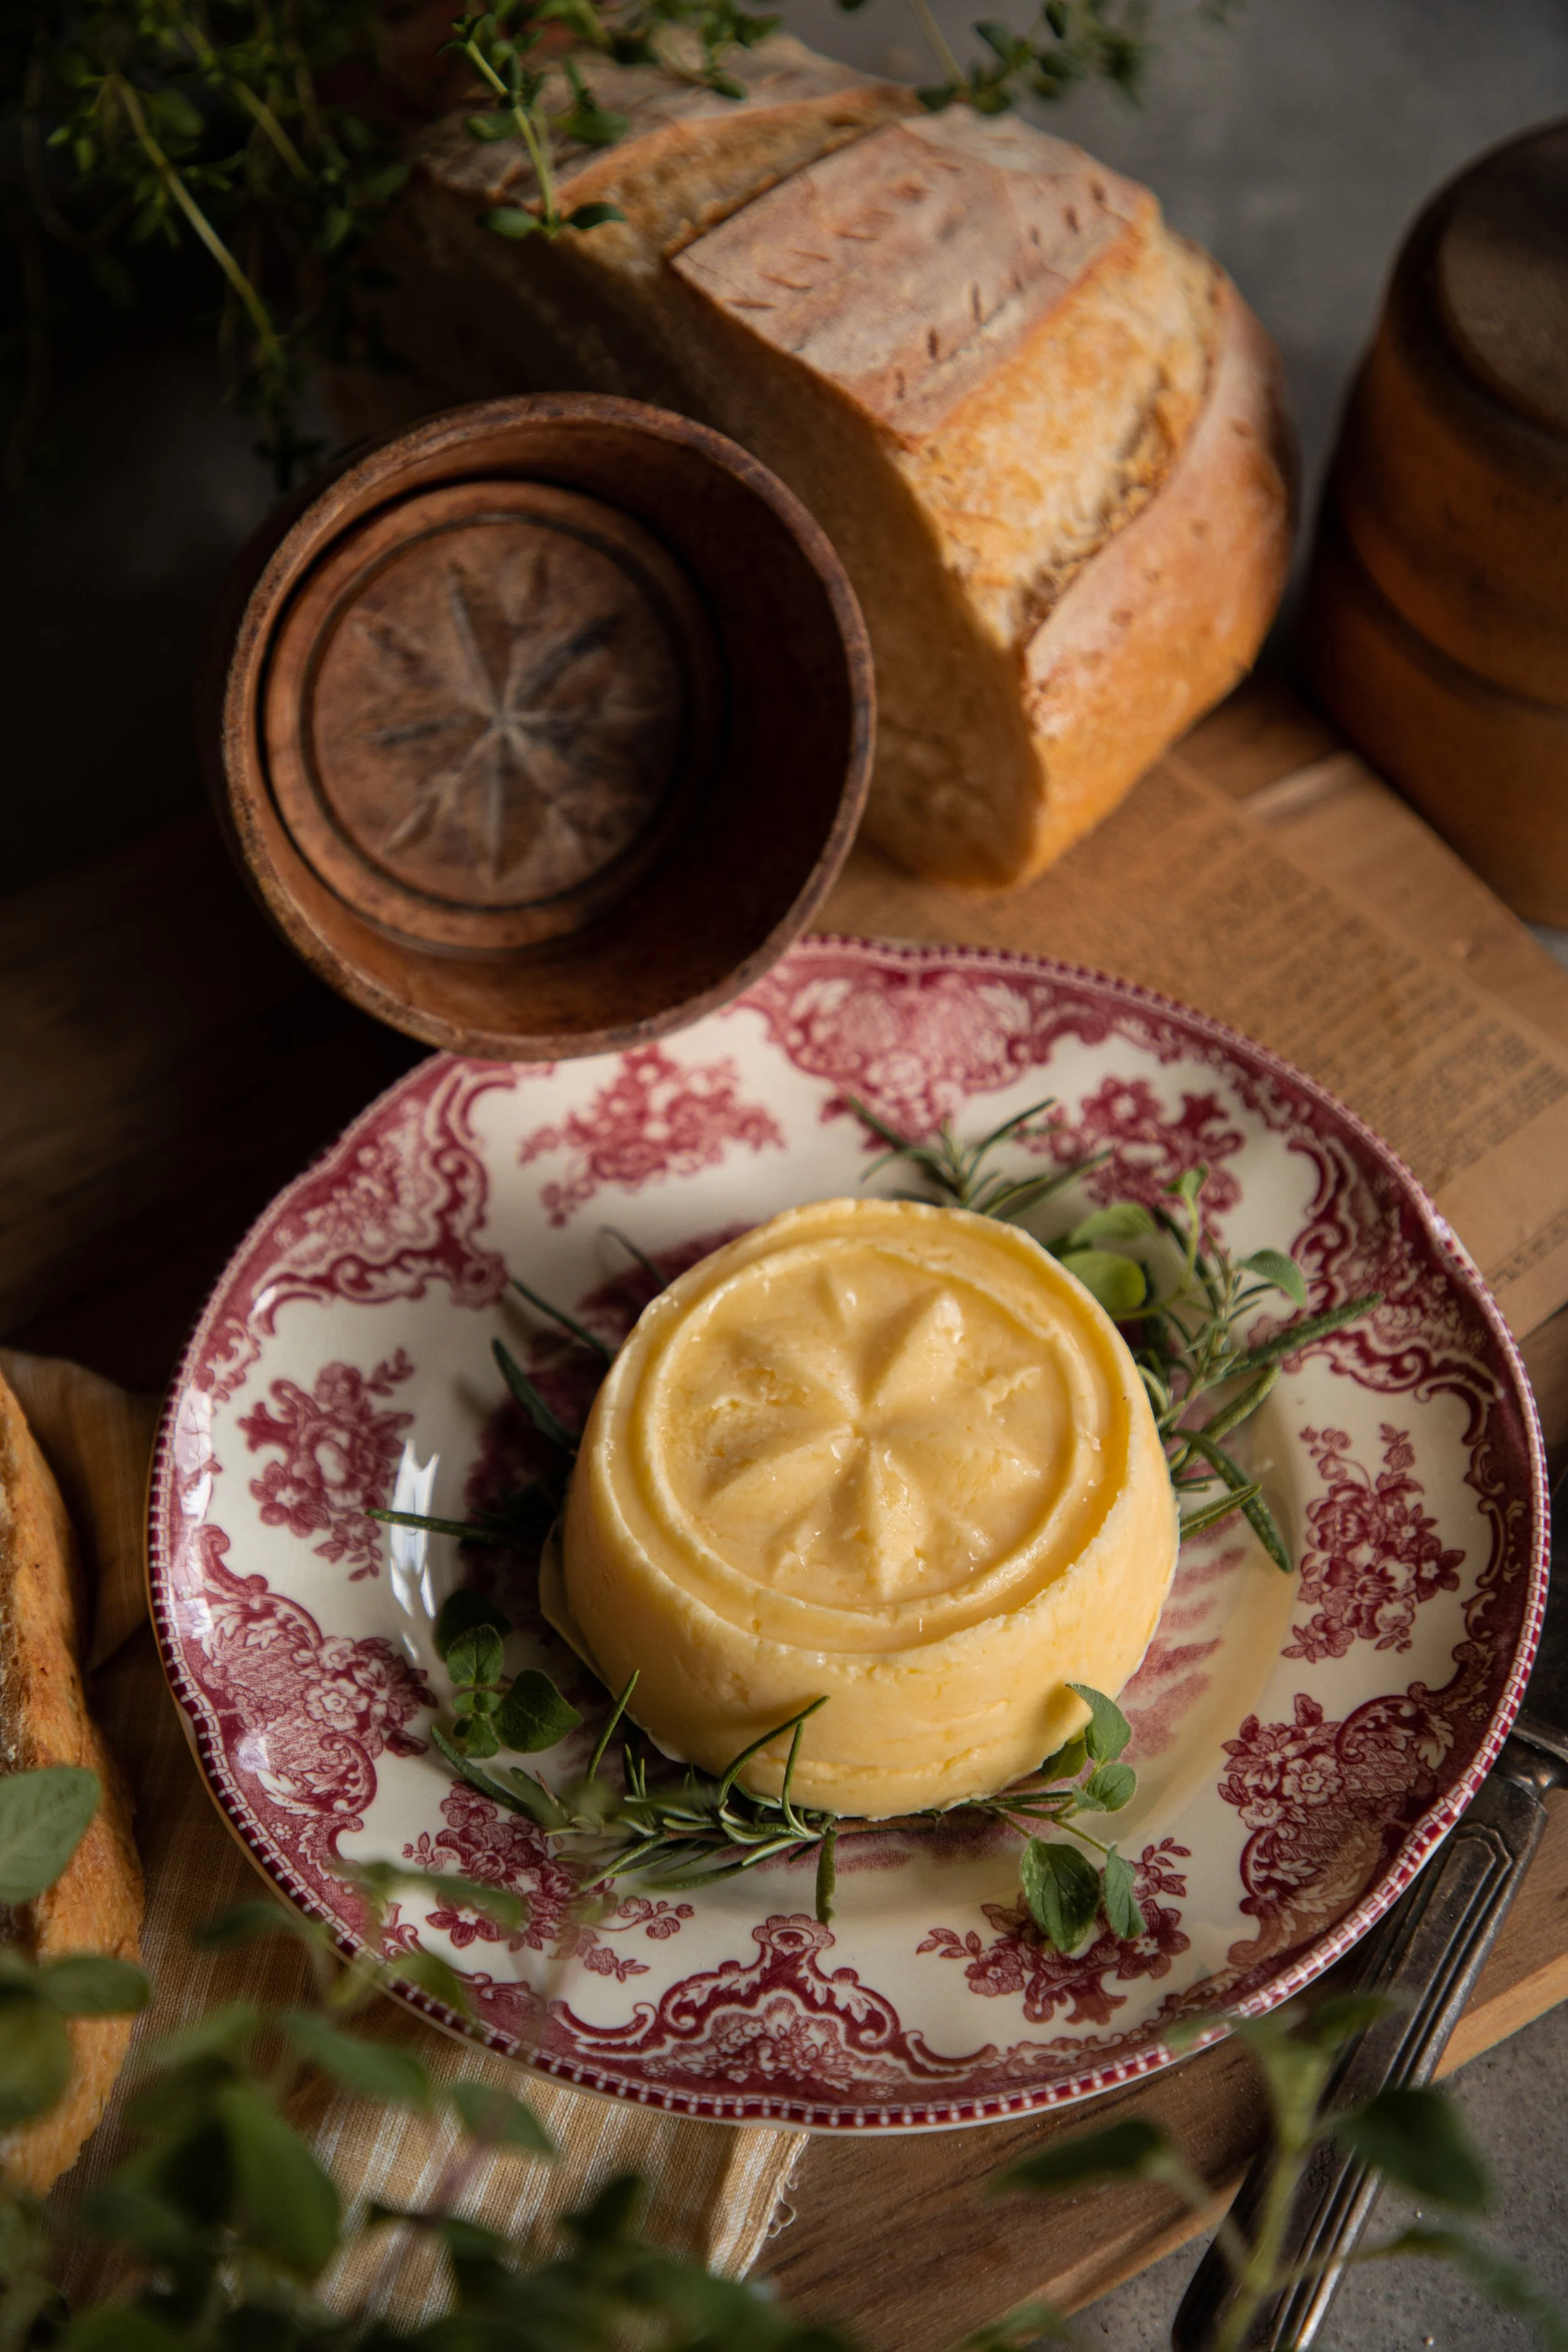
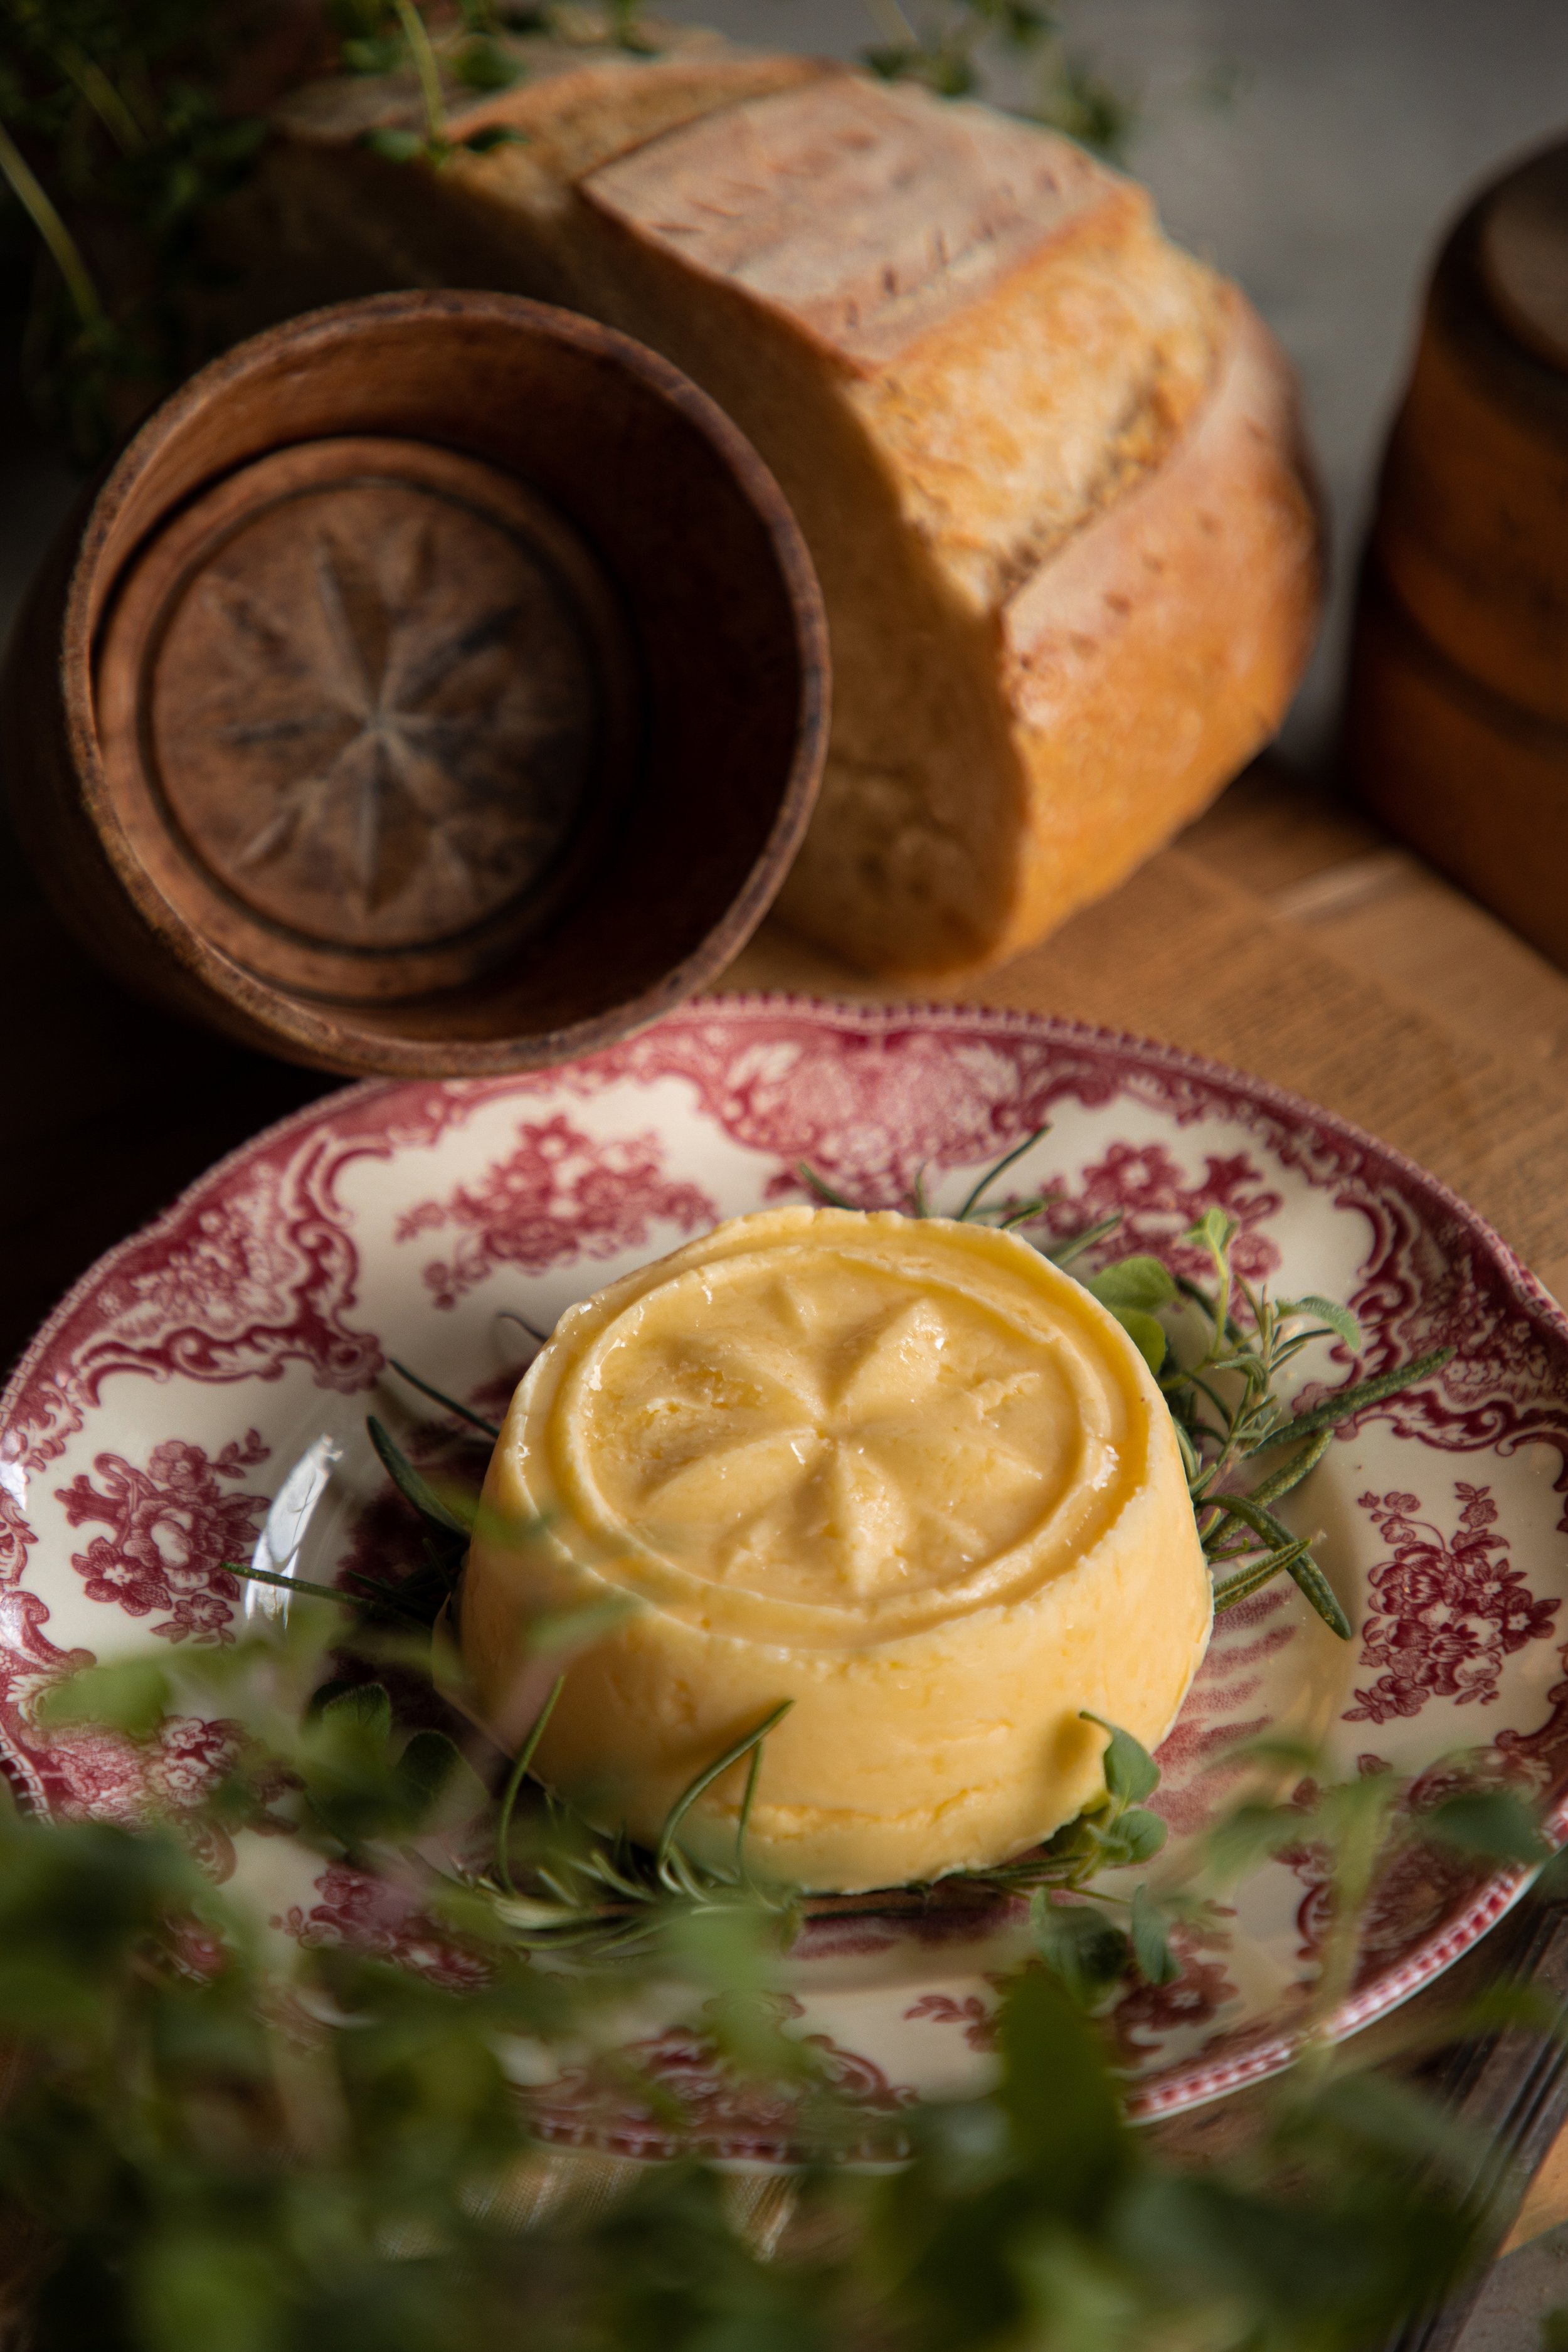
how to use a butter mold:
There are several wonderful butter molds on the market! We like to use antique butter molds that can be found while on the hunt at thrift shops, or you can find them Etsy or Ebay.
Are they safe to use? Yes, most wooden cooking tools are safe to use. You just have to make sure that they are cleaned and sanitized. This can easily be done by washing well with hot soapy water. Then sanitize with salt or baking soda mixed with vinegar or lemon juice. Rub the mold down, then wash again. Finally, apply a thin layer of wood oil and let the mold rest until dried, usually around 24 hours.
To make molded butter, there are a few tricks to follow:
Chill the mold in ice water. Before using the wooden mold, let it chill in a bowl of ice water for about 10 minutes. Do not dry the mold off. This helps the butter to pop right of the mold!
Use softened butter. Rather than using cold butter, use softened butter to press into the mold. Press it firmly to the mold design, which can be done by turning the mold over and pressing down into the butter.
Chill the butter in the mold. After the butter has been pressed into the mold, chill it in the refrigerator for about 10 minutes.
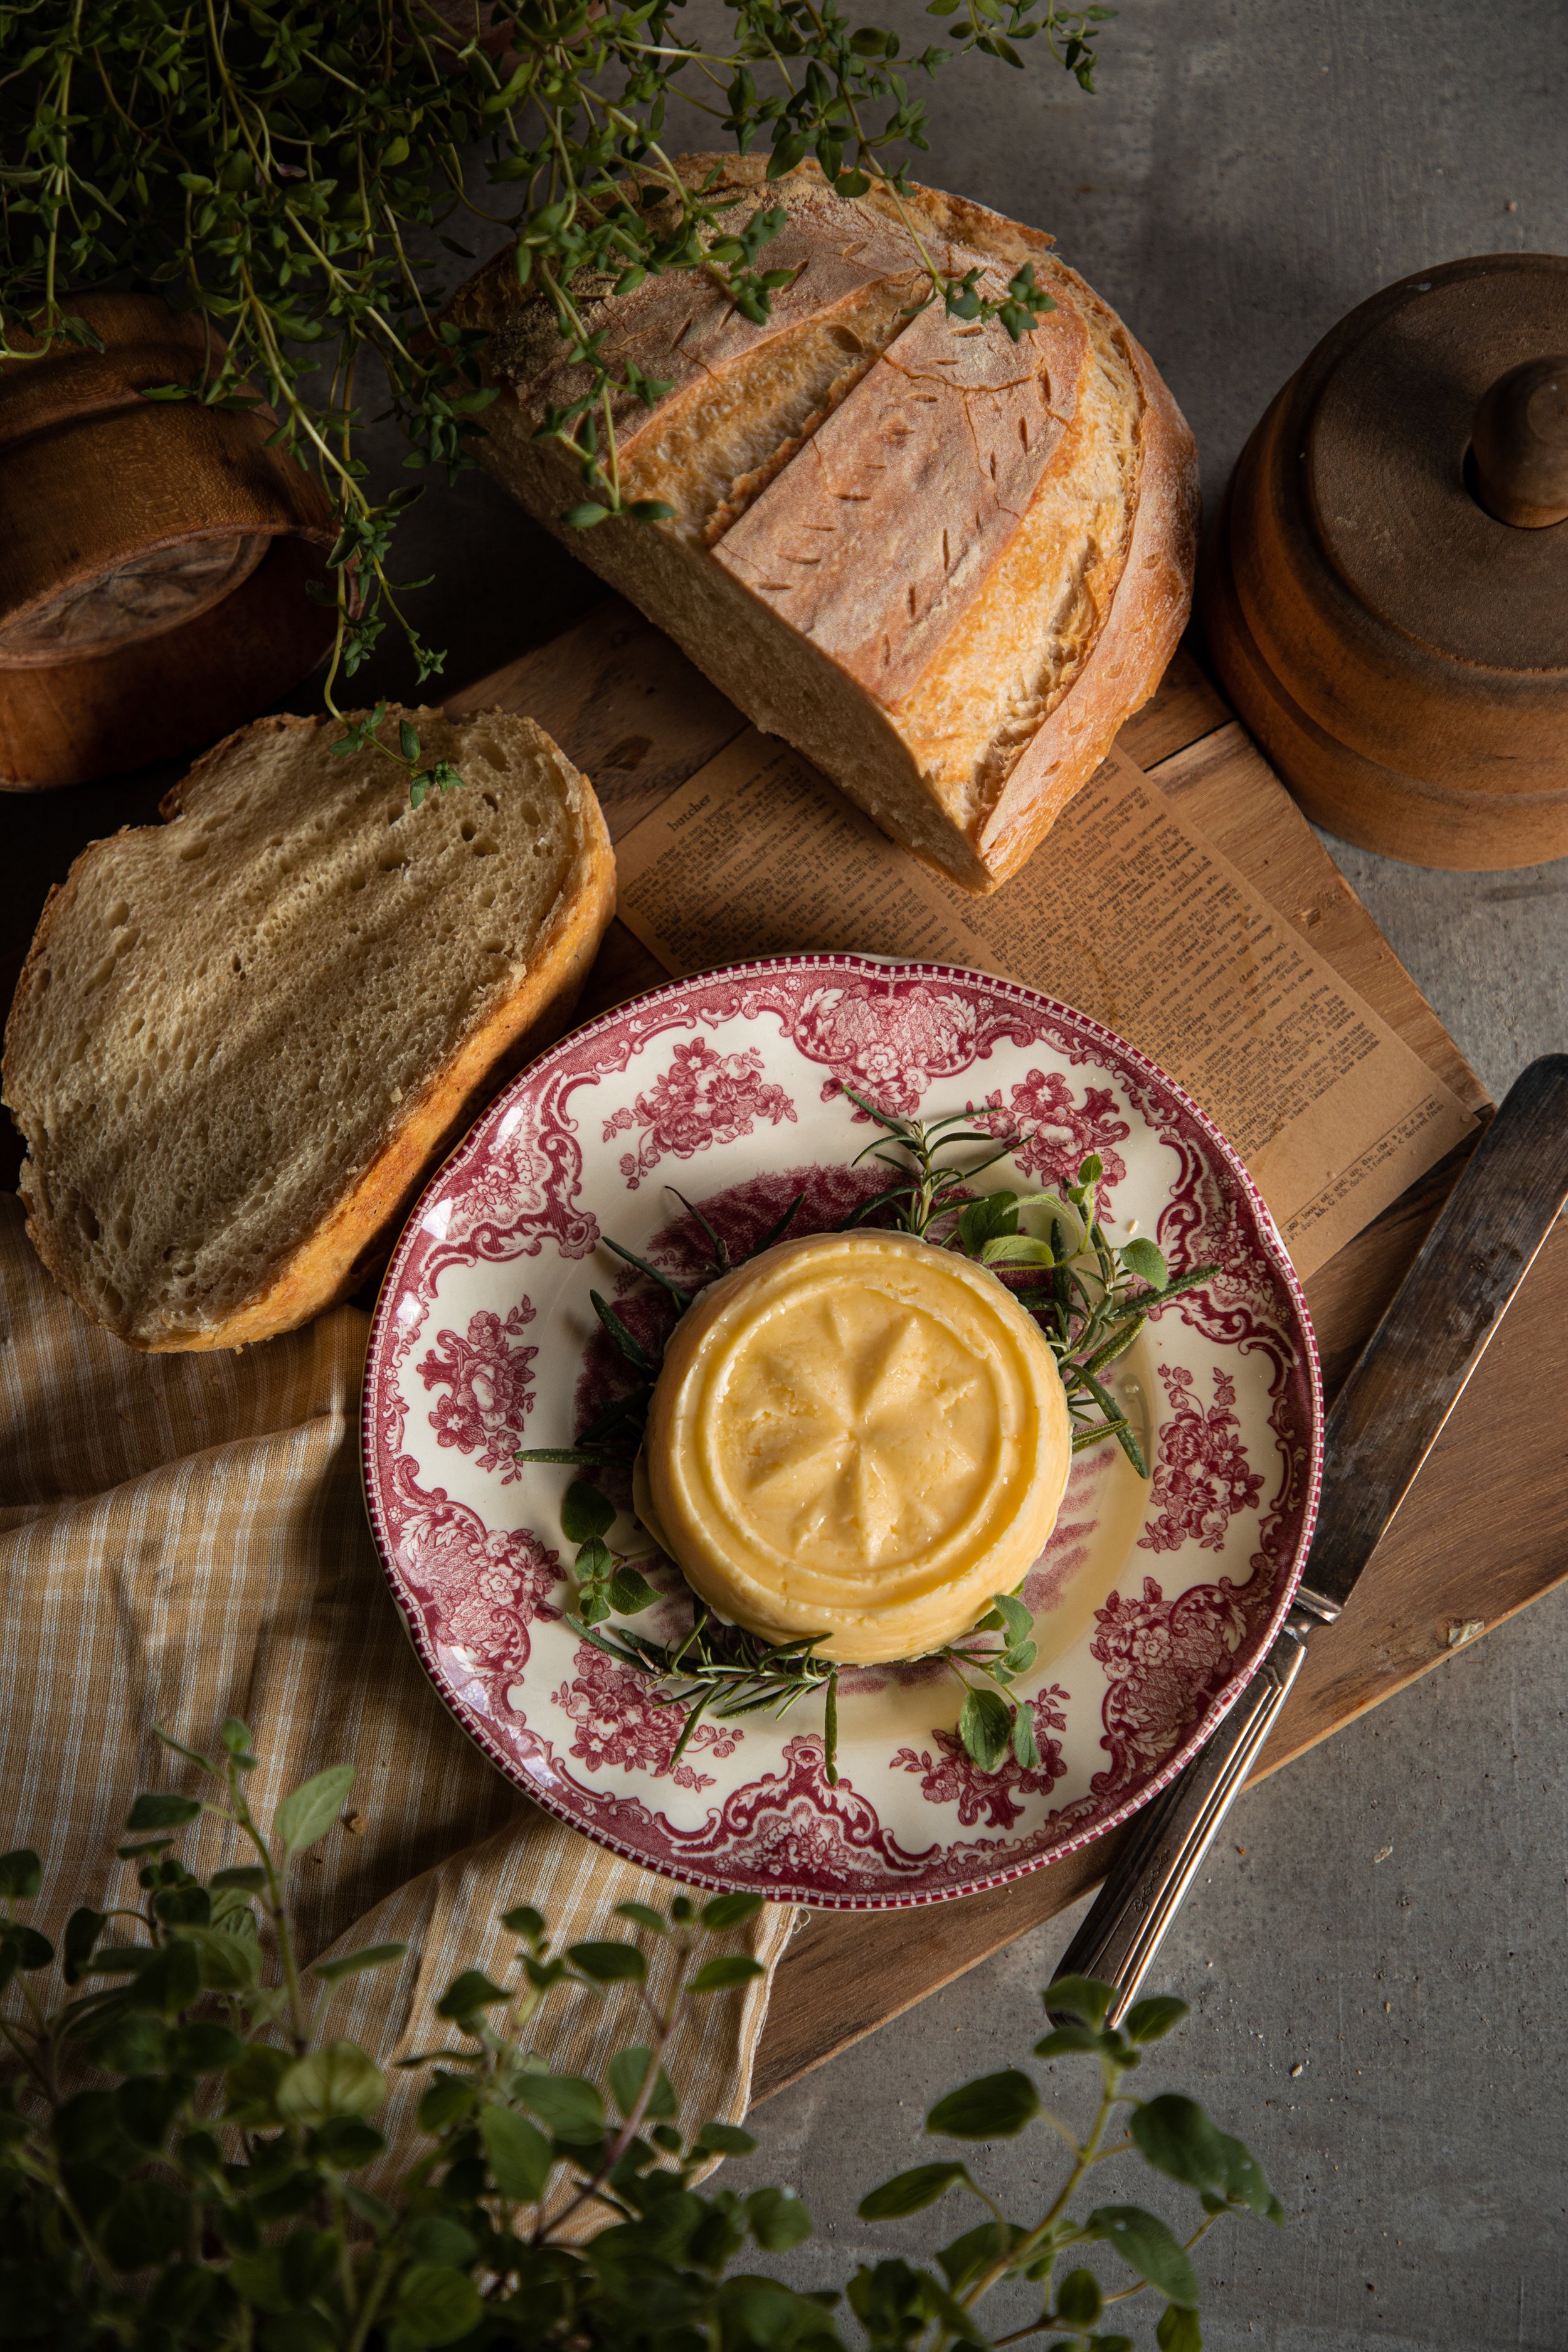
Pop it out! After it has chilled, push the butter out of the mold. The water from the mold will create a barrier between the mold and the butter, so it should just easily pop out. Wrap the butter in plastic wrap or parchment paper and chill in the refrigerator until ready to use.
Don’t forget this fun little addition to your holiday table! You may even want to add some extra ingredients like cinnamon and honey or fresh, chopped herbs for an added twist!
Happy Thanksgiving!
xoxo Kayla
Fresh Butter

Ingredients
- 2 cups heavy whipping cream
- 1 tablespoon sea salt (optional)
Instructions
- In the bowl of a standing electric mixer fitted with a whisk attachment, pour in the cream. Turn the mixer onto its highest speed.
- Whip the cream until it separates into bright yellow butter and buttermilk. The amount of time that this will take depends on the speed and power of your mixer. A good tip is to cover your entire mixer with a tea towel as the cream will sometimes spit out little bits of cream while it whips. First, the cream will turn into whipped cream with stiff peaks, then it will begin to liquefy again and look a bit frothy, then it will separate. You will hear the sloshing of the big ball of butter in the buttermilk when it is finished.
- Once the butter and cream have separated, gather all of the butter into a ball and squeeze out as much buttermilk as you can. If possible, use butter paddles to squeeze out buttermilk and shape the butter.
- Plunge the butter into a bowl of ice water. Continue to squeeze out any excess buttermilk.
- Add in any salt, if using, by kneading it in with your hands or butter paddles. Shape the butter, wrap in plastic wrap or parchment paper and store in the fridge. Fresh butter will last about 3 weeks. It can also be frozen!
This post contains affiliate links.