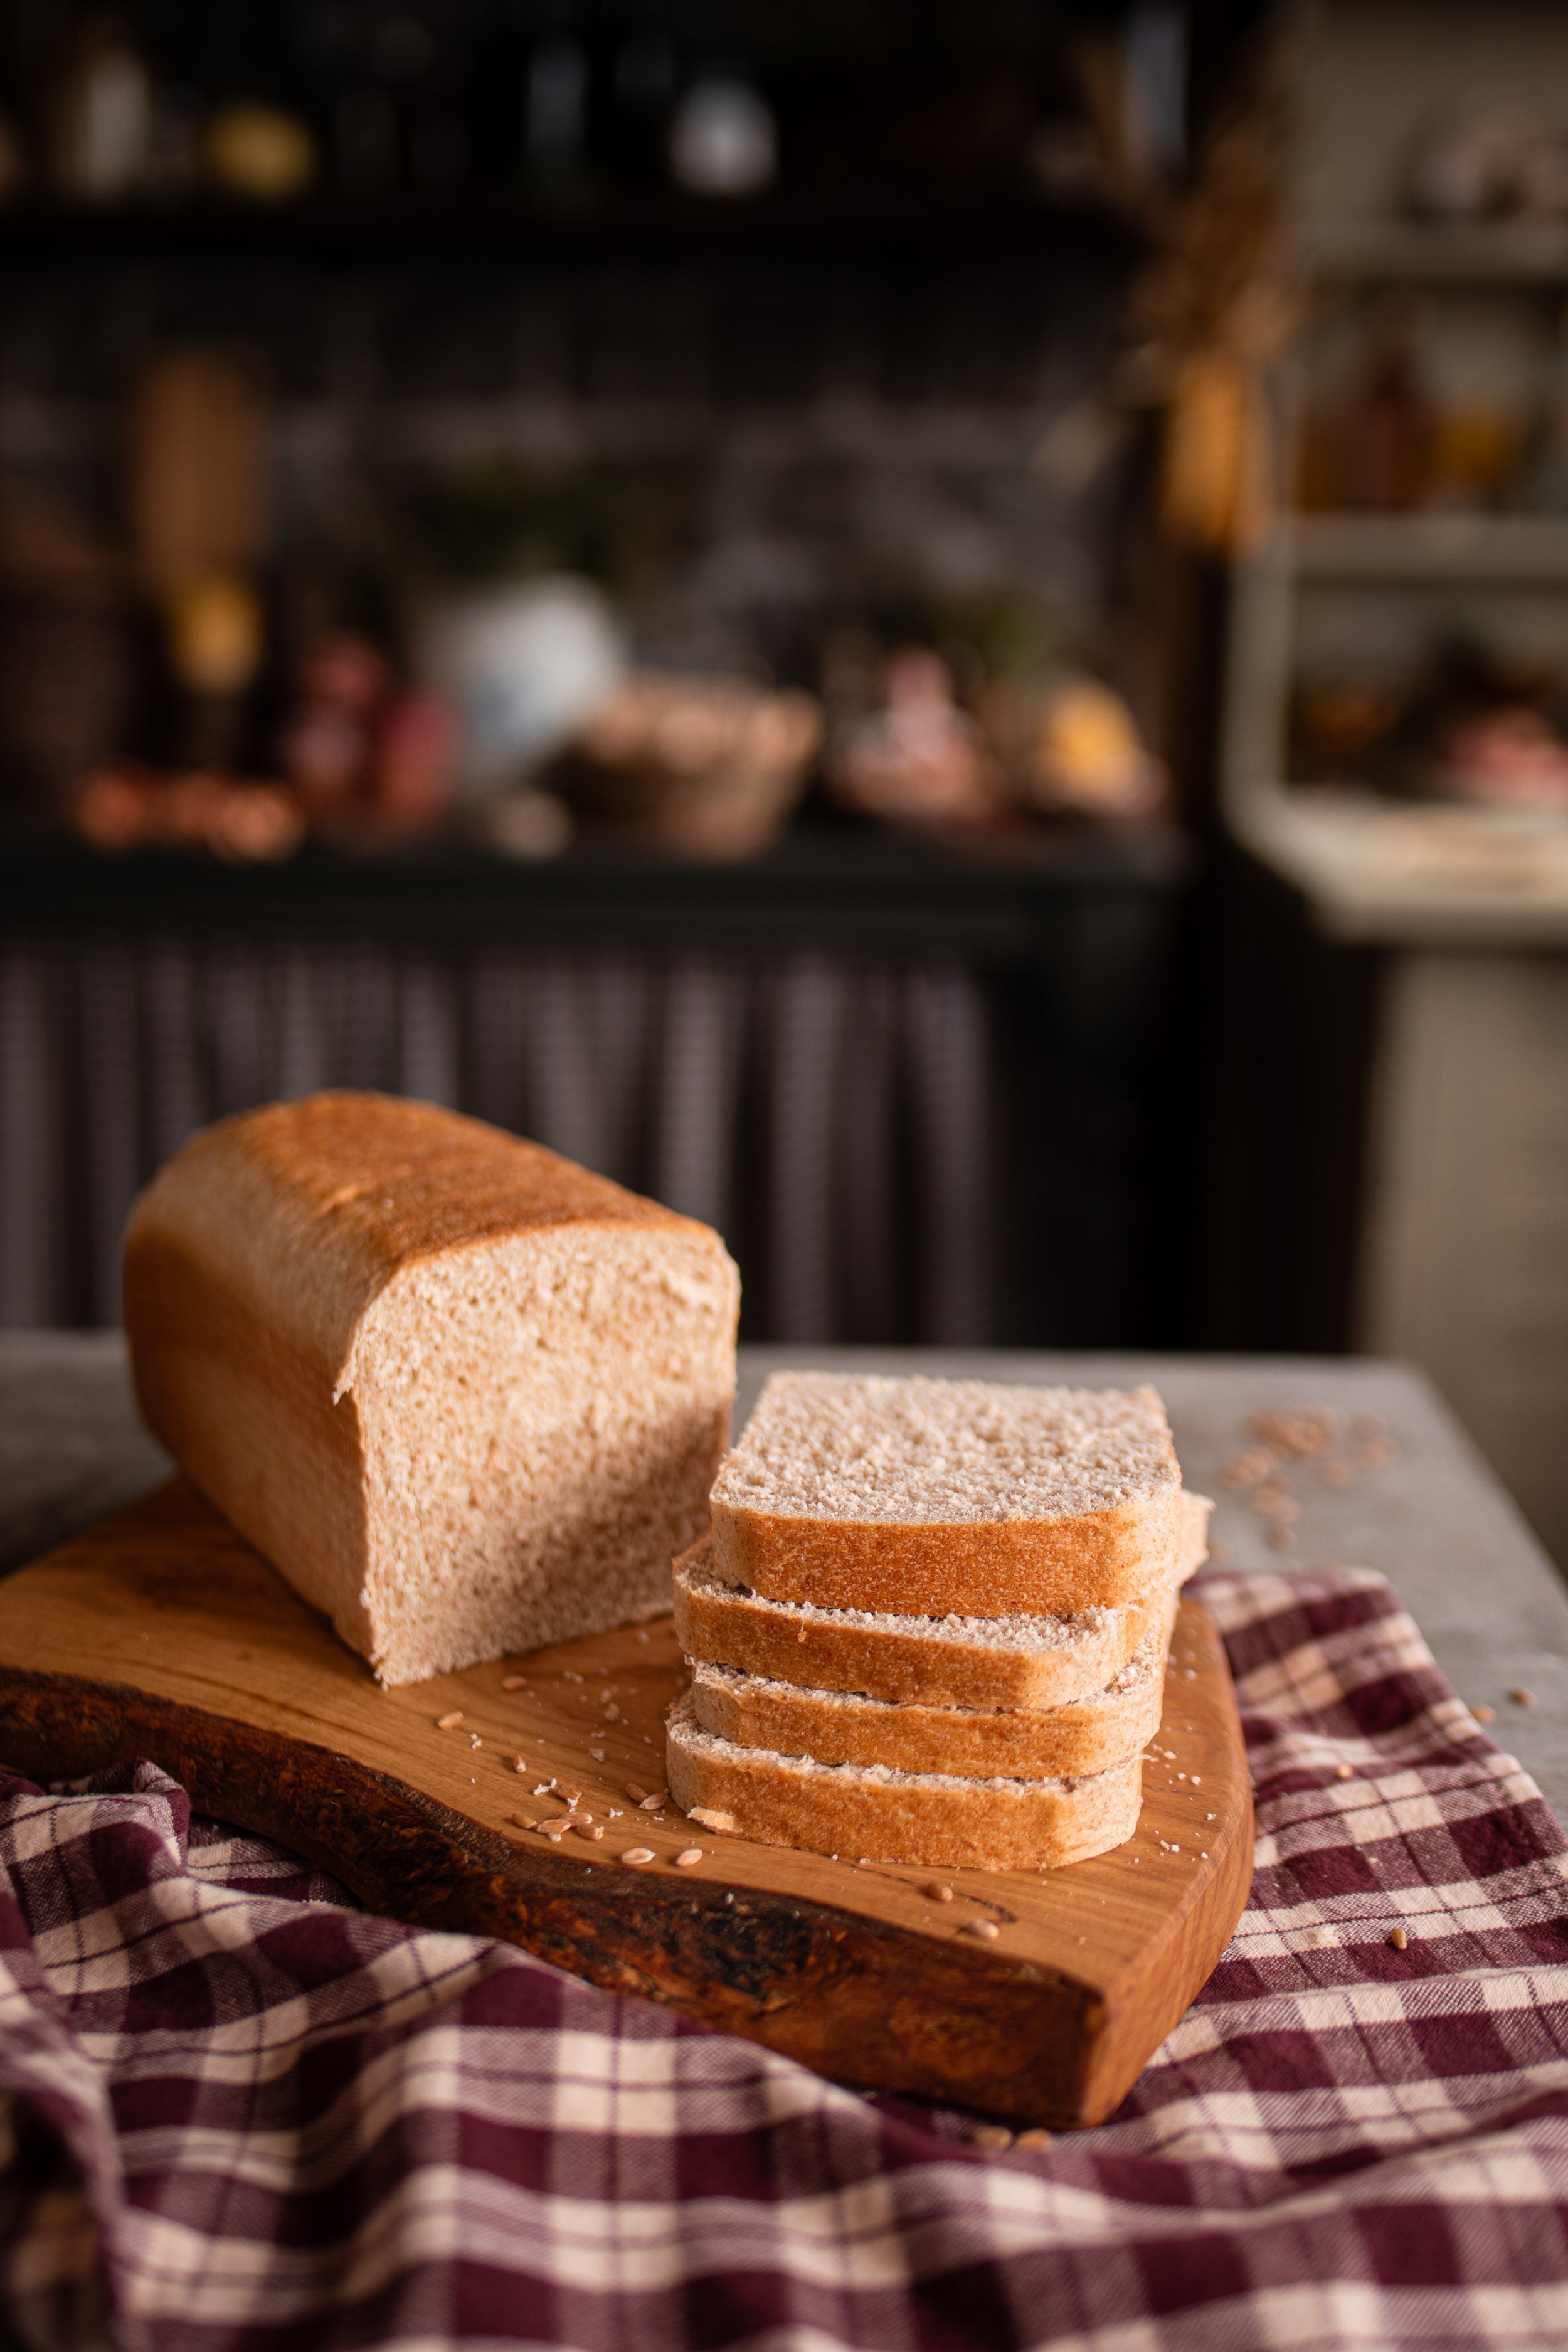
Honey Spelt Whole Grain Pullman Sandwich Bread
This post may contain affiliate links, please see our privacy policy for more information.
Hello, Dear Reader. I hope that this post finds you well.
If you have ever wondered how to make the perfect square bread for sandwiches, then I am happy to be sharing this recipe with you. This pullman bread recipe incorporates the amazing health benefits of whole grains with home milled spelt flour and is naturally sweetened with honey. In this recipe, I share with you how to work with whole grains, how to mill flour at home, and how to properly shape pullman bread dough. It’s a delightfully sweet bread that’s perfect for packing into your lunchbox!

what is a pullman loaf?
Have you ever heard of pullman bread? This style of bread is what you traditionally see for sale in the grocery store. It’s a long rectangular bread which, once cut, becomes a square. The “Pullman” loaf itself was designed by railway service pioneer George Pullman, who thought that the rectangular shape of the pan would prove to be a more efficient way to serve food to his passengers.
The reason for the shape of the pan being rectangular was to reduce the amount of crust on the loaf, leaving a soft inner crumb. However, there is proof that George Pullman was not the first to make bread in this shape. The French version Pain de Mie has been around since the early 1700s. This bread is baked exactly the same way: in a pullman loaf pan with a lid.
The purpose of the shape? It’s actually for use outside of sandwich making, such as making perfectly symmetrical croutons, toasts, white or panko breadcrumbs, etc. Now, it’s the bread that graces most American grocery store aisles and is so engrained in our minds that we don’t really ever think of using a hard crusty bread for meals.


how to work with spelt:
Spelt flour is a wonderful ancient grain that can be used as an all-purpose flour alternative. However, working with whole grains is much different than working with a bag of store-bought all-purpose flour or any other store-bought flour. The only time I have worked with spelt flour is when I have milled it myself with my grain mill. This makes the entire process more difficult, but the results are wonderful!
Spelt is a type of wheat which is slightly acidic but also has a lot of great flavor. I have written about working with whole grains in the past, and the ever present reason for using them is due to the bran and the germ of the wheat berry remaining present in the final flour. These two components of the wheat berry are what hold the nutrition from grain as well as what helps us absorb those nutrients and fiber and digest them.
To work with spelt, it is crucial to understand how whole grains work. In a nutshell, they absorb liquid more than a commercial flour. Generally, this translates to needing less flour in a recipe. It can be difficult to tell when to stop adding flour as your bread dough may not appear to soak up the water at first. In this recipe, we are using just under 50% spelt flour and the remaining is bread flour.

how to shape the loaf:
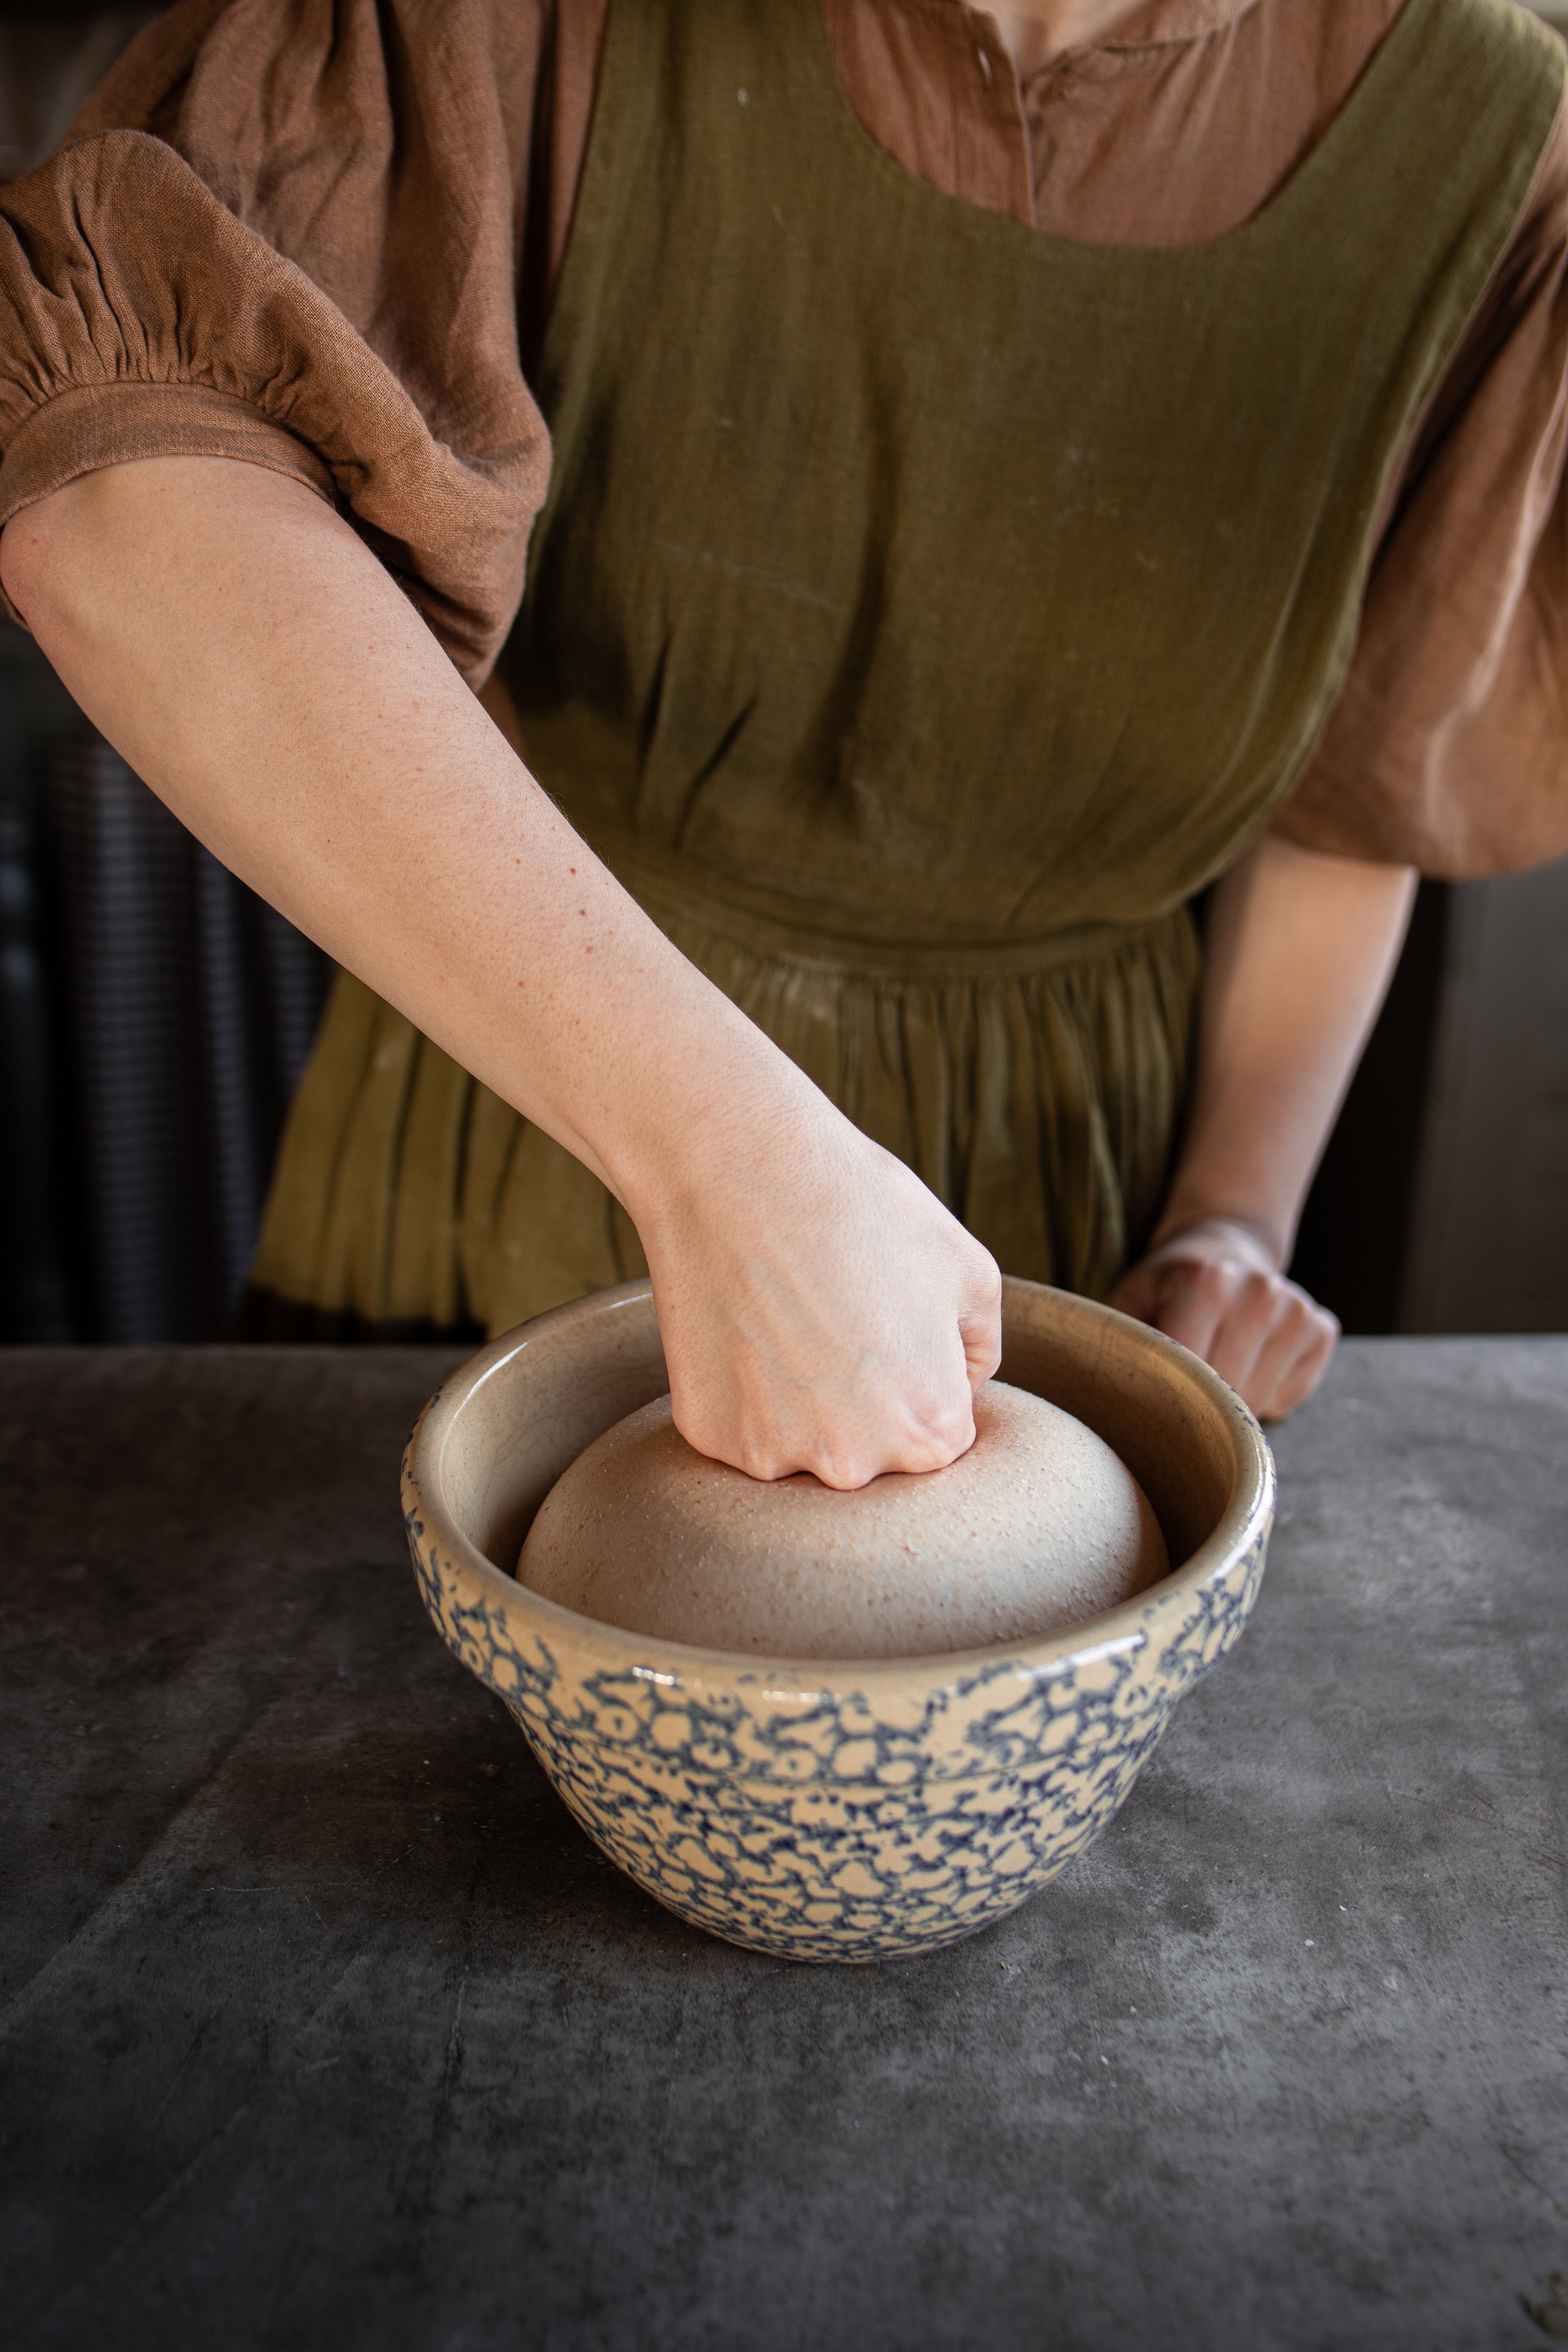
STEP ONE: Begin by gently deflating the dough. This bread takes about 1 to 1 1/2 hours to rise for its bulk fermentation. Then, turn the dough out onto the counter.
STEP TWO: Press the dough flat onto the counter into a large rectangle shape. This is most easily done with your hands, but you can also use a rolling pin if you need to.


STEP THREE: Next, take one of the shorter ends and fold it towards the center of the dough. Press it gently down into the dough. Then, repeat with the opposite end and slightly overlap at the seam. Press in gently.
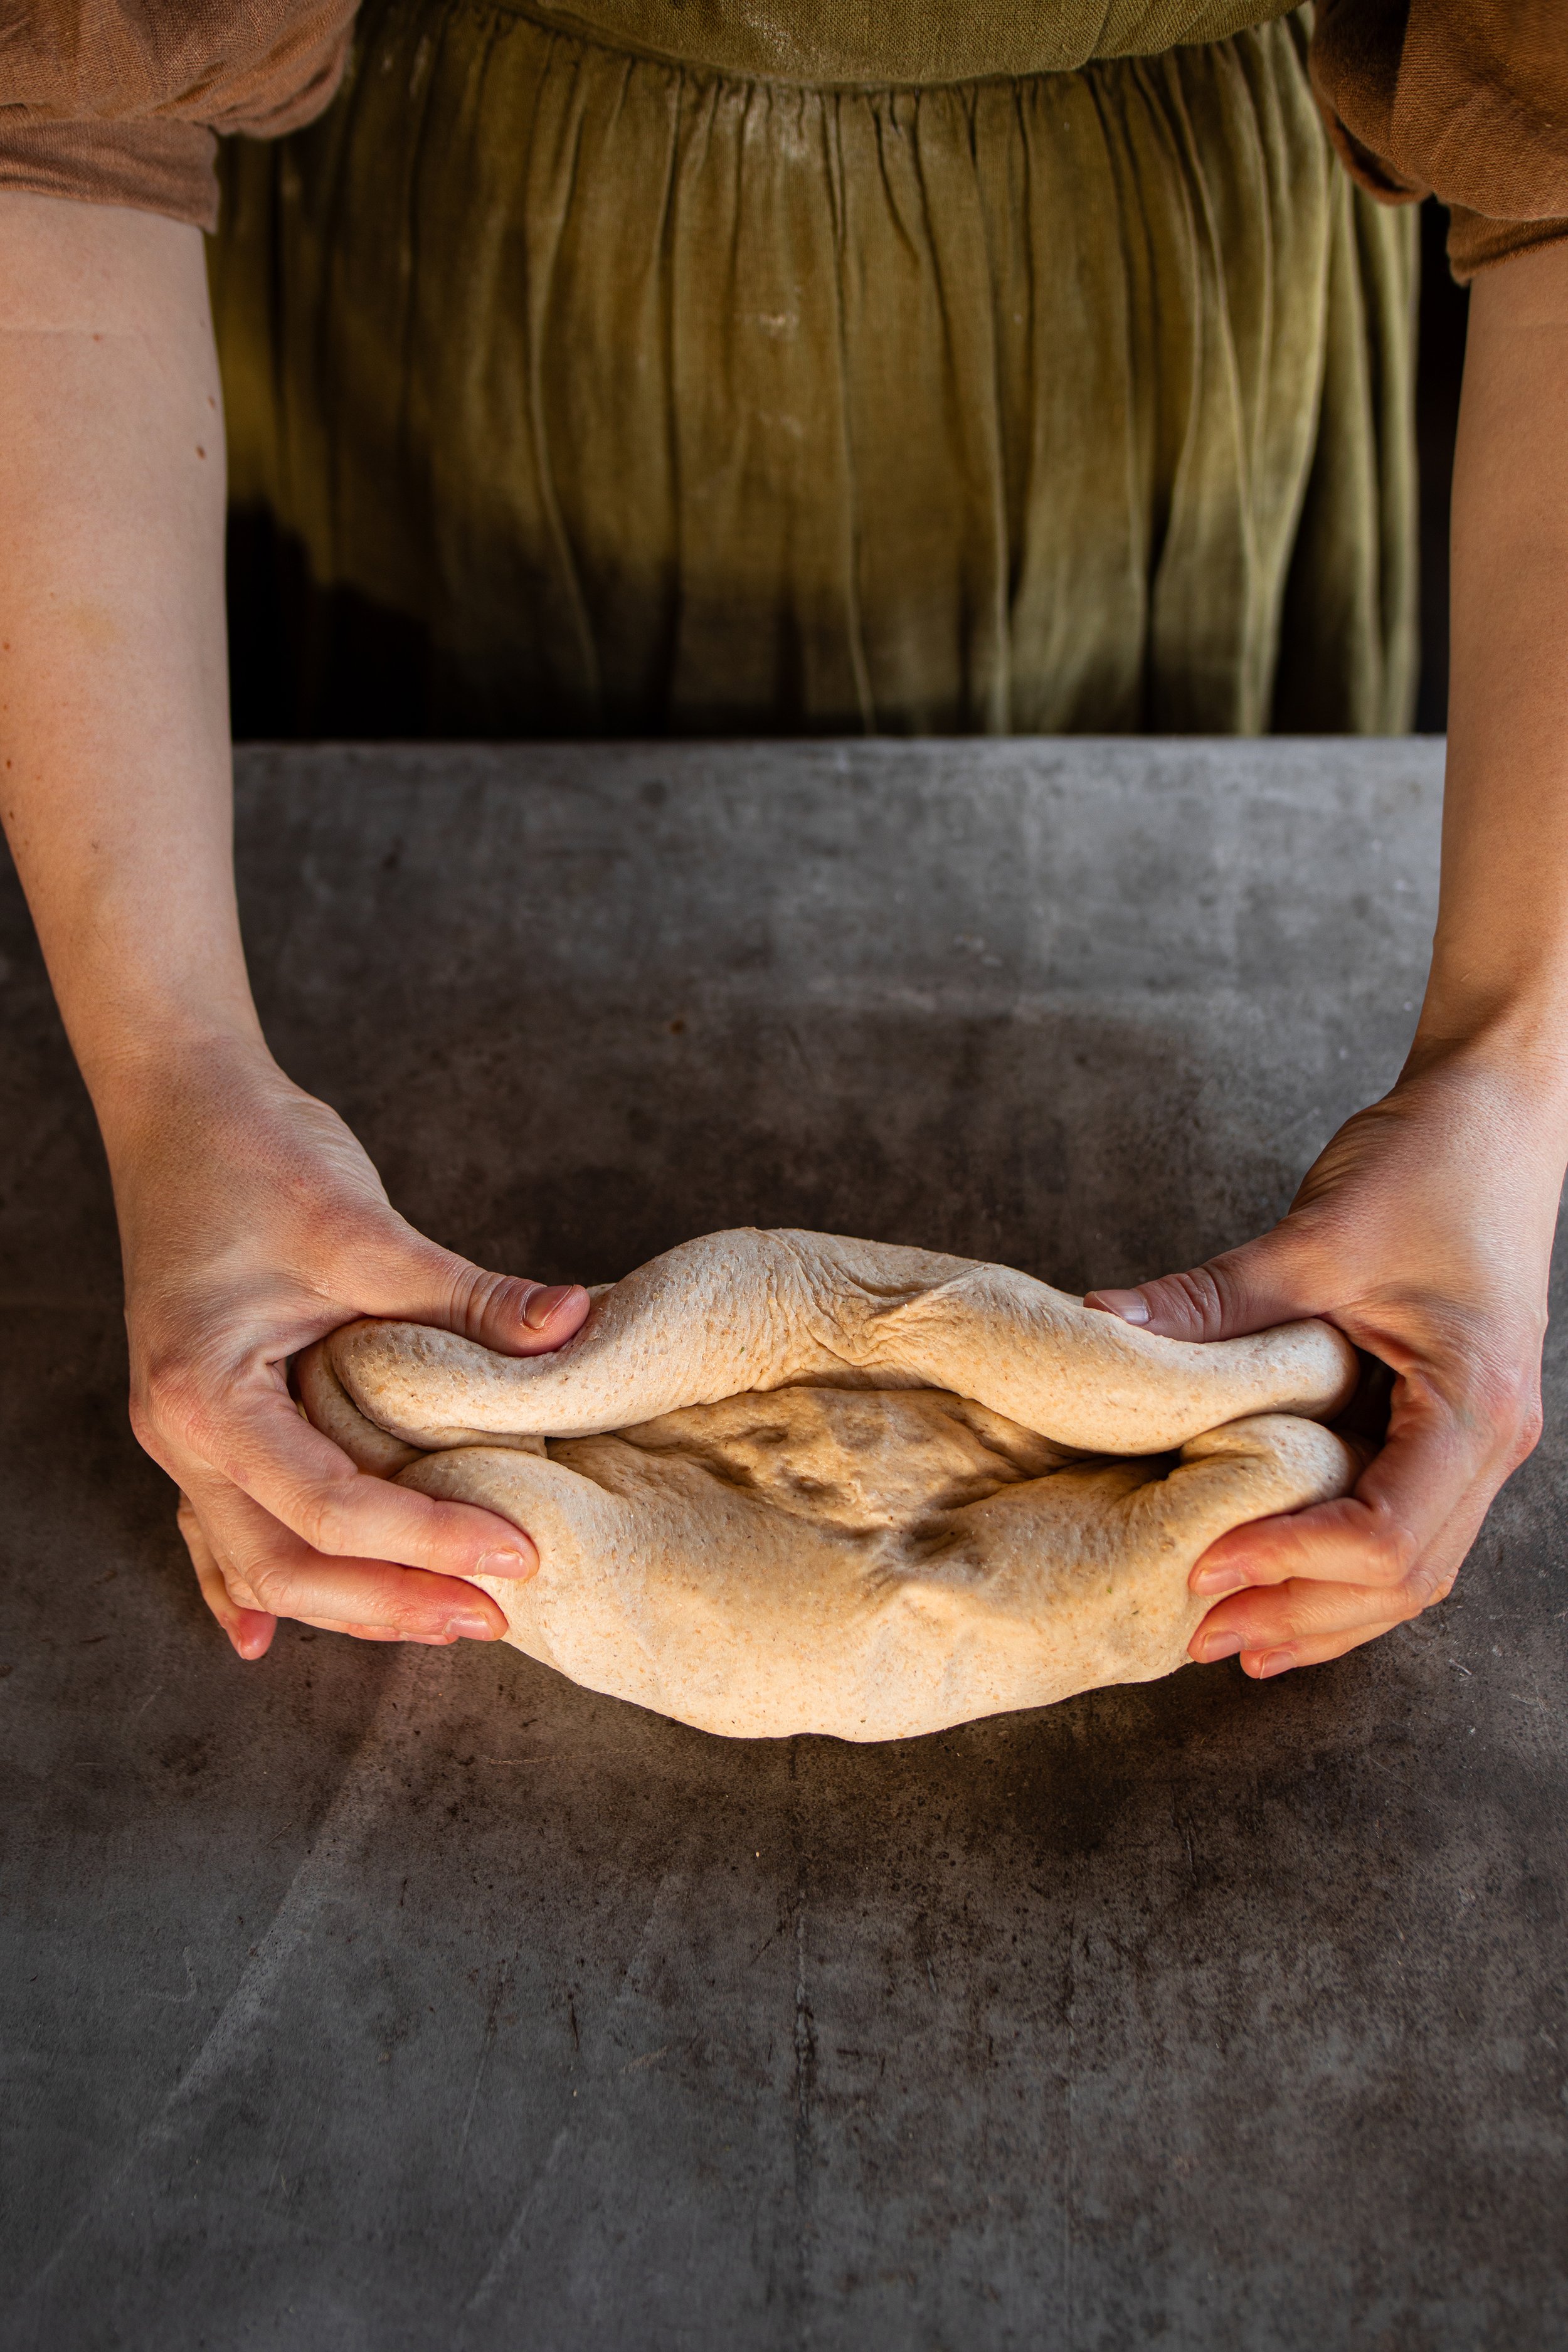

STEP FOUR: Fold the dough around the seam, making a cylindrical shape, like a jellyroll. Then, pinch the seam closed. You want to try and make this as tight as possible as this will help the internal structure of the bread become more sturdy and prevent it from collapsing.
STEP FIVE: Pull the bread towards your body, with the seam side on the countertop. The loaf will become tighter and more uniform. If needed, roll out the tube to make it the length of the pullman pan (about 13-inches).

final thoughts:
This recipe was a really fun one for me to develop! I was able to work with some new-to-me ingredients in the world of bread making. The flavor is highly developed, making it an excellent “quick” bread for your weekly rotation. Using a pullman loaf pan with a lid is really fun, and you can turn essentially any bread recipe that you love into a pullman recipe!
I hope that you enjoy making this healthy sandwich bread recipe. Let me know how it goes in the comments! There’s truly nothing better than homemade bread, don’t you think?
xoxo Kayla
Honey Spelt Whole Grain Pullman Sandwich Bread

Ingredients
- 1 1/2 cups (360 ml) warm water
- 2 tsp (6 g) active dry yeast
- 2 tbsp (30 ml) honey
- 2 tsp (9 g) kosher salt
- 2 tbsp (30 ml) orange juice, fresh if possible
- 4 tbsp (58 g) salted butter, softened
- 1/4 cup (22 g) dry milk
- 1/4 cup (47 g) potato starch
- 2 cups (249 g) spelt flour
- 2 1/3 cup (417 g) bread flour
Instructions
- In the bowl of a standing electric mixer fitted with a dough hook, combine the water, yeast, and honey. Let this sit for about 5 to 8 minutes to allow the yeast to bloom, or grow and become bubbly. If your yeast does not grow, it may be dead and need to be replaced.
- Whisk in the salt, orange juice, butter, dry milk, and potato starch.
- Then, slowly begin adding in the spelt flour, about 1/2 cup (62 g) at a time, waiting for it to fully become absorbed. Because you are working with a whole grain flour, it absorbs water differently than an all-purpose flour. You want to watch the dough carefully to avoid adding too much flour and risking the dough becoming too dry.
- Once the spelt flour has been added, begin adding the bread flour*. Add the flour about 1/2 cup (76 g) at a time, watching for the dough to just stop clinging to the sides of the bowl. Once this happens, knead the dough for about 2 minutes. If it becomes very wet again, sticking to the bowl, add more flour. If it remains in a single dough ball stuck to the dough hook, it probably doesn't need more flour.
- Knead the dough on medium speed for 8 minutes or until it is very smooth and elastic. This kneading time will help the spelt flour to absorb the liquid and grow.
- Once the dough has finished kneading, remove it from the bowl and shape it into a tight ball on the counter. Lightly grease a large bowl and place the dough in the bowl. Cover the bowl with plastic wrap and allow the bread to rise for about 1 hour or until doubled in size. When you press on the dough with the tip of your finger, the indentation should remain and not bounce back. This means the dough is ready.
- Gently deflate the dough and turn it out onto the counter.
- To shape the dough, press it out into a large flat rectangle without tearing the dough. Taking one of the shorter ends, fold it towards the middle of the rectangle. Gently press it down. Then, take the opposite end and fold it towards the middle, slightly overlapping the seam. Press the seam together.
- Then, roll the dough up like a jelly roll, fold in the ends, and pinch the seam closed. It also helps to drag the dough closed on the countertop to make the roll really tight. This will help to make the internal structure of the bread nice and sturdy.
- Lightly grease a 13 x 4 x 4-inch (33 x 10 x 10-cm) pullman pan. Place the dough into the pan, seam side down, and cover the pan with plastic wrap. Then, let the dough rise until it is halfway up the pan, about 45 to 60 minutes.
- When the bread is near to finished rising, preheat the oven to 375° F (191° C). Lightly grease the lid to the pan and place the lid on the pullman pan.
- Bake the bread, covered, for 20 minutes. Then, carefully remove the lid and continue to bake the bread for another 20 minutes or until it is deep golden brown in color and sounds hollow when tapped upon with the tips of your fingers. Remove the bread from the oven and place the pan on a wire cooling rack. Allow the bread to sit in the pan for another 10 to 15 minutes. Then, turn it out onto the cooling rack and let it finish cooling completely before slicing.
- To store the bread, I suggest wrapping it in plastic wrap at room temperature to prevent it from becoming too hard and crusty. This will keep it soft and easy to make sandwiches with.
Notes
*If you would like to replace the bread flour with all-purpose flour, you can do so! You will need to adjust the recipe to have 3 cups (390 to 400 g) all-purpose flour.
**This bread can certainly be made by hand or in a bread machine, however it cannot be baked in the bread machine. You will only use it to knead the dough. Kneading by hand will likely double the preparation time.