How to Dip Beeswax Candles
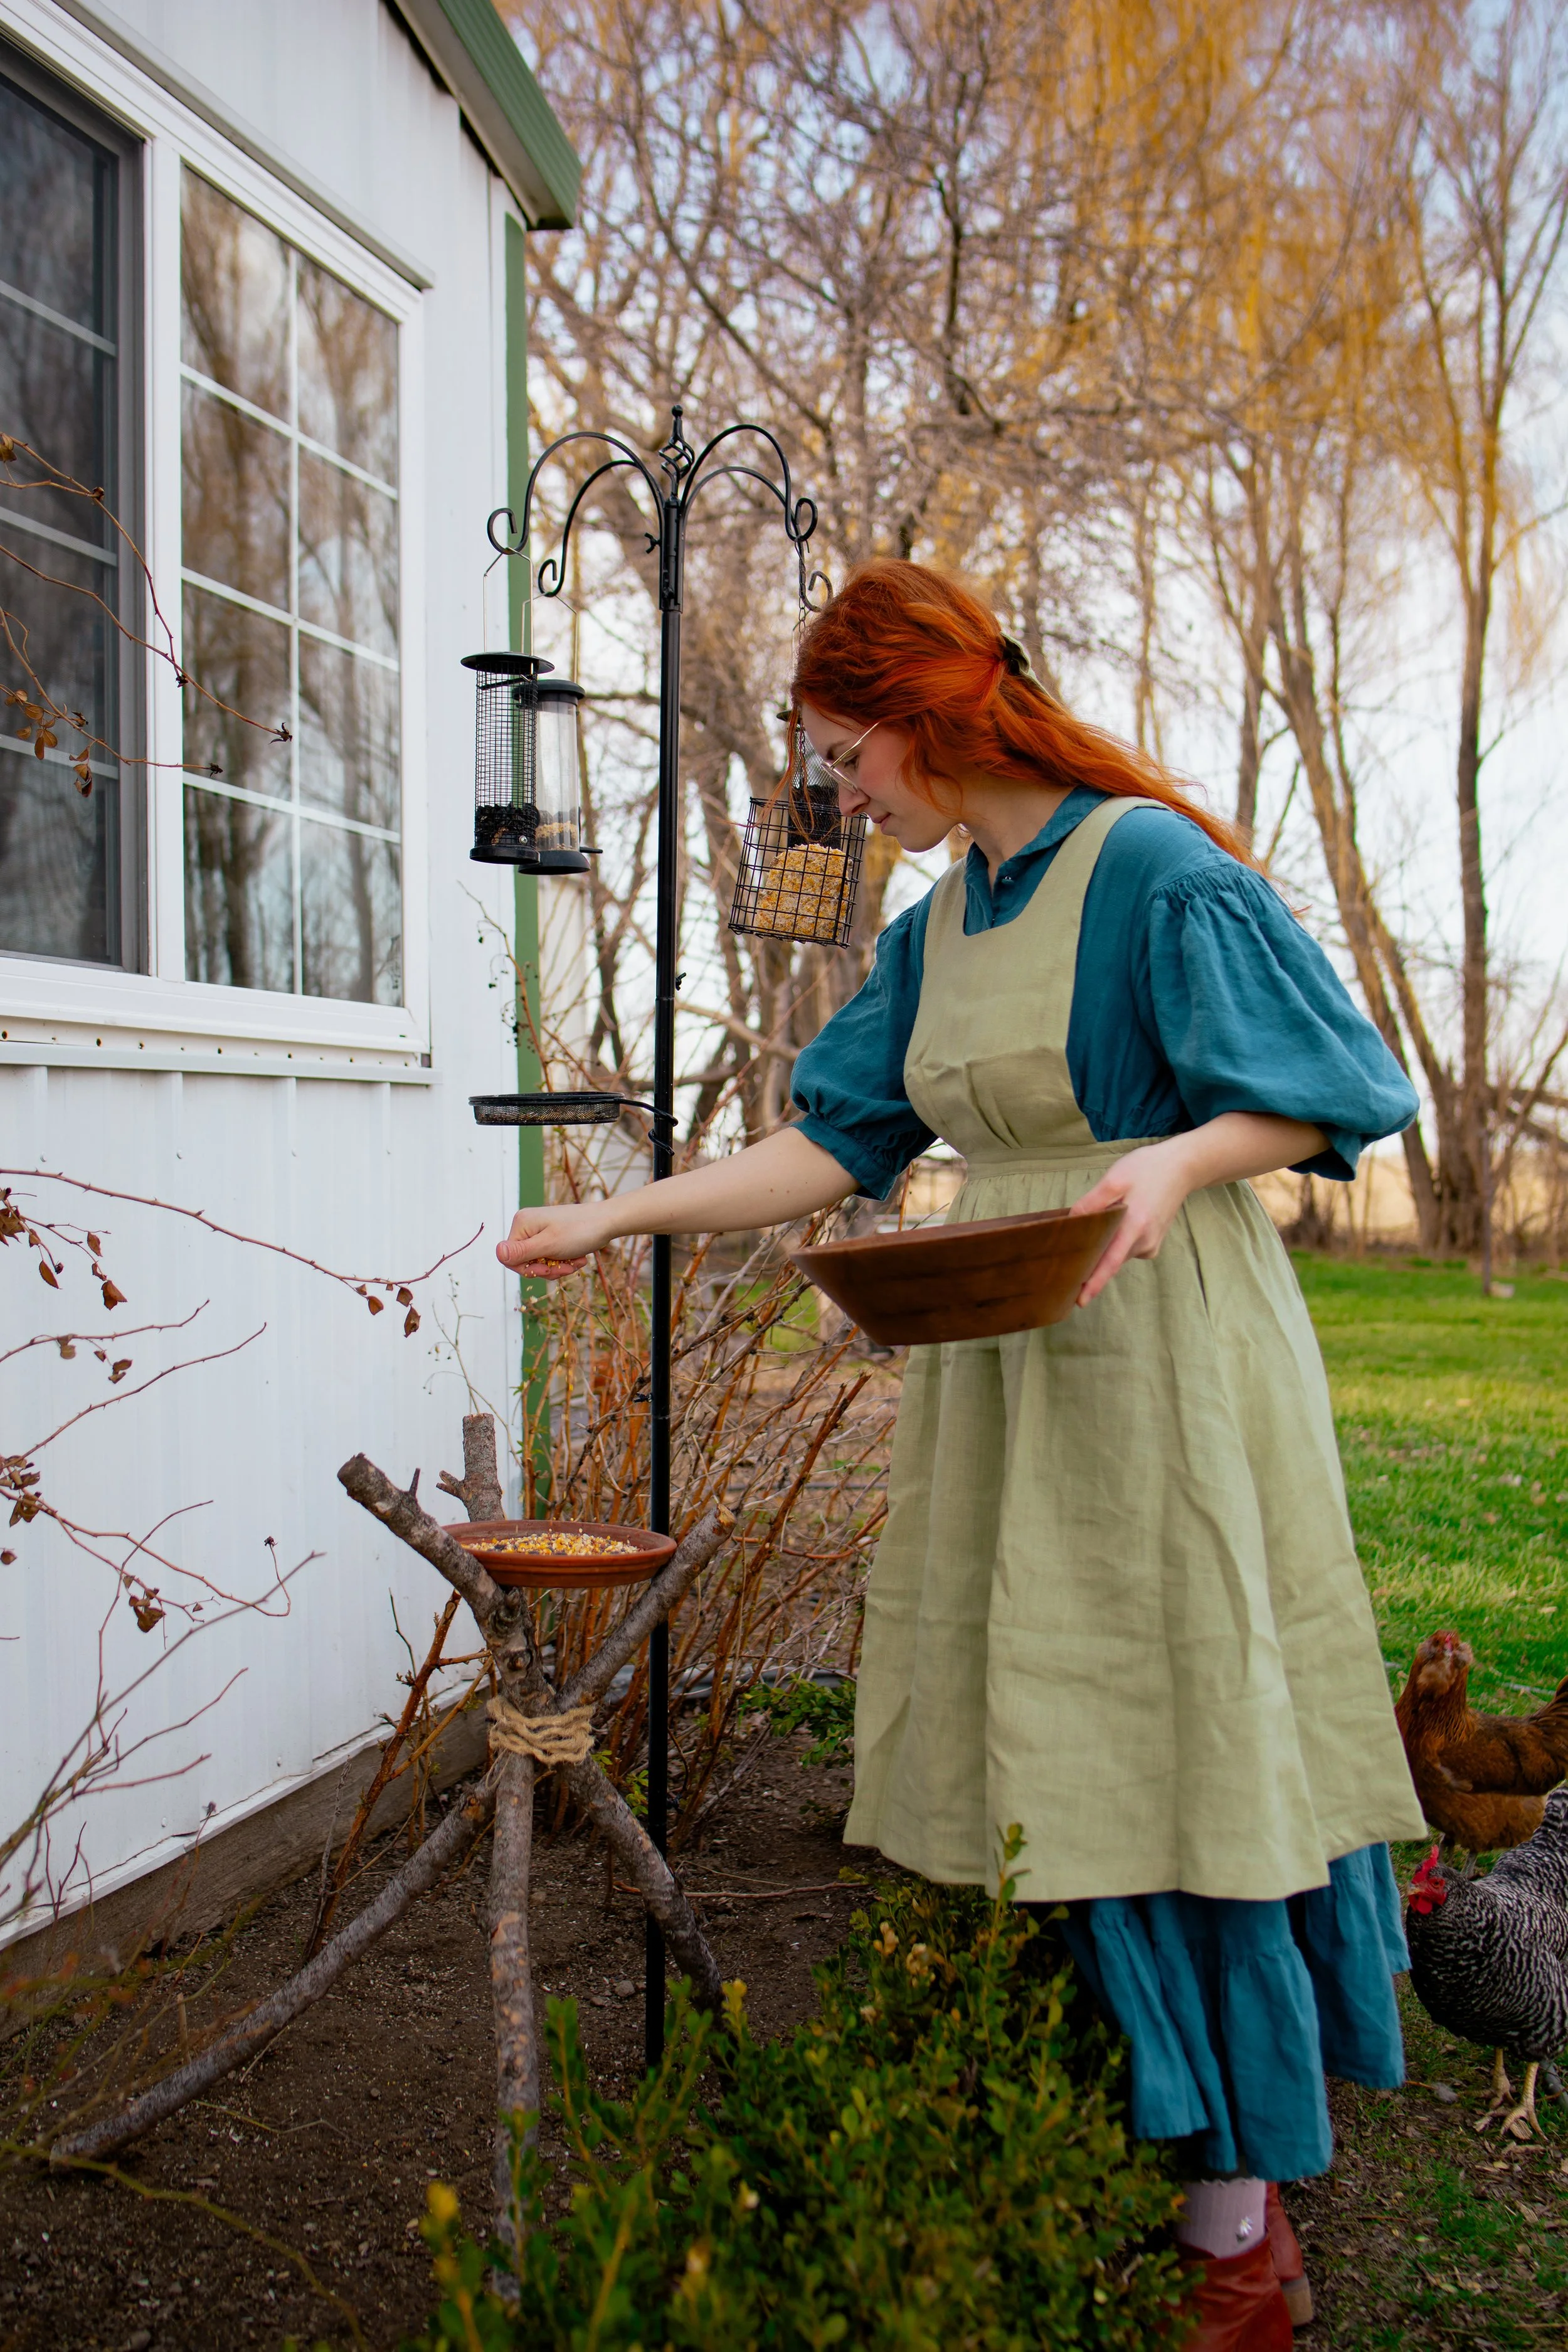
The autumn solstice is approaching. One tradition that we love to do near the solstice celebration is to dip and make our own beeswax candles. We purchase local beeswax, melt it down over the fire, and dip candles outdoors until the sun sets. It is a fun tradition that we started just a couple of years ago, and it is one that we have shared with people for centuries.
Dipping candles is a simple craft that has been done since Ancient Rome, around 500 BCE. These candles were made with tallow, or rendered beef fat, which was readily available and cheap to use. This is a type of candle that I would enjoy playing around with making myself! Traditionally, candles were given as gifts during winter holidays as they were oftentimes expensive to make, and they were much needed during days with less sunlight. During the autumn solstice, when they days become shorter and the nights longer, it can be a fun tradition to spend one evening with all of the electric lights turned off and only the light of burning candles. It is rather romantic and something different to try, if a bit spooky!


This year was the first year that my oldest son was interested in helping us make candles for a decent amount of time! He made several candles, and we had fun talking about how this type of craft was how the pioneers once lived and that people then only had the light of a candle or oil lamp to illuminate their homes at night, save the light of a hearth fire. His younger brother, who is almost two-years-old had more fun playing with the balls of soft wax that we had to pull off of the washers.


what you will need:
Beeswax, about 4 pounds
Metal washers
2 Large stockpots
Wax melting pot, about 4 pounds capacity or more
Scissors
directions:
Fill a large stockpot with water and bring to a boil. Lower the heat to a simmer and place the wax melting pot in the water. Fill the melting pot with wax and allow it to melt completely.
Meanwhile, cut the candle wicking a little bit longer than double the length of the pot, leaving extra room to tie metal washers to each end and have some room to hold onto the top of the wicking to dip the candles. Tie a metal washer to each end of the wicking.
Fill a second stockpot with cold water. Remove the wax from the double boiler and place it upon your work surface. Dip the wicking into the hot melted wax, with the washers on the bottom and your hands holding the center of the wicking. Dip until the washers touch the bottom of the melting pot, then lift the wicking out of the wax and let it drip off.
Dunk the hot waxed wicking into the pot of cold water. Continue this processing, dipping into the wax followed by the cold water, until you reach the desired thickness of your candles. For our thickest candles, we do about 30 dips.
As you dip, you will want to pull off the soft wax that builds up on the washers and add it back to the melting pot. Allowing this to pile up can cause your candles to bend, and it makes it easier to clean the washer for the next set of candles.
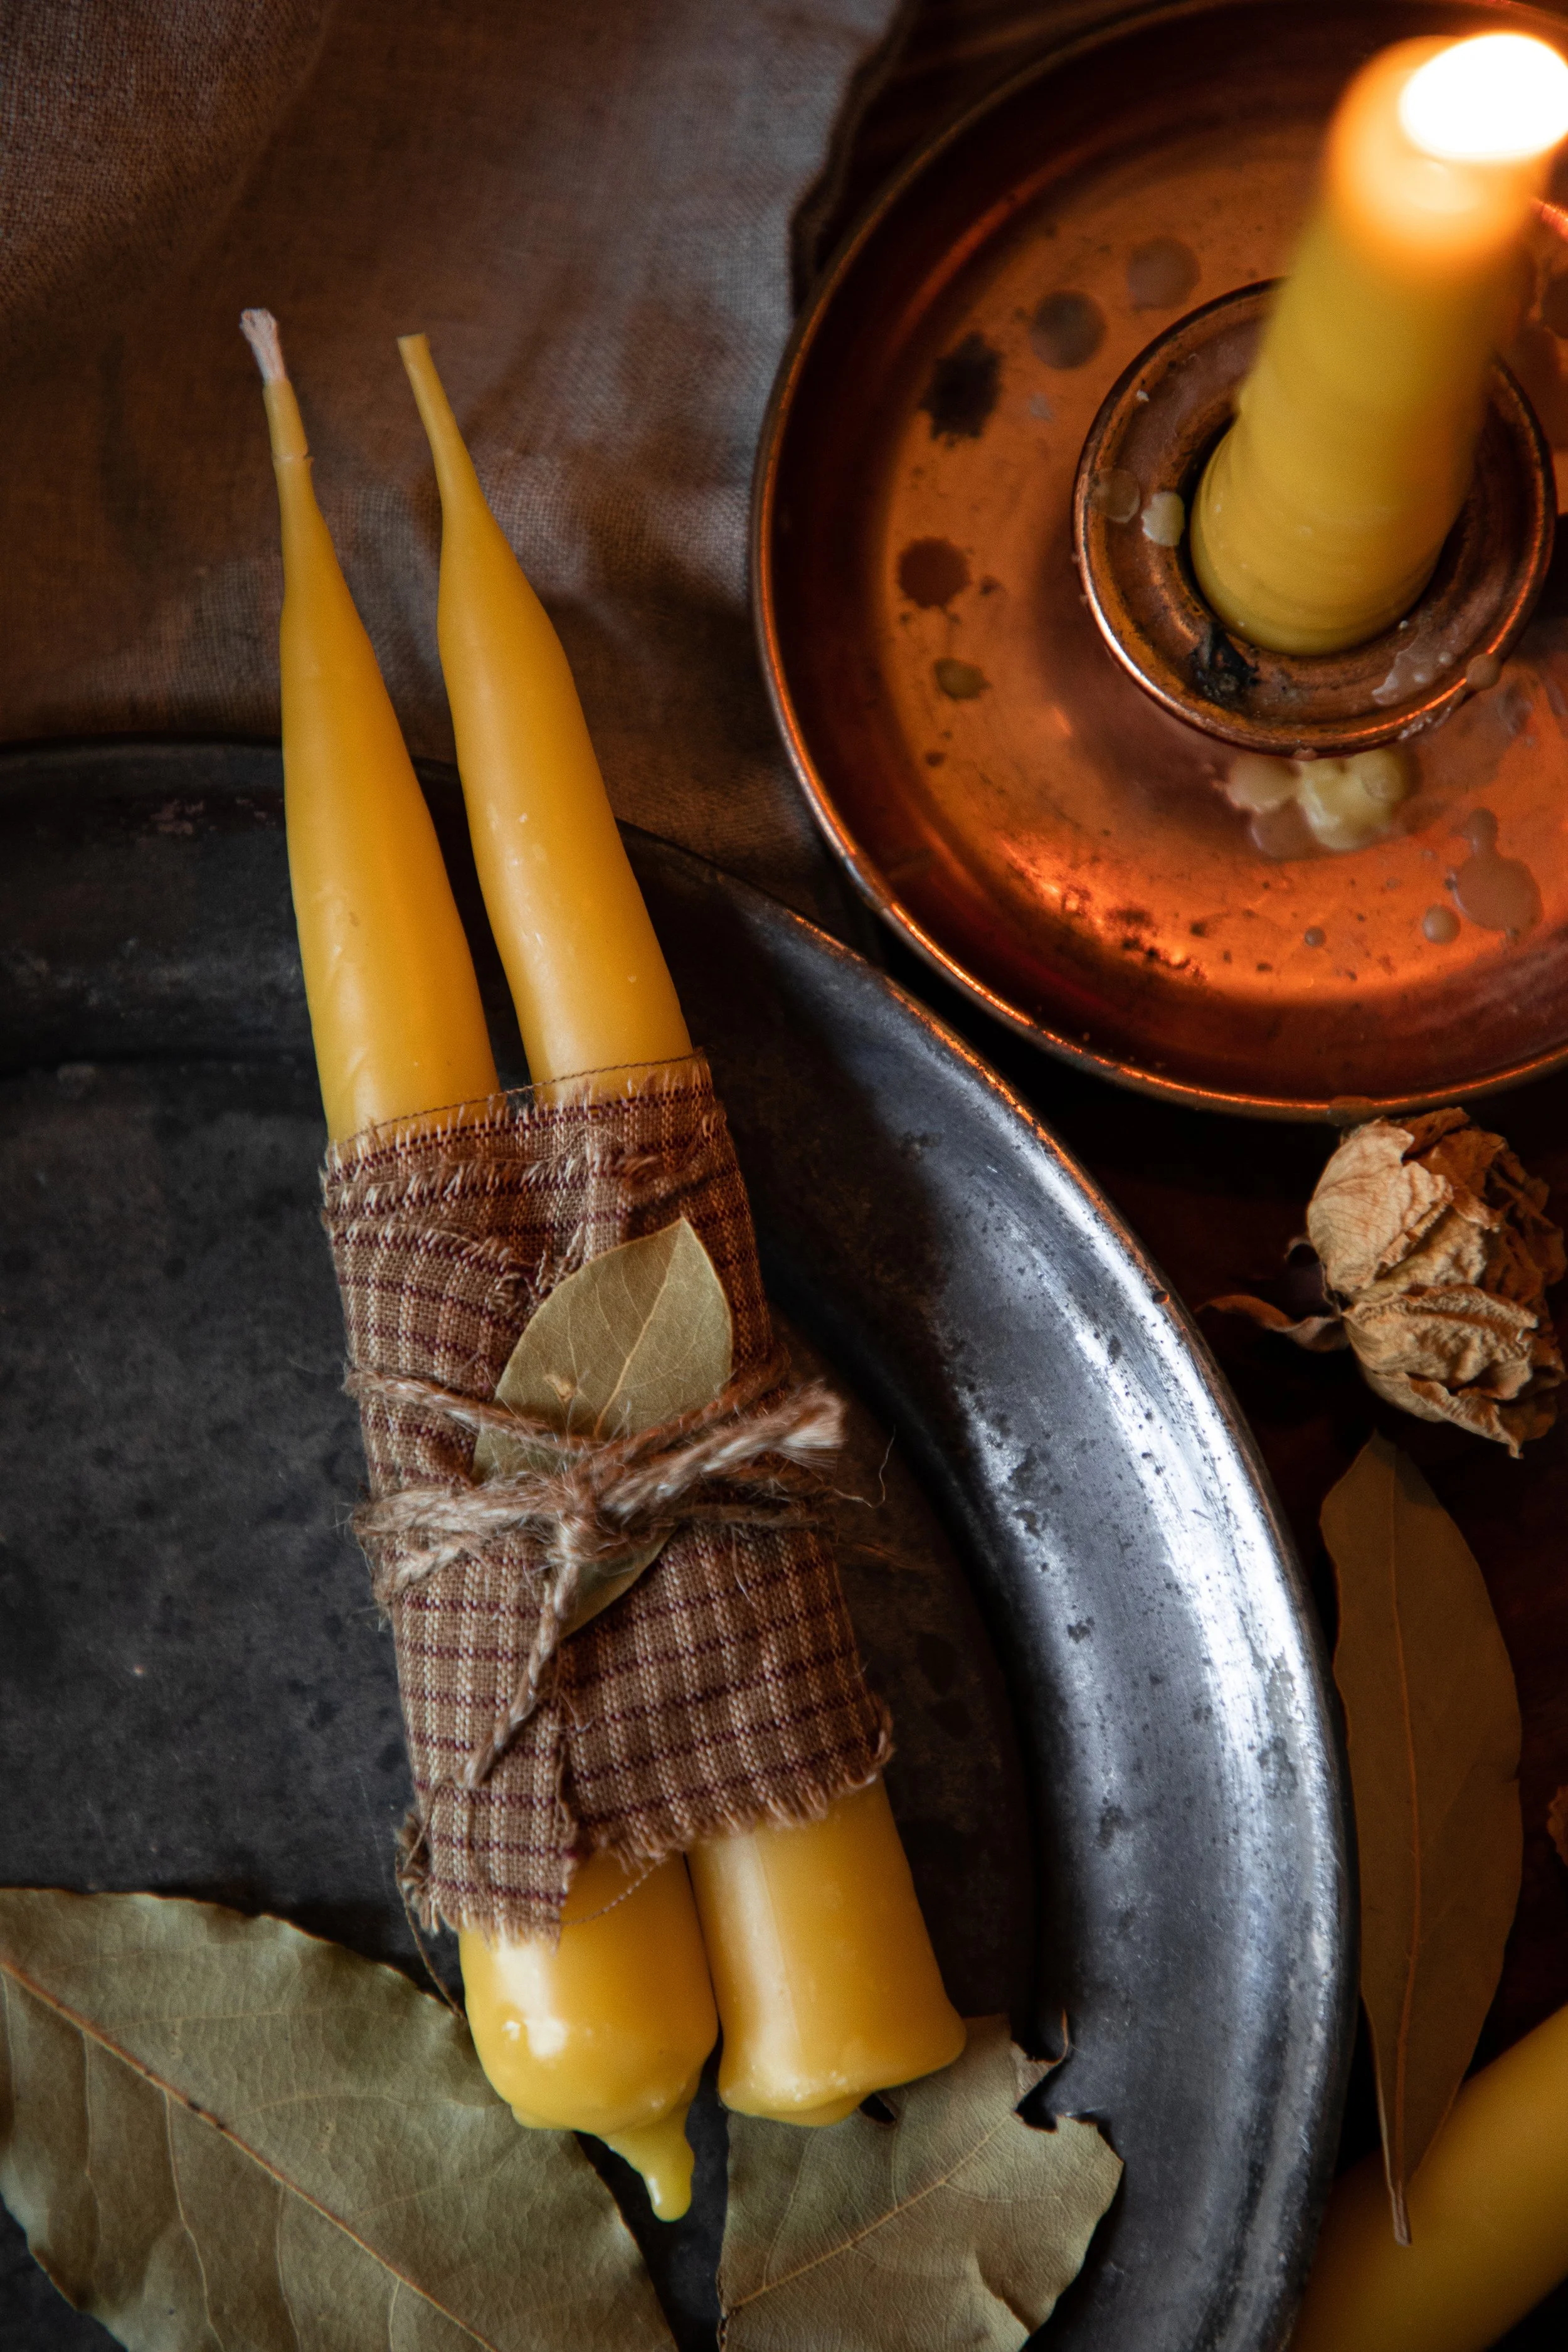
Once your candle is as thick as you want it, simply cut off the washer from the bottom. Shape the bottom of the candle with your fingers until it looks as flat as possible. Dip the candle once or twice more to coat the bottom.
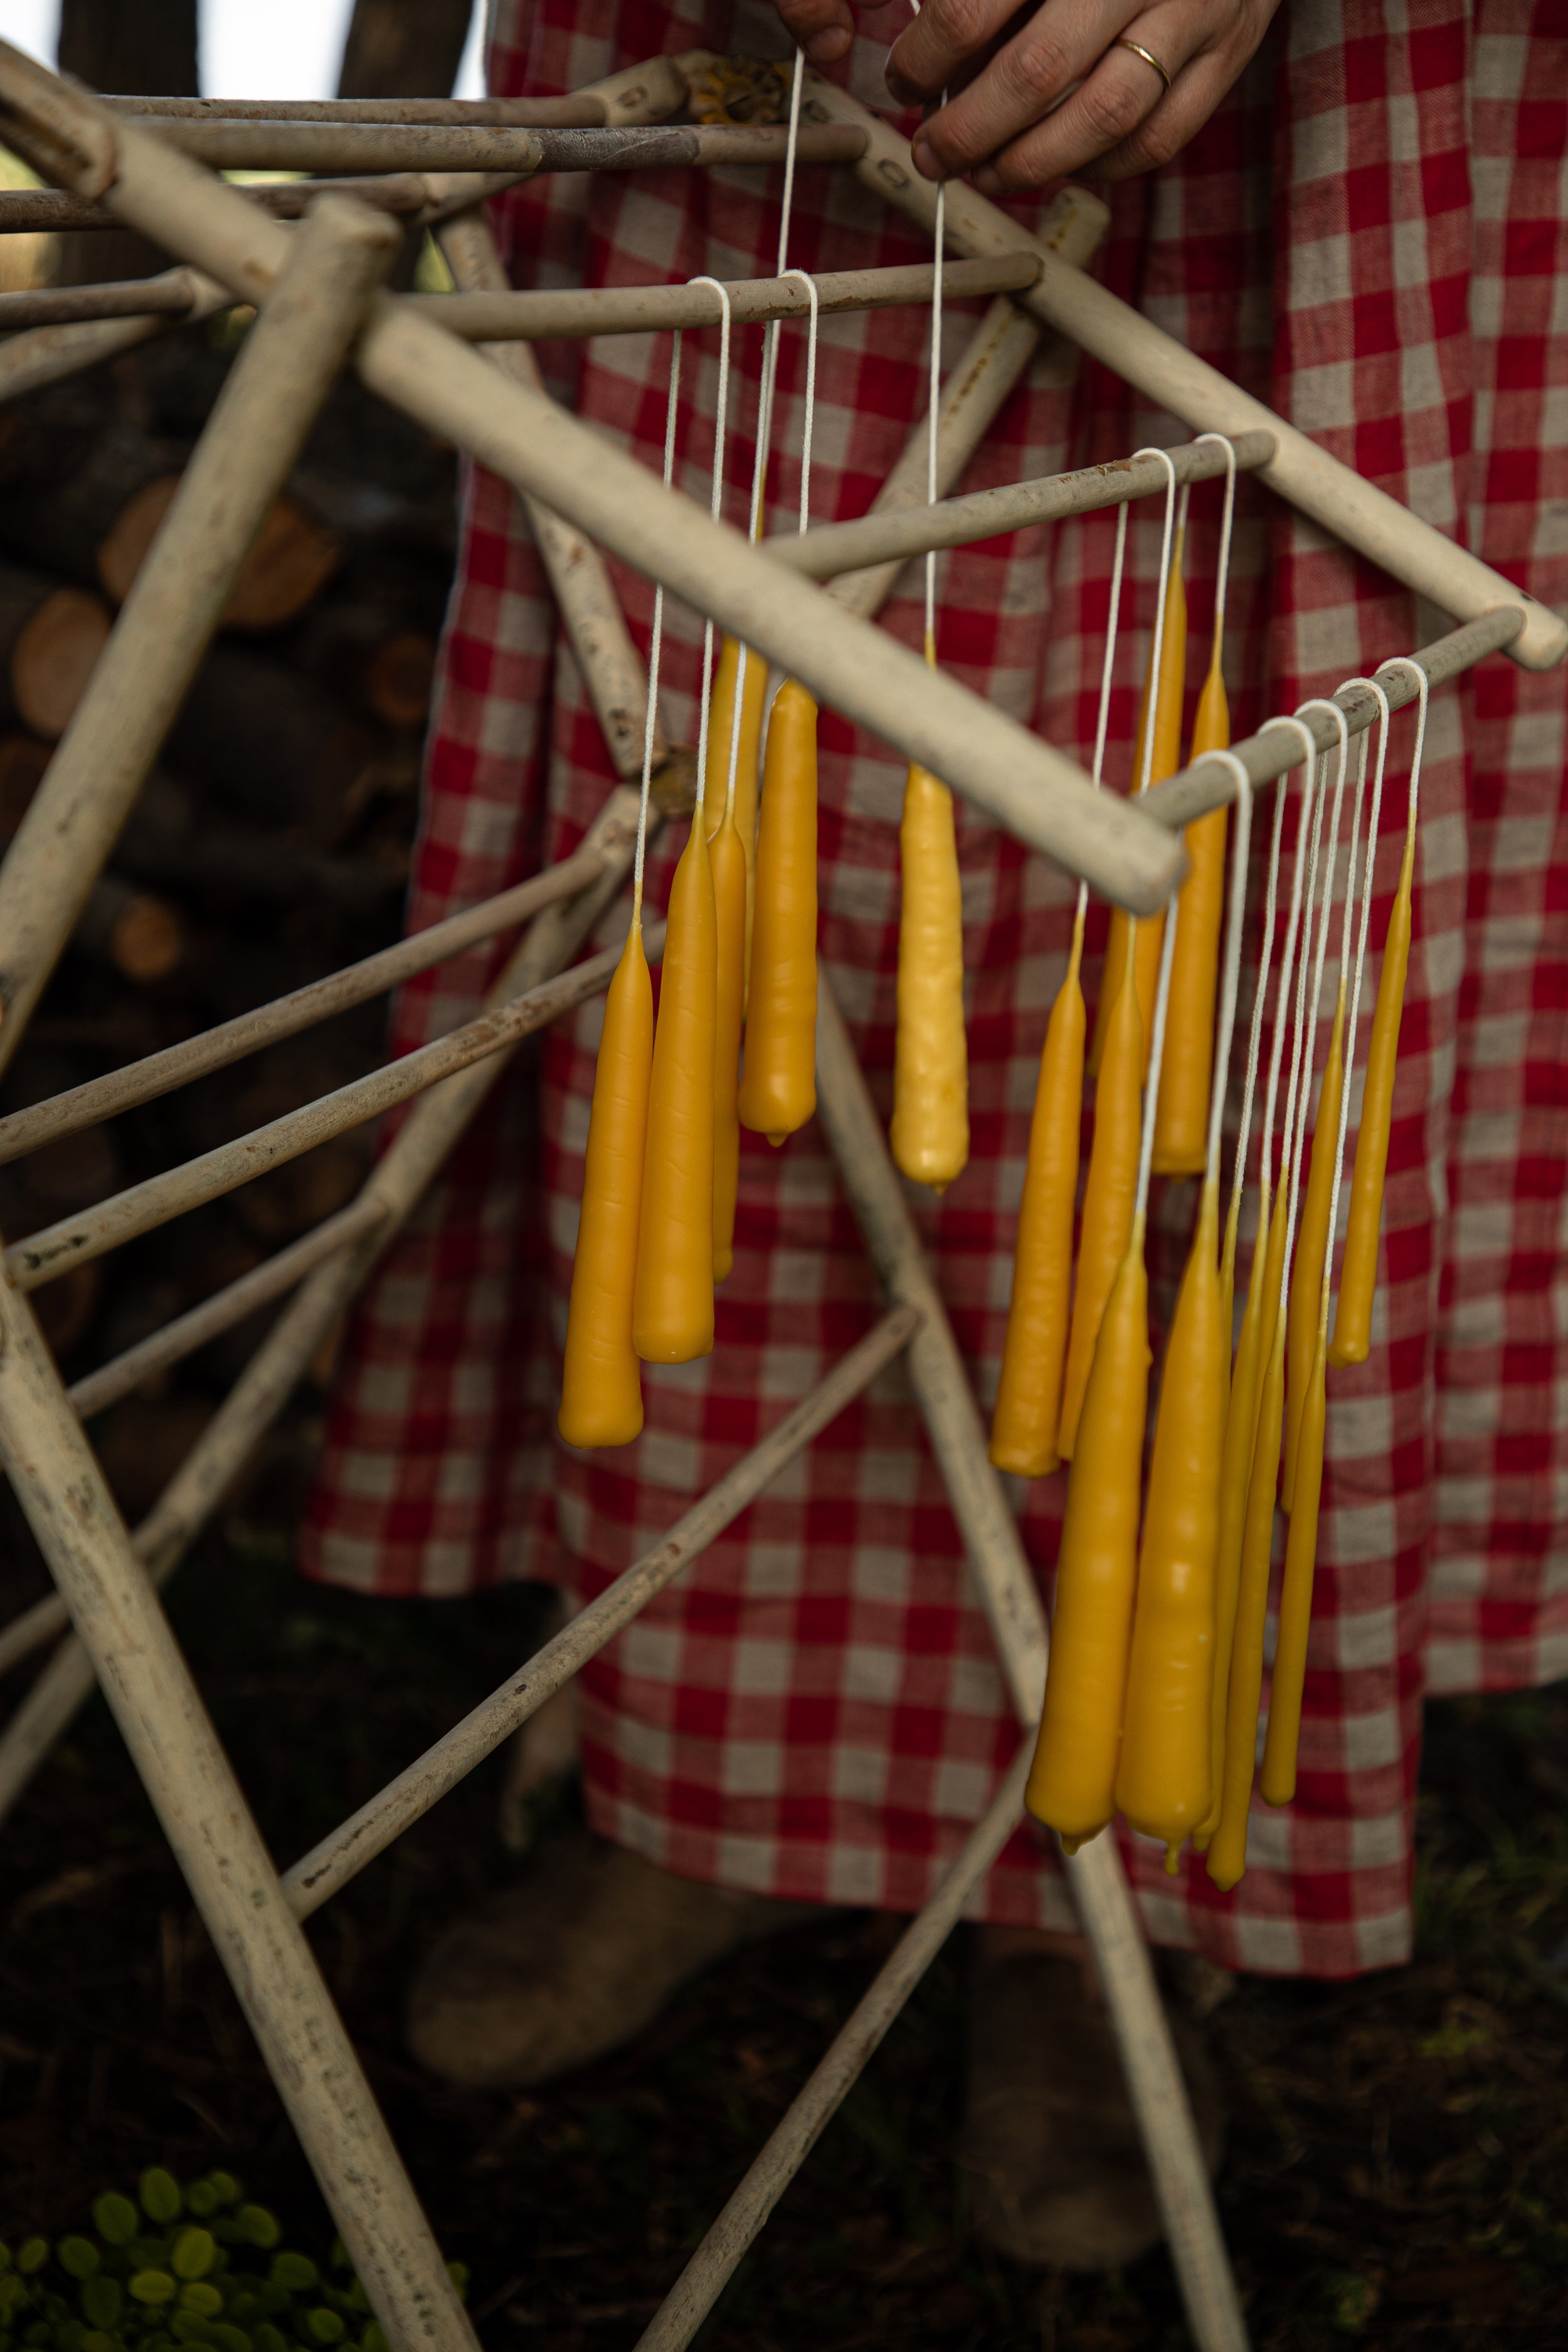
Hang your candles to harden and cure on a drying rack. A clothes drying rack for indoors works just fine. Let the candles cure for at least a week or more before burning.


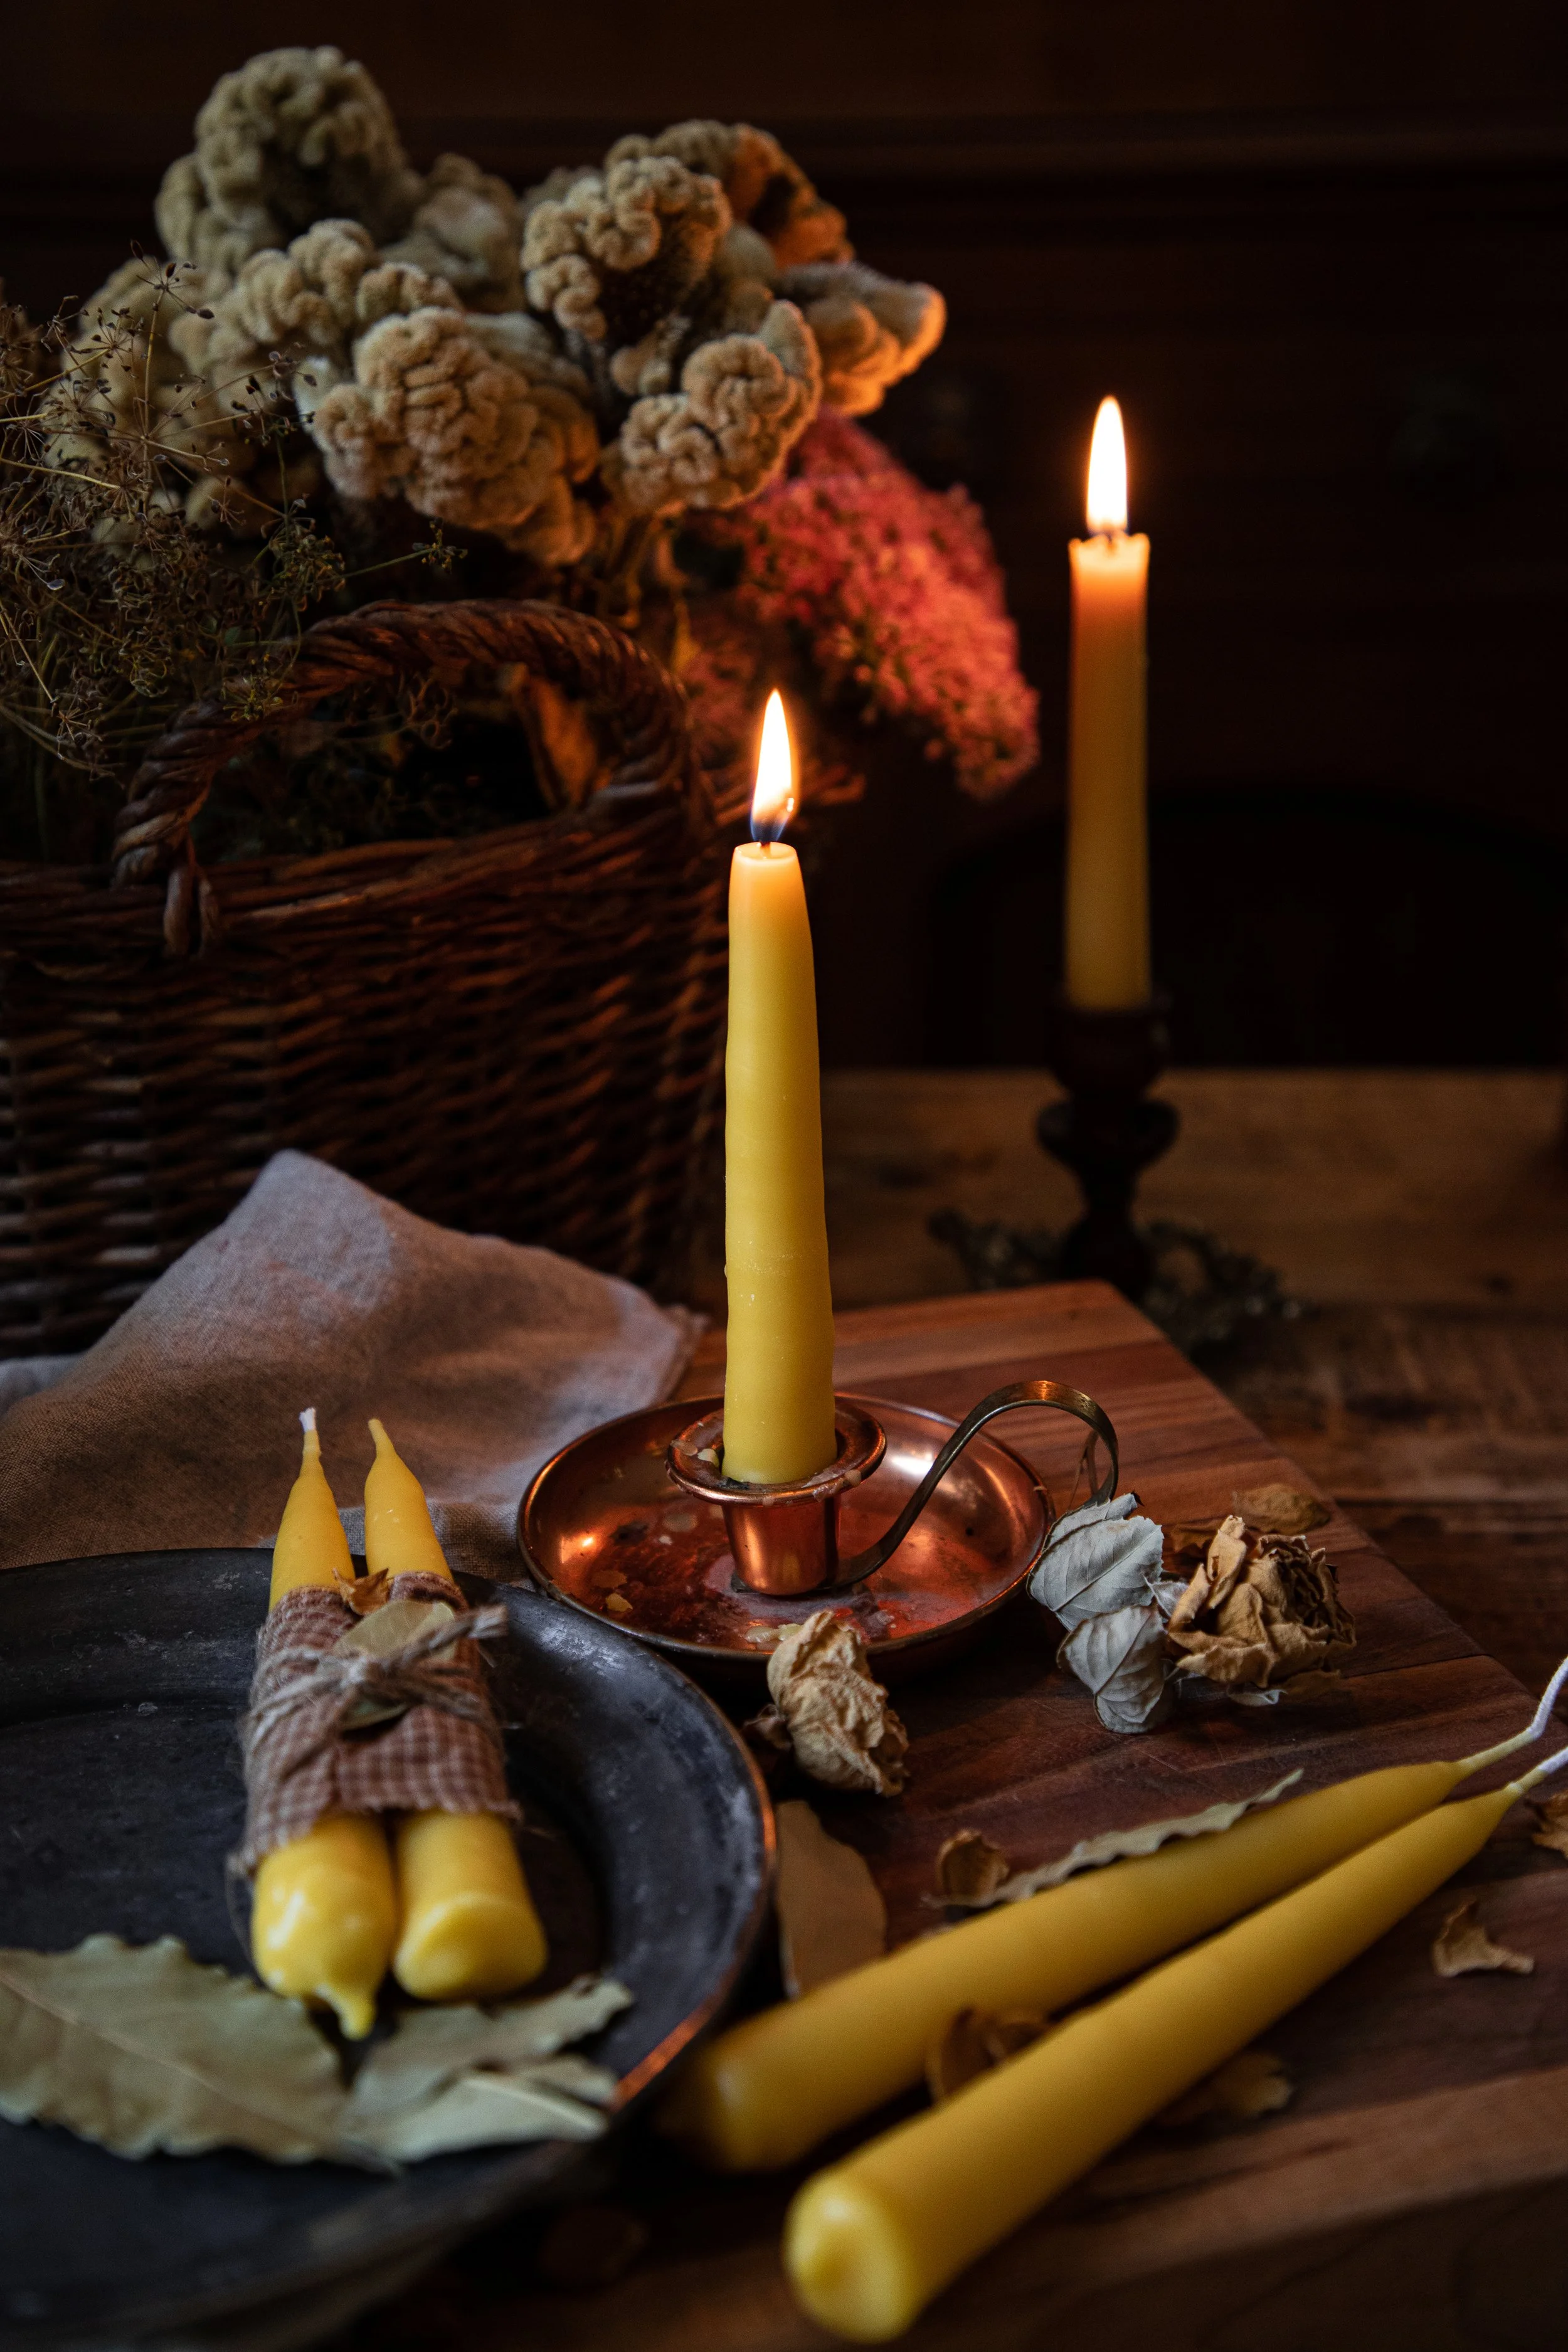
I think dipped candles look so rustic and lovely. They are truly a work of art, even the little spindly ugly ones! This primitive craft is so satisfying. I do love how easy it is, so easy that a child can do it!
You do not have to use beeswax to make these candles. This style of candle can be made from any type of candle making wax, such as soy or bayberry. I am looking forward to make some bayberry candles for the holiday season! They smell so lovely. Enjoy making your own set of candles to celebrate the autumn equinox!
xoxo Kayla