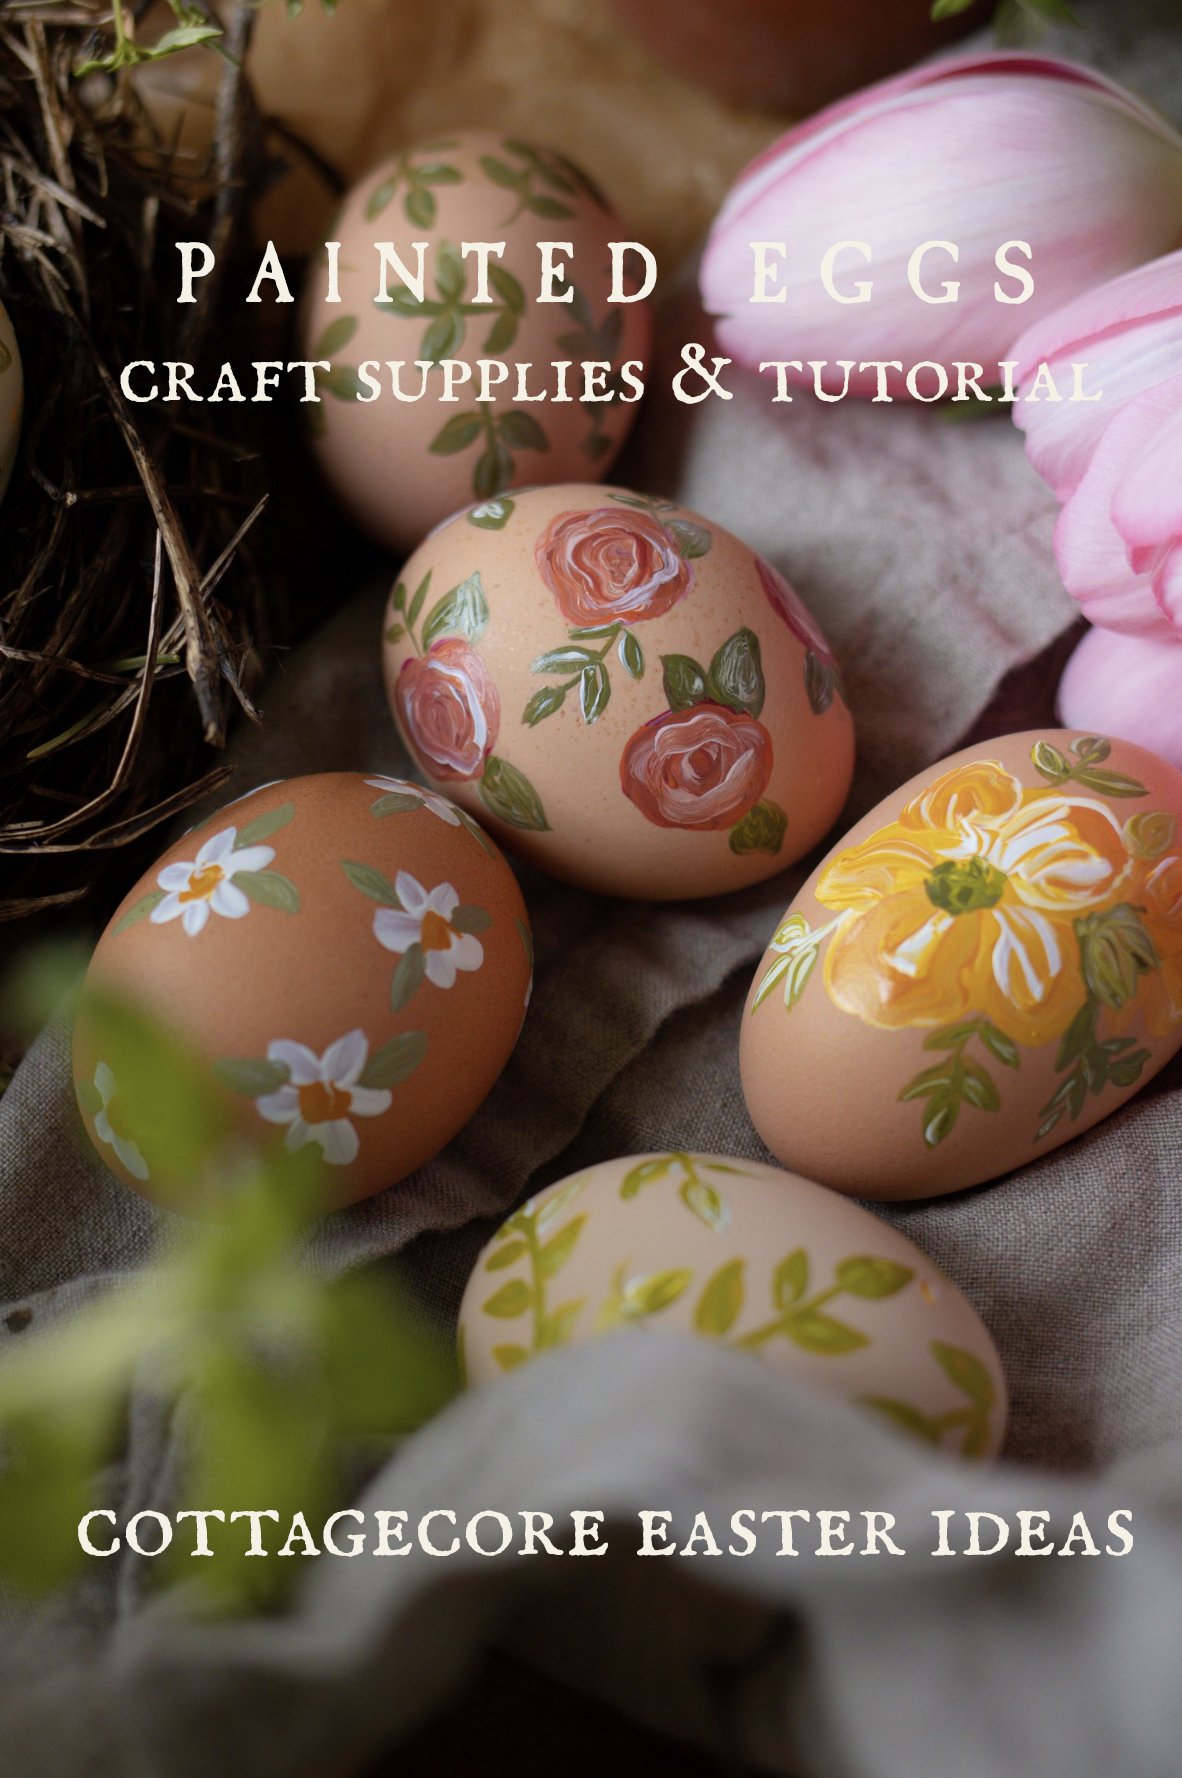
Hand Painted Floral Eggs: Cozy Craft Tutorial
This post may contain affiliate links, please see our privacy policy for more information.
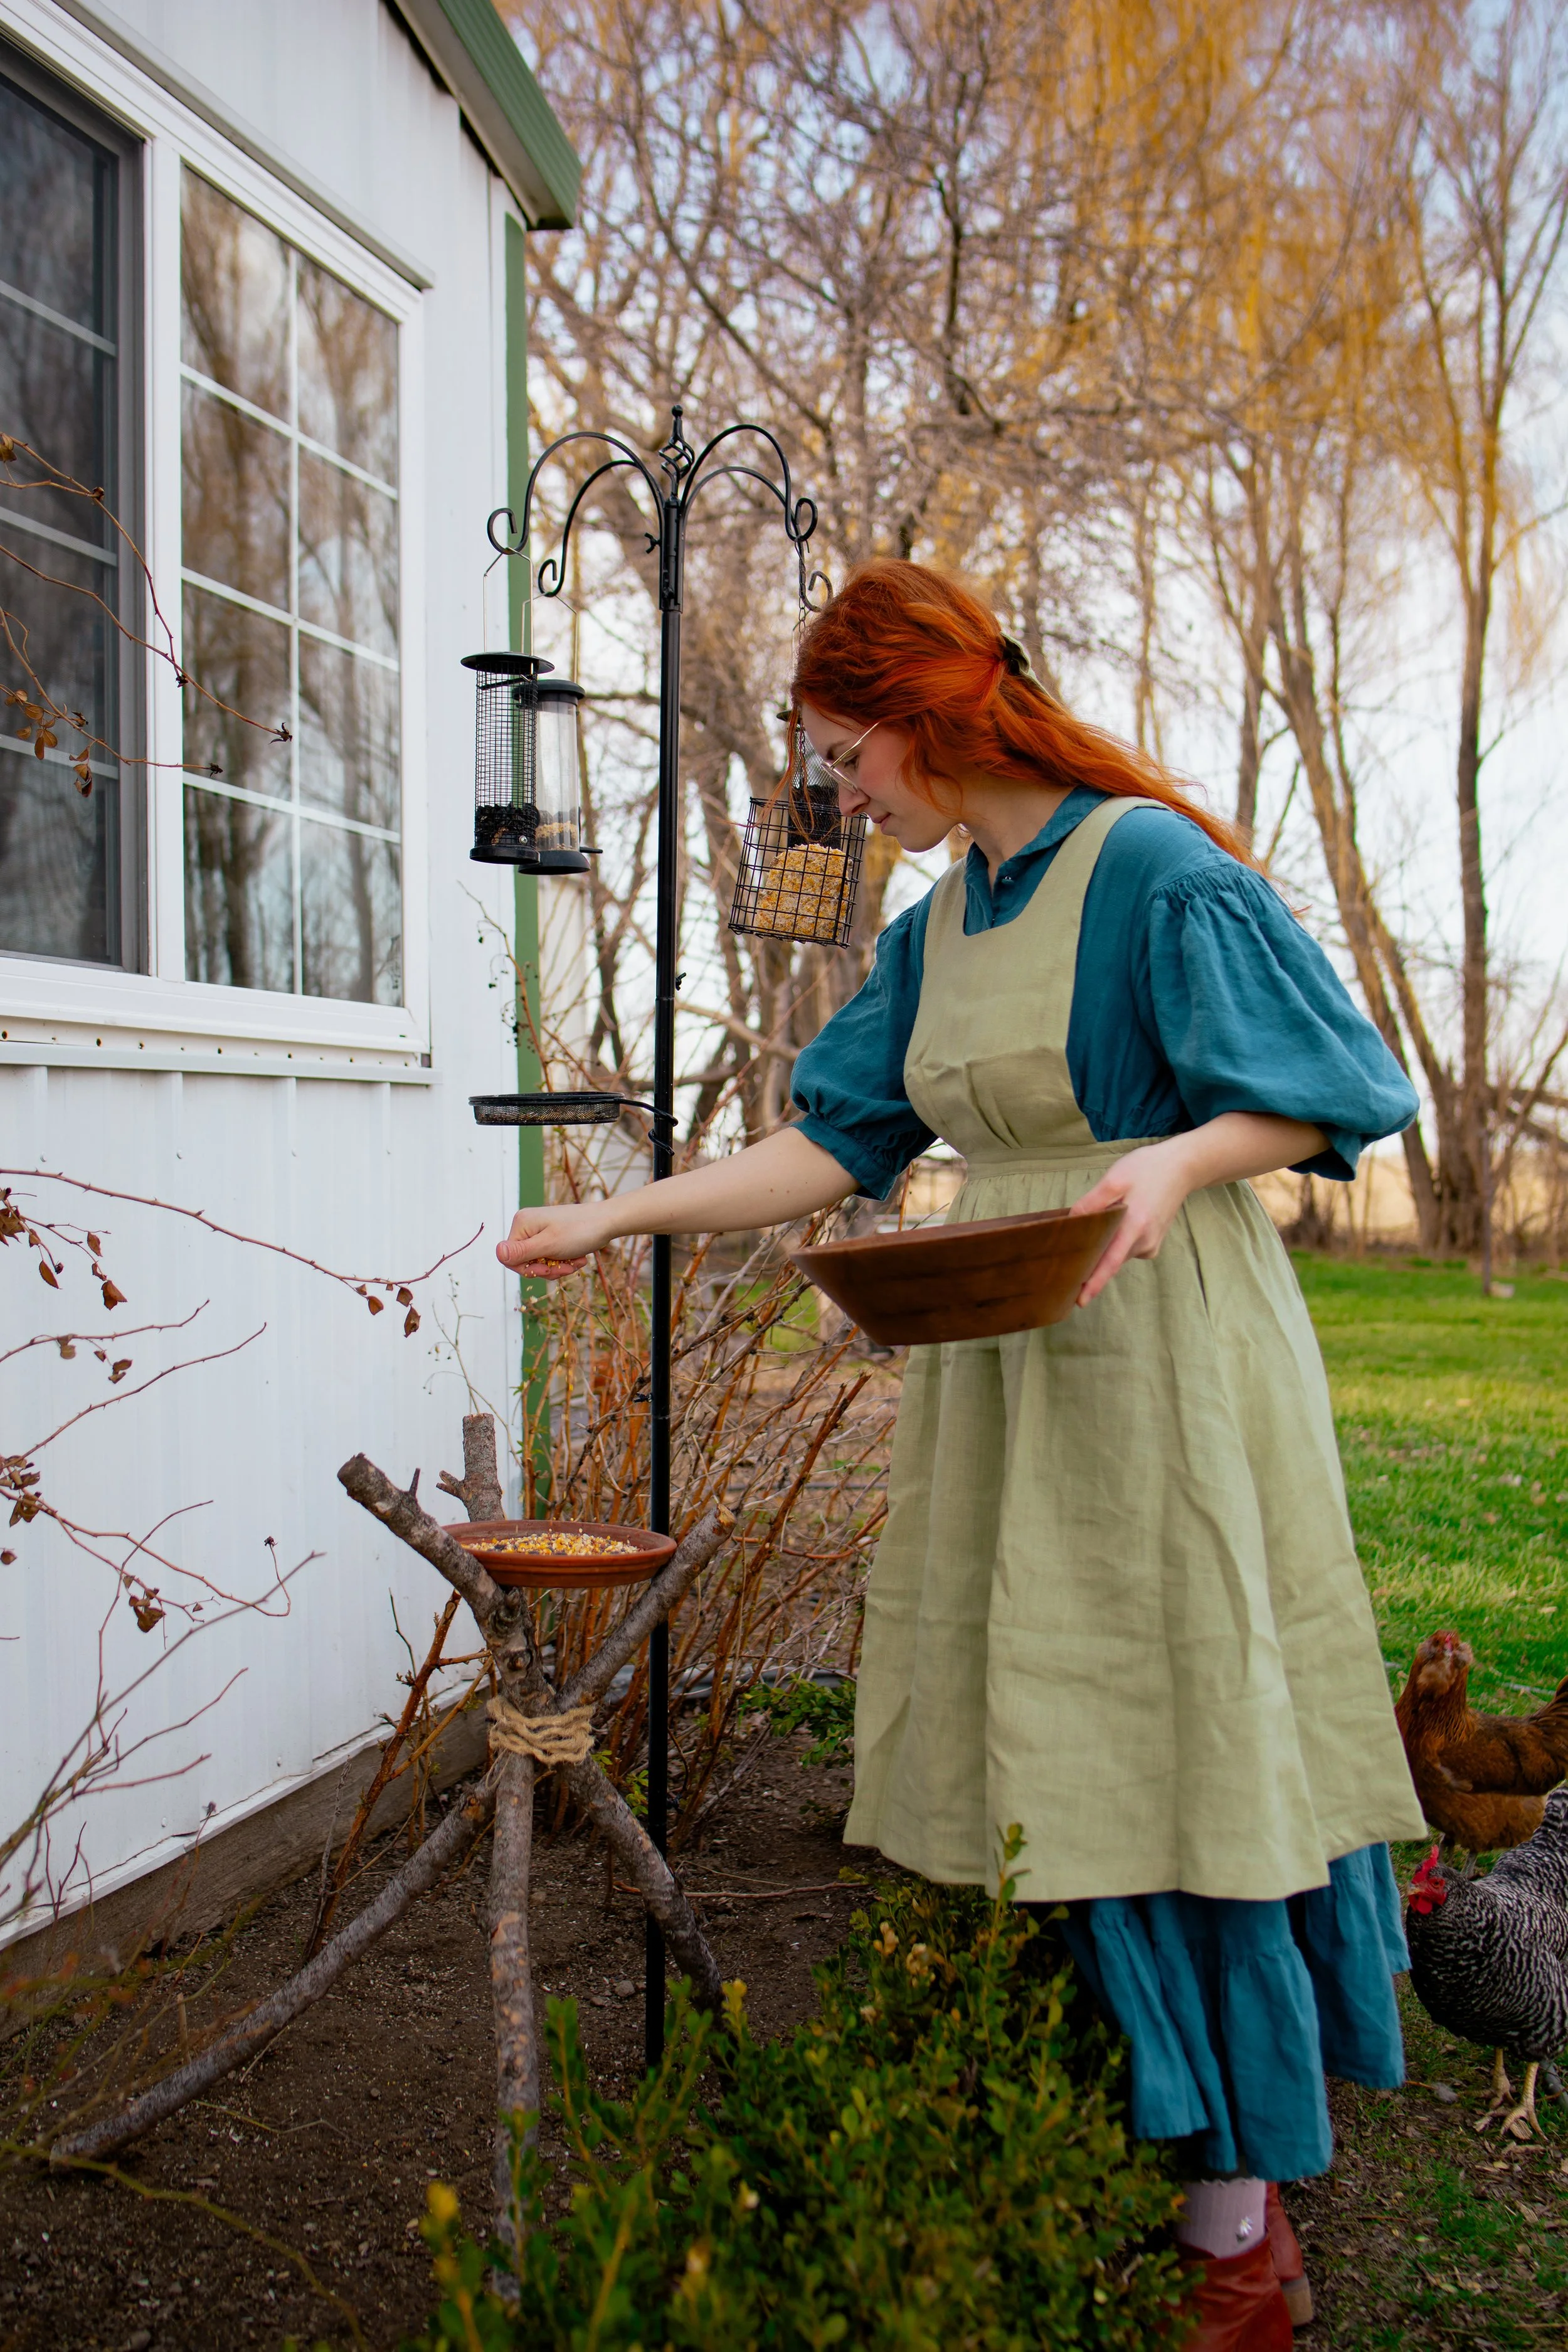
Spring is such a beautiful time of the year, don’t you agree? The world is open to new possibilities as new life begins to grow and unfold before us. Tried and true perennials are waking up from their long nap and little buds are forming on the trees. One of the things I enjoy most is all of the bird chatter outside on an early morning.
These lovely painted eggs make a beautiful handmade heirloom to pass down through your family and enjoy for years to come. In this cozy tutorial, I am sharing the tools to make your own hand painted floral eggs. I love sharing the ways that I find inspiration to create magical decorations for seasonal celebrations!
creating new traditions:
As the spring solstice arrives, I can feel new inspiration and creativity coming to life all around me. The new hens have been abundant in laying their eggs after a long winter of not having much of any. That means there are plenty to decorate for the upcoming easter egg hunt!
As a child I would get so excited when it was time to decorate eggs for easter. I remember bugging my mom continually while I impatiently waited for them to boil, harden, and cool enough so that I could create my masterpieces. Over the years, I have enjoyed trying new egg decorating ideas. Painting eggs was an entirely new concept to me only a few years ago, and it has easily become my new favorite way to celebrate the spring season!
gathering supplies for painting eggs:
Before you begin painting your own eggs, you will want to gather a few crafting supplies from your craft cabinet. The supplies needed are fairly simple, and you most likely already have them on hand!
Acrylic Paints. For this craft, all you need are some simple acrylic paints. This has always been my preferred crafting paint of choice, but there are other options out there if you enjoy using a different kind. Watercolor paints will be more difficult to stick to the shell. If you are looking for a more natural alternative, these milk paint powders make wonderful eco-friendly paints!
Paint Brushes. You will want to use paintbrush in various sizes, depending on what you are hoping to paint.
Hard Boiled Eggs or Blown Eggshells. For this craft, I used real eggs. You can either use hard-boiled eggs or blow out the eggshells after you have painted them. Both options have their pros and cons. The hard boiled eggs won’t last and will need to be eaten or composted. The blown out eggs can break easily and are difficult to store.
Wooden Eggs. If using real eggs sounds like too much of a hassle, you can always paint wooden eggs!
Clear Varnish. If you are wanting to save your eggs for years to come, you may want to consider protecting them with a clear varnish. This varnish works great for acrylic paints.
tips for painting easter eggs:
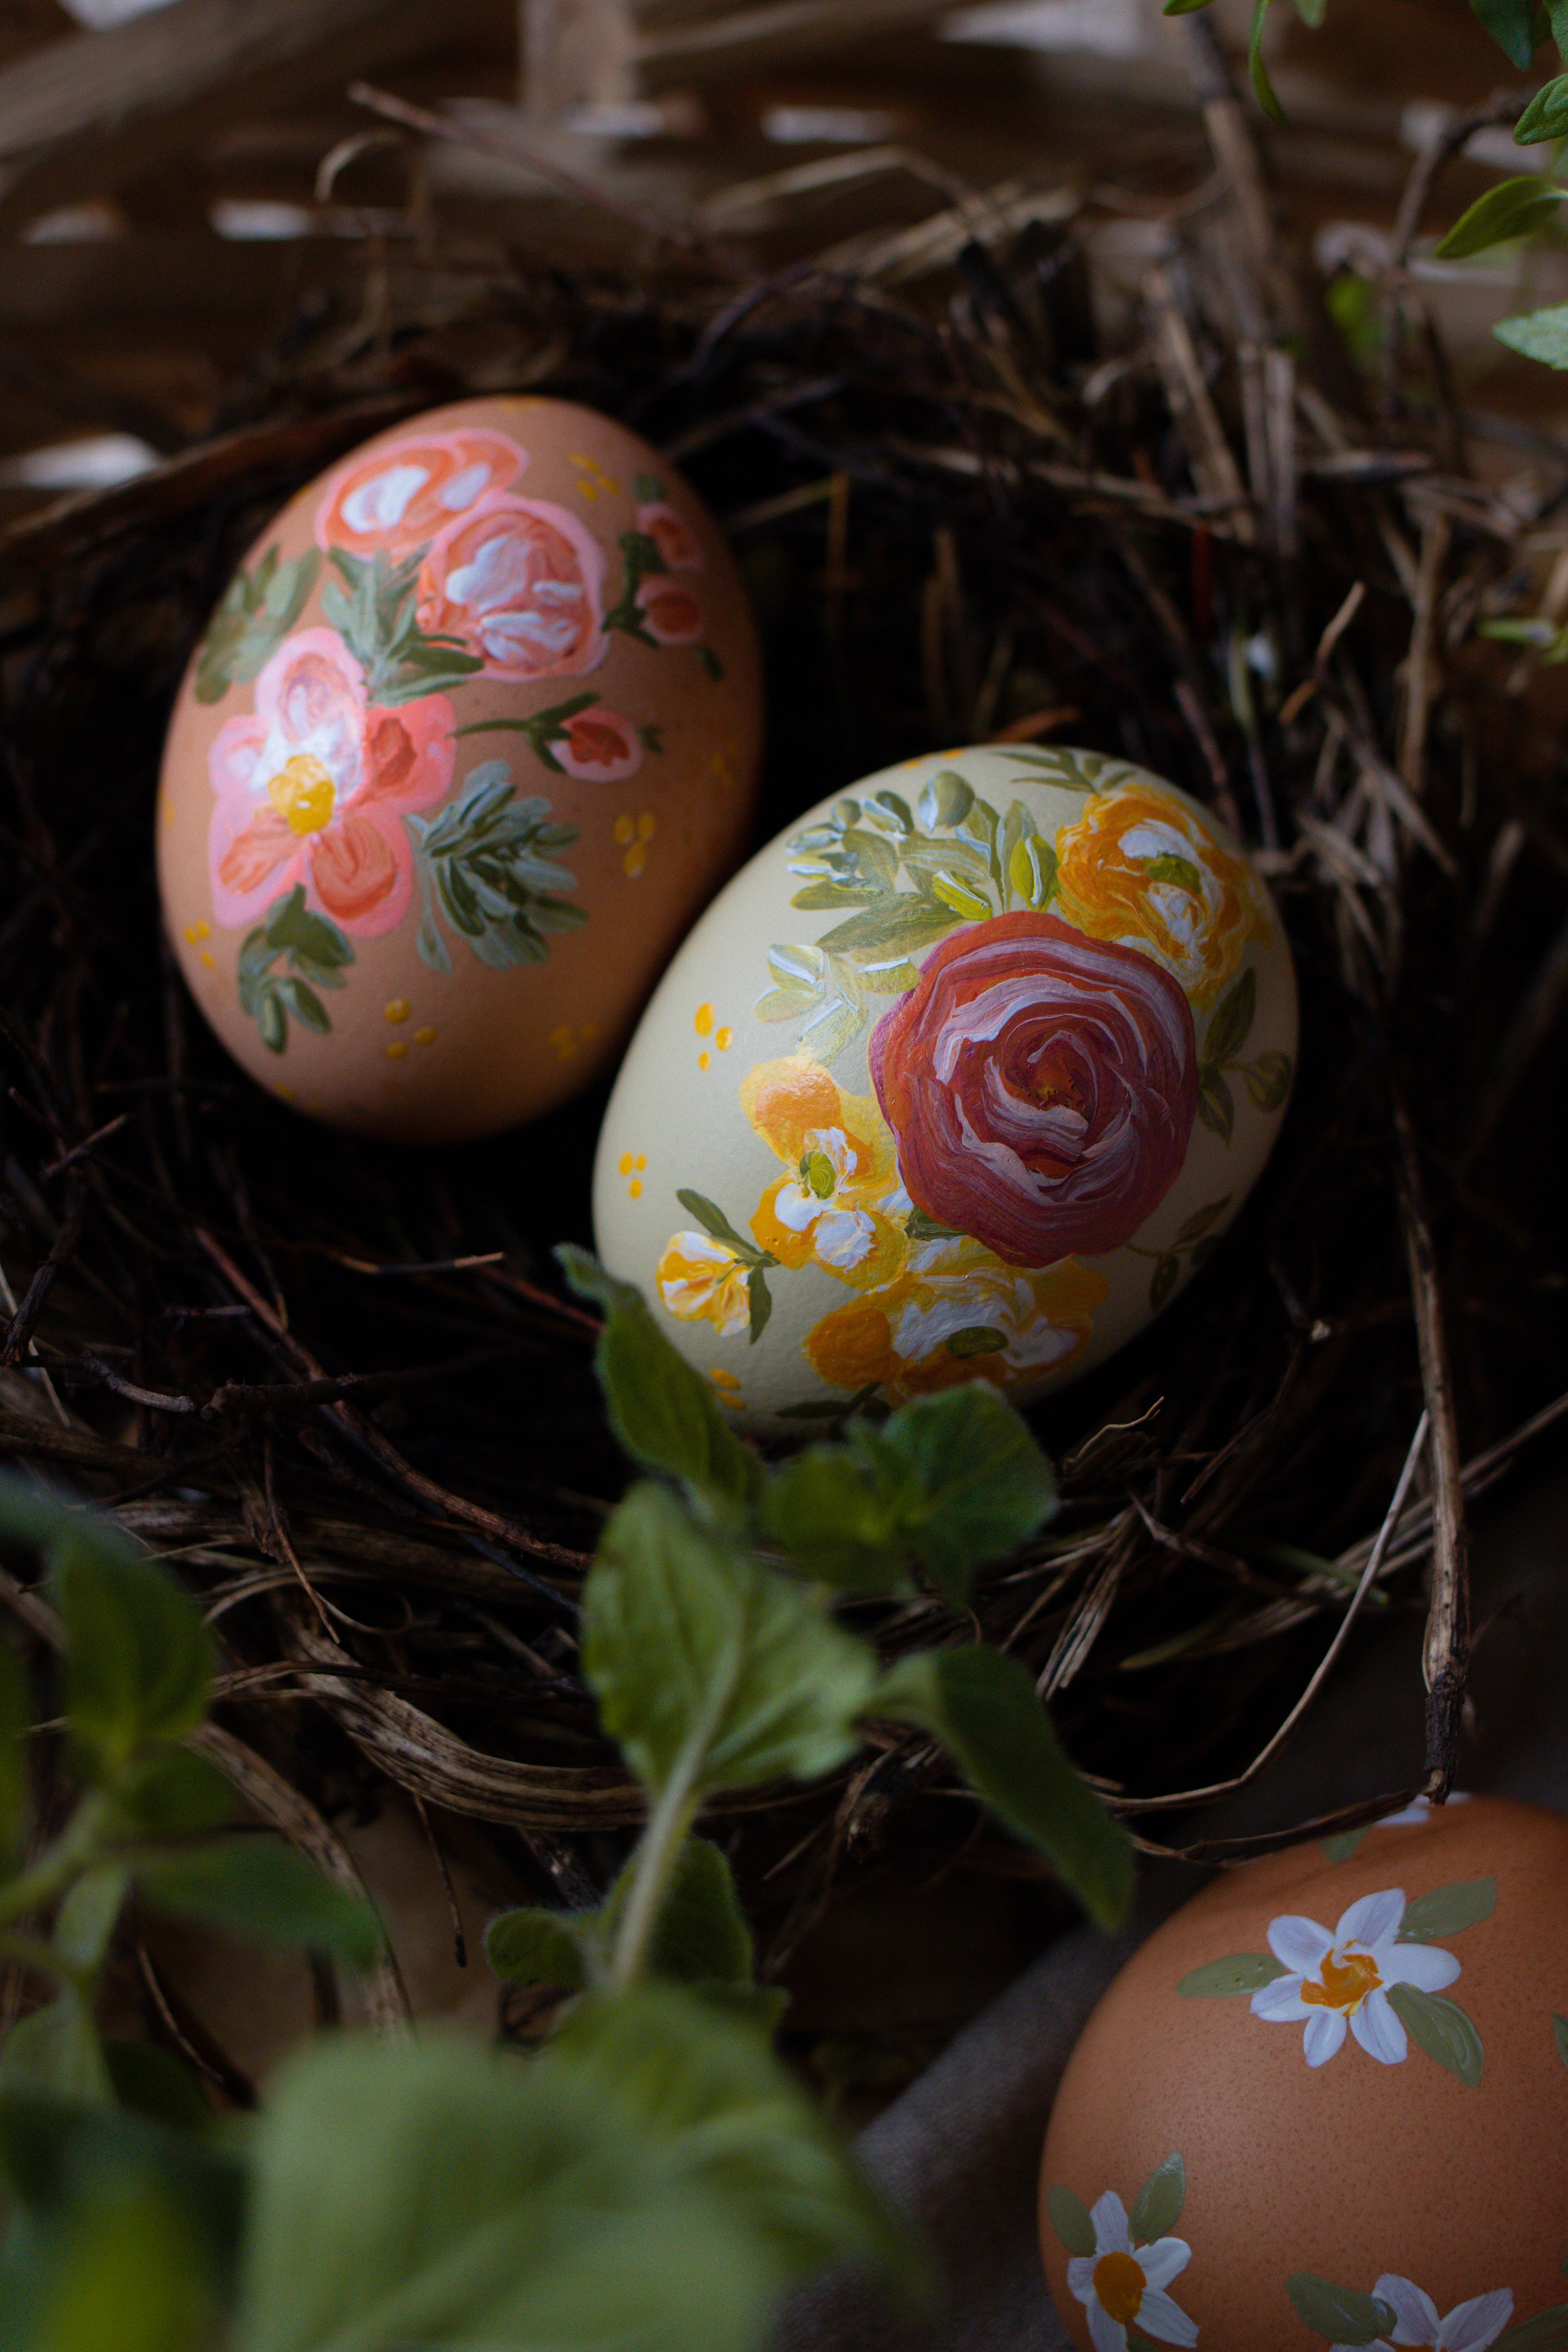
How you decide to paint your easter eggs is entirely up to you! As a lover of whimsy and magic, I chose to make mine look like they were kissed by little flower fairies. The spring garden is inspiration enough, I think!
Painting is an individual process, so here are my tips for finding inspiration to create your own designs:
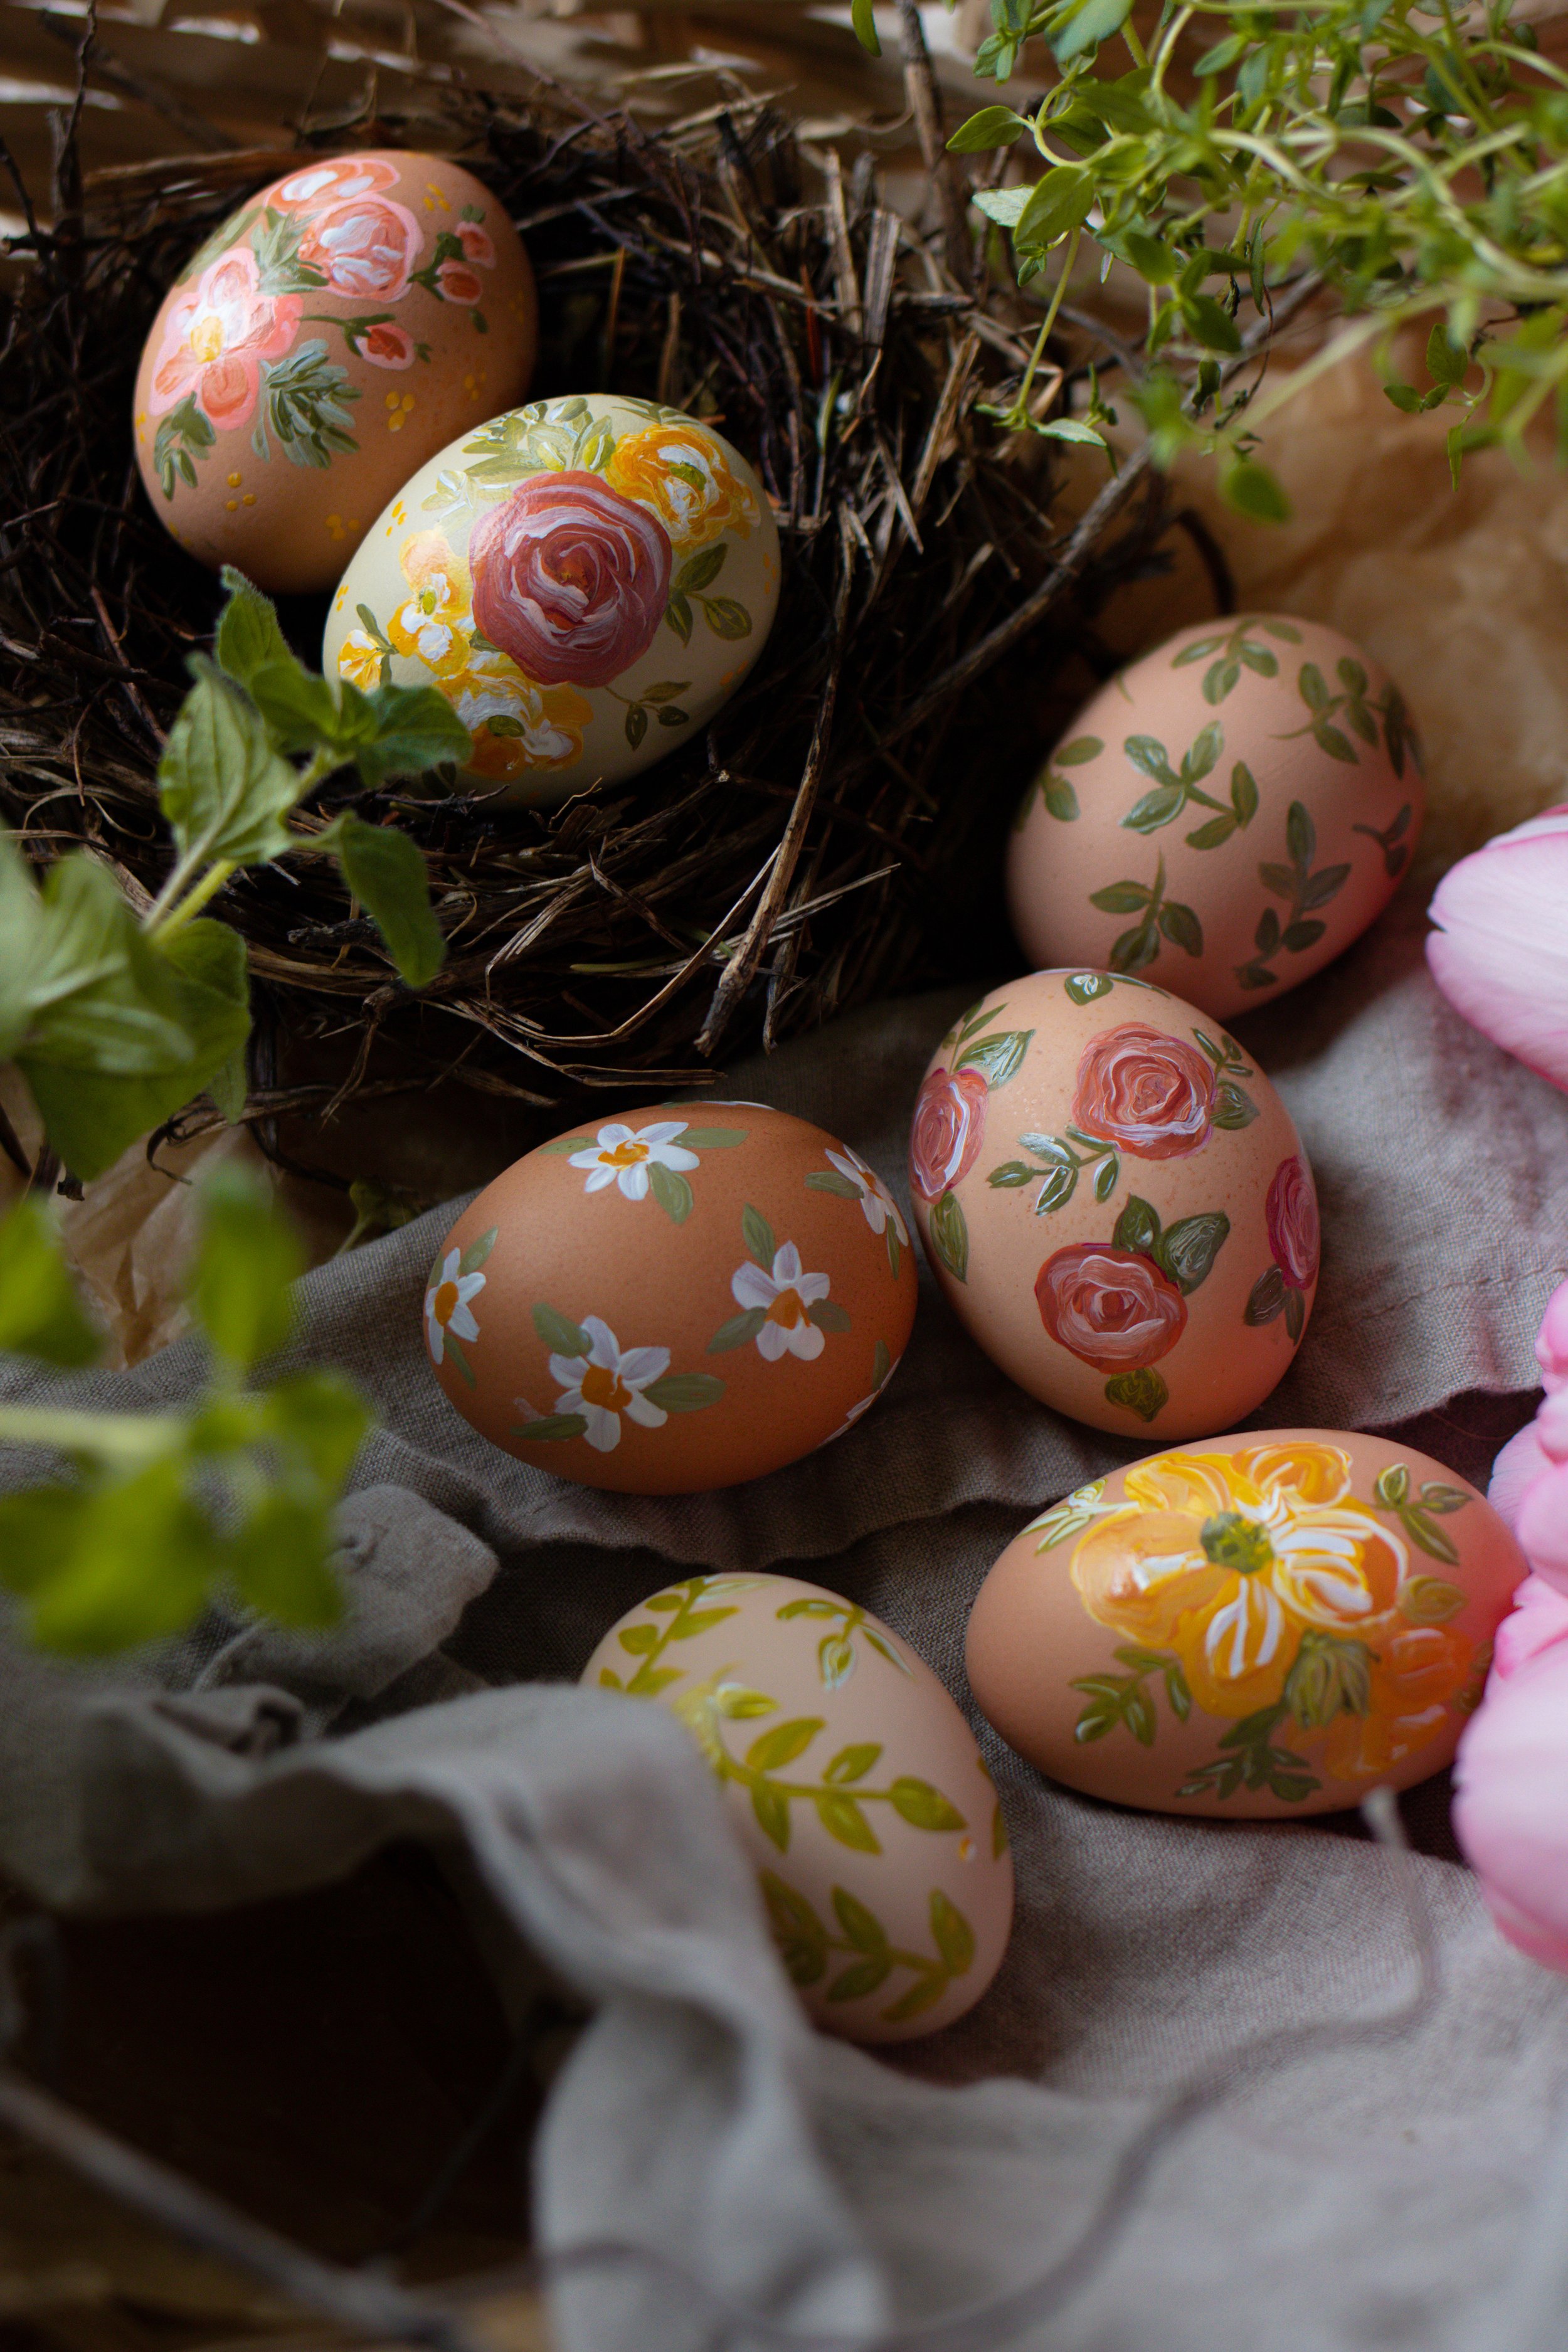
Choose a Color Scheme. To have your eggs coordinate with each other, it can help to choose a color scheme. For my eggs, I was inspired by my past year’s flower garden which was planted in hues of pinks, reds, blushes, peaches, and oranges.
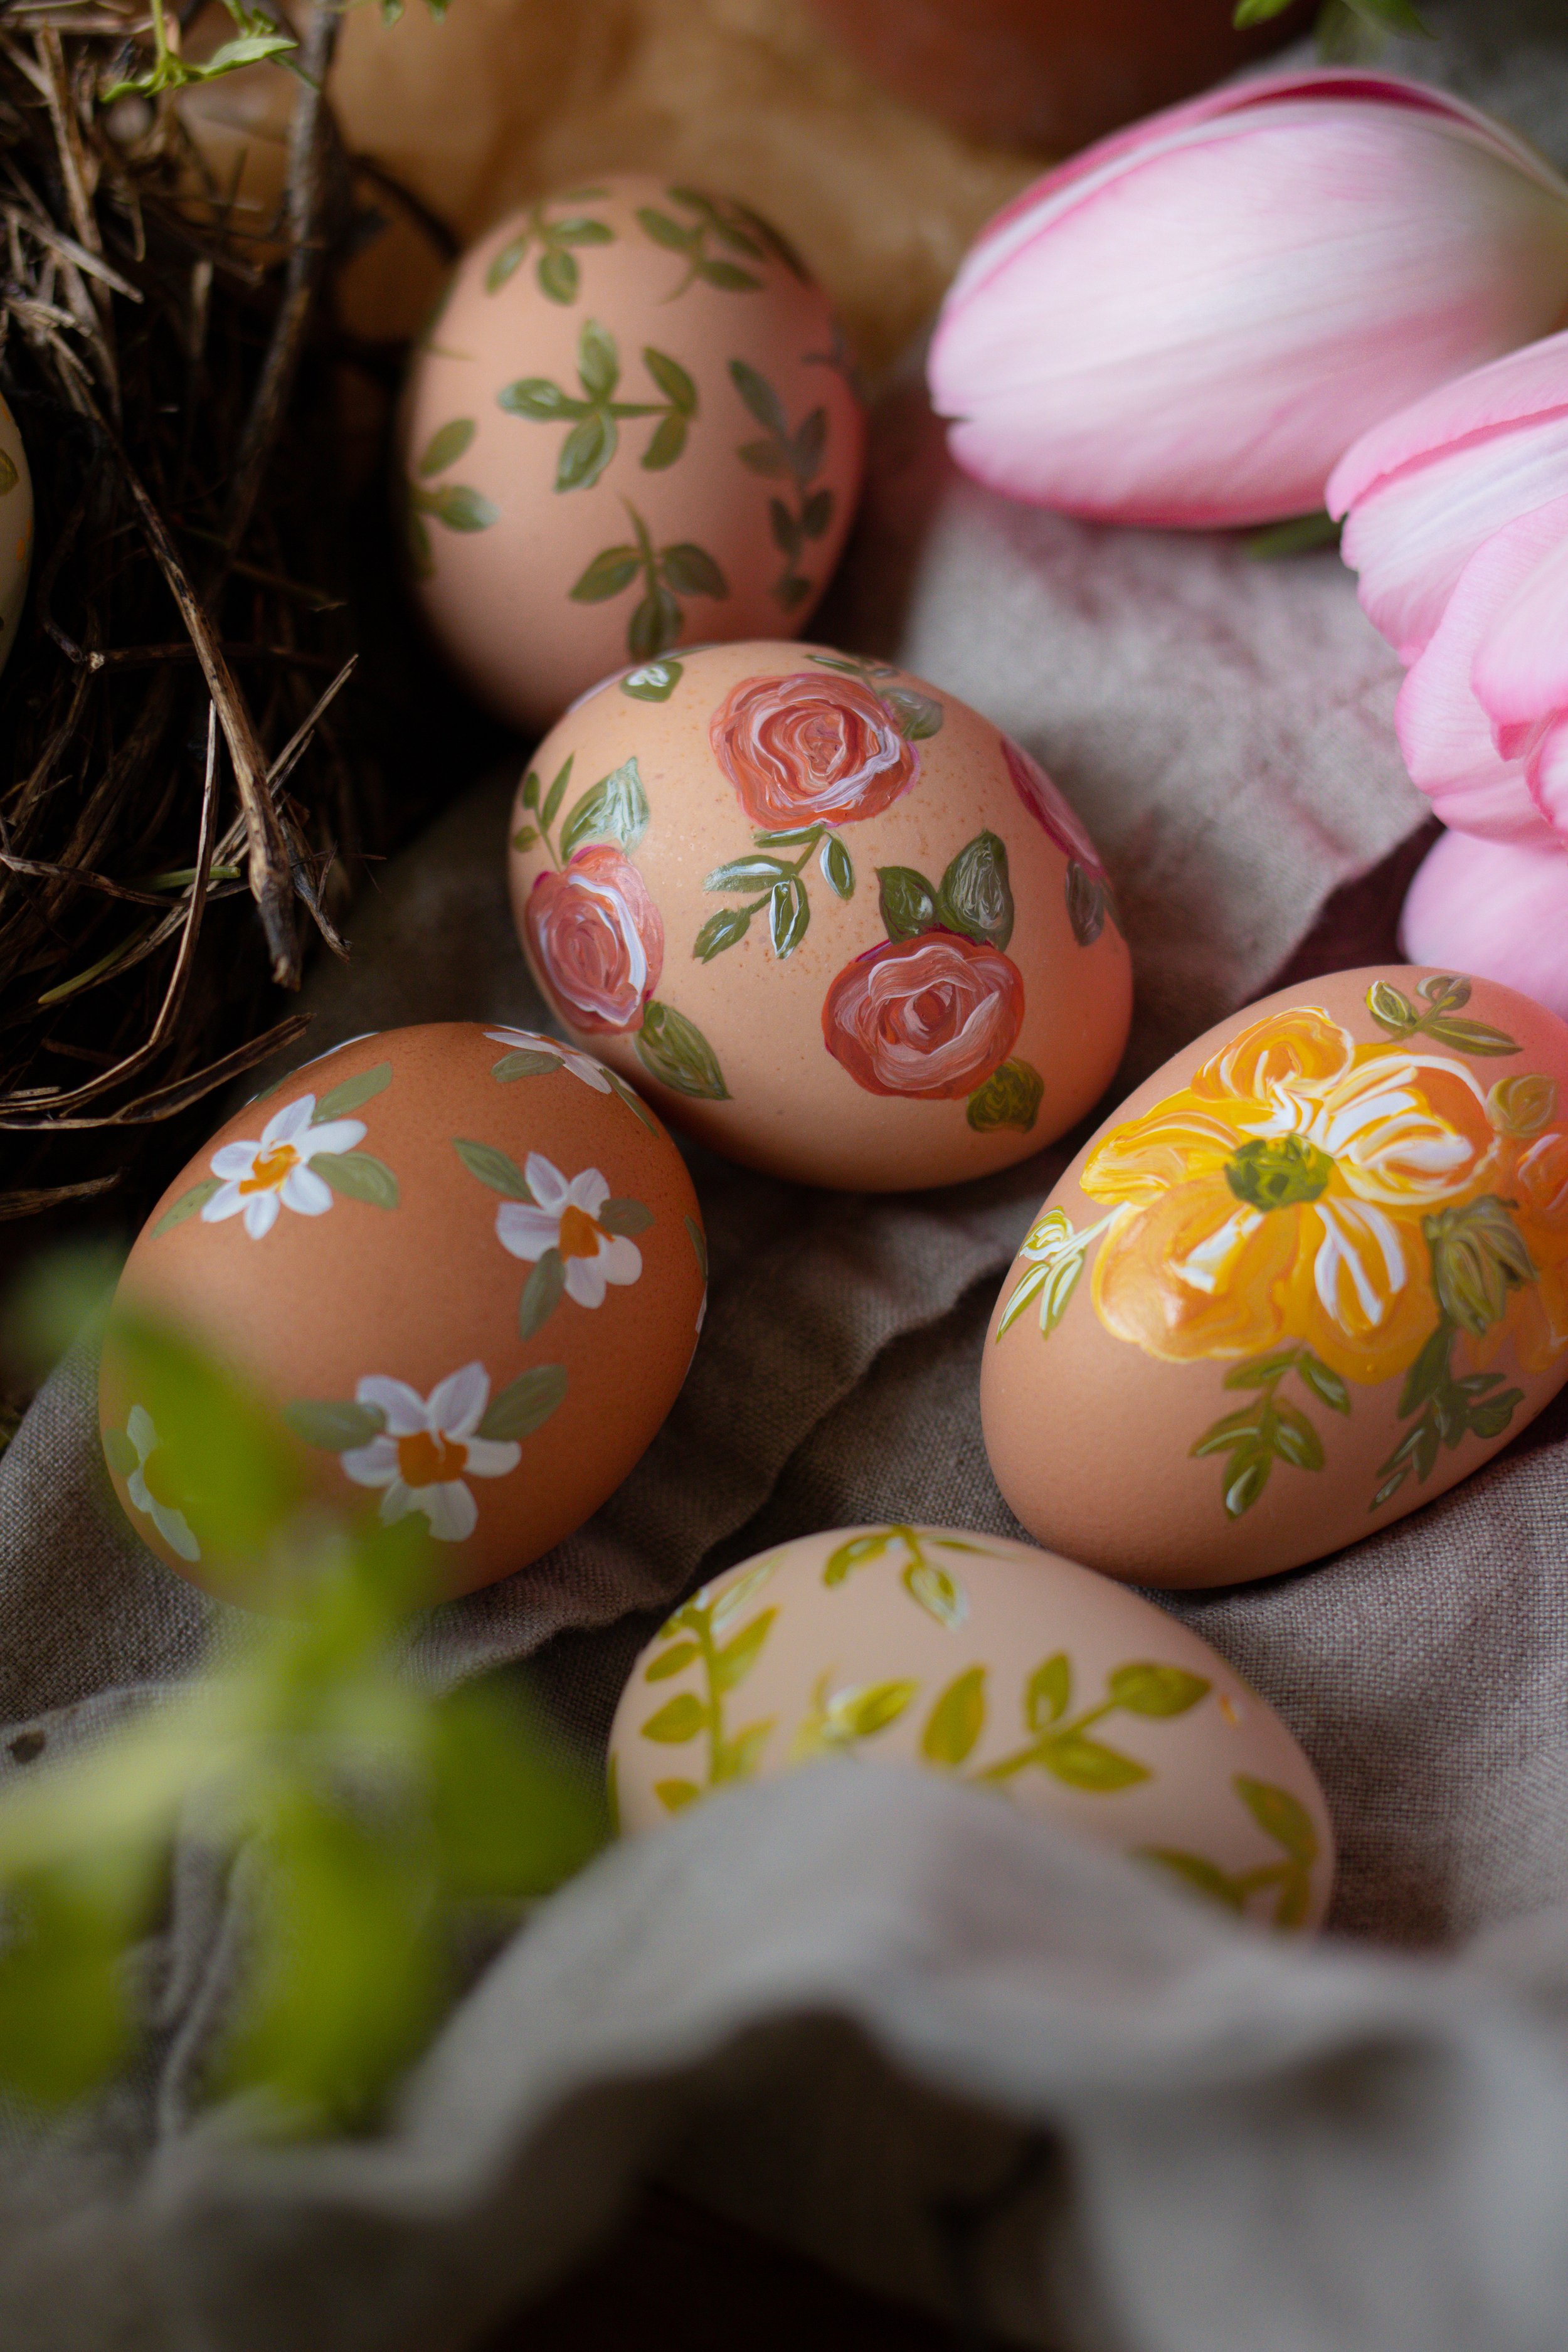
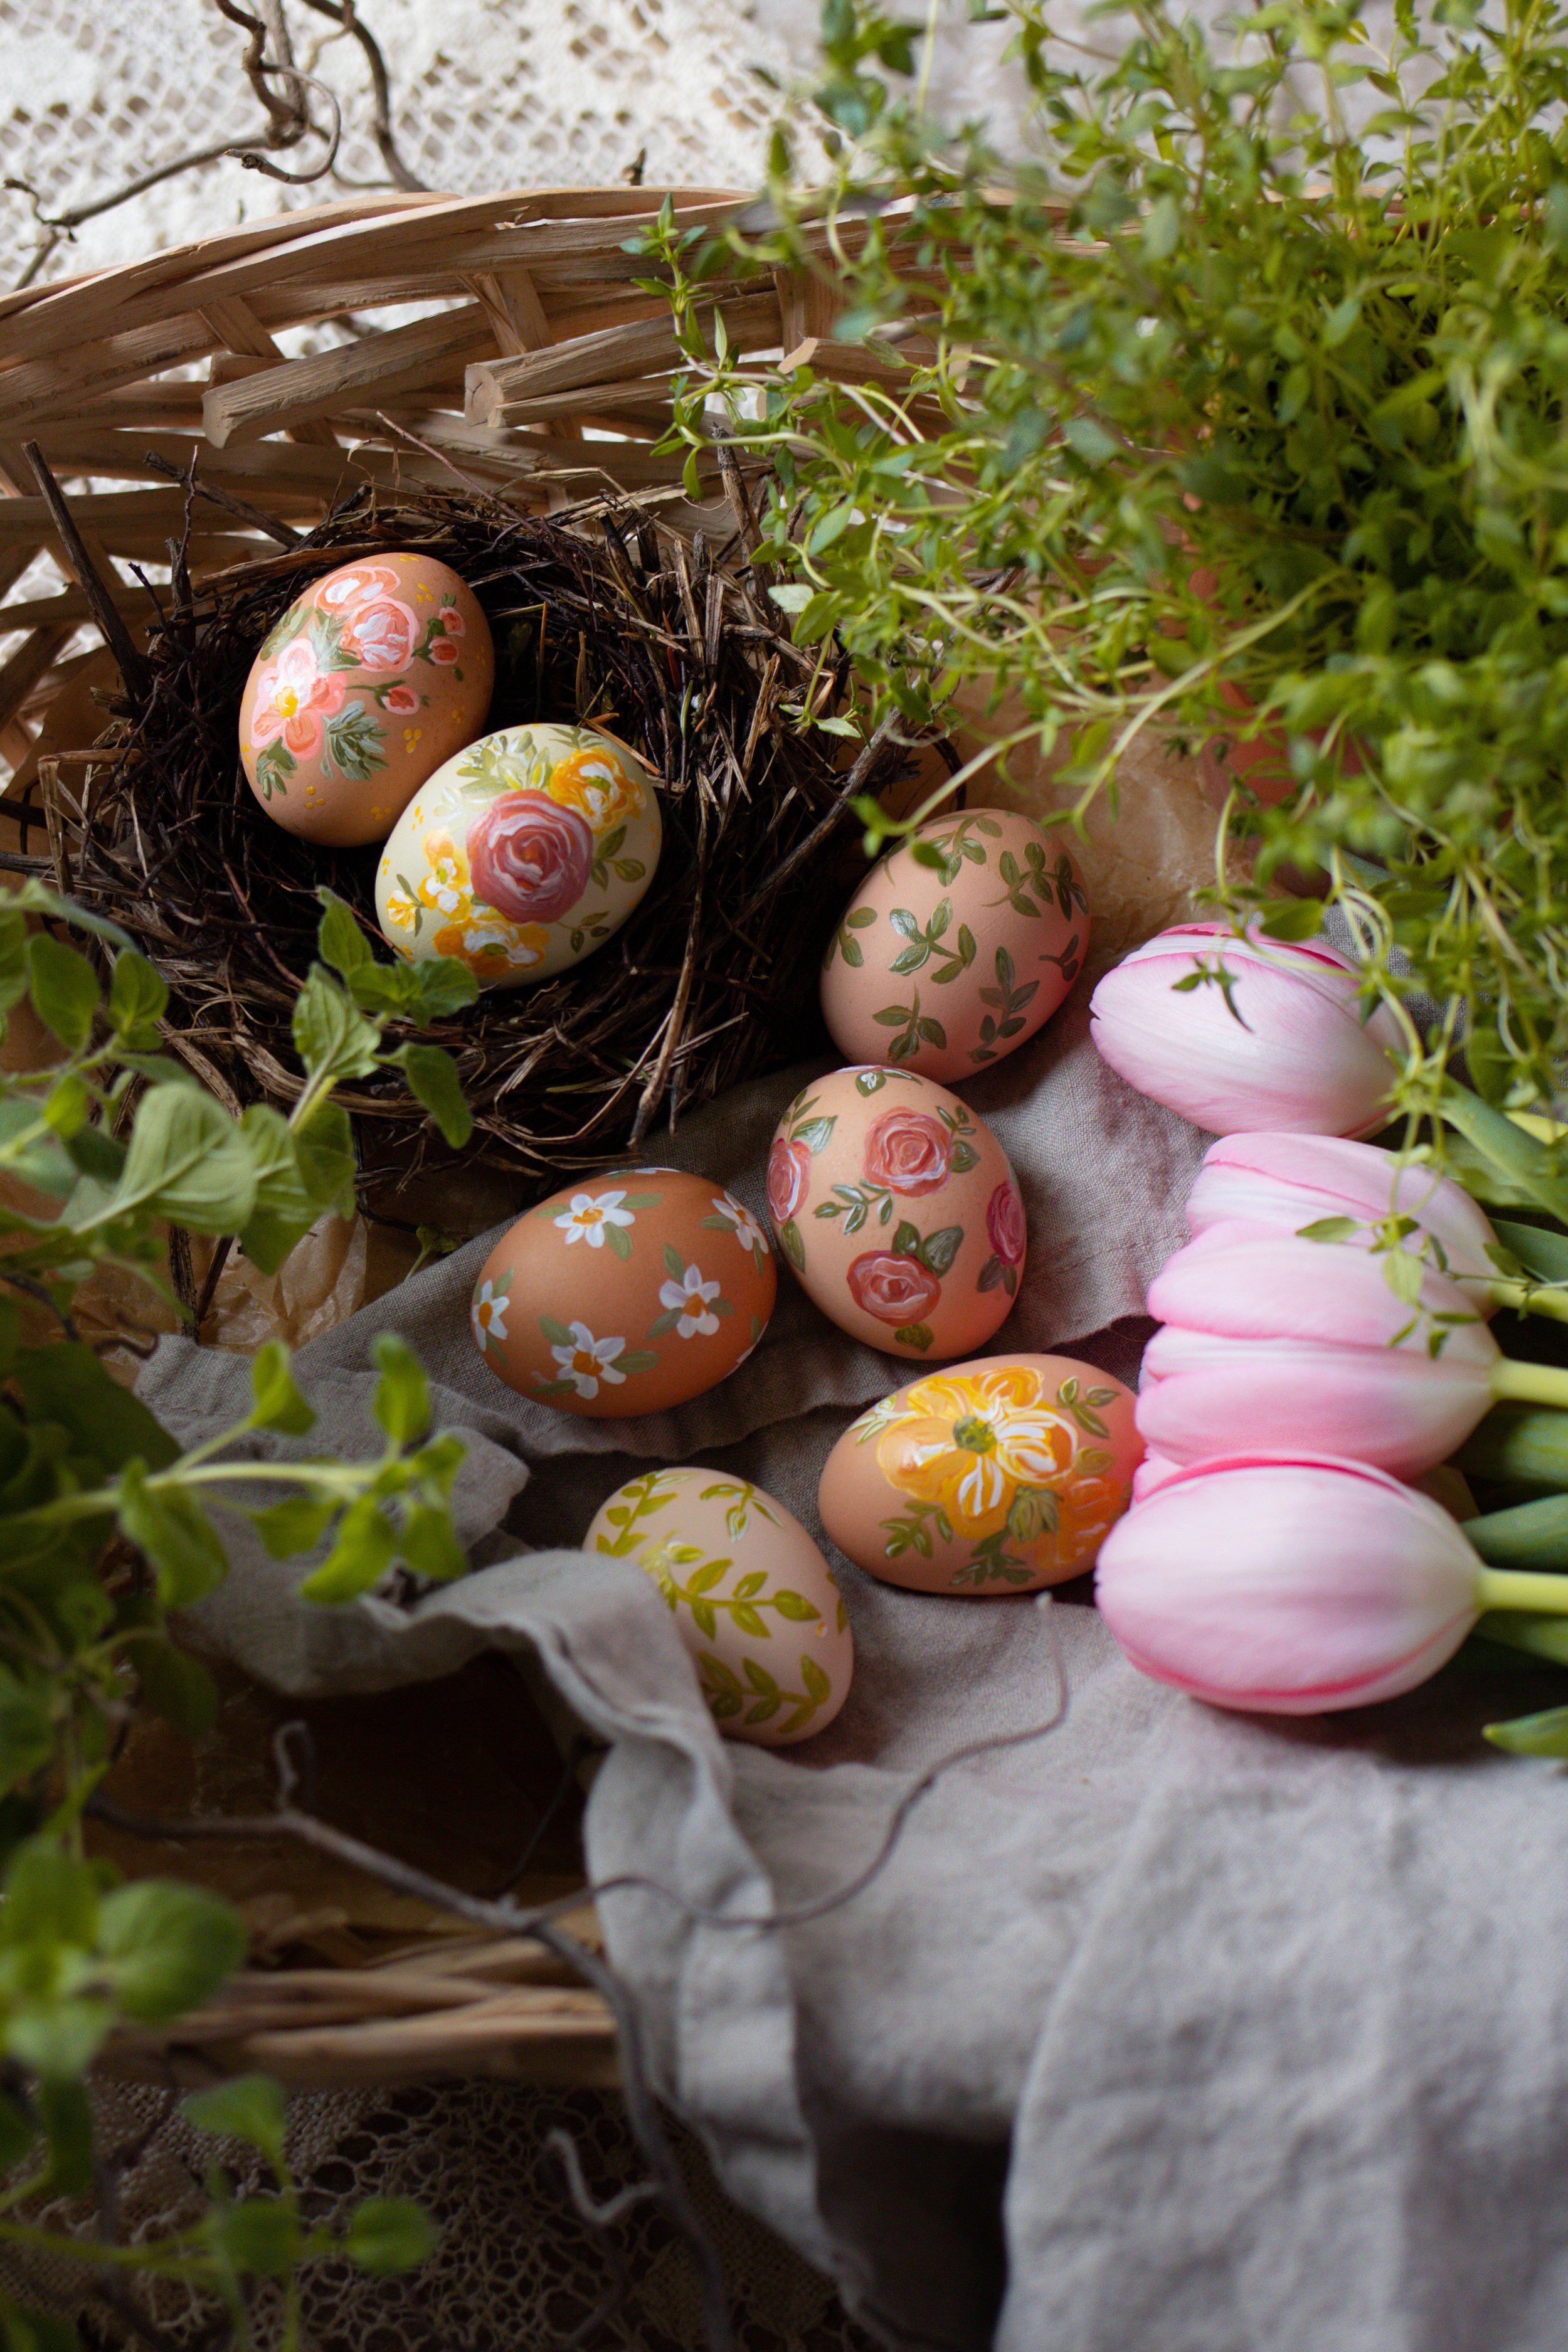
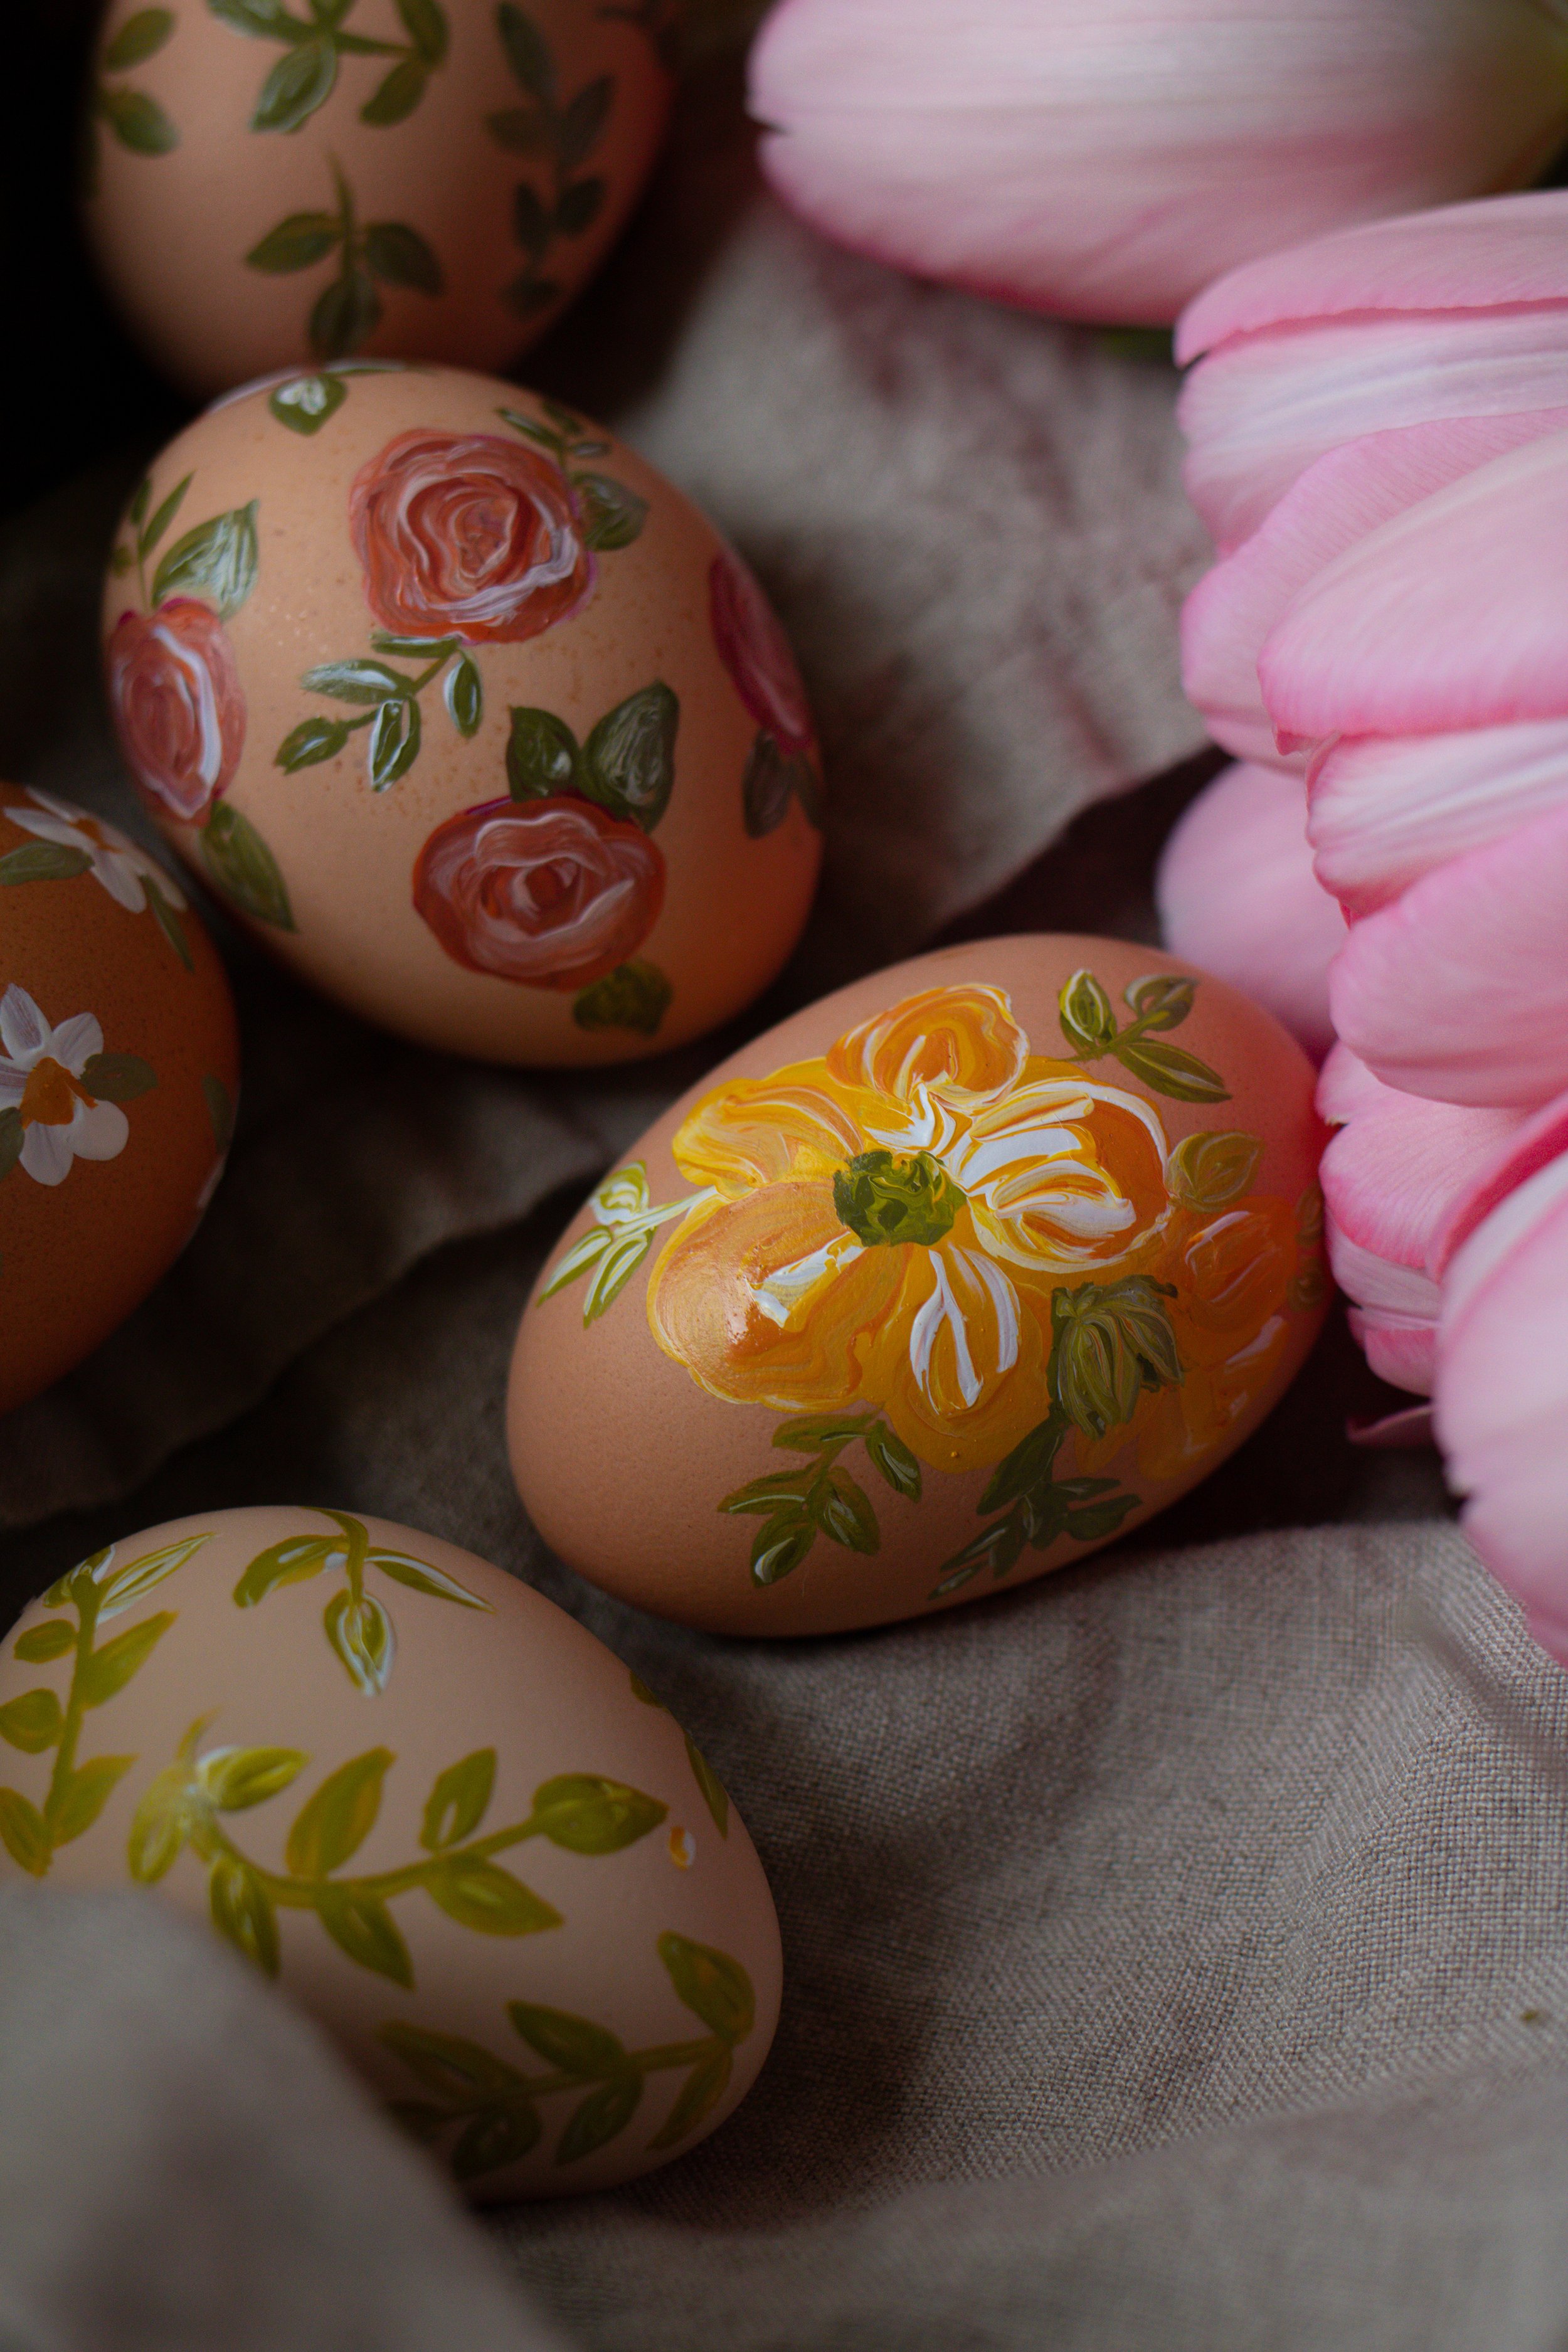
Add Size Variations. I think it looks more visually captivating if all of the eggs have different designs with various sizes. For instance, some eggs have one large floral design while others have tiny flowers all over them. This gives some interesting perspective when looking at them as a collection.
Try Different Designs. If you choose to paint florals on your eggs, try using different designs! Rather than making them all floral, paint a few eggs with leaves or vines. You could create a little painted vegetable garden, birds, or even little fairies on each egg. The magic is in your creativity!
how to blow out an egg:
If you would like to use real eggs for your designs, you can blow out the white and yolk of the egg and preserve the shell for years. This process is a bit tricky to master, but it can be well worth it if you want to save your lovely painted eggs!
Pick a Tool. The type of tool you use to prick a hole in the egg will make a difference in the final result. Some people use a toothpick, others use a specific egg pricker. I think a thumbtack or paperclip works great or even a needle.
Put on a Barrier. Apply a piece of tape or band-aid where you plan to make a hole in your egg. This will help prevent the egg from cracking.
Poke a Hole. Hold the egg firmly in one hand. With your tool of choice, pierce a hole through the shell on one end. Then, pierce the other end.
Pierce the Yolk. With a longer tool, like a paper clip or long needle, stir up the yolk and whites inside of the egg. Otherwise, it will be difficult to blow out the insides if they are whole. Push the pin in and out of the hole for a minute or two.
Blow out the Egg. Place a straw over one of the holes that you made. With your mouth, blow the inner contents of the eggs through the opposite end and into a bowl.
final thoughts:
These beautiful hand painted easter eggs are such a fun and creative project. They are the perfect cozy craft idea to make in the evenings or on the weekend. I love edible and seasonal crafts because they change every year. You never know what idea will be sparked by the changing of the seasons! These lovely painted egg decorations also make a wonderful gift to share. I hope that you feel cozy making your own!
xoxo Kayla