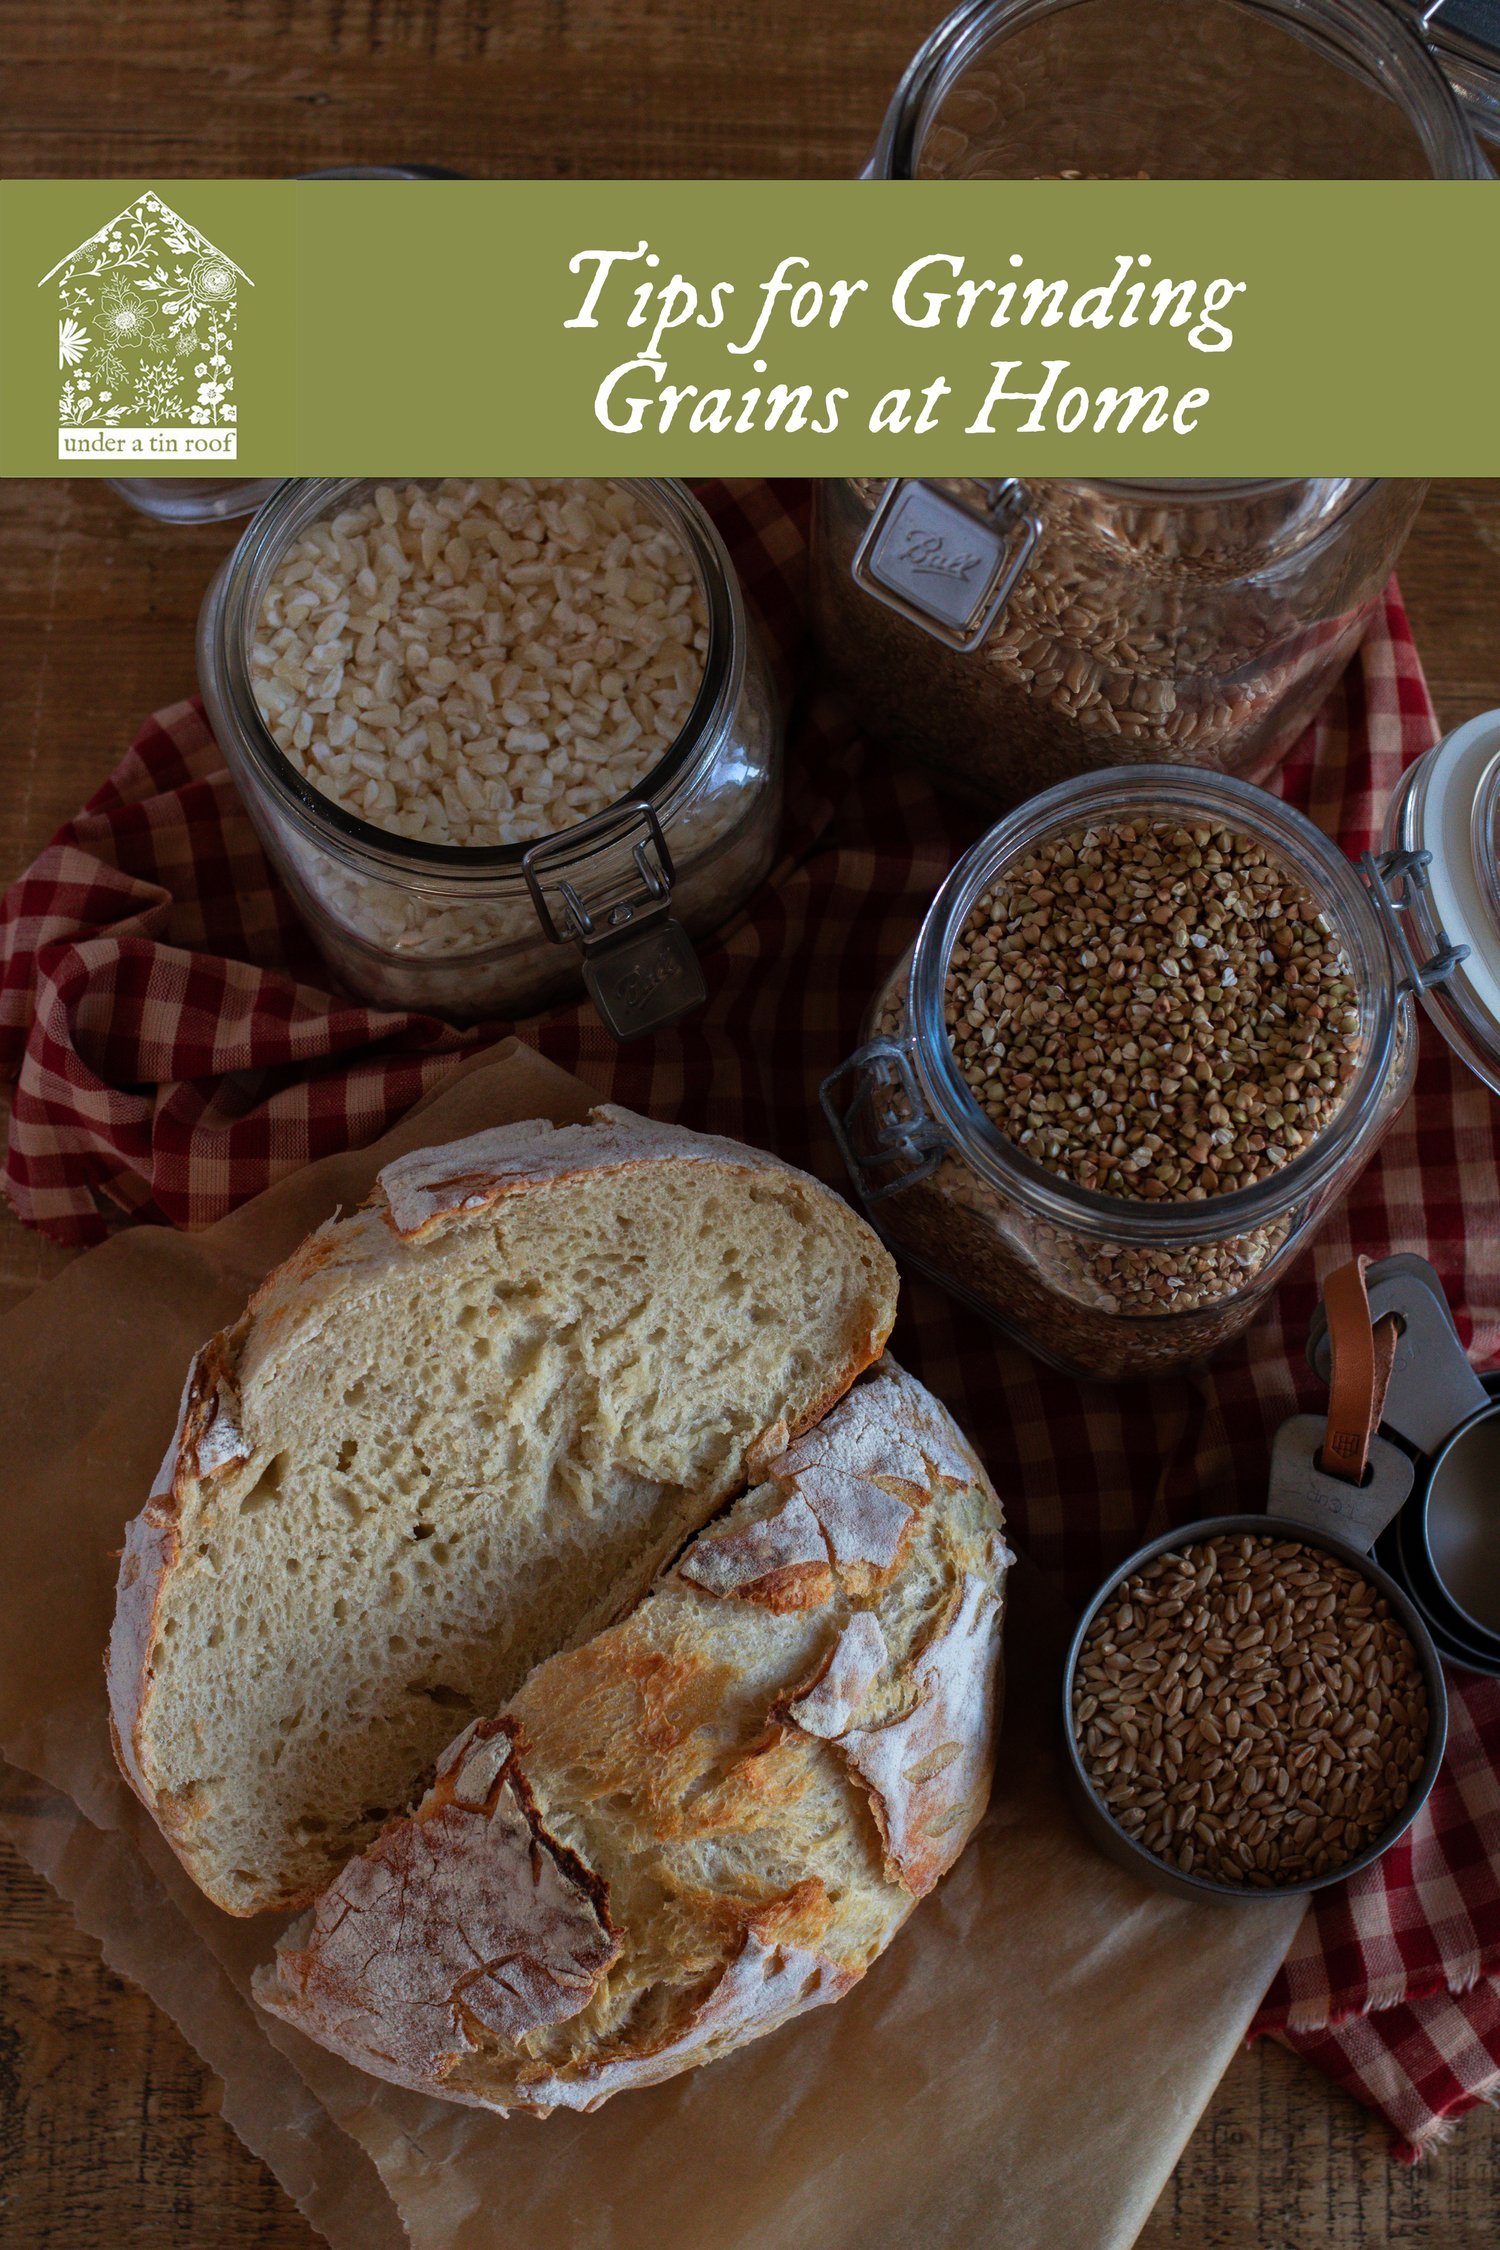
Tips for Grinding Grains at Home
A little over one year ago, I received a grain mill attachment for my standing electric mixer as a Christmas present. It was something that I had been wanting to try for years after grinding my own grains here and there in my food processor/blender, which was not always ideal as it is not technically built for that. I was determined to learn more about whole grain baking and cooking, milling my own flours, and mastering the art of doing so. I am still learning so much when it comes to milling flour, but I wanted to share with you some of the things I have learned that have made the entire process easier, especially when it comes to actually making bread.
WHY SHOULD YOU MILL YOUR OWN FLOUR AT HOME?
The only answer really comes down to increased nutritional value and denser flavor profile. Milling flour at home is not for the faint of heart. In fact, I would say it is specifically geared towards someone who has a passion for cooking, bread making, and a curiosity and interest in making a higher quality food product. Perhaps even for someone who has an interest in creating a more sustainable kitchen, in terms of the quality of ingredients, not necessarily sustainable for your bank account.
Milling flour is not going to save you money. Even as someone who lives in a unique community for accessing unique ingredients, whole grains are not cheaper than commercially processed bleached flour. It is one of those things that has always irked me as a consumer. Would it not make sense for the wheat berries themselves to be cheaper than flour, as they take less time, energy, and resources to produce? It’s like realizing a whole tomato costs more than a can of tomato sauce… which is also true. But I am beginning to ramble.
Home milled flour is more nutritious for you. When I began my journey into researching whole, unprocessed foods, I learned that much of why our bodies struggle to digest wheat or other grains with a high gluten content is because we are missing the essential part of the grain that aids in our bodies breaking it down. Grains are made up of three basic components: the outer shell (bran), the food supply (endosperm), and the embryo (germ). After processing the grains, a commercial flour removes the bran and germ to create a pure white, fluffy product that creates an incredibly lightly textured, light colored baked product. It also removes 75% of the nutrients within that single grain. Once this happens, the flour loses its nutritional value and dietary fiber entirely making it completely useless to our over-all health, not to mention that most commercial flours have about 25 chemicals added back into it as “fortified nutrients.”

finding a grain mill
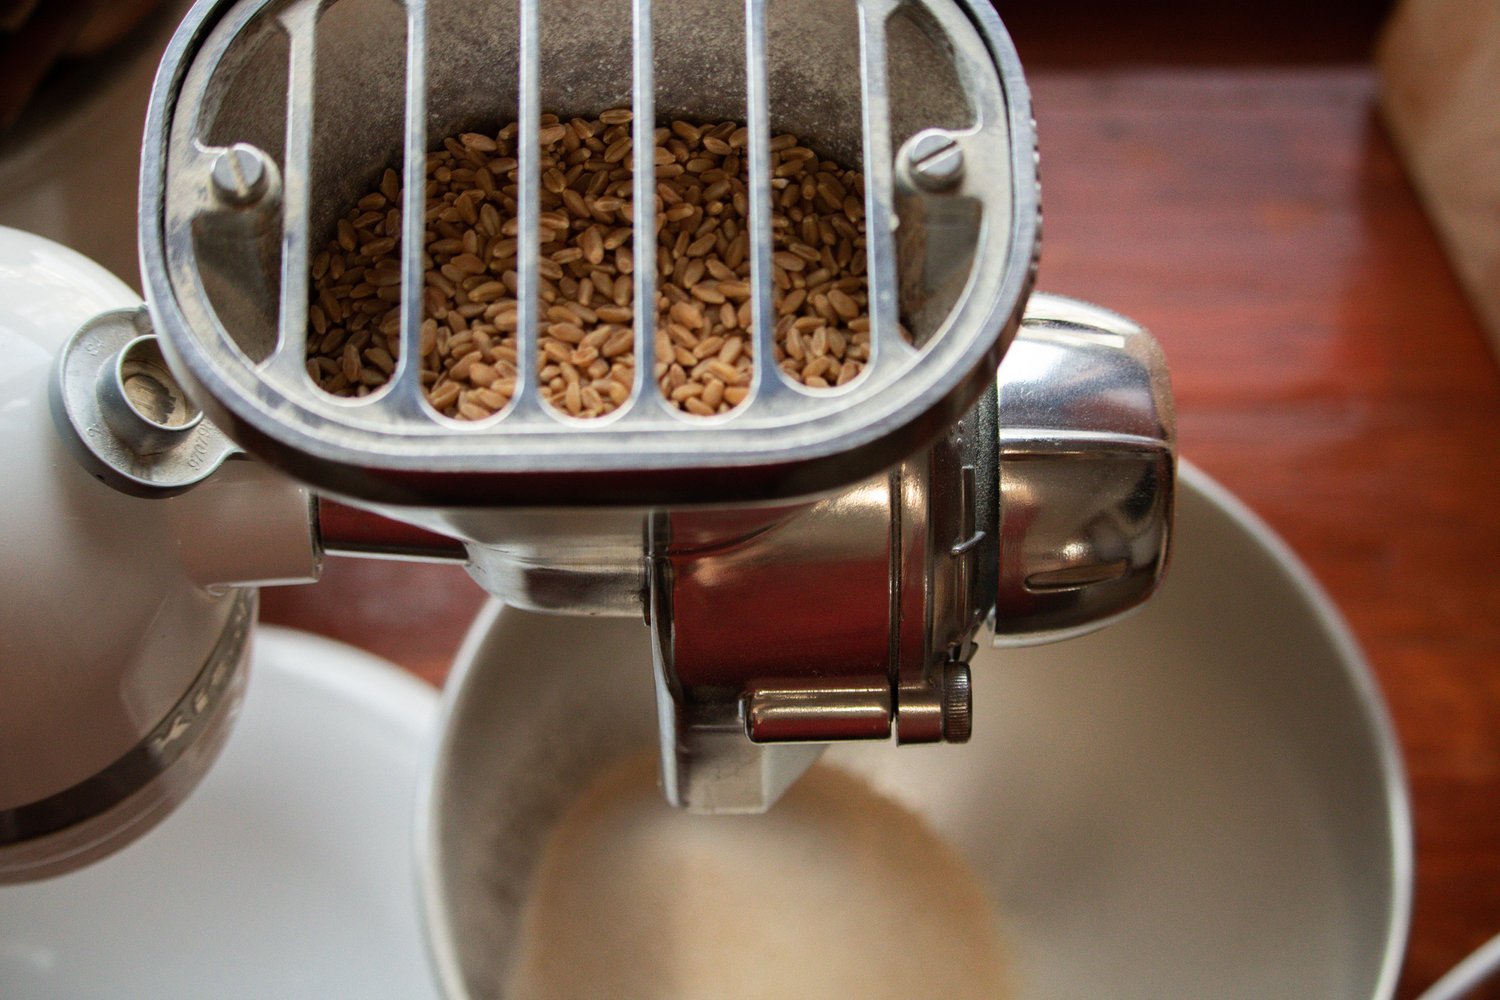
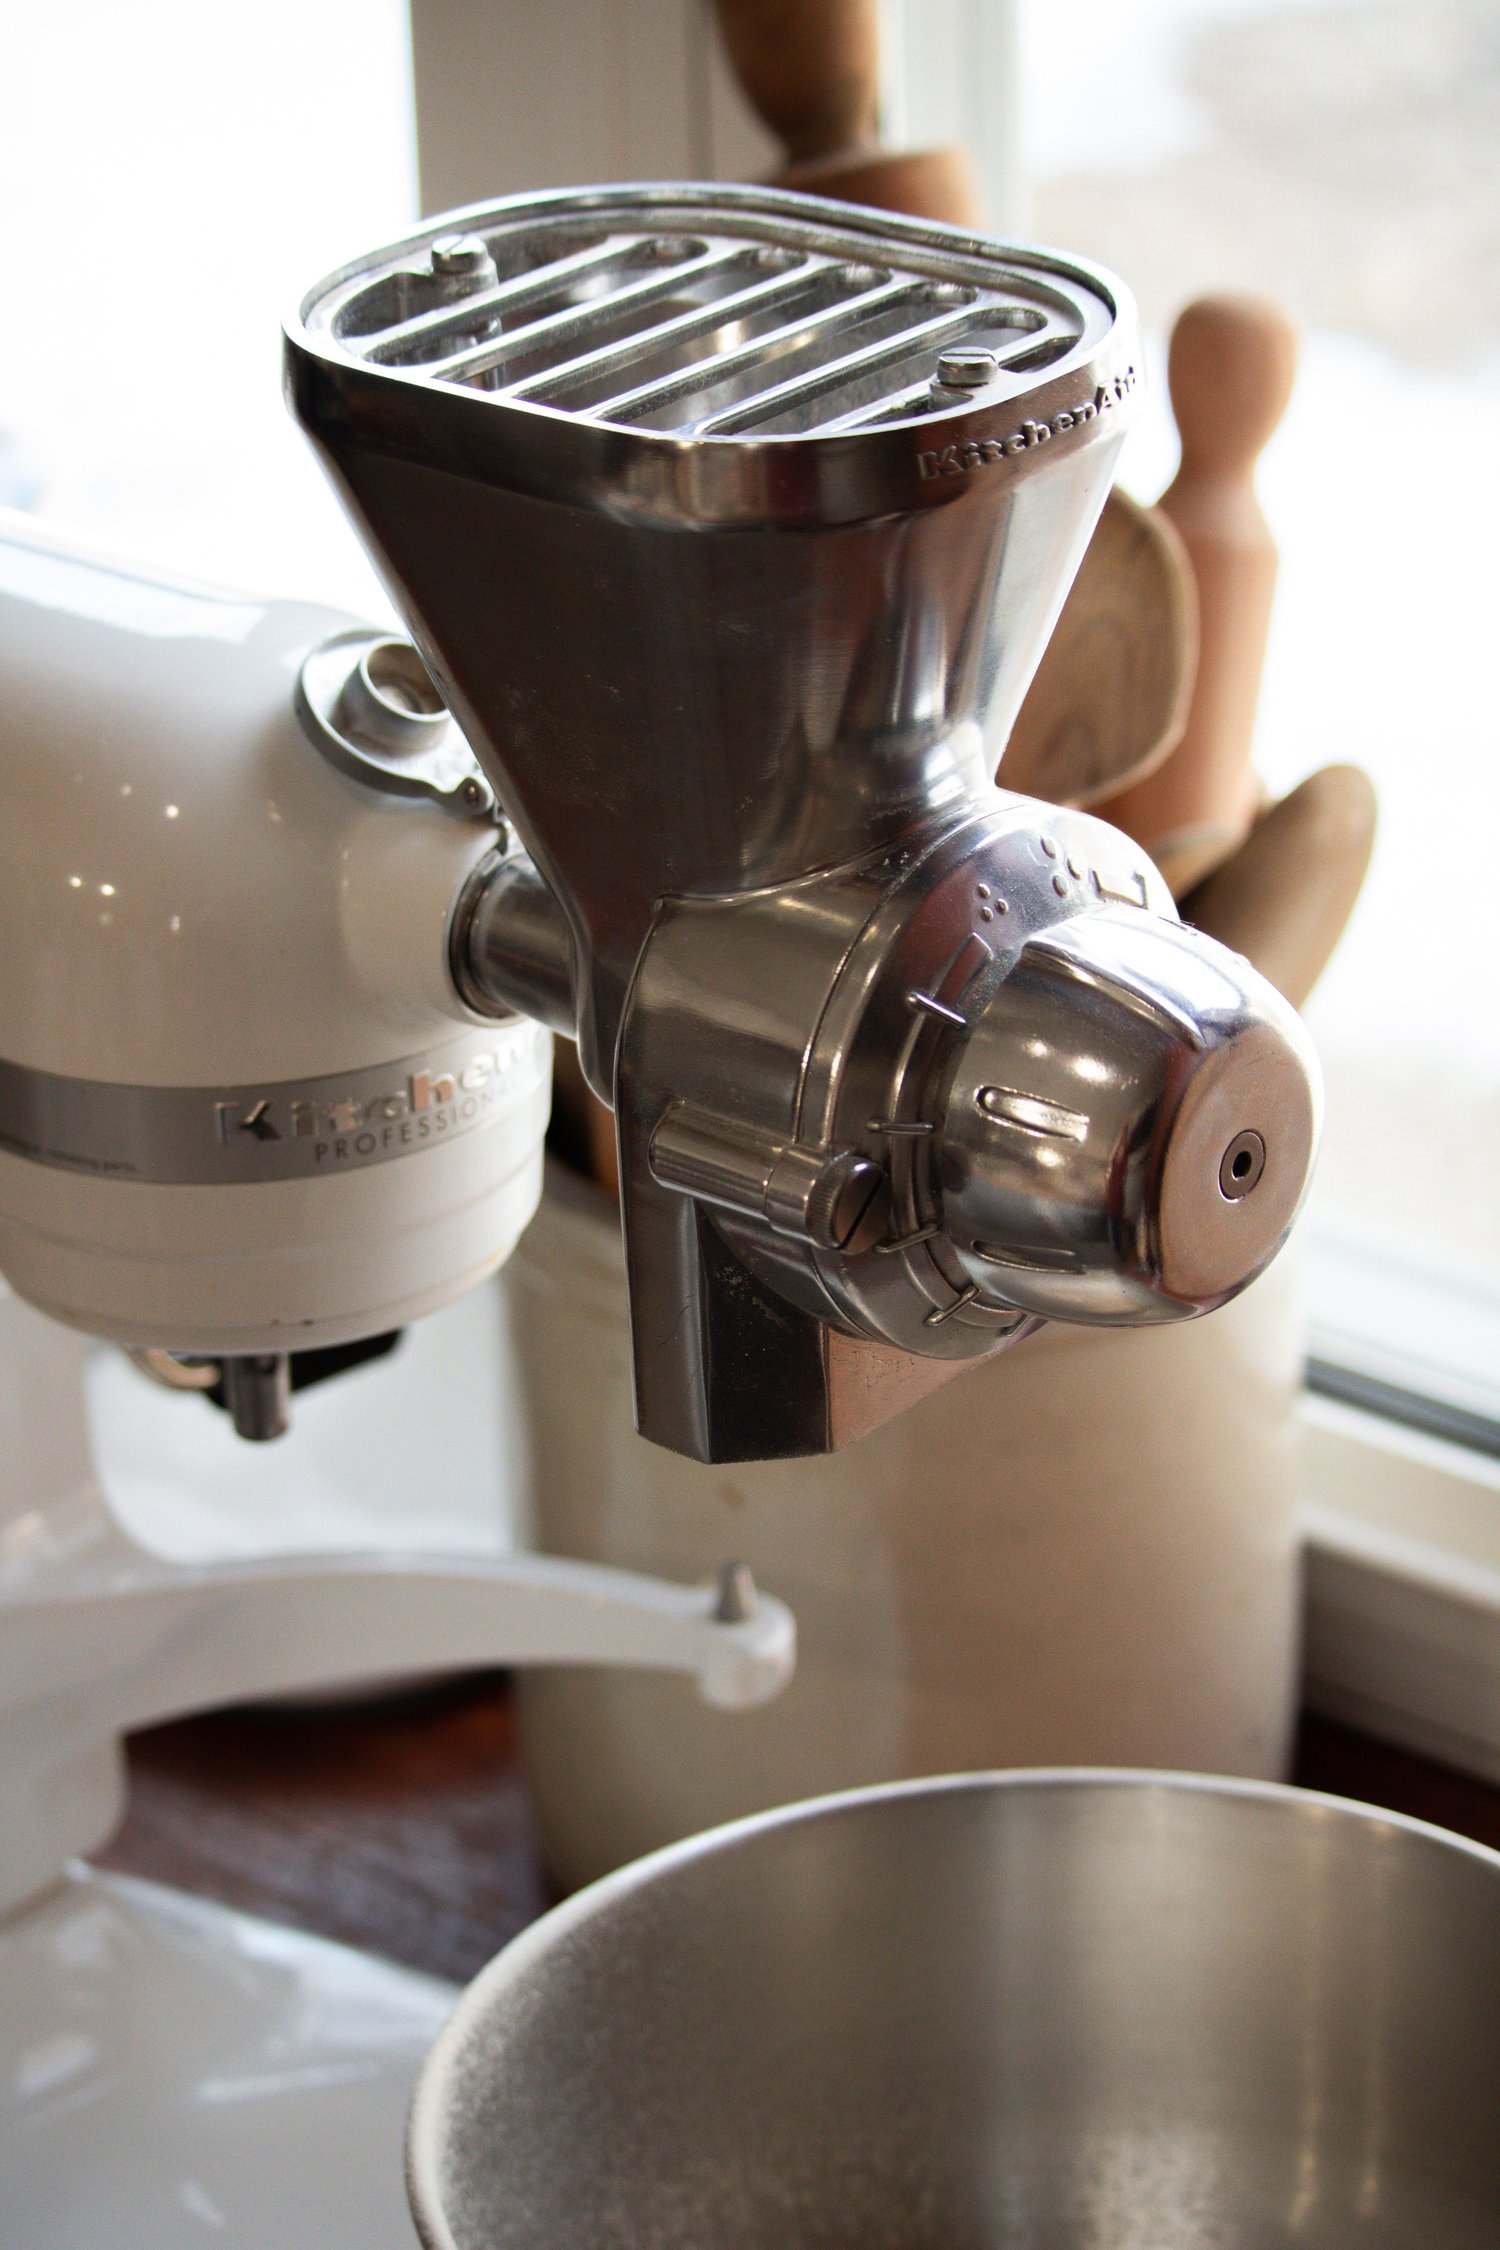
This one is going to be a bit subjective only because I have only tried one true grain mill. I received the KitchenAid All Metal Grain Mill Attachment as a Christmas gift from my parents, and it had been the one that I was personally looking into getting for a while.
So far, I am fairly happy with it! There are mixed reviews online, but I think that it’s a perfect option for home milling. You can grind about 1 cup of grain at a time, which makes anywhere from 1.5-2 cups of flour, depending on the type of grain or how finely you are grinding it. The superfine option is, in my opinion, just perfect. I think it grinds wheat very well into a next-to commercial feeling flour. There are some hard bits of the grain leftover (don’t forget - this is WHOLE grain, meaning you want all of those parts in your flour for the ultimate nutritional value), but you can obviously sift these out if you want a more refined product.
The one thing that I will say is to absolutely follow the recommended instructions for using this product. I believe it recommends only grinding 10 cups of grain at a time (which ends up being a lot of flour, especially when you have to store it in the refrigerator afterwards) or else the mill will become overheated and can have the potential to burn out its rotors. I have noticed that my mixer overall has taken a beating from the mill. It still works great, but there is something internal about its mechanism that sounds a bit funny compared to before I used the mill. I am not machine savvy, though, so don’t take my advice! Thankfully, I live with a mechanical engineer who knows how to fix those sorts of things.
There are several other mills on the market, including those that stand alone from other kitchen appliances and therefore probably make a smarter purchase as their primary function is to grind grains.
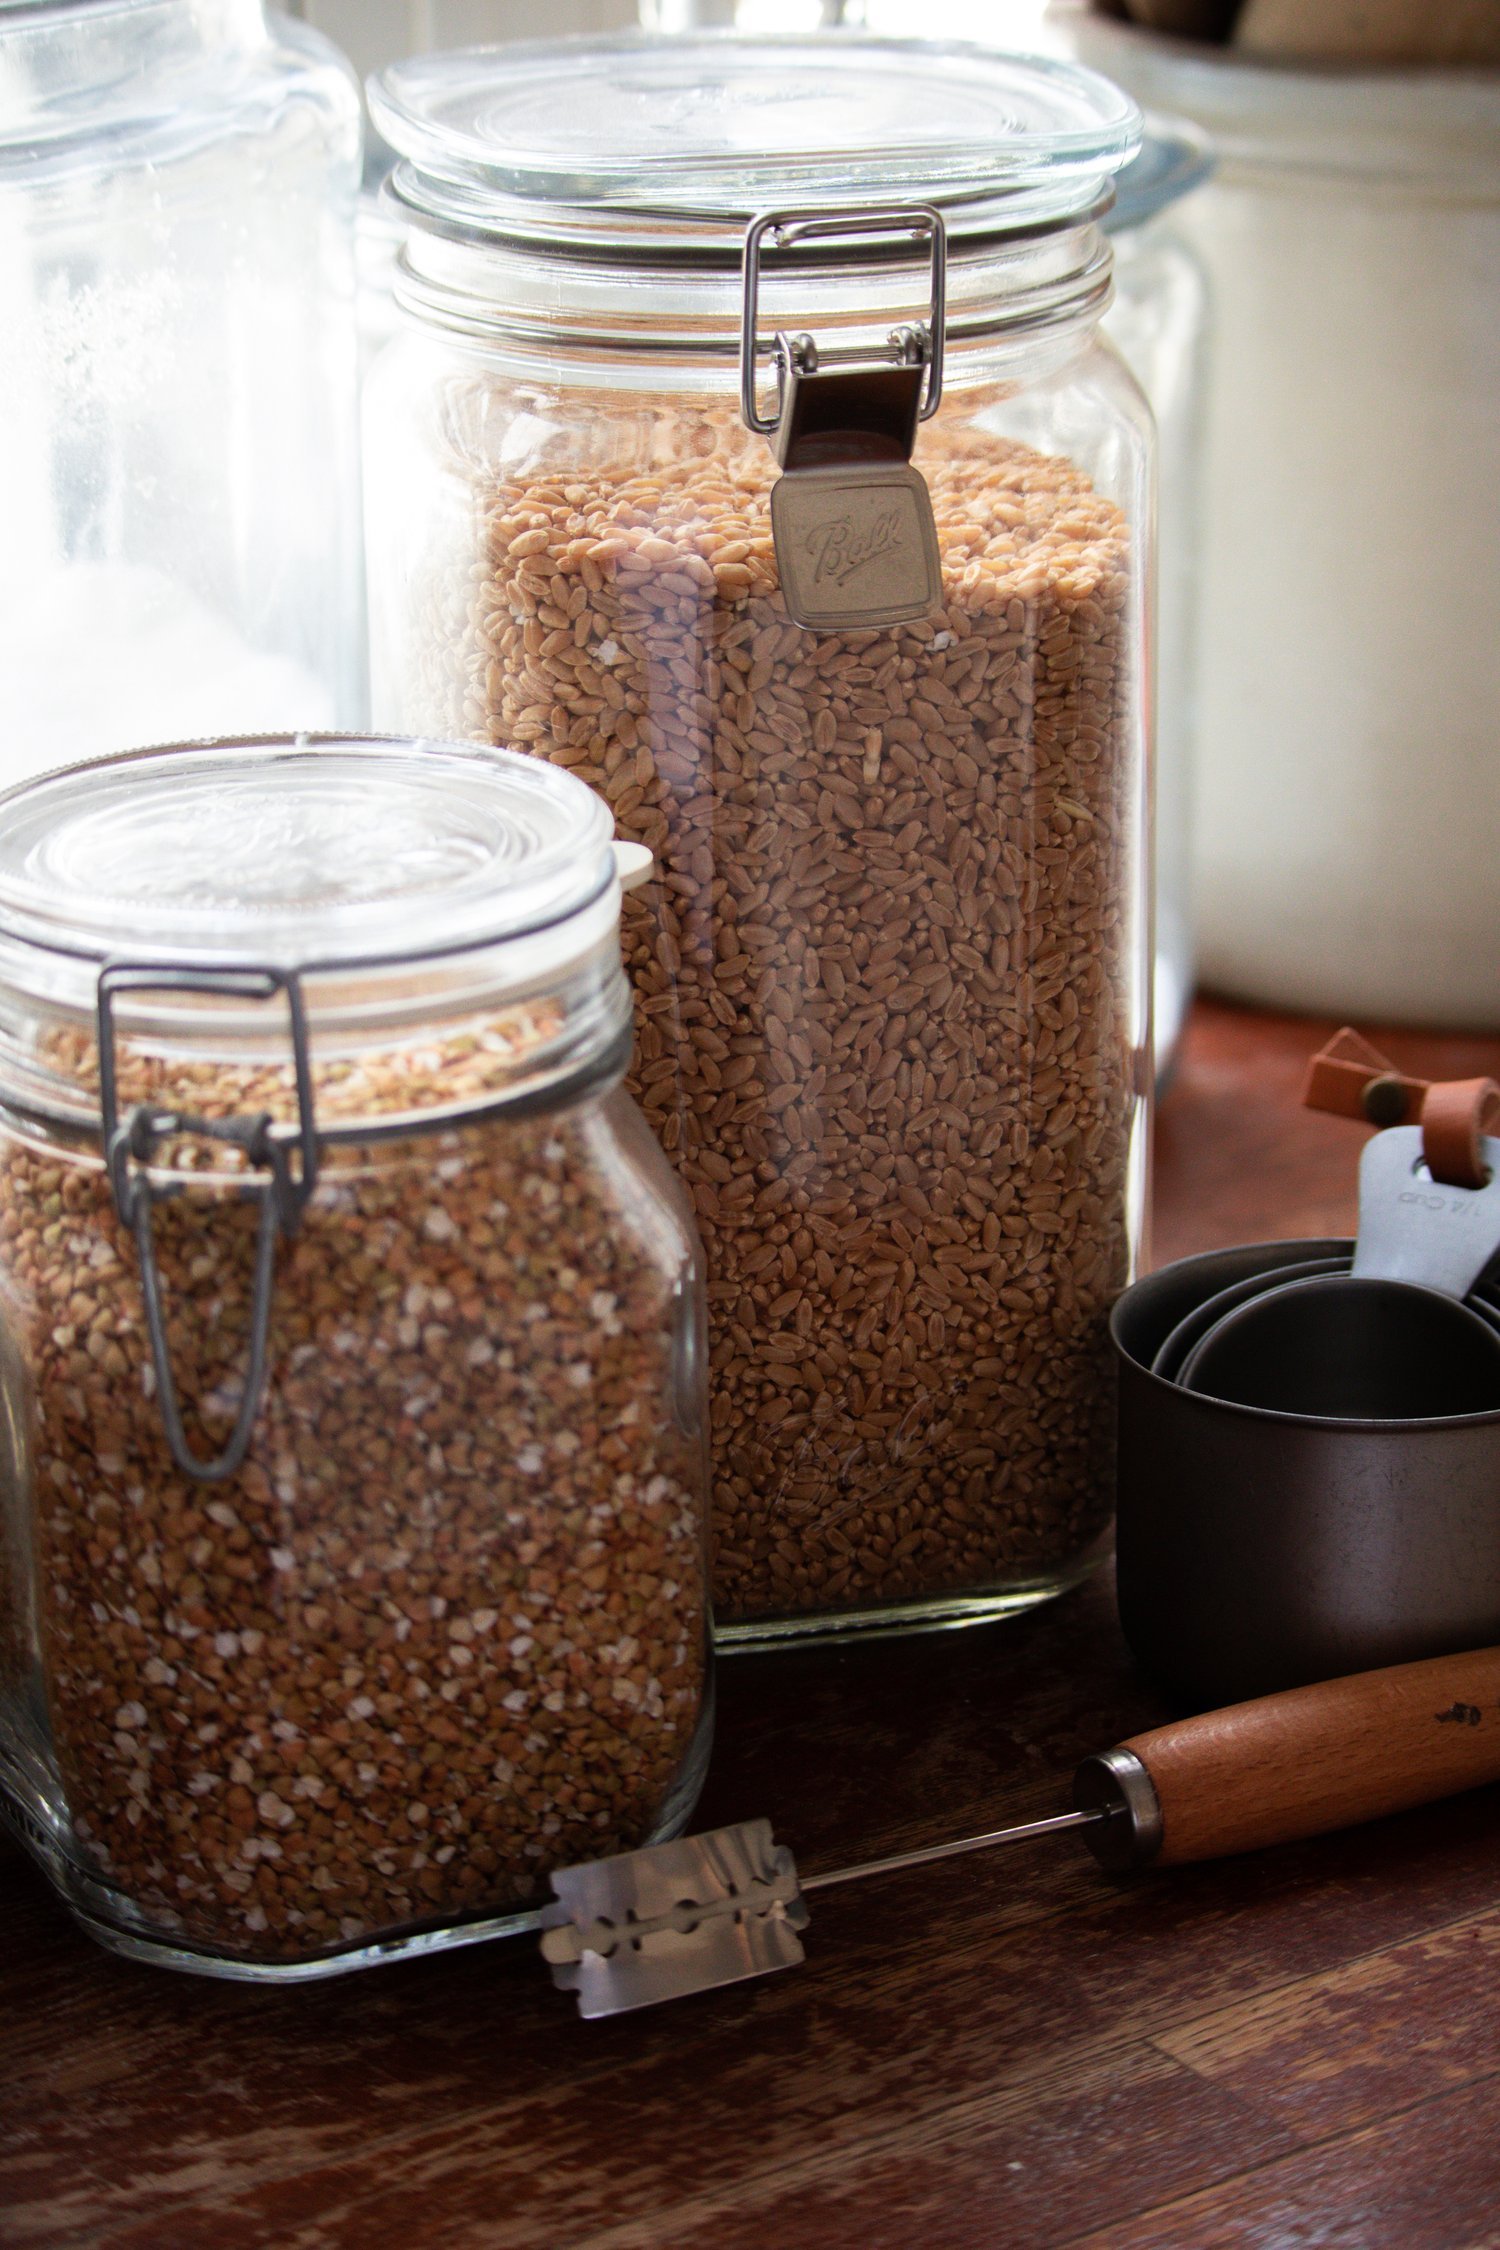
sourcing & identifying grains
For the most part, the information you will find on grinding whole grains pertains to wheat. Wheat is universally used to bake with, especially for breads and the like. There are different types of wheat berries, or the kernel of the plant that is ground and turned into flour. It looks a lot like a thicker and longer piece of rice.
Hard white wheat. This is an ideal type of wheat for bread baking due to its high gluten content. It has a sweet and light flavor and can be mixed with soft white wheat to create an all-purpose flour of sorts.
Hard red wheat. This is for making a heavier and denser bread, such as a flat bread or tortilla. It has a deep flavor profile, and I honestly do not use it much in my personal baking!
Soft white wheat. Perfect for pastries and lighter, fluffier baked goods. Baked items that do not require a high gluten structure, like cookies or muffins fair better with this wheat on its own.
Wheat does not just stop at these types of kernels, either. You can also use Einkorn, Khorasan, Rye, Spelt, or Emmer to create wheat flours. These grains are ancient and heirloom varieties that create interestingly flavored and textured breads, each with their own unique nutrient contents and flavor profiles. I personally prefer spelt for replacing a lot of my wheat flour.
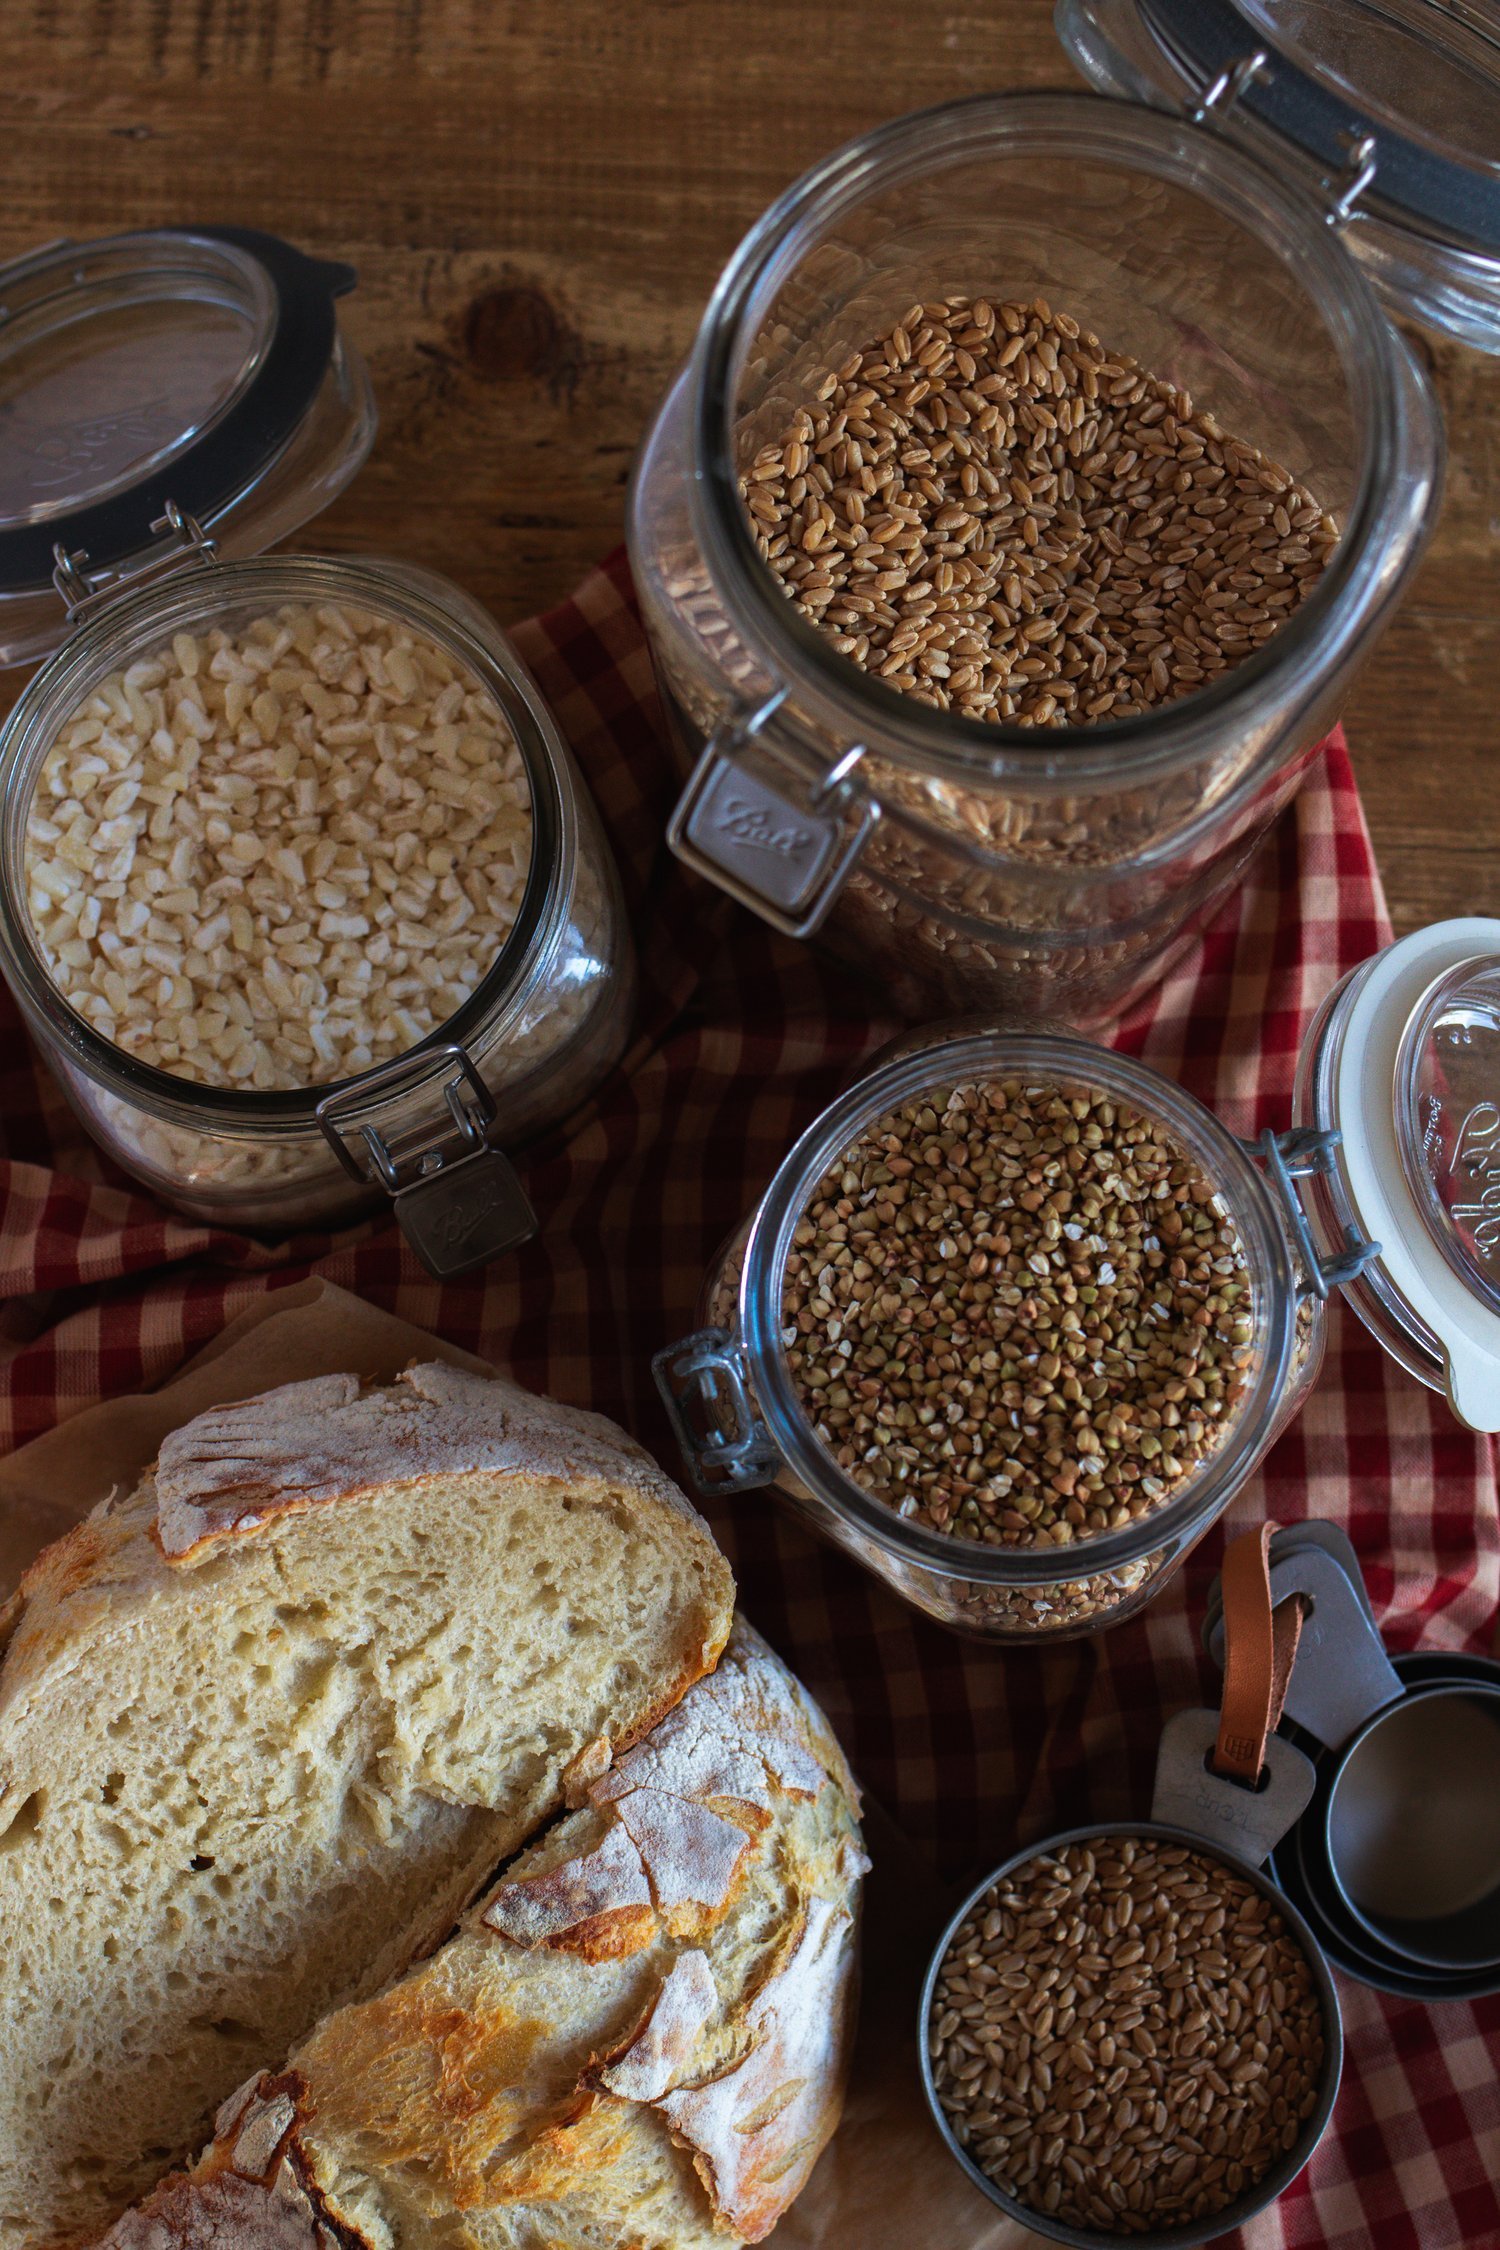
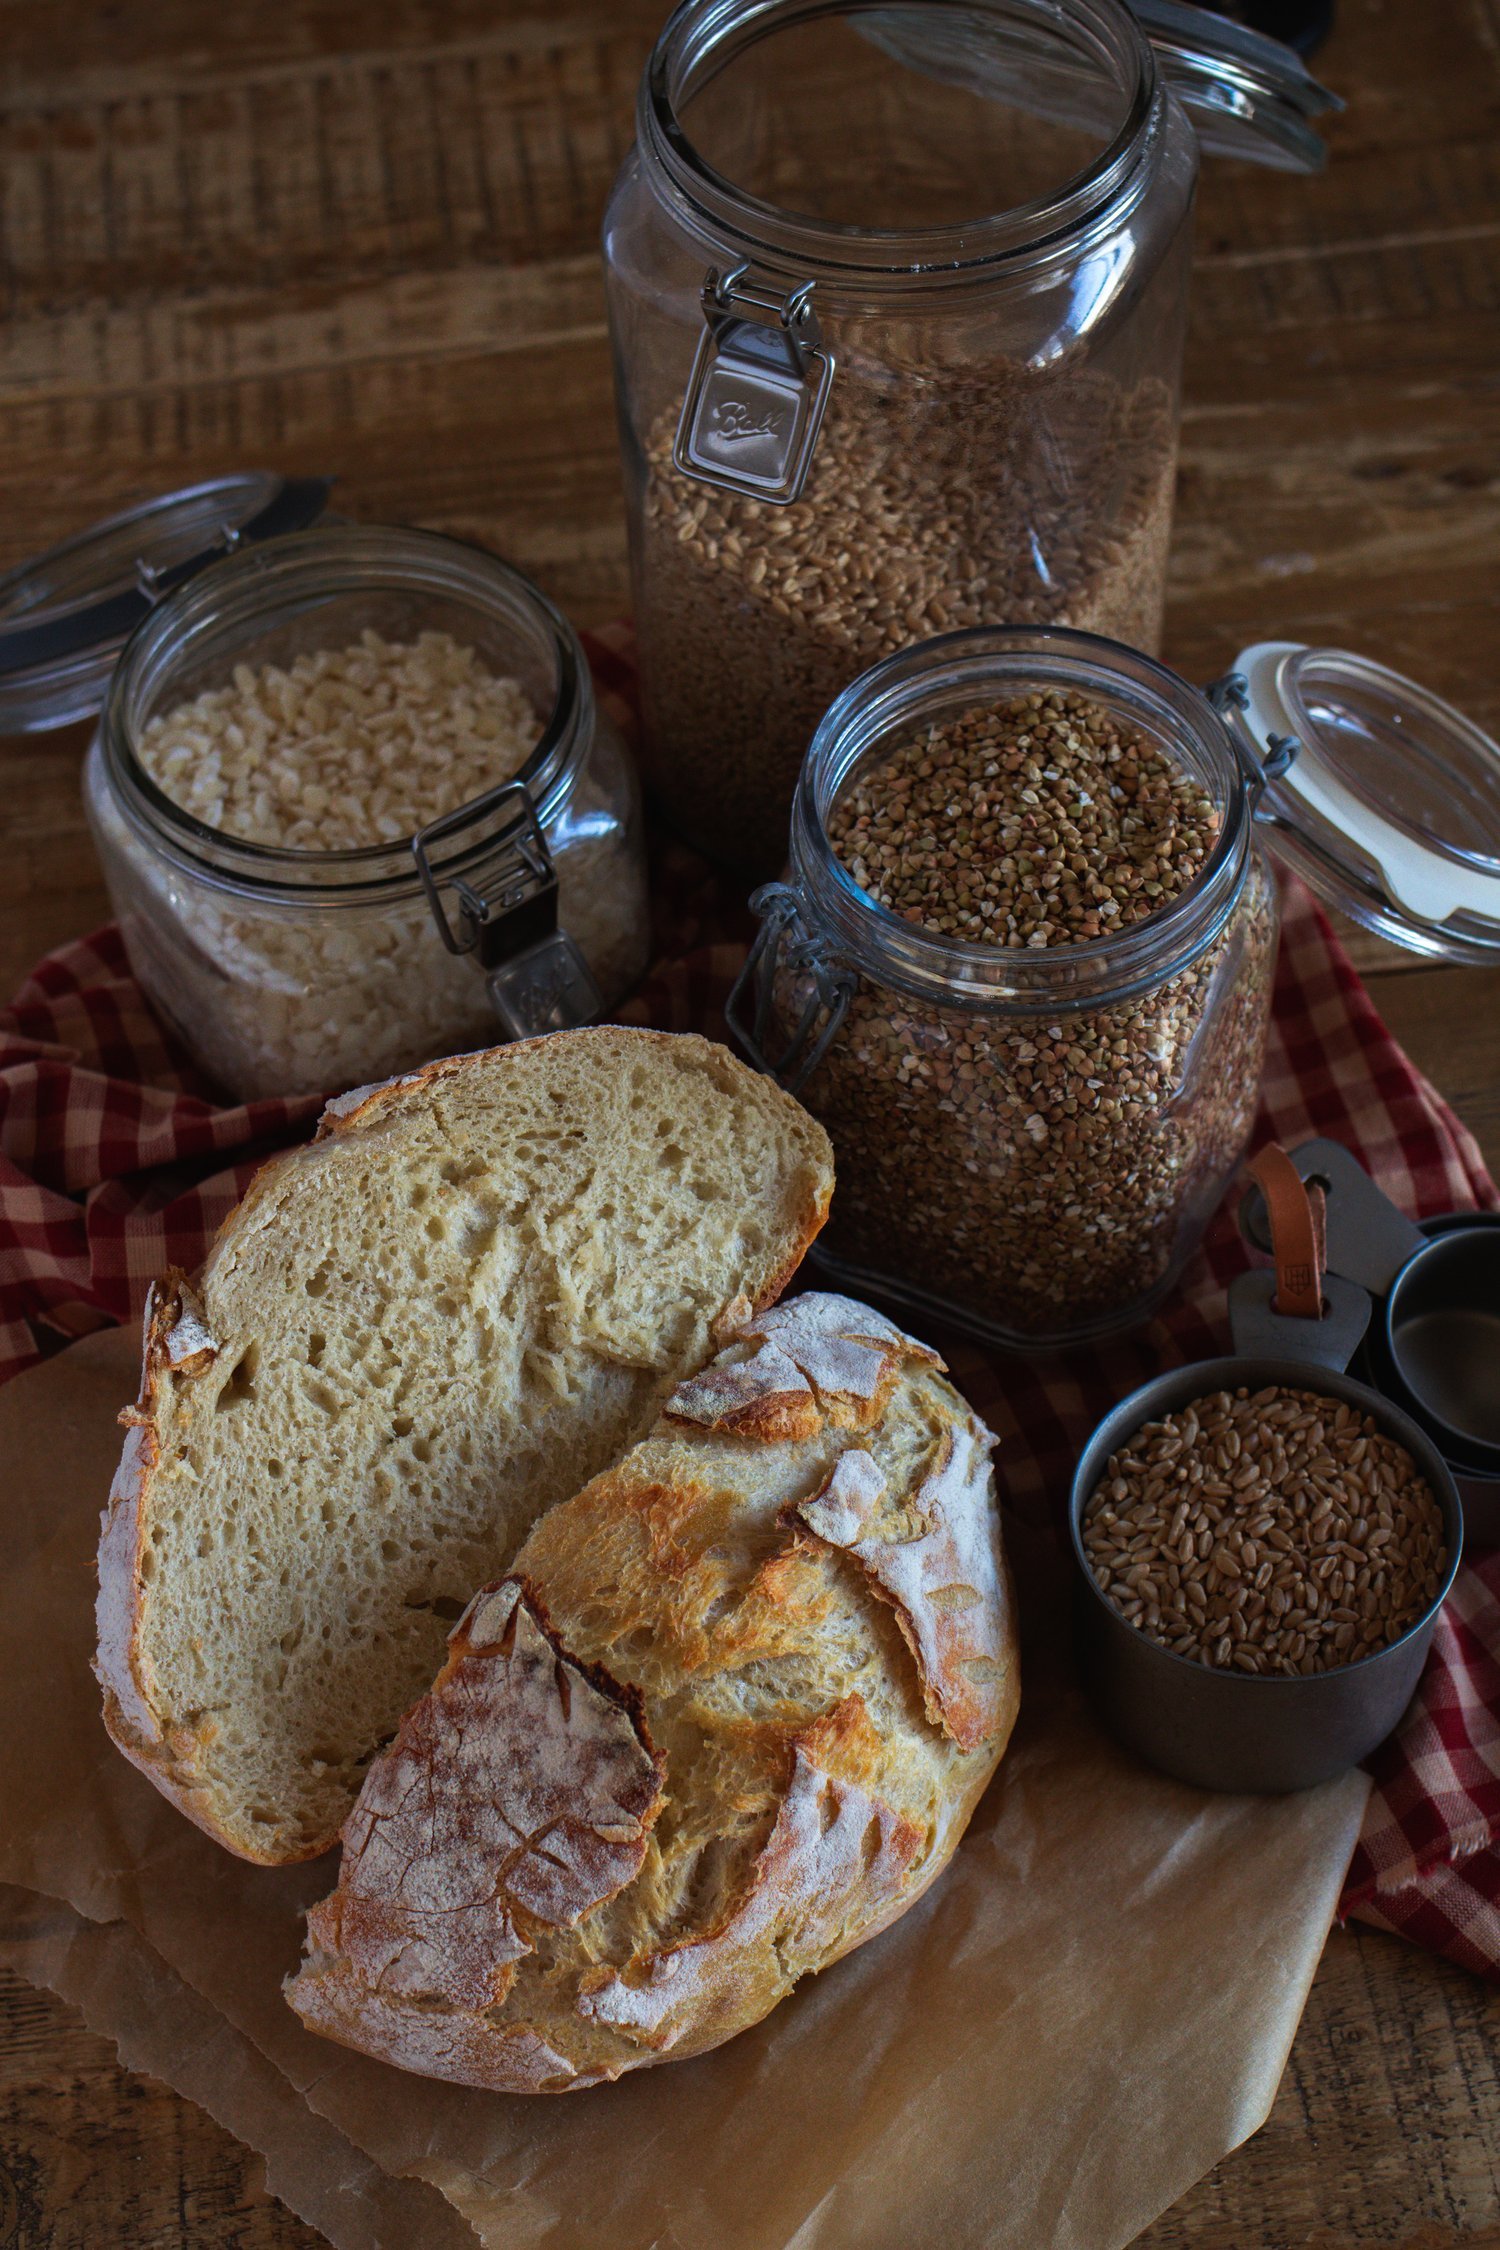
OTHER GRAINS YOU CAN GRIND AT HOME:
The limits are pretty much endless when it comes to home milling, but some other flours that are easy to work with at home include: Oats, Corn or Hominy, Rice, Barley, Buckwheat, Millet, Quinoa, Dried Peas, Lentils, and Dried Garbanzo Beans.
WHERE CAN YOU FIND WHOLE GRAINS
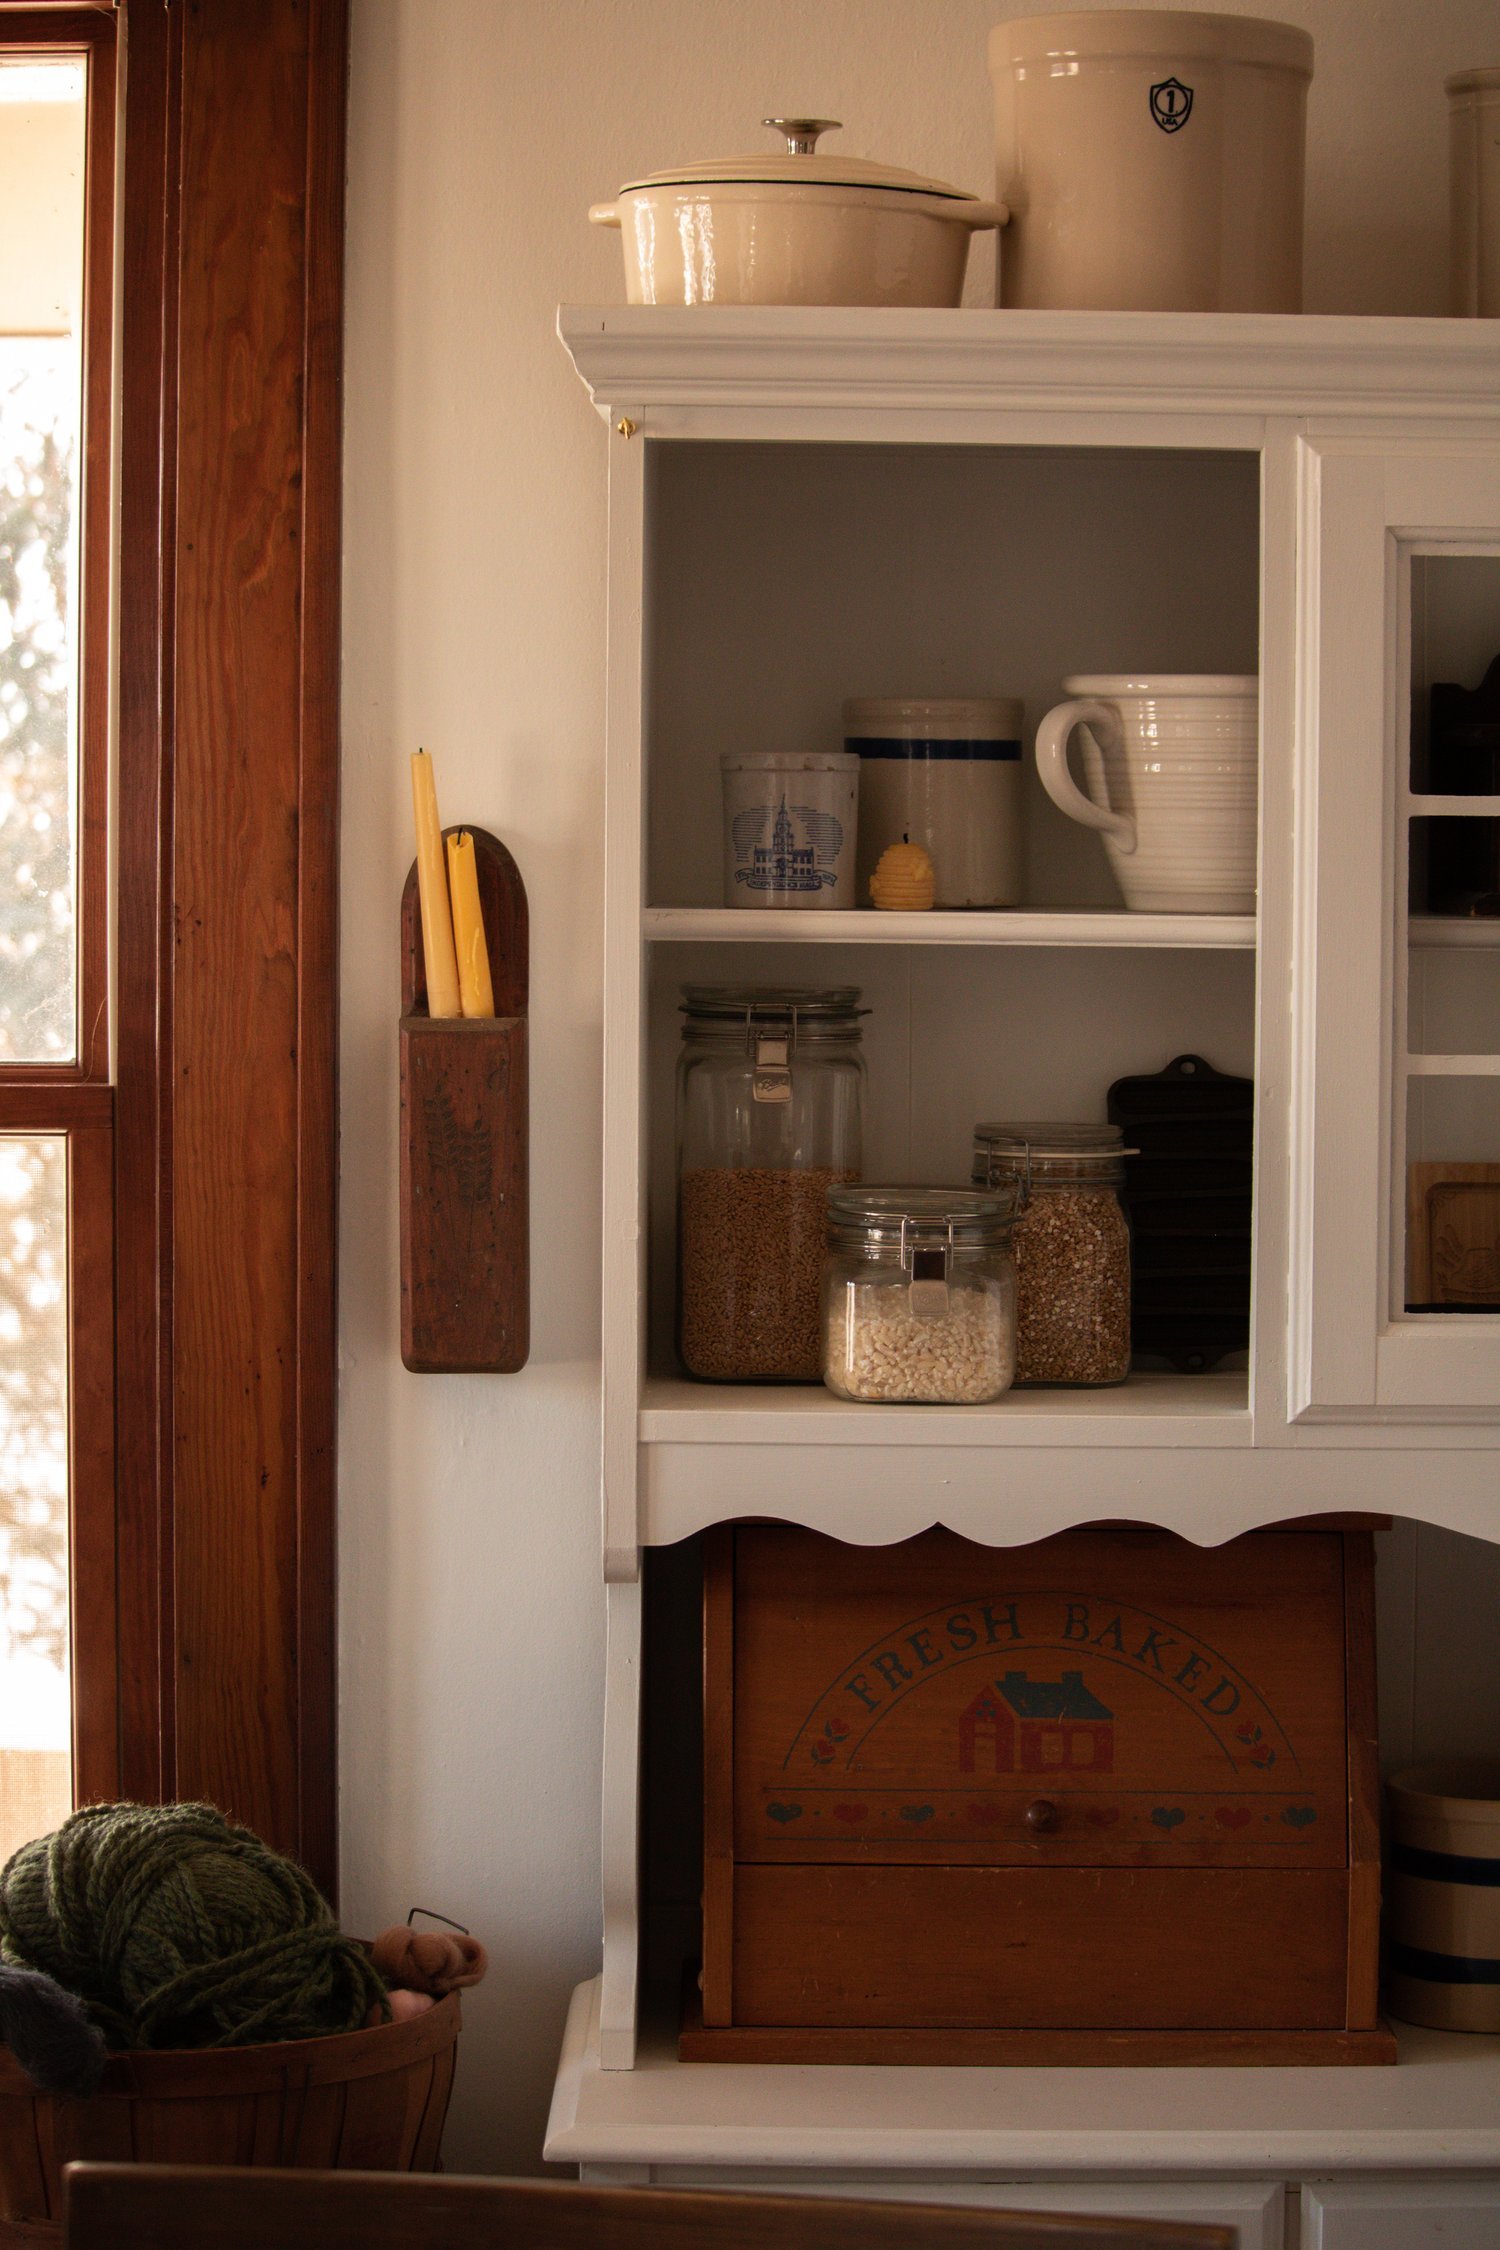
I personally purchase mine locally at a bulk Amish grocery store, though I have no way of knowing where these grains came from. At this time in my life, I am less bothered by this and am mostly just thankful for fair prices on the products that I need. If you are more concerned with sourcing your grains than I am, there are plenty of places online that sell whole grains grown with environmentally friendly practices. I have even found a few local farms around me that sell their homegrown wheat, though I have yet to try their product as the price of it is very steep.
how long does fresh flour last
Fresh flour does not have a shelf stable lifespan like commercially produced flour does. Because the bran and germ were removed, the flour does not spoil as quickly. I honestly do not think I have ever had commercial flour that spoiled, even bags that have long been forgotten in the back of the pantry for months and months.
Because fresh flour has oil in it, it will begin to go rancid at some point, though its not as quickly as most sources say. The experts recommend keeping freshly milled flour at room temperature for about 3 days, refrigerating the flour for about 7 days, and freezing the flour for up to 6 months. I have kept mine in the refrigerator for much longer, and it has not gone rancid. If it does go rancid, you will know by the distinctly sour smell.
tips for using fresh flour
Fresh flour absorbs much more liquid than commercial flour. This means you will need less flour in your recipe and more water. It can be difficult to tell as it may not appear to soak up the water at first, this is usually apparent during the first rise of your bread that you used too much flour. It cannot be replaced 1:1 for commercially produced all purpose flour. For most recipes, expect to add more water, about 3-4 tablespoons more, for your recipe to adjust. For spelt, which absorbs less water when freshly ground, you will need 2 to 4 tablespoons less water than the recipe calls for.
Tighter crumb. Because the grain has all of its natural parts, the gluten structure is completely changed and does not develop the same amount of big air bubbles that you may love about sourdough baking. The texture is denser, with less holes and a much tighter crumb. This is due to having higher bran levels and lower protein content. You can create a flour with a higher protein content by aging it for about 20 days. This creates a stronger flour for bread baking.
It ferments faster. If you like to make sourdough bread, using freshly milled flour can completely change your expectations for how good bread can be. I have a spelt sourdough levain that I started, and it is amazing. However, freshly milled grains ferment more quickly than their commercial counterparts. This simply means that it will rise more quickly and/or change the flavor profile of your favorite bread recipe.
Fresh flour is super inconsistent. Because you are working with a whole grain at home, you are more likely to encounter inconsistencies in the weight, volume, texture, flavor, etc compared to a store bought flour. Due to this, you’ll have to keep a more watchful eye over the formation and fermentation of your dough. Honestly, this all boils down to experience.
Altering the amount of flour. For most people, the first attempt at using a home milled flour is by incorporating it into a beloved recipe that was originally written with store bought all-purpose flour. Some changes will have to be made, as presented above. When working with any other flour other than spelt, less flour must be used. If you are baking and realize that your bread never rose or its extremely difficult to punch down or that the final product is super dense, you used too much flour OR not enough liquid. For the most part, using around 3 tablespoons less per cup of flour is a good rule of thumb. Another good tip? Don’t over knead the dough.
It’s okay to sub in some all purpose flour. Yep. For most of my baking with home milled flour, it’s not 100%. Fairly often, I’ll do a 50/50 ratio of home milled to store bought. It just works better and creates a highly flavored product while also maintaining a lot of the same structure and texture of the types of breads and things that we are used to eating.
What do you think? Will you try something new this year and begin your journey of working with whole grains and home milled flour? I hope that you do! It’s been really fun. Each time there is a small victory in the kitchen, I am so proud. I hope that this information was helpful to you!
Wishing you the best of luck. xoxo Kayla