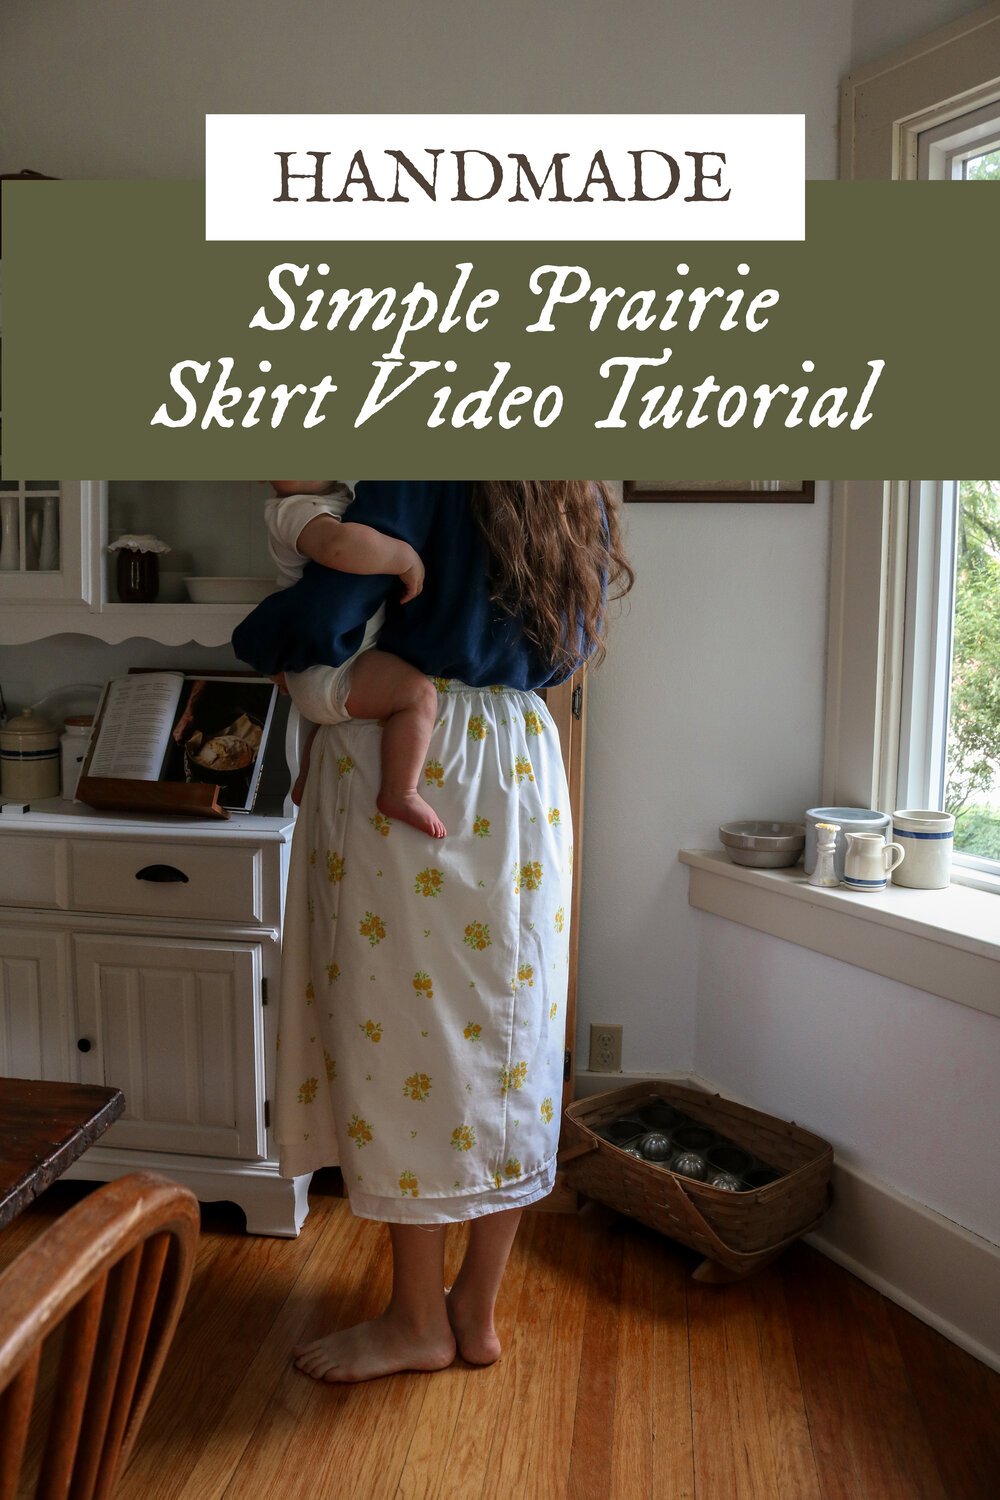
Video: Simple Prairie Skirt Sewing Tutorial
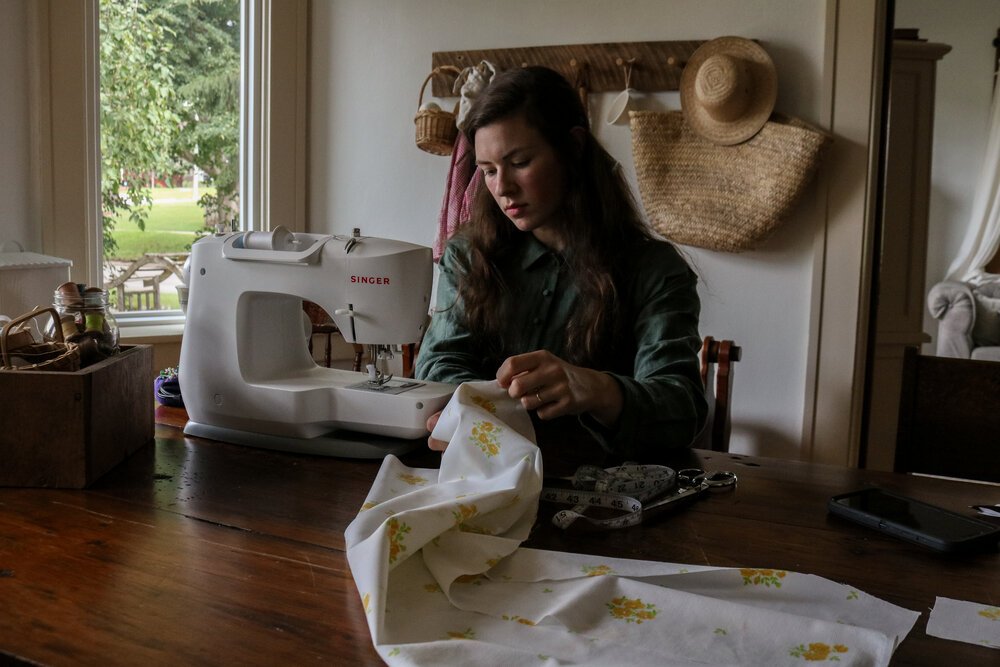
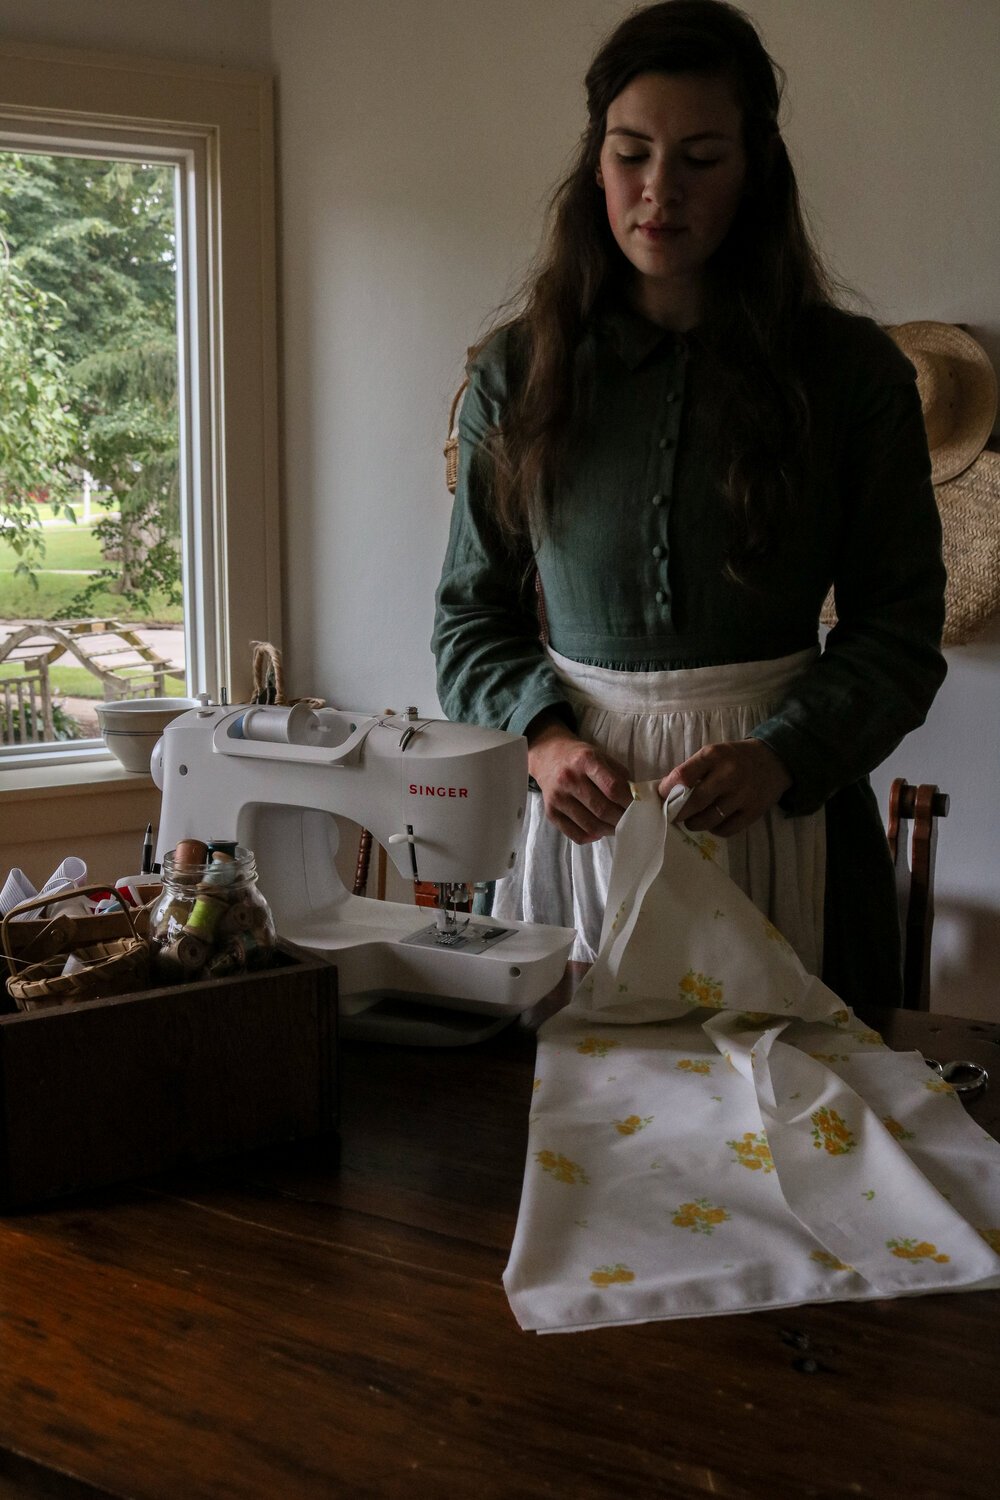
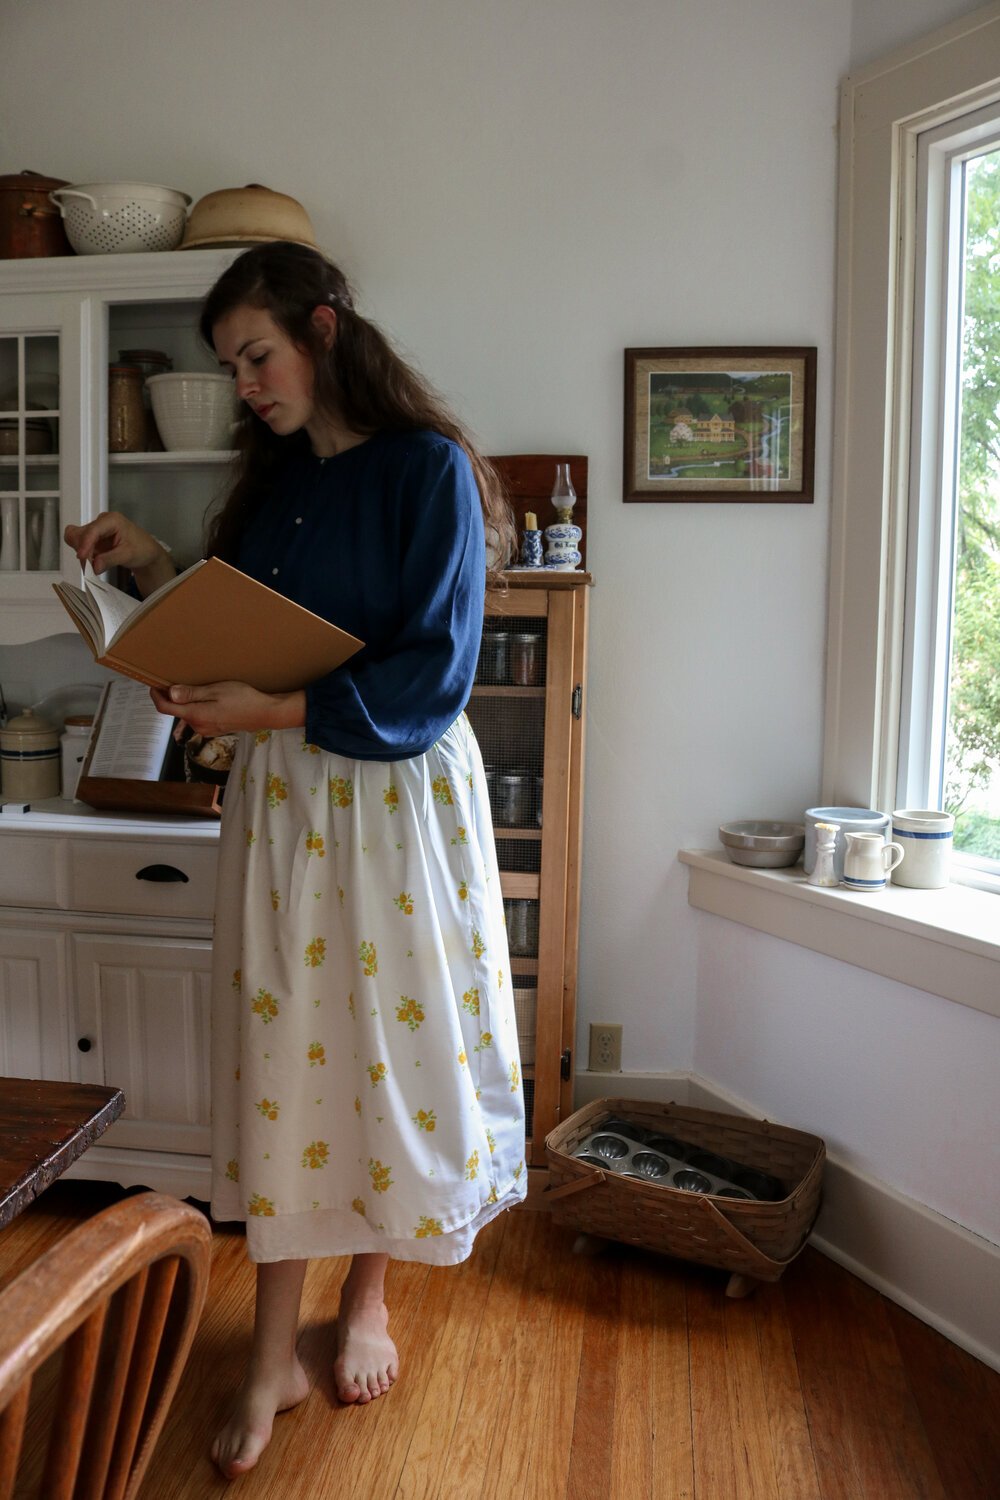
After months and months of considering giving sewing my own clothing a try, I finally got up the courage and tried back over the winter months. It was so liberating! I felt like I could finally make exactly what I wanted to wear, and it gave me the freedom to make better choices with the fabrics I was wearing and come into my own with my style. I have been sewing myself and the boys clothing for a while now, and it came to my attention on Instagram that you might enjoy learning how I have been making the skirts that I have been wearing in my photographs.
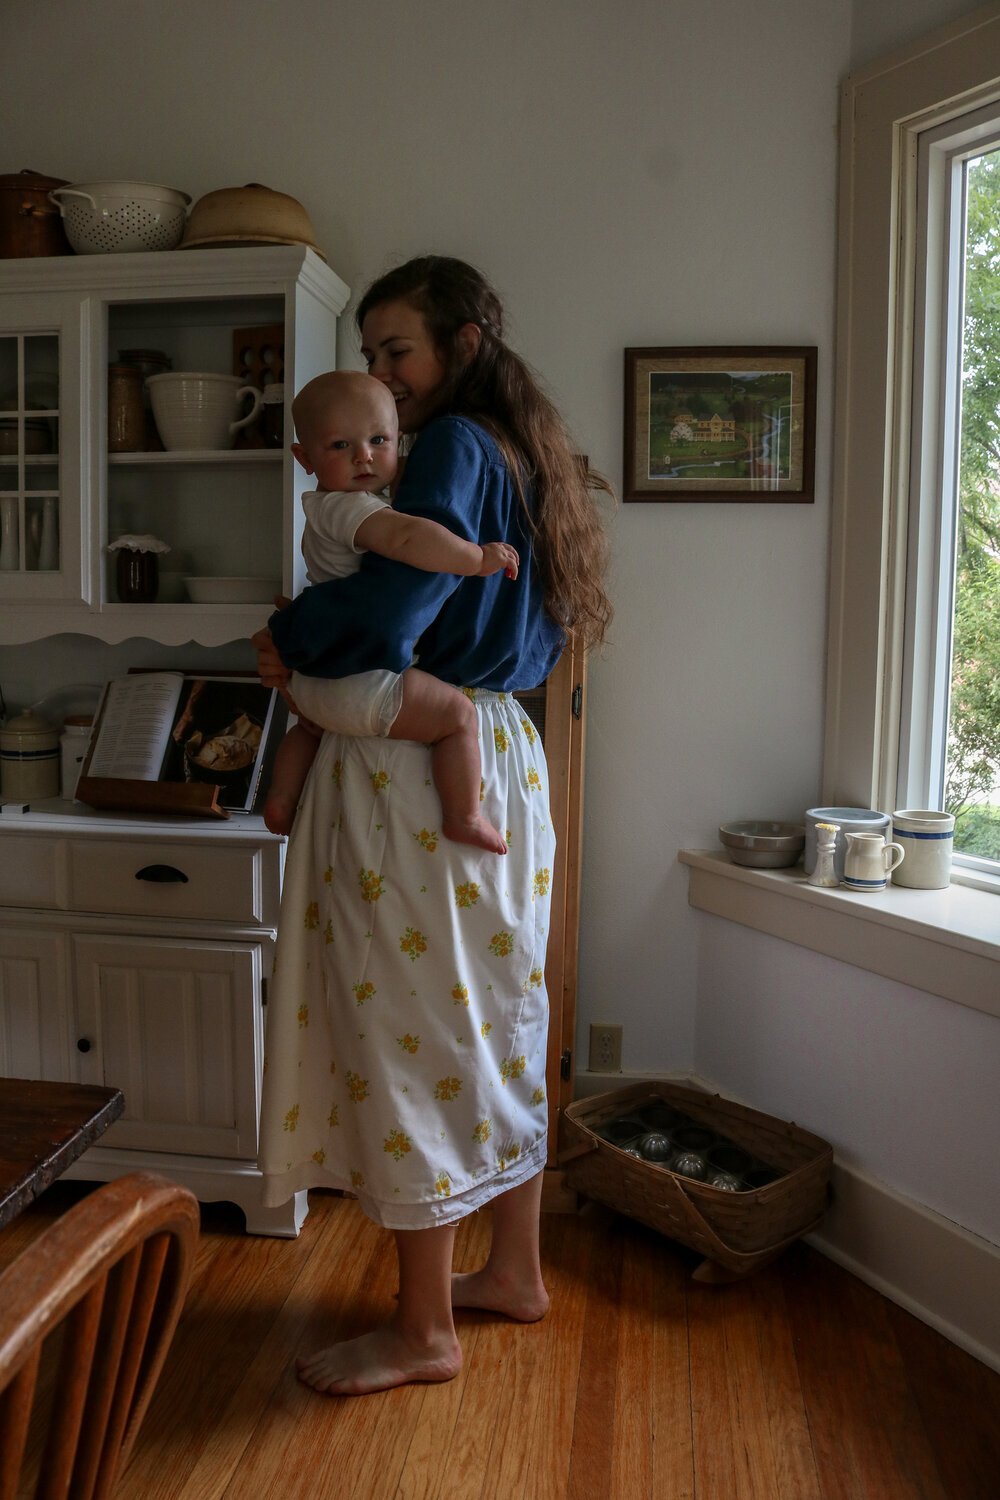
It’s incredibly easy to make. I deconstructed a skirt that I found at the thrift store and copied the pattern. It’s a basic pencil-esque skirt with a bit more width. It’s not exactly flowy, as it is not a circle skirt. It’s just a big gathered box, but it works for its simple nature and ease to make! It only requires about 2.5 yards of material and about a foot of elastic, depending on the size of your waist.
what you’ll need:
2.5 yards fabric (cotton, linen, or other woven fabrics work best)
2” inch wide elastic, about 14” long
thread
how to sew:
NOTE: THIS MAKES A SKIRT WITH A 28” WAIST AND ABOUT 28” LONG. THIS FITS MY MEASUREMENTS (I AM 5’9” TALL AND HAVE A 26” WAIST. YOU WILL NEED TO ADJUST THE SIZING BASED ON YOUR MEASUREMENTS.
Cut out the front skirt, about 32.5” wide x 30.75” long.
Cut out the back skirt pieces, about 16” wide x 30.75” long.
Cut out the front waistband, about 4” wide x 14” long.
Sew the two back skirt pieces together, right sides facing, along the long side of the fabric. Press the seam flat.
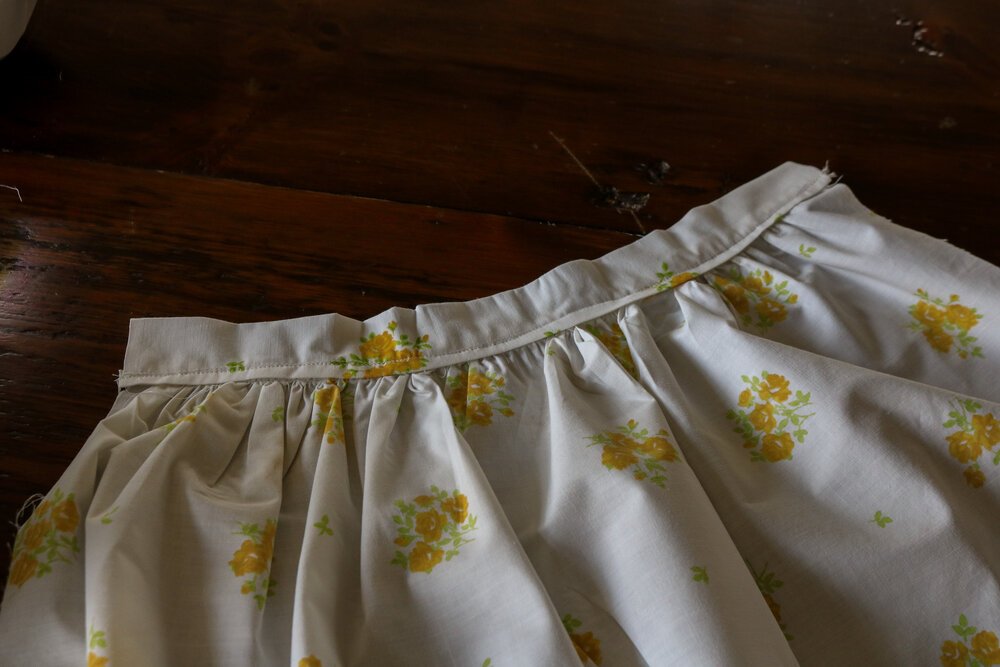
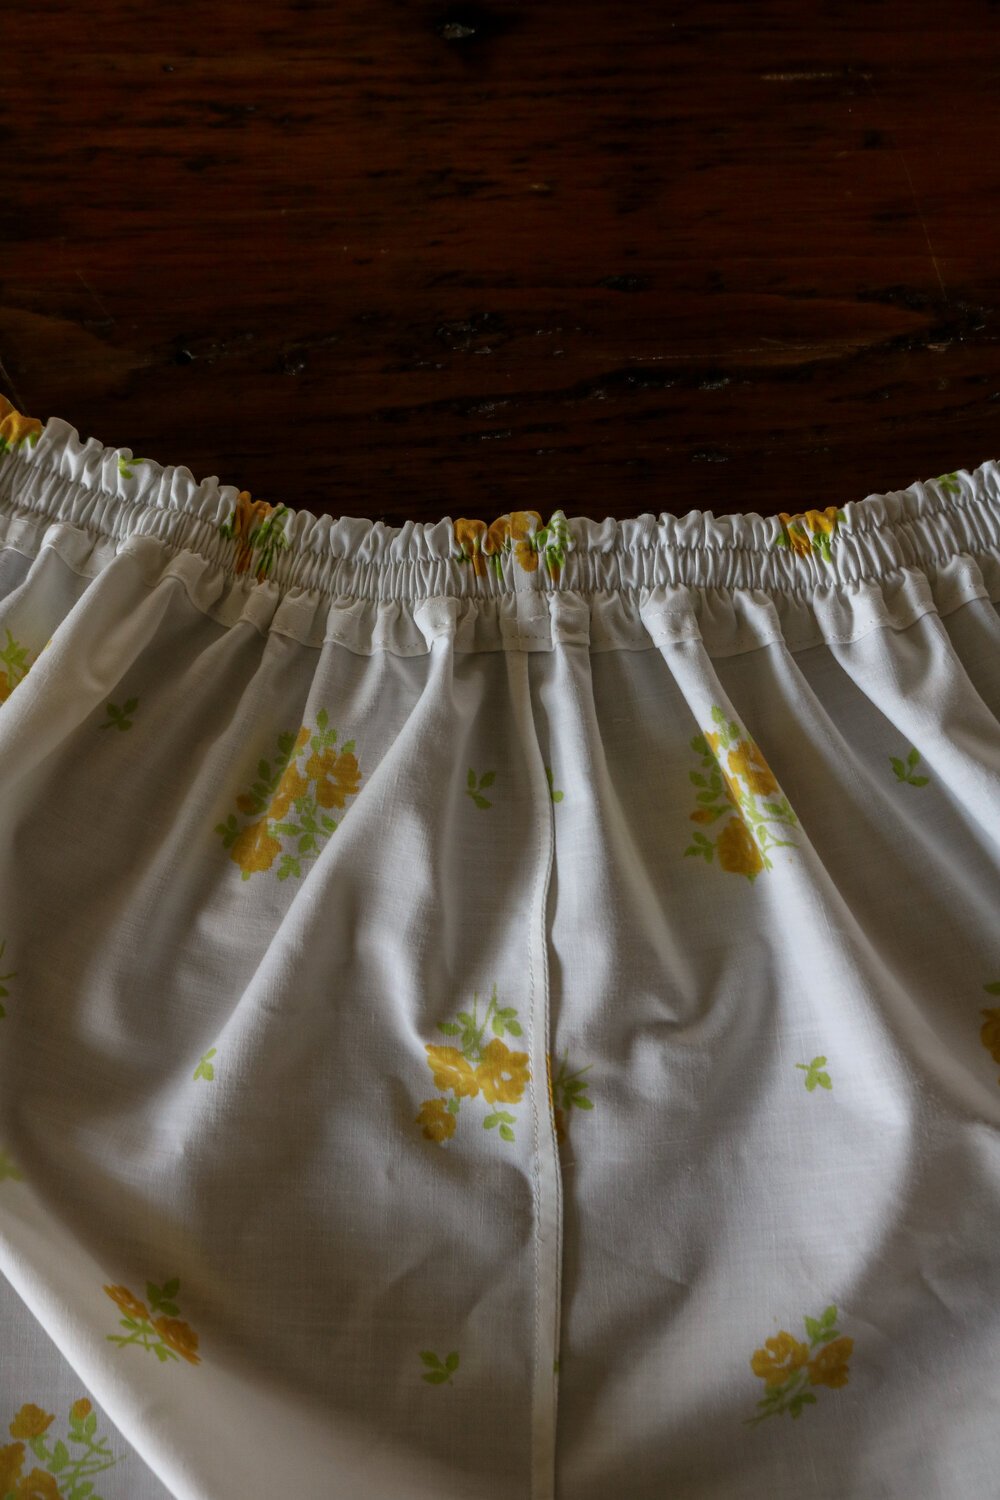
Fold over the top edge of back skirt about 1/4” and press. Fold to fit the size of your elastic, about 2” wide, and press. Sew down the pressed edge. This will create a casing for the elastic, with each end of the edge left open.
Put a large safety pin in each edge of the piece of elastic. Thread the elastic through the casing of the back skirt. Pin in place.
Sew a stitch through the elastic, over the top of the fabric, pulling the fabric taught as you go. This will cause the elastic to bunch up when relaxed. Sew a second stitch over the elastic, about 1/4” below the first stitch. Set the back skirt aside.
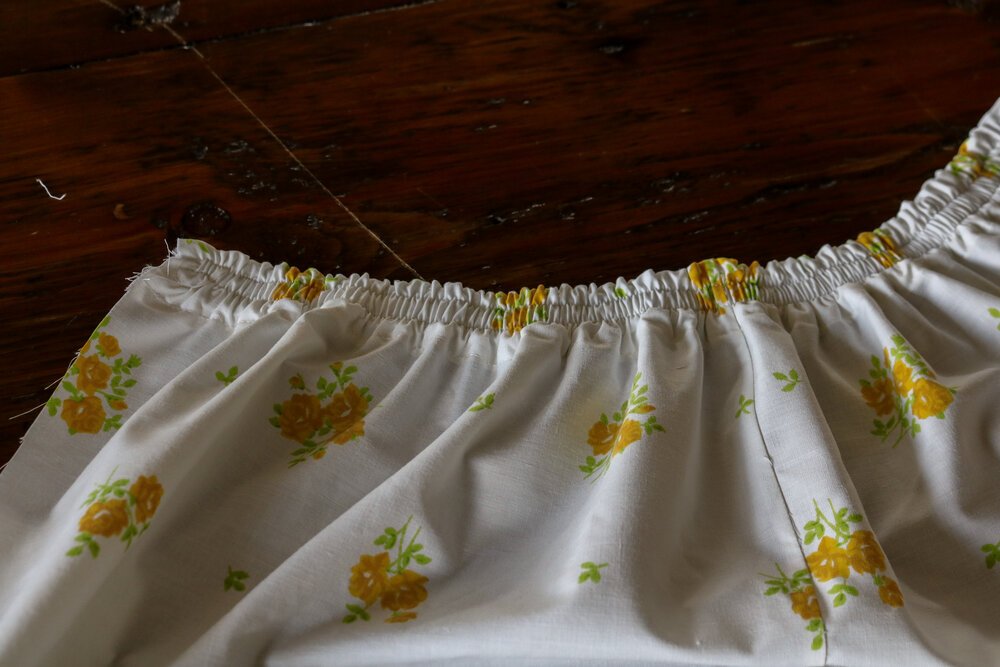
Adjust the stitch length to the longest one on your machine. Sew a running stitch through the top edge of the front skirt. Tug gently on the bottom thread to gather the skirt.
Adjust the width of the gathered edge to fit the length of the front waistband piece, about 14”. Pin the front waistband and the gathered edge of the front skirt pieces together, right sides facing. Sew together.
Press the seam. Fold the top edge of the front waistband down, about 1/4” and press. Fold down to cover the raw edge and press. Sew the edge down.
With right sides facing, pin the the two skirt pieces together along the sides. Sew up the sides. If the front skirt is a bit too long along the hem, trim the edge to adjust.
Fold the hem of the skirt 1/4” and press. Fold another 1/4” and press. Sew the edge down.
You’re done!

Writing a sewing pattern is difficult, especially since it is really made for my measurements. Truthfully, I have not tried it out for other sizes (I do not plan on making them for sale), so I hope that this at least helps to show you how I made it, and you can try to figure it out for yourself from there. It took a bit of trial and error on my part, so do not be afraid to try and make adjustments as you go. I had to take in the waist for several of my skirts to make it work!
Please watch the video above for a better look at how the skirt is made. I think it is much easier to understand after watching; I tried my best to film everything and not leave anything out!
What would you like to learn how to make next?
xoxo Kayla