How to Make Homemade Wood Butter: Caring for Wooden Cooking Tools
This post may contain affiliate links, please see our privacy policy for more information.
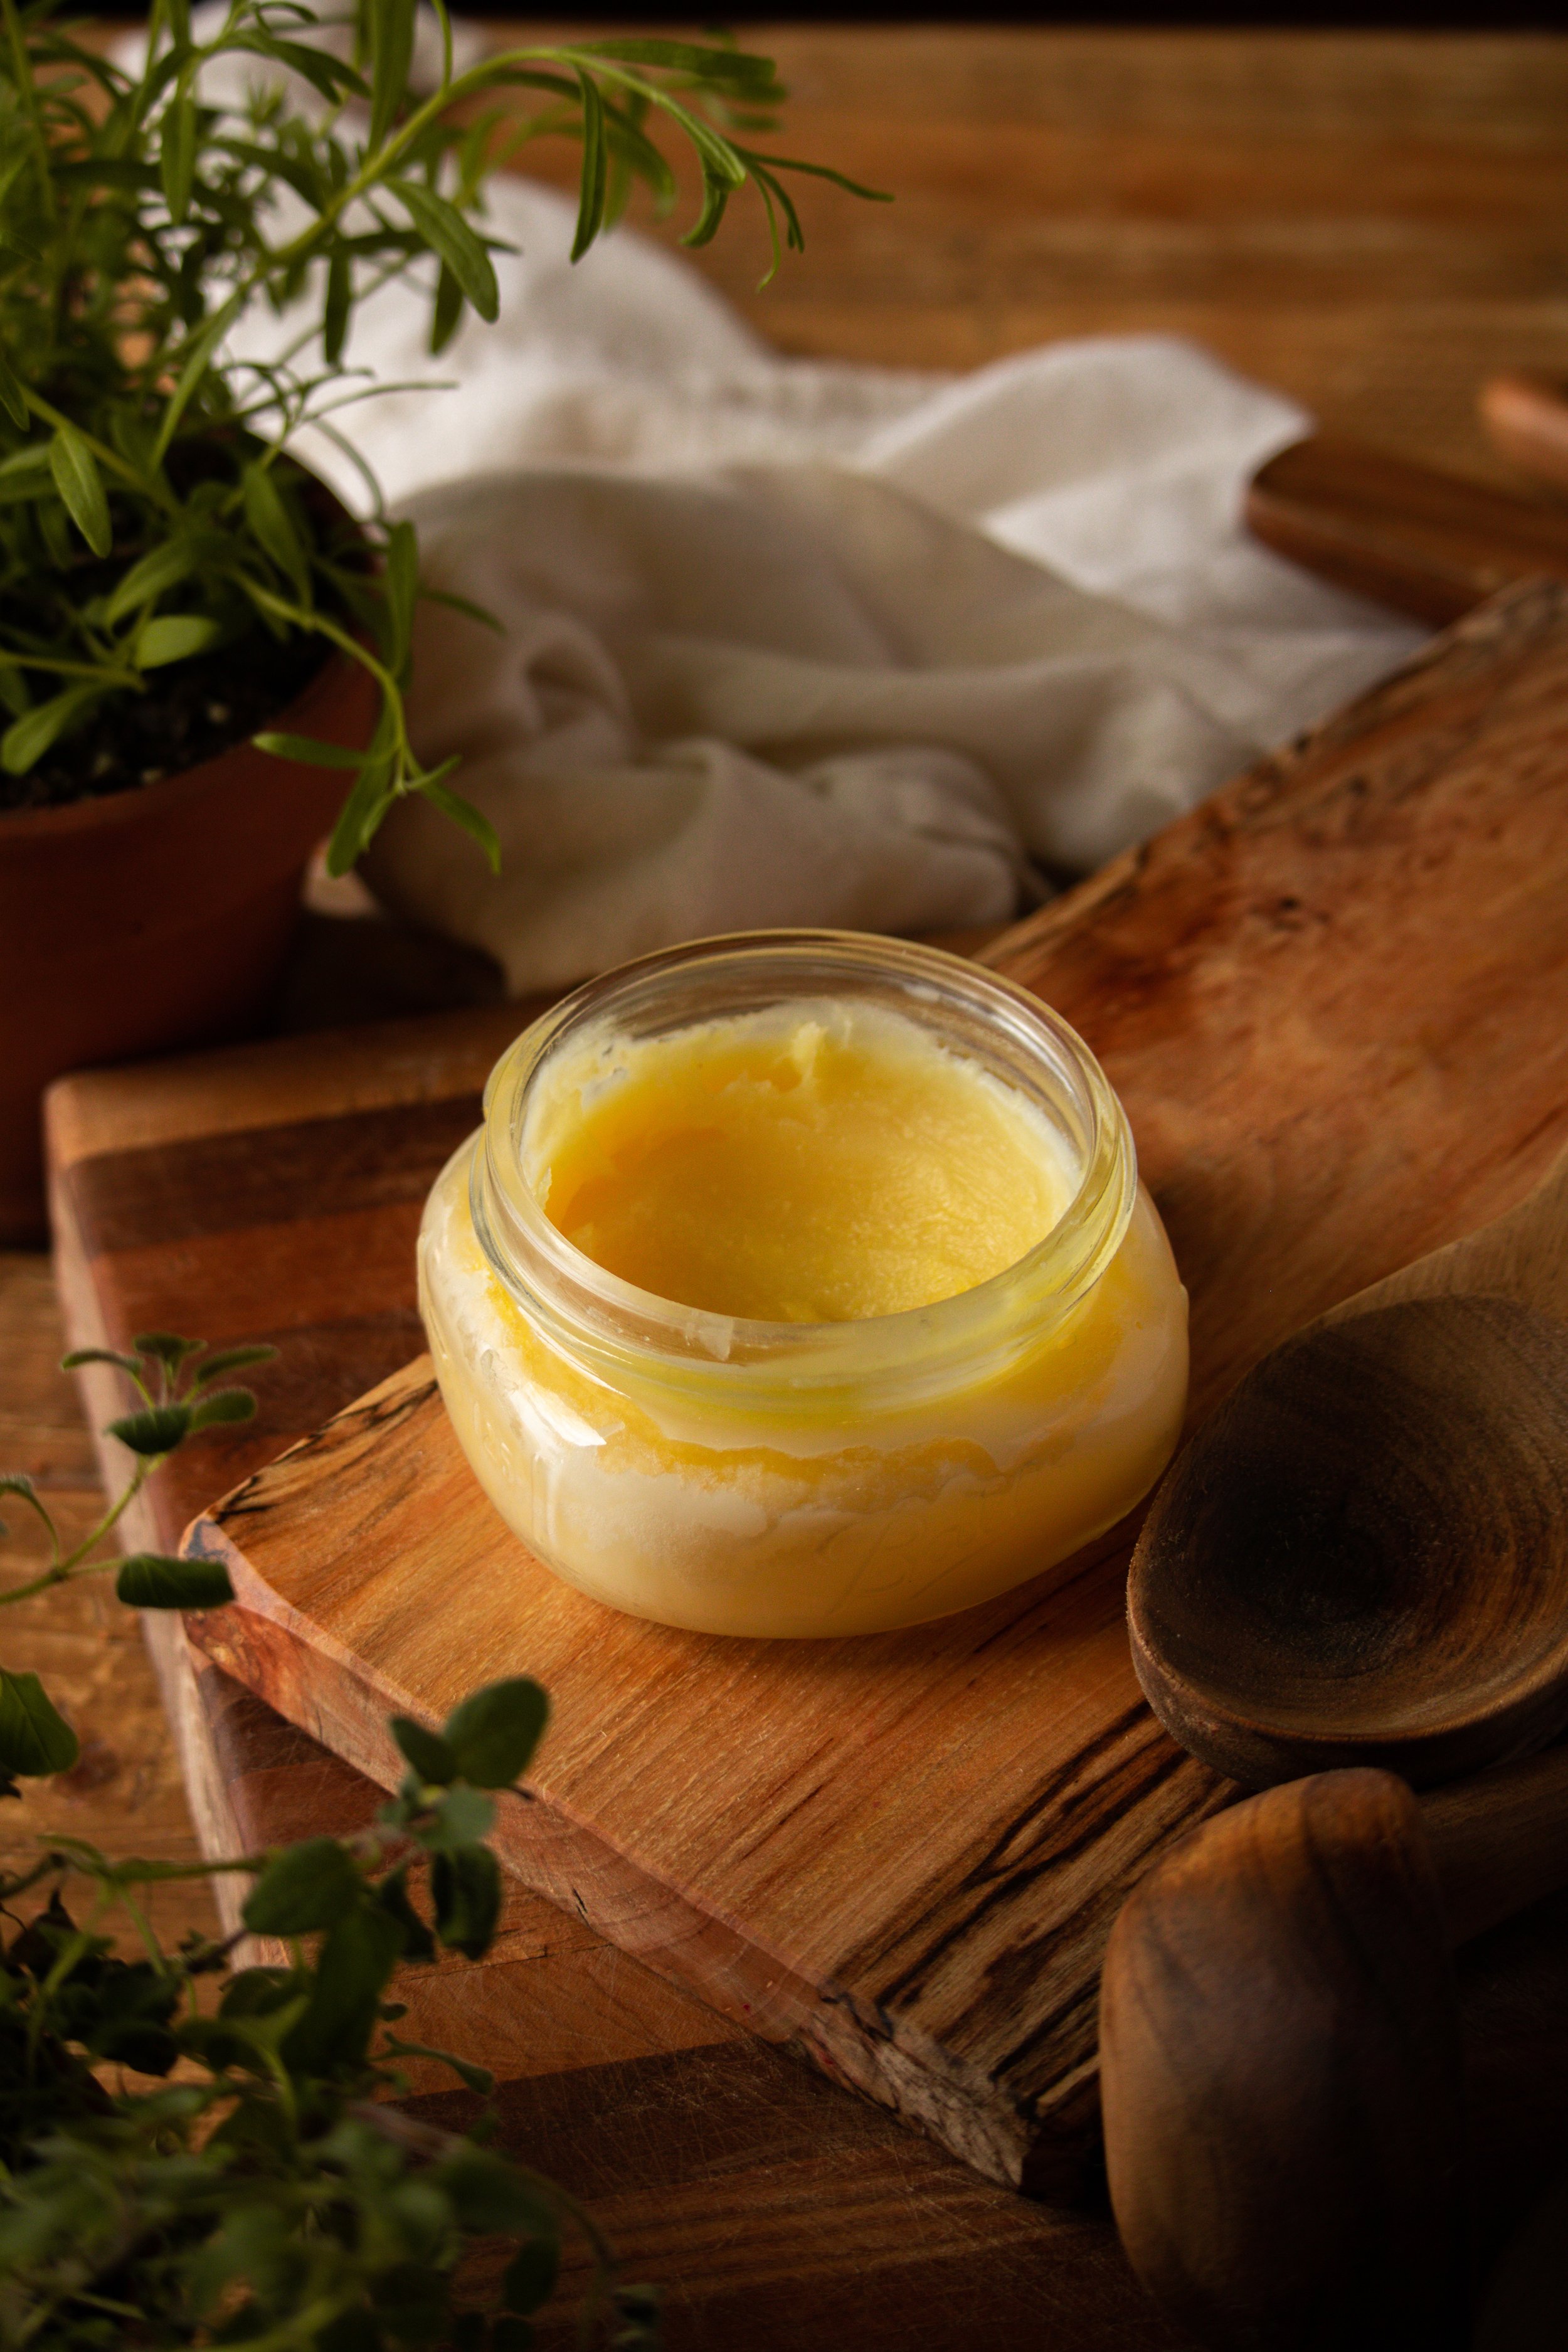
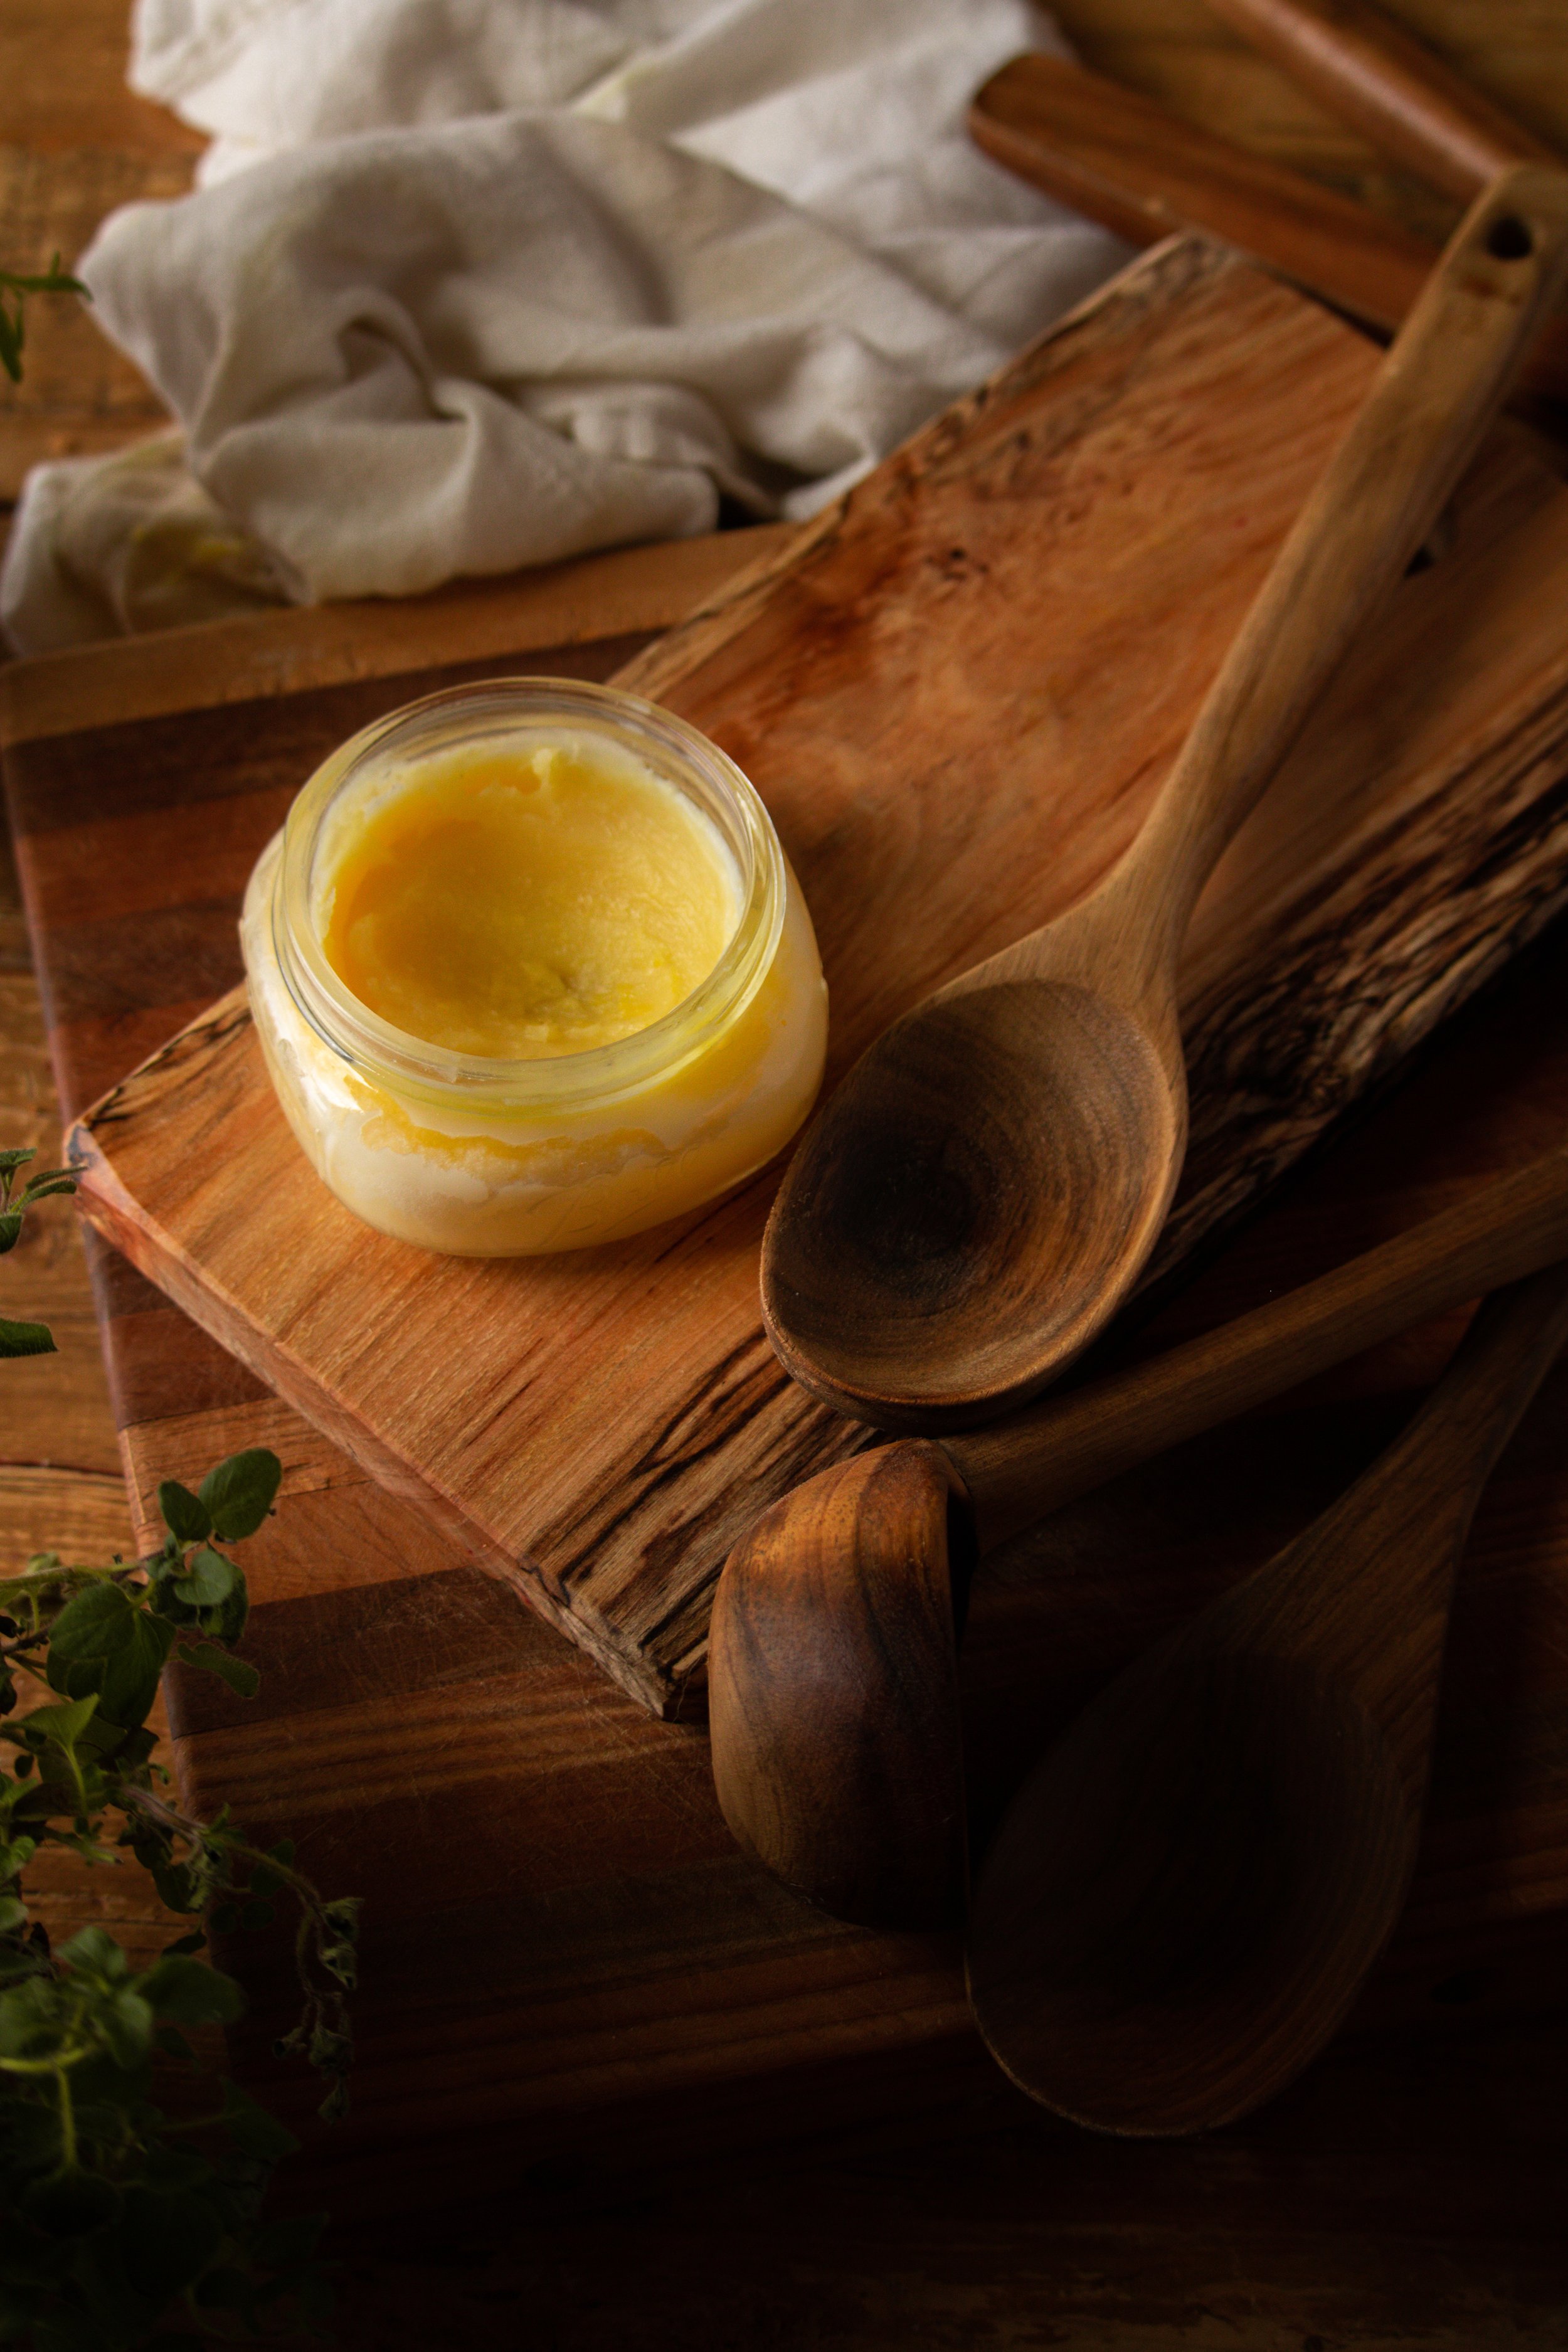
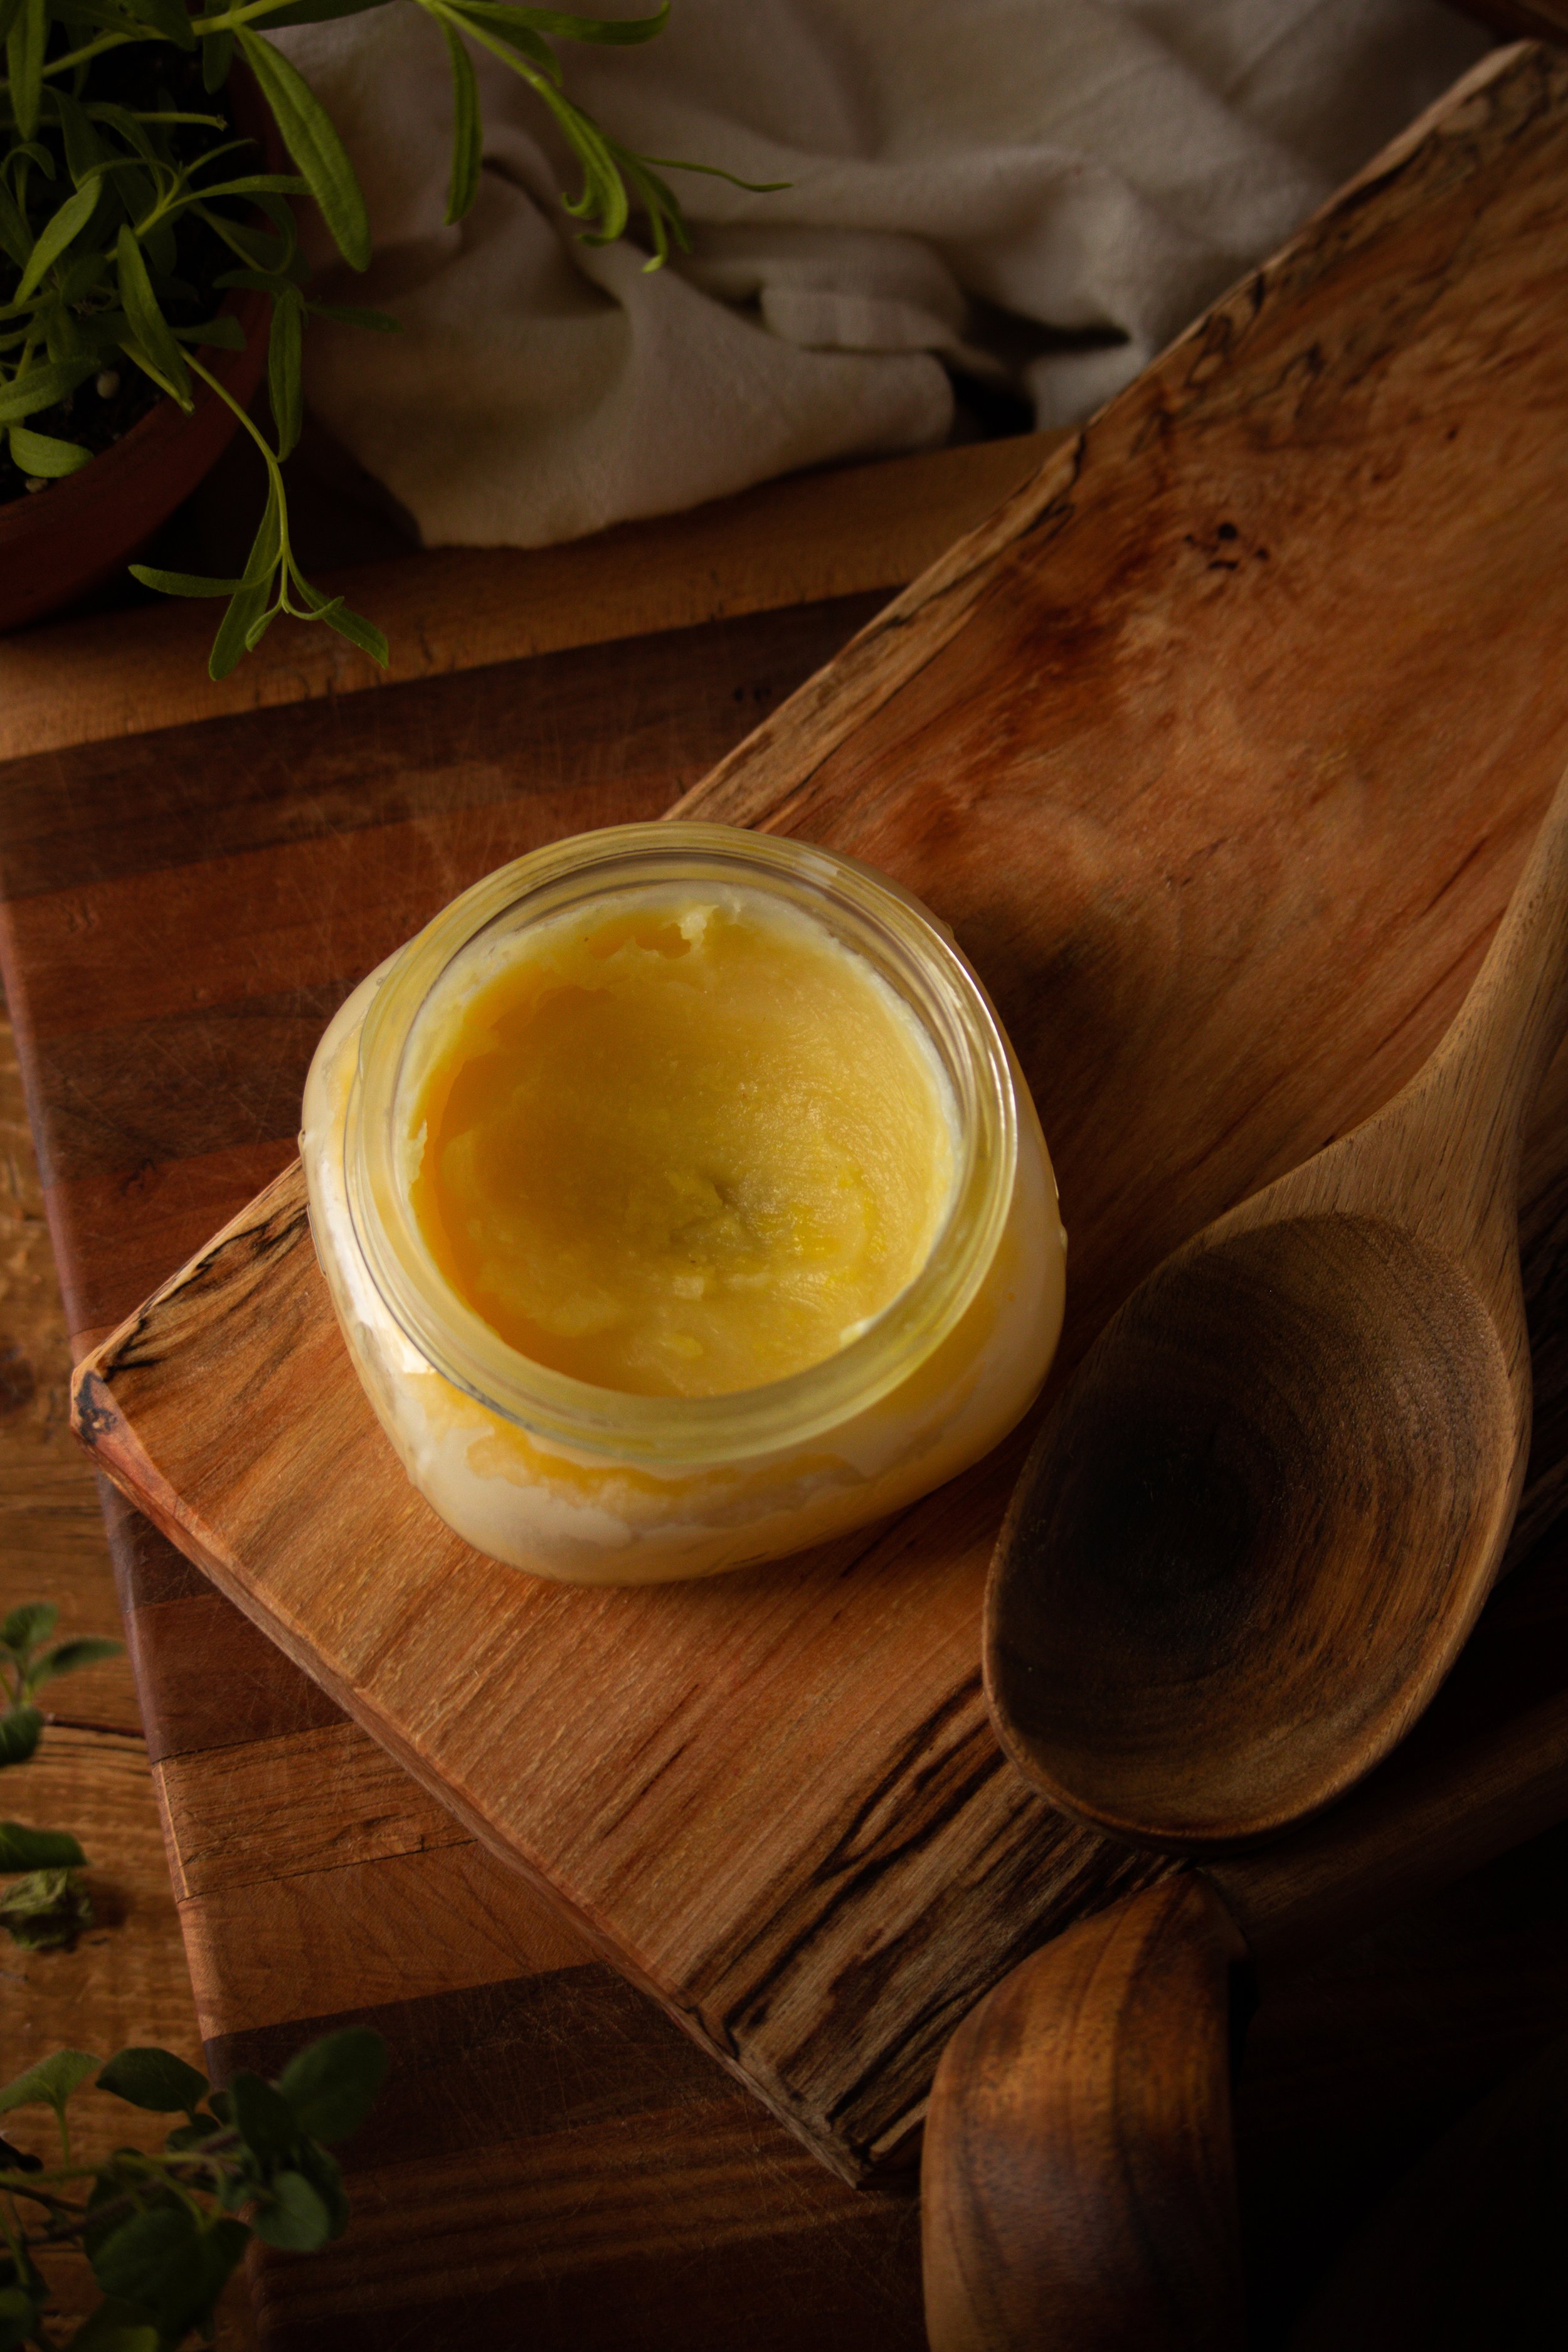
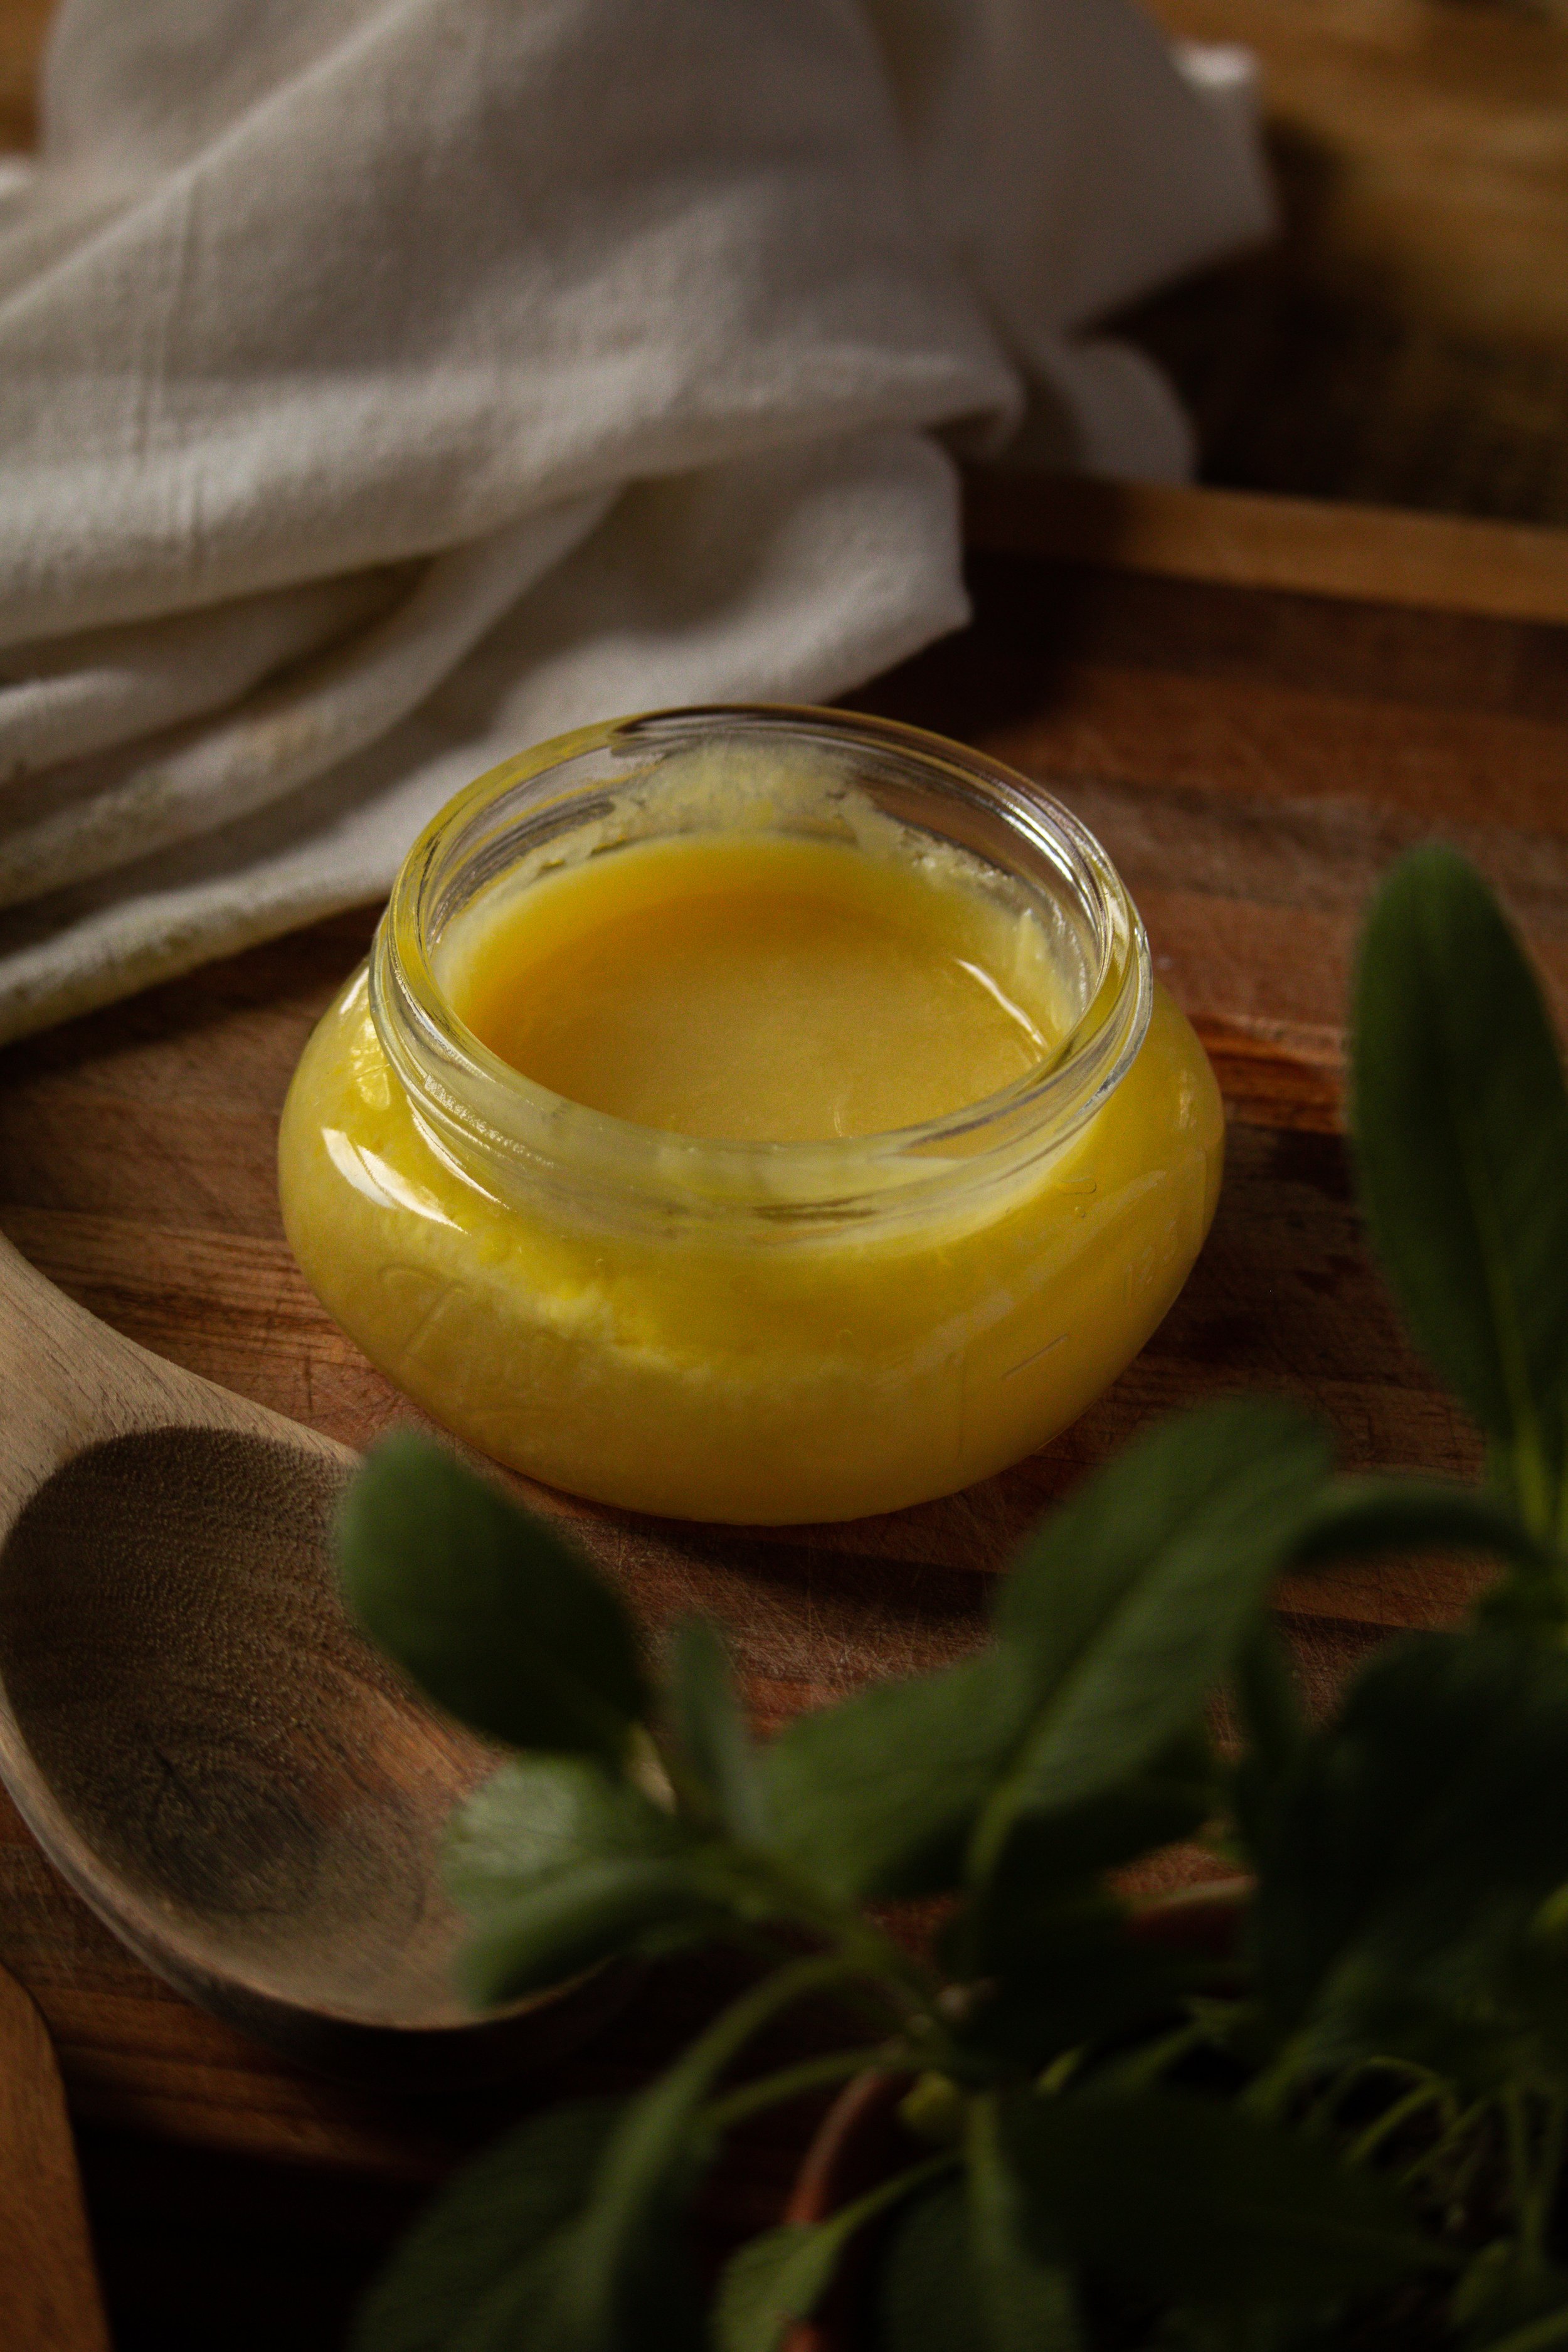
To help refreshen your wooden cooking utensils, you can make your own homemade 2-ingredient wood butter. Wood butter is a simple mixture of beeswax and oil, or animal fat, that is rubbed on your wooden utensils and cutting boards to help protect the wood from drying out. The best part? This mix can also be used on wooden furniture and butcher block countertops!
why I love using wooden cooking tools:
I love using wooden cooking utensils. I think they bring about a romantic and old-fashioned feel to any kitchen, and I find that they just get better over time. Their distinct patina brings about fond memories of all the wonderful recipes they have cooked over the years.
But after so many uses and washes, the wood tends to dry out and look sad within a couple of months. To help remedy this, you can easily whip up a batch of 2-ingredient wood butter to better protect your beloved wooden cooking tools. This even works great for vintage or antique wooden tools to increase their lifespan and protect them.

why you should make your own wood butter at home:
While purchasing wood butter or wood polish is convenient, making your own at home is incredibly simple and can even save you money. Wood butter is made with two ingredients: beeswax and oil. That’s it! Commercial wood butters may have added fragrance oils or even unnecessary ingredients like luster dust or shine enhancers. Depending on your lifestyle, you may be trying to use products that are as natural as possible and leave little impact on the environment. For me, I personally want to make sure that what I am rubbing onto my cooking tools is food grade and safe for eating!

Gathering supplies for making homemade wood butter:
To make homemade wood butter, you will need a small handful of supplies. These can easily be found at your local grocery store or even a craft supplier. You can alternate ingredients and even add scent, if you like!
Beeswax. Preferably organic, beeswax is necessary to create a waterproof seal on your wooden kitchen tools. This will increase the longevity of the wood, prevent it from cracking, and will help decrease the amount of applications after washing. Beeswax pellets work the best for crafts like this where the wax needs to be measured out.
Oil or Animal Fat. The type of fat that you use for this recipe is entirely up to your preference and what is available to you. In general, I like to use coconut oil or mineral oil. You can also use lard or tallow, though these options are more strongly scented.
Fragrance Oil. If you want to add fragrance to your wood butter, you can absolutely do so! This is easily done by adding in a few drops of essential oil or fragrance oil after heating the beeswax and oil together.
8 oz Jar with Lid. To store your wood butter, you will need an 8 oz glass container with an airtight lid.
how to make homemade wood butter:
2 tbsp (18 g) beeswax pellets
6 tbsp (90 ml) carrier oil such as coconut oil, sunflower seed oil, mineral oil, lard, or tallow
15 to 20 drops essential or fragrance oil, optional
DIRECTIONS:
In a double boiler, melt the beeswax and oil or fat together until blended, stirring occasionally. Remove the melted mixture from heat. Then, drop in fragrance oil if using.
Pour the liquid wood butter into an 8 oz glass jar with an airtight lid. Leave the wood butter uncovered for now, and allow it to cool to room temperature.
Once the wood butter has solidified and is no longer giving off any heat, cover it with the lid until ready to use.
To use the wood butter: Apply a generous layer to your wooden spoons, cutting boards, and any wooden utensils. Rub the conditioner into the wood with a towel and let it sit for several hours or overnight. After the waiting period, rub off any excess conditioner and use as normal. Apply whenever your wood tools are looking dry!
storing homemade wood butter:
To store your homemade wood butter, all you need is a dark cool place. The lifespan of your wood butter will be rather long - several years in fact! Like any homemade cleaning or beauty product, you will want to follow along with the nearest expiration date of your ingredients.
In this case, the oil or fat used in the recipe will decrease the shelf life of this homemade cleaning product. However, the beeswax will help to preserve it longer. Continually check on your wood butter, giving it a stir every so often.
Store the jar, sealed, in a dark, cool place such as a pantry cabinet.
final thoughts:
This is a perfect natural cleaning recipe for a beginner! If you are new to natural household cleaning and/or herbal crafting, I love this particular concoction as a first-time lesson. It’s one of the easiest “salves” that you can make, and you’ll never have to purchase wood butter from the store again. This homemade 2-ingredient wood butter makes an excellent gift as well, for the special cooks in your life!
xoxo Kayla


